
If you’re a beginner sewer, you might feel like you have a lot to learn before you can start sewing beautiful garments like the ones you see in the Craftsy Sewing Projects Gallery. And while sewing is definitely a skill you perfect over time (with practice and a lot of patience), becoming familiar with these top five techniques for beginning sewists to learn will give you the confidence to start tackling garment sewing.
Here are our Top 5 techniques for beginning sewers to learn:
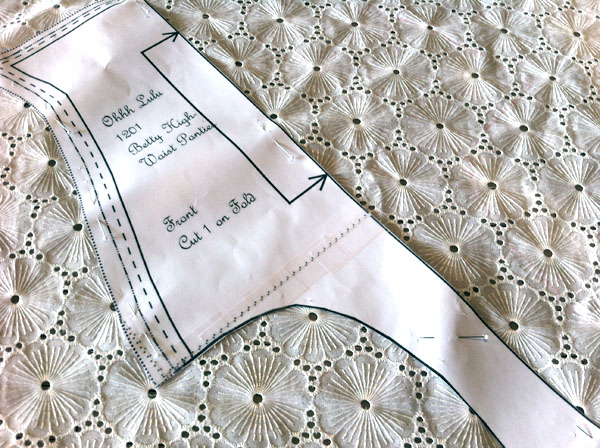
1. Cutting a pattern and transferring pattern marks
Knowing how to cut out and prepare your fabric and pattern is the beginning of a successful sewing project. Accuracy and attention to detail does make a difference in sewing! Even small mistakes can lead to a lot of frustration down the road when you are constructing your garment. Learn pattern cutting tips to help you start off on the right foot (and if you are sewing with a digital pattern, here are some tips for printing sewing patterns at home).
Most garment patterns will include marks of some kind, which will indicate things like pocket, zipper or buttonhole placement, or notches to ensure that separate pieces are aligned correctly when being sewn together. Much like cutting a pattern, transferring these marks accurately is very important.
How you choose to transfer marks is partly a personal preference and partly decided on the type of fabric you are using (you will always want to double-check that you can remove the mark from the fabric if it will show on the right side of the garment after construction). Notches can transferred by making a small clip in the seam allowance, or with a line of tailor’s chalk. For other marks, a tracing wheel and carbon paper might do the trick on light colored fabric. Chalk is always an option, as well.
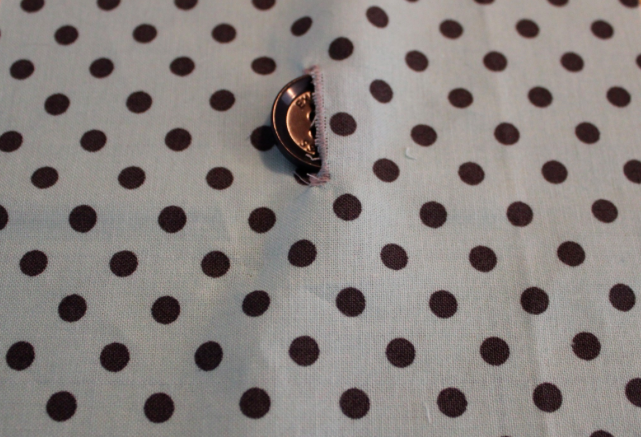
2. Making buttonholes
Many garments involve one or more closures to help them fit and function. Buttons are one closure option. Sewing button holes can seem daunting at first, but most modern sewing machines have an automatic buttonhole attachment that makes the process quite simple.
Just like with pattern cutting, a little attention to detail will save endless frustration. Taking the time to make sure the placement of your buttonholes are all lined up correctly will ensure you are pleased with the end result.
Read our blog post on how to sew buttonholes to learn more.
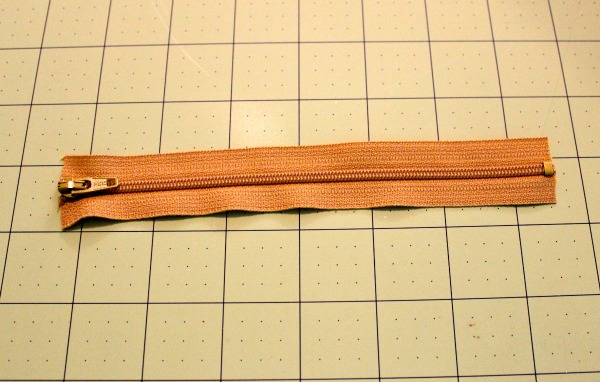
3. Installing a zipper
Another closure, another potentially scary technique! Zippers aren’t so bad, but they do require a bit of practice before you feel truly comfortable sewing them in. Lucky for you, Bluprint has a FREE mini-class called Mastering Zipper Techniques. This class will have you installing zippers like a pro in no time. Once you’ve got zippers under control, you might want to try out an easy technique for covering the zipper end.
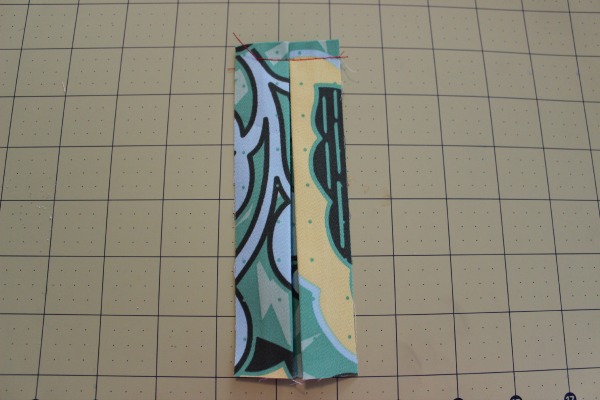
4. Sewing darts and pleats
Darts are commonly used in design to provide shaping to a garment, particularly in the bust area. Learn how to mark, sew and press the perfect dart. Pleats are also used on garments to provide shape or texture. In my opinion, it’s easier to sew a crisp pleat than it is to sew a perfect dart, so don’t let this technique trip you up! Learn how to sew a pleat.
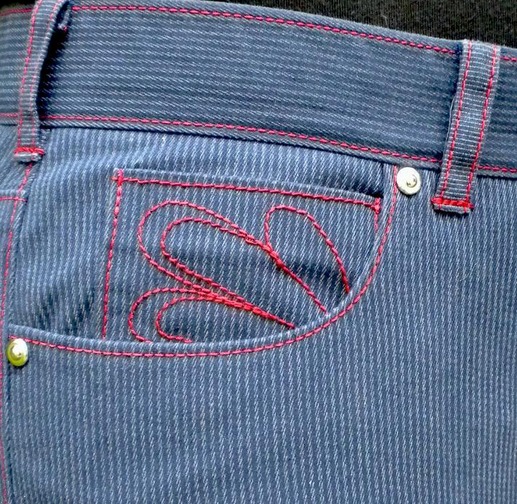
Striped Jeans with Red Topstitching via WowCarol
5. Topstitching
Topstitching is any stitching that is sewn on top of the garment. It’s typically decorative as well as functional. Topstitching can be intimidating to new sewists because it means the stitching will show on the right side of the garment, which makes it very difficult to hide any less-than-perfect or slightly crooked stitching. Take a deep breath, though, because this is an easy hurdle to clear.
First, use thread that matches your fabric well. Thread that’s a close match will blend into the fabric better and small mistakes will be much less noticeable. Second, practice. A lot. Preferably using scraps of your actual fabric if it’s challenging to work with (like anything slightly slippery or particularly thick). Sew slowly and take your time. Learn some tips for sewing the perfect topstitch, and remember, there’s a reason the seam ripper was invented.
If you’re looking to master more sewing techniques, check out 40 Techniques Every Sewer Should Know with Gail Yellen.
Share tips, start a discussion or ask one of our experts or other students a question.
No Responses to “Ready, Set, Sew: 5 Sewing Techniques for Beginning Sewers to Learn”