
Oh, weaving in those annoying ends. It’s the task we all dread in knitting. I’m embarrassed to say that I’ve left plenty of projects sitting on the shelf unfinished, with only the ends to weave in.
Thankfully, there are a few things you can do to make weaving ends a little less painful. (What would finishing be without just a little pain?)
Here are a few tips to make the task a little easier:
1. Leave long tails.
Remember that you need plenty of space to weave that baby in and out, so short tails can get frustrating. Don’t worry about making it too long. You can always cut it off after you secure it.
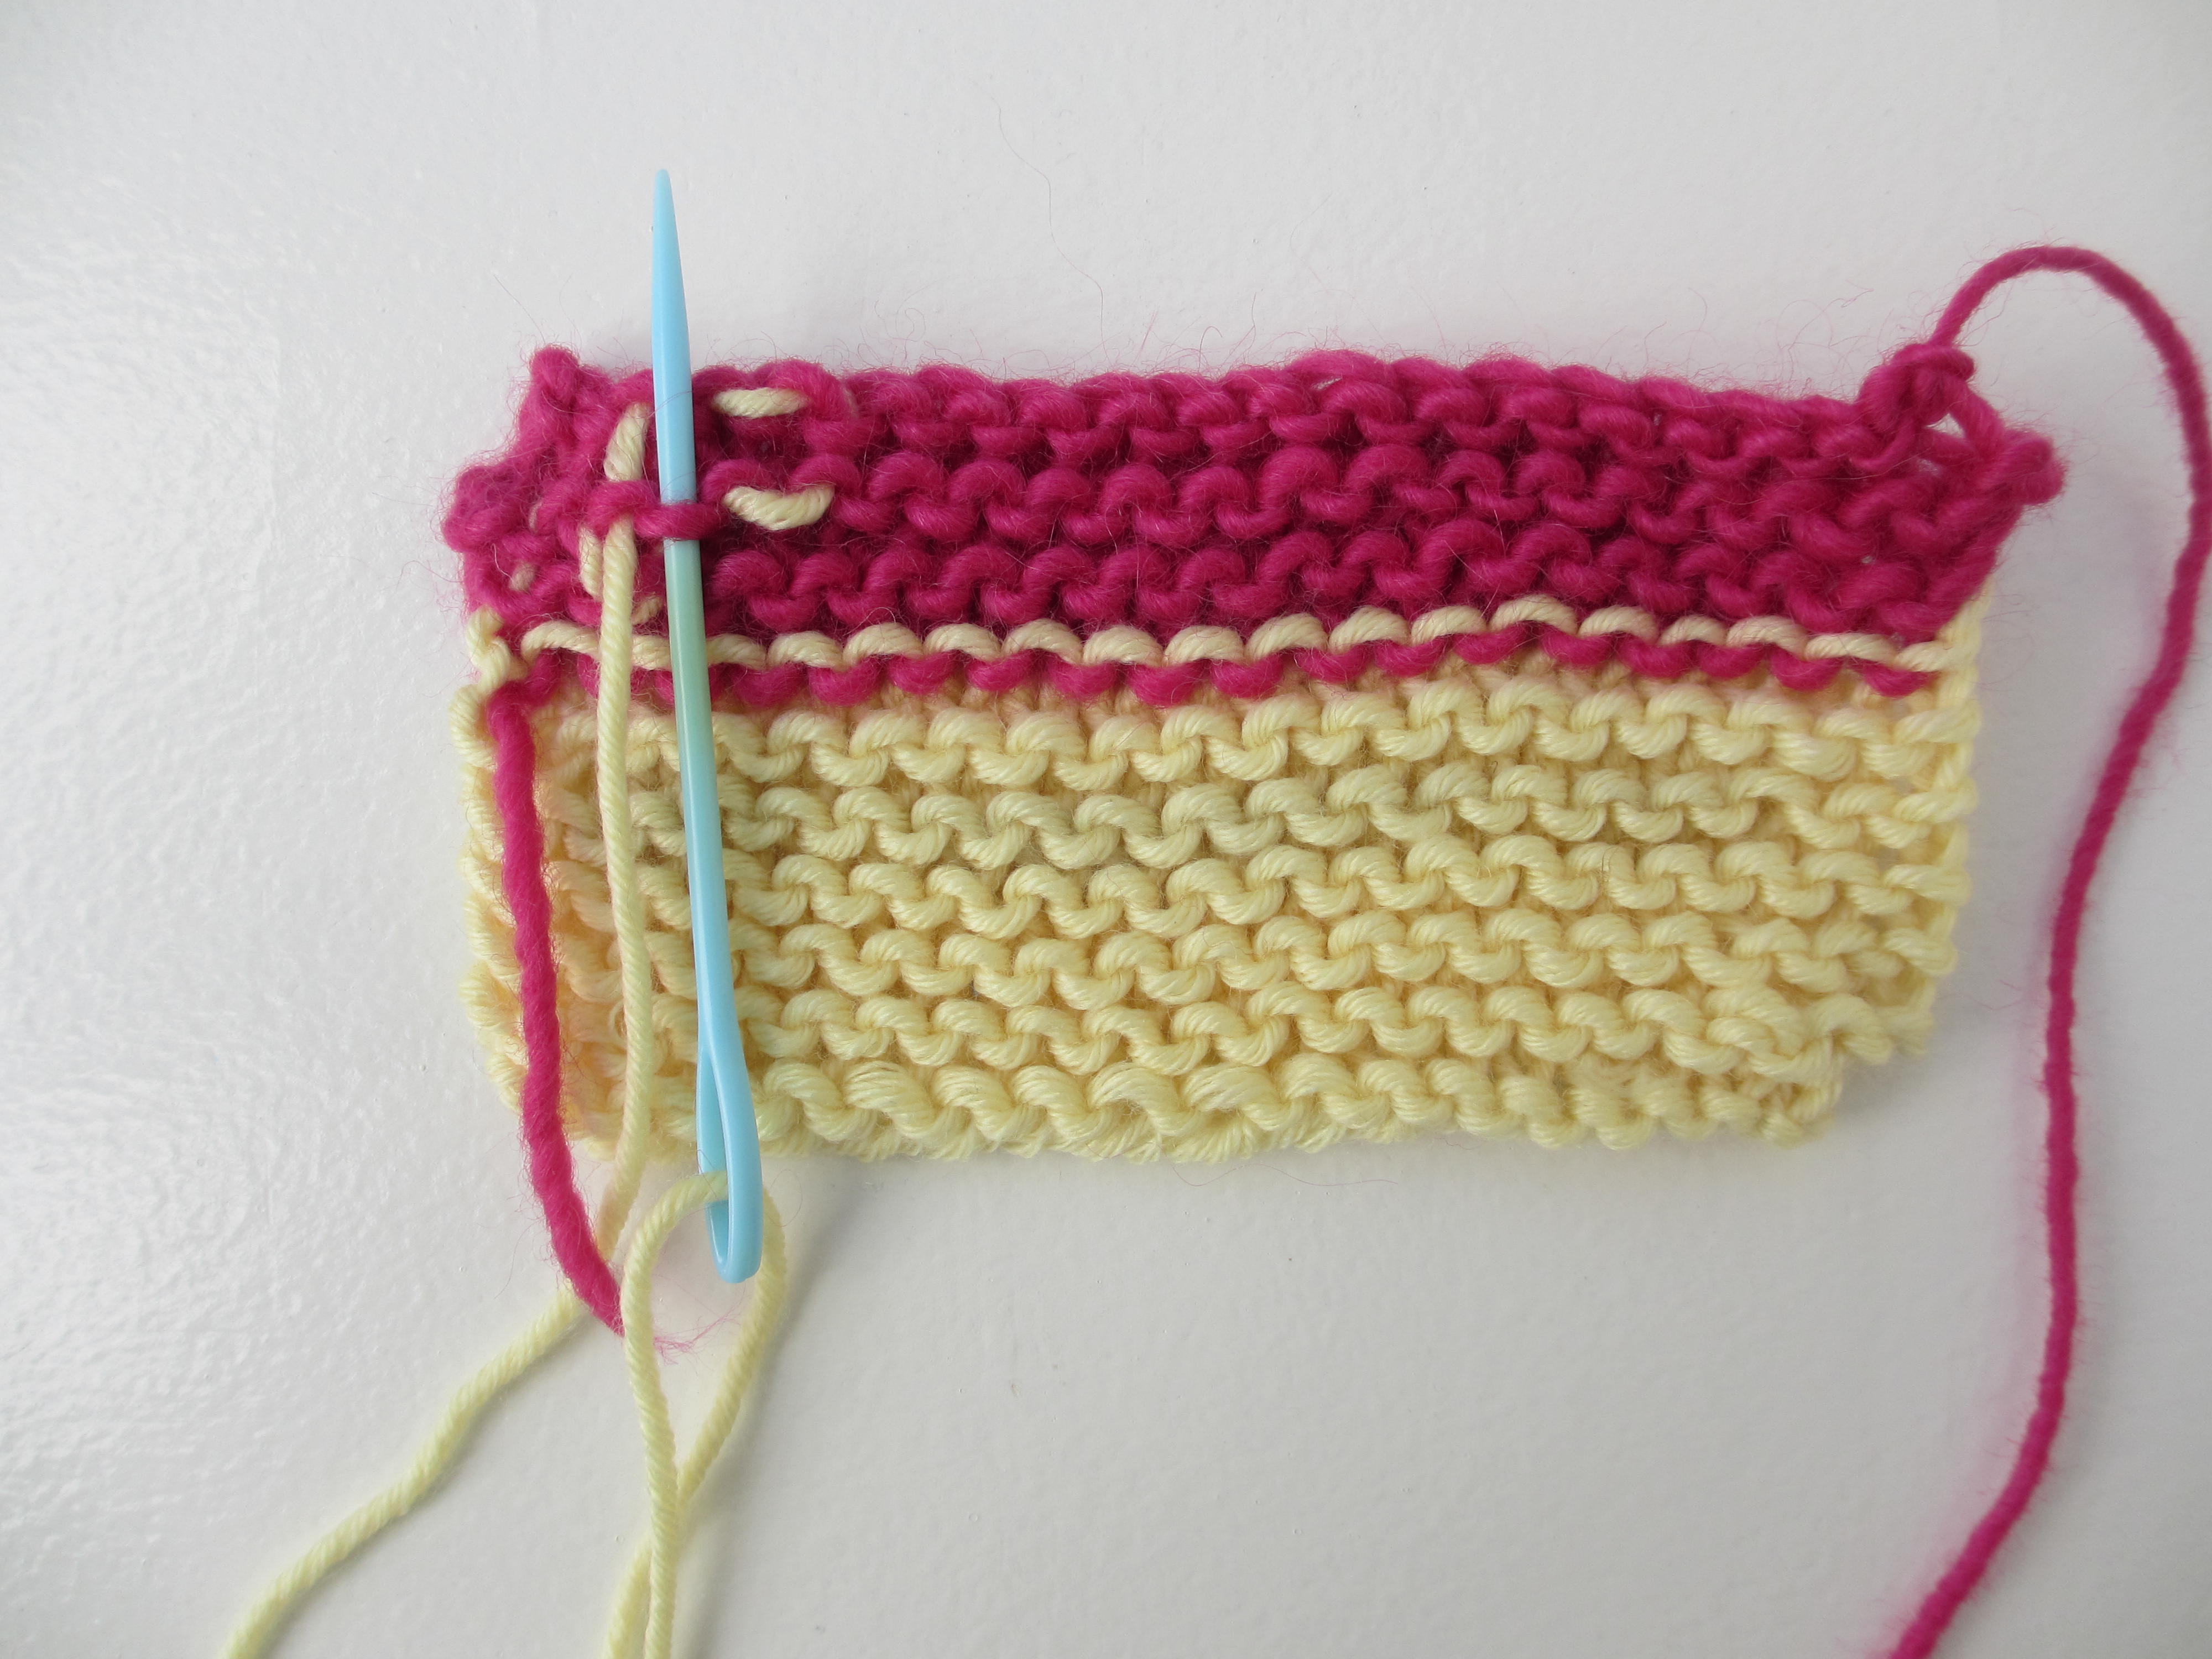
2. If there’s a seam in your work, weave the end into the seam.
It will be totally hidden and if it pokes out, it will likely do so on the wrong side where no one can see it.
3. Bulky-weight yarns can be difficult to hide since they’re so thick.
Just pull the yarn apart into two pieces, then weave the pieces in separate directions.
4. Weave your ends as you work instead of leaving it for the last step.
Sometimes this can mean knitting that loose tail along with your working yarn. When you finish, you’ll just have to weave in one last tail. This also works if you’re attaching a new skein of yarn in the same color. Work the skein in early, at least 10 inches before you run out of the first skein. Let the two yarns travel together for a few stitches, and when you run out of yarn, just keep on knitting with the new yarn.
5. Pop in a good movie and make a date with weaving in ends.
Save all those nearly-finished projects throughout the week and weave in all the ends at the same time. Weaving in ends doesn’t require nearly as much focus and concentration as knitting — and we all watch movies while we knit! By the time the movie’s over, all your ends will be invisible and your projects will go from UFO (unfinished object, for you knitting newbies) to FO (finished object).
6. If you don’t have a yarn or tapestry needle handy, you can also use a crochet hook to pull the yarn through.
It’s not as quick as a needle, but it works just fine in a pinch.
7. Make sure you flip your piece over as you weave to check that the ends are actually hidden.
I once sleepily did some end-weaving only to wake up the next morning and realize you could see the ends on the right side. Oops!
8. If you’re doing stranded colorwork, float the yarns together on the wrong side for a few inches even after you’ve finished working with one of the colors.
Not sure if you’re weaving in your ends correctly? See our step-by-step tutorial and make sure those ends stay where they need to be.
If you have seams that need finishing, too, check out our tips for sewing up your knitting and knock that off your list when you weave in your ends. You can also get more advice on finishing knitting, including blocking and sewing seams.
Come back to the Craftsy blog tomorrow for a chance to win a FREE copy of The Yarn Whisperer by Clara Parkes.
Share tips, start a discussion or ask one of our experts or other students a question.
No Responses to “8 Tips for Weaving In Ends”