
Some artists work from reference pictures, others work from their imagination, many use a healthy mix of both. No matter your usual preference, sometimes it is nice to be able to paint without a reference picture.
Follow along to learn a technique for painting mixed media flowers.
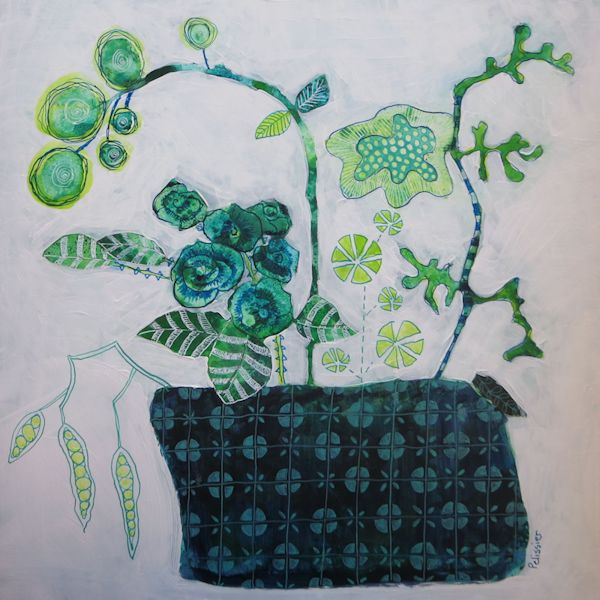
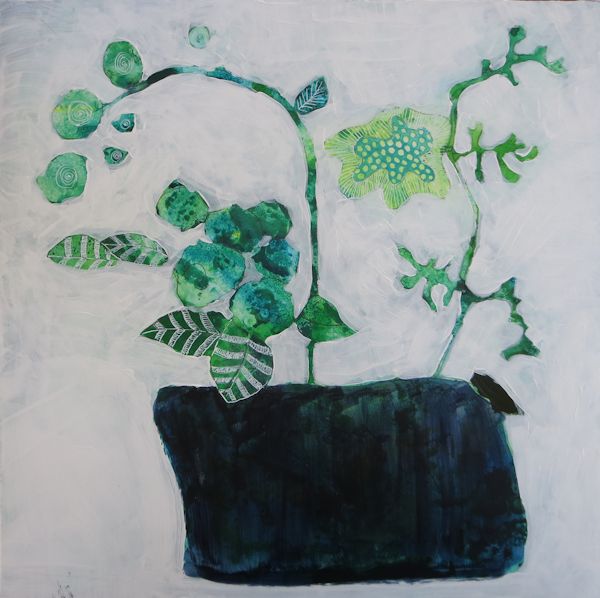
“In Osaka”, mixed media by Sandrine Pelissier
You will need:
- A blank canvas, or panel (apply a layer of gesso before painting), or like here paper mounted on board.
- Fluid acrylics in selected colors and white
- A pen (to use with ink or fluid acrylic)
- White acrylic
- Watercolors (optional)
- A selection of brushes
- Varnish to finish
- Rubbing alcohol
- Workable fixative if you used watercolors
Directions:

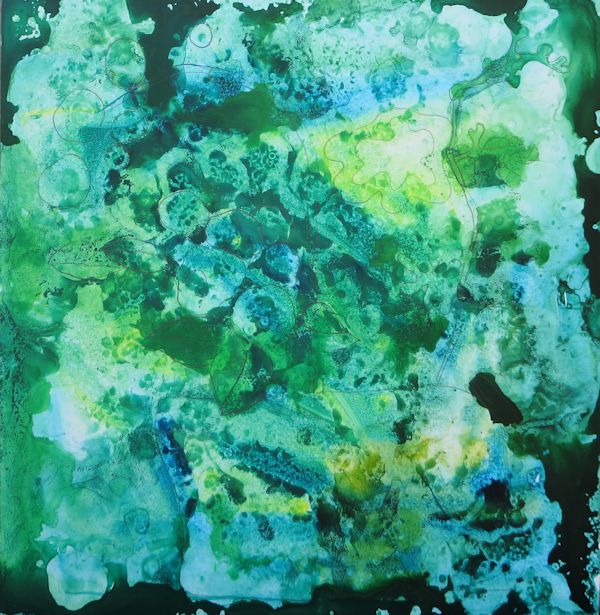
1. Start by adding a few drops of fluid acrylic on your canvas or board or paper. Use a few colors, I find I get best results when I limit the colors to a maximum of four or five. Here, I worked in a continuous color scheme of yellow, blue and green.

2. Spread the paint onto your support, trying to mix colors as little as possible, as you still want variety in the colors.

3. You can add more texture by dripping a few drops of rubbing alcohol on the fluid acrylic while the wash is still wet. I usually just put my thumb on the bottle opening to partially close it and let the alcohol fall onto the wash. Let dry for a few hours or overnight.

4. Then with a graphite pencil or charcoal or pastel, look at the textures on the background and think about a particular theme, try to see shapes in the textures that would fit that theme.
Outline those shapes with a pencil (or pastel, or charcoal), which will make it easier to paint around them.
You can see here how I outlined a few shapes on the abstract background.
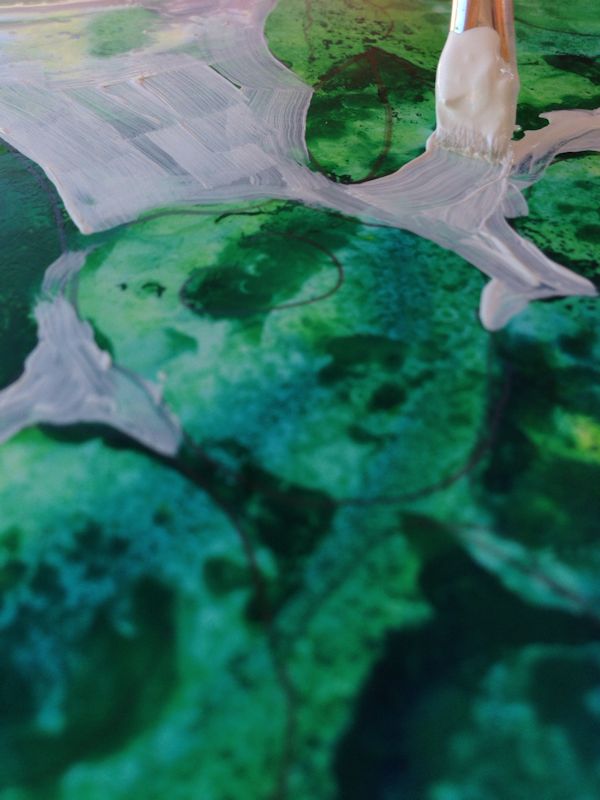
5. Then using a small brush for the smaller areas and a big brush for bigger areas, paint everything around the shapes you outlined with white acrylic or another color of your choice.
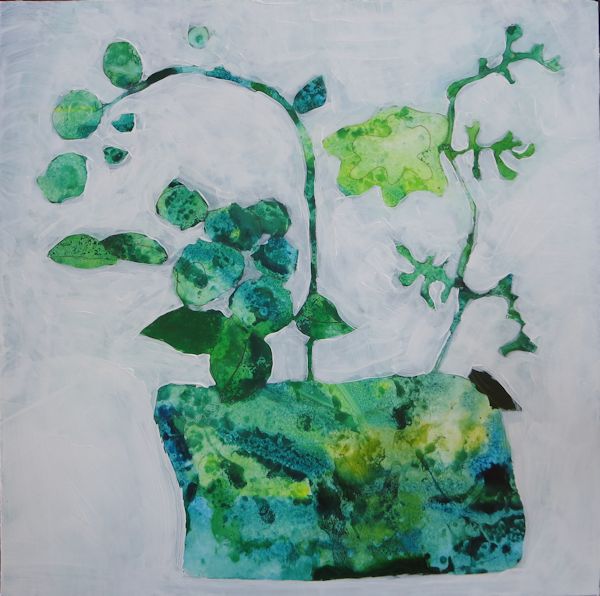
6. After this stage, your painting will look something like the image above. Let it dry.

7. If you want to, you can paint over some areas with acrylic or fluid acrylic. Here I chose to paint over the vase with Payne’s grey acrylic.
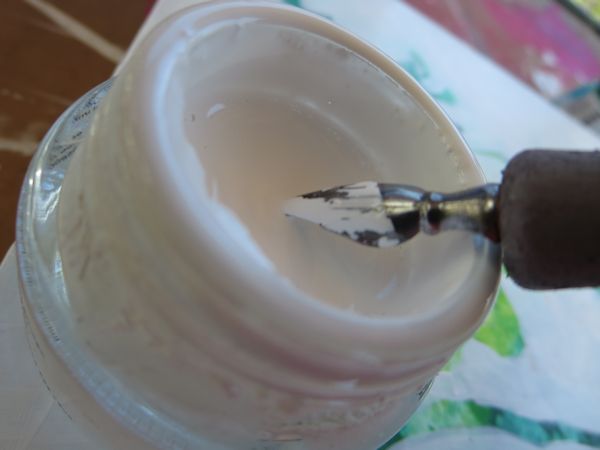
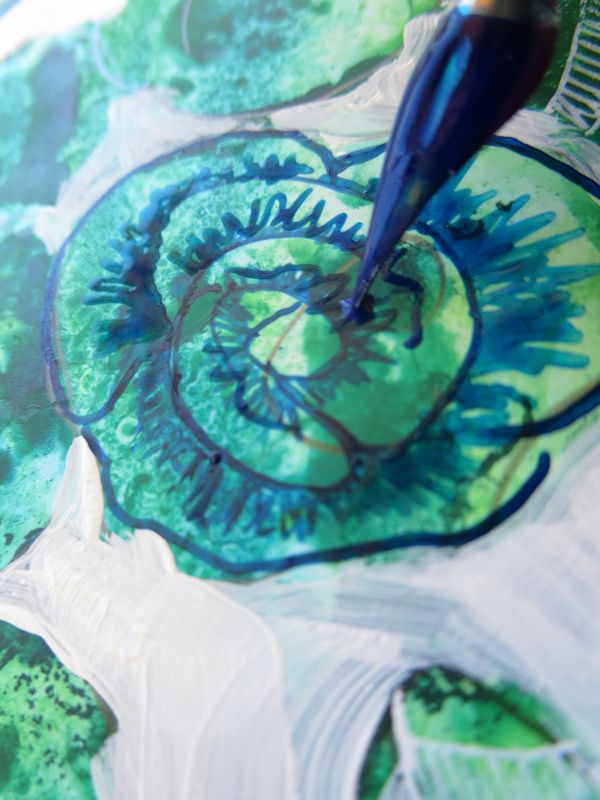
8. At this stage, I usually like to add a few designs in white ink. You can use a pen for that and white fluid acrylic or, like I did here, White Copic Ink.
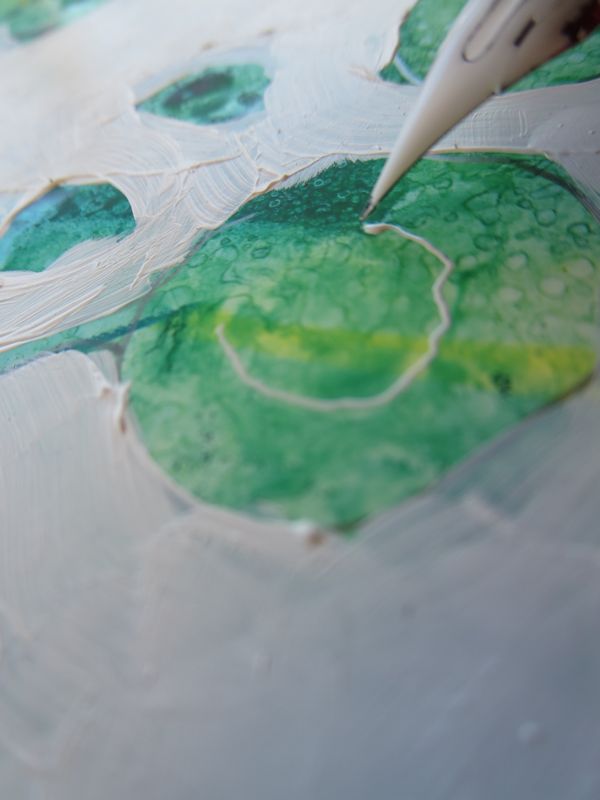
Using your pen and ink, you can rework the shapes you painted around and add a bit more complexity to them. Above, I added detail to the add a center part of a flower…

and details on a leaf.

9. But don’t feel limited by “normal shapes.” Designs can be made with stripes…
dots, or more complex designs. You can look at zentangle patterns for inspiration.
10. Keep on adding details and painting over areas of the painting until you are satisfied with the result.

I made a series of flashcards filled with zentangle designs that I use in my paintings when I’m in need of some design inspiration.

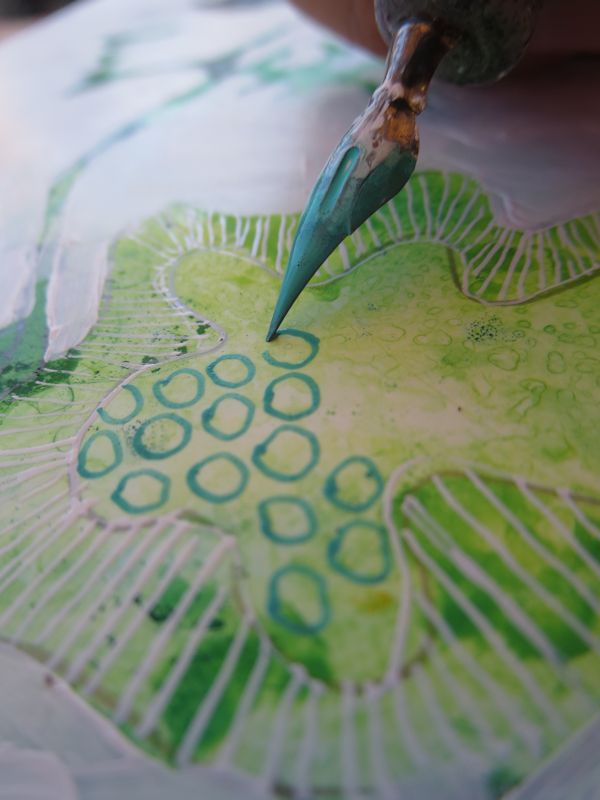
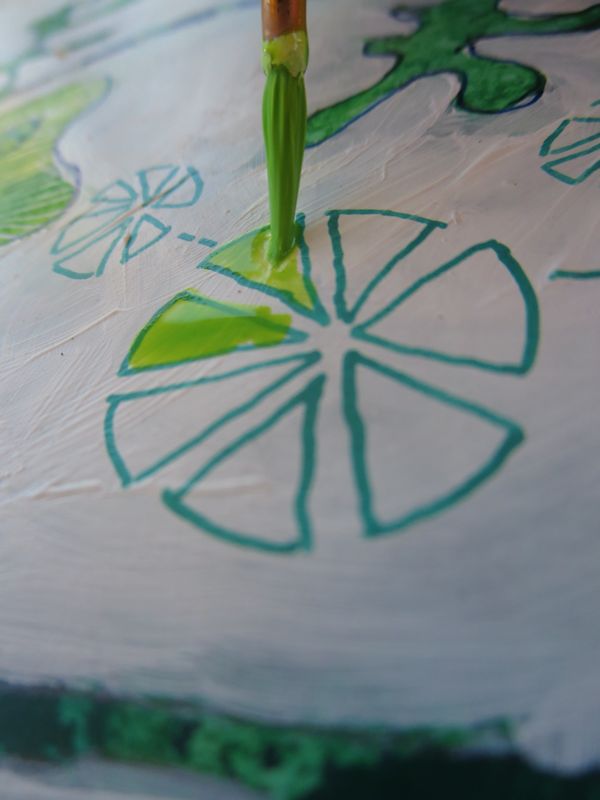
11. Try mixing up the colors! You can use different colors of ink: here, I chose to use Speedball Teal Green.
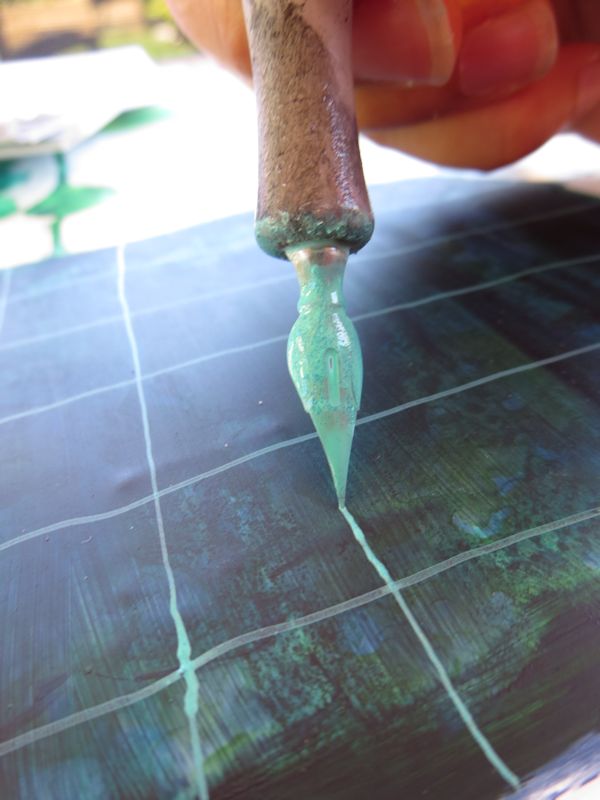
12. For some geometric designs, you might need to draw a grid before. If the grid is part of the design, draw it with ink; if the grid has to be removed after the design is drawn, use a removable medium, like pastel.
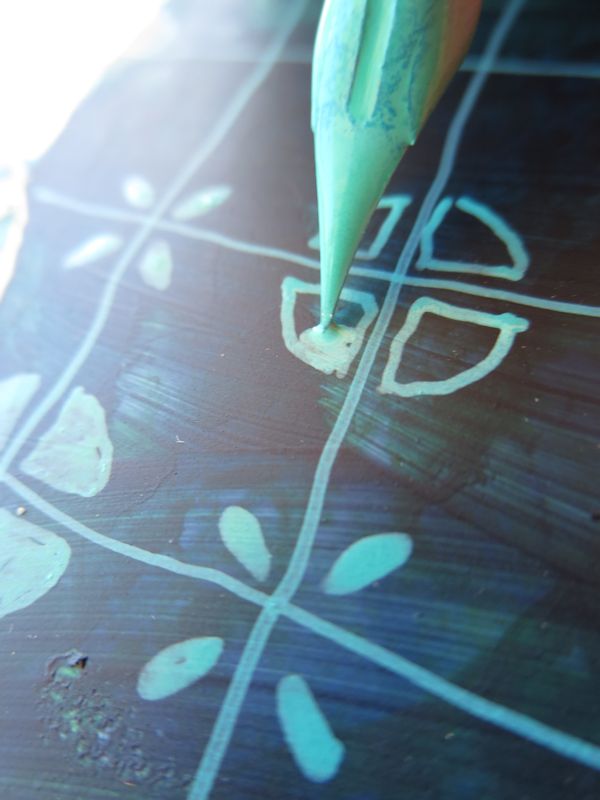
If you like more organic looking patterns, you can hand draw the grid, or if you like more precise looking designs, use a ruler.
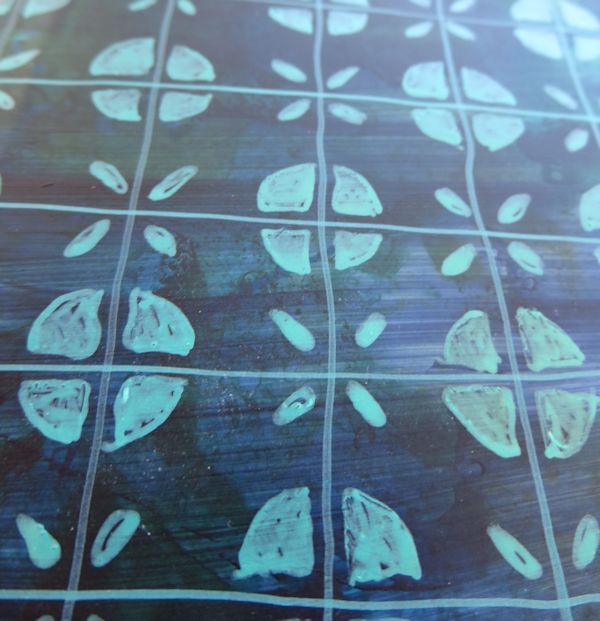
Here is the design I chose for the vase.
13. Keep on working on elements in your painting, either with pen and ink or by painting over designs once they had time to dry.
You can use fluid acrylic or watercolor to paint over designs. If using watercolor, you will need to use fixative or spray varnish.
The finished Painting, “In Osaka”, by Sandrine Pelissier
Share tips, start a discussion or ask one of our experts or other students a question.
No Responses to “Use Your Imagination: Painting Abstract Flowers in Mixed Media”