
Acetate is a fun material to use for cardmaking, but it can be a bit tricky to work with. With a clear card base, everything shows from the outside to the inside. But by using high-tack double-sided adhesive sheets, smooth, clean results can be achieved.
Read on to enjoy a free step-by-step tutorial detailing how you can create your own acetate cards like these at home!
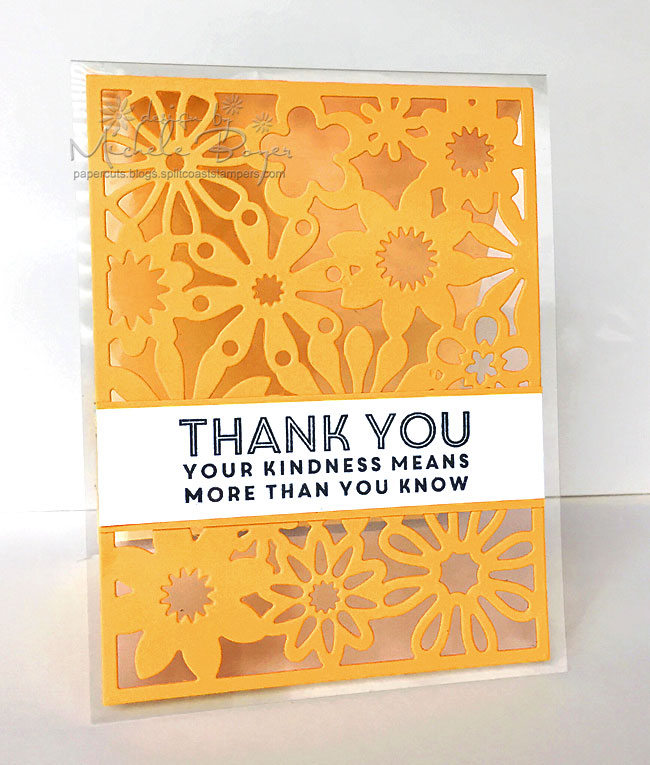
Acetate cards tutorial
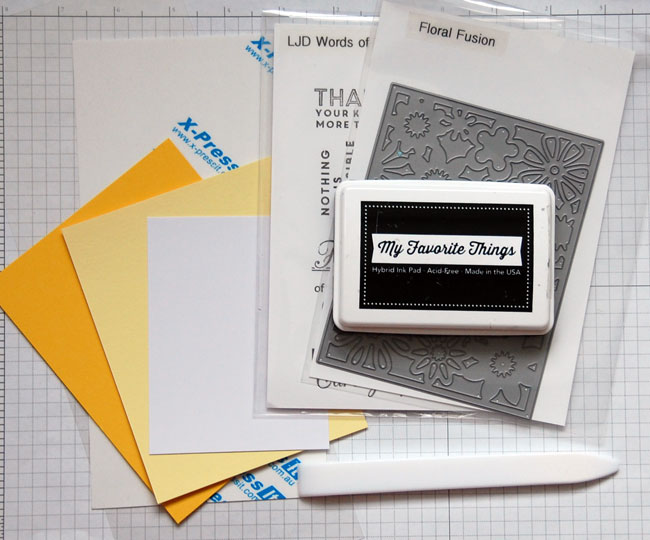
Supplies you’ll need:
- Acetate cut to 4 1/4″ x 11″, scored and creased down the center to form a 4 1/4″ x 5 1/2″ top-folding card
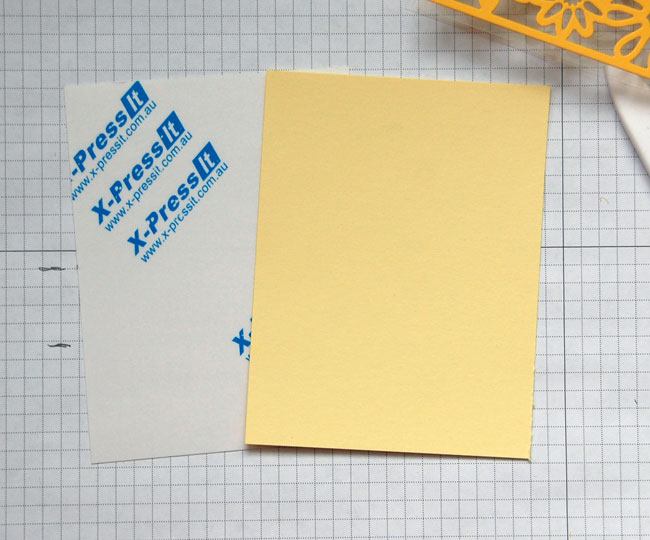
- High tack double-sided adhesive sheet (I used X-Press It Double-sided Adhesive)
- Liquid glue
- Two shades of colored card stock plus white (I used Lemon Drop, Lemon Chiffon and Sweet Tooth by My Favorite Things)
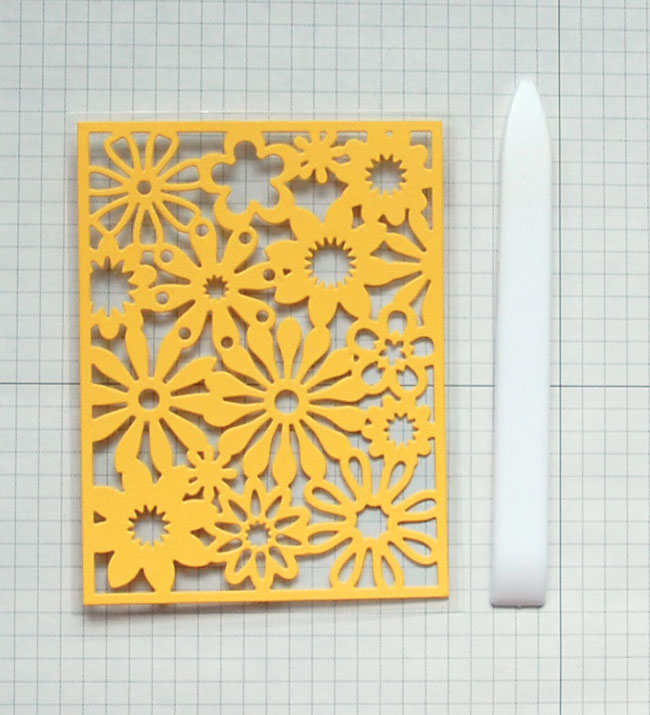
- Background Die (I used Floral Fusion Cover-Up by My Favorite Things)
- Die-cutting machine
- Bone Folder
- Stamp set (I used Words of Wisdom by My Favorite Things)
- Black Ink
Note: One thing to think about when creating with acetate is where to write a message. Card stock can be adhered to the inside so that it doesn’t show from the front or, if the front is open throughout as in the sample I’ve created here, I would use an opaque white pen that would not create a big distraction to the design, or write a short message in the area hidden by the sentiment strip.
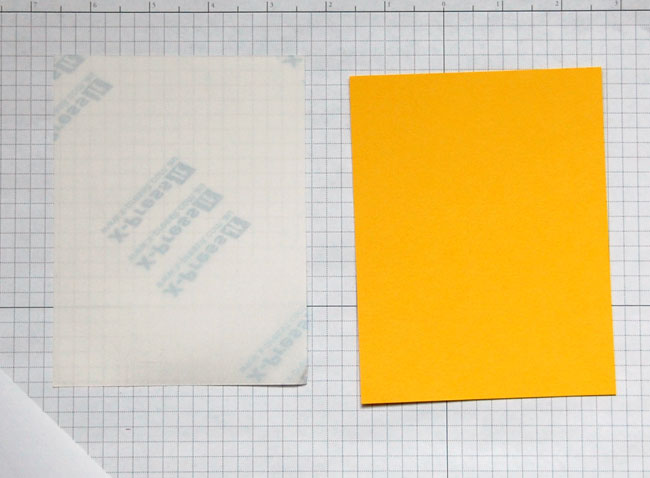
Step 1:
Cut adhesive sheet and darker card stock block to 4 1/4″ x 5 1/2″.
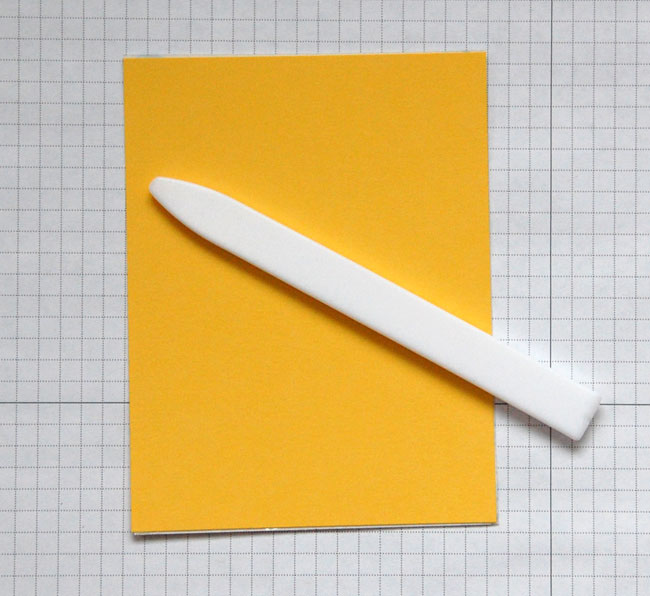
Step 2:
Remove liner paper from one side of the adhesive sheet. Carefully aligning edges, adhere card stock to adhesive. With side-to-side motions, apply firm pressure over entire surface of card stock using a bone folder.

Step 3:
Lay die face down over card stock and run through die-cutting machine.
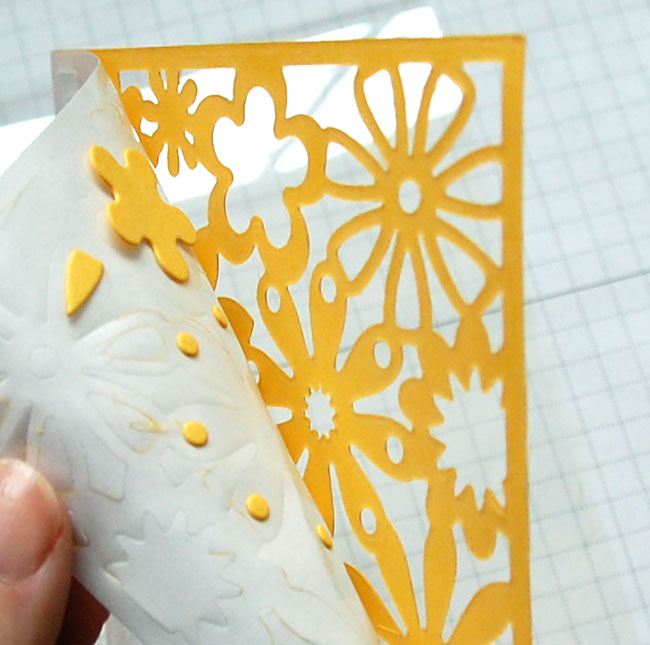
Step 4:
Remove the die from the paper. Some small pieces of card stock will remain in the die while some will remain in the die-cut piece. While slowly pulling the adhesive backing from the die-cut, remove any negative pieces. Before moving to Step 5, carefully inspect both the front and back of the die-cut panel to ensure that all negative pieces have been removed.
Step 5:
Carefully position die-cut to ensure an even border, adhere die-cut to front of acetate card.

As shown above, the inside of the card front looks neat and clean.
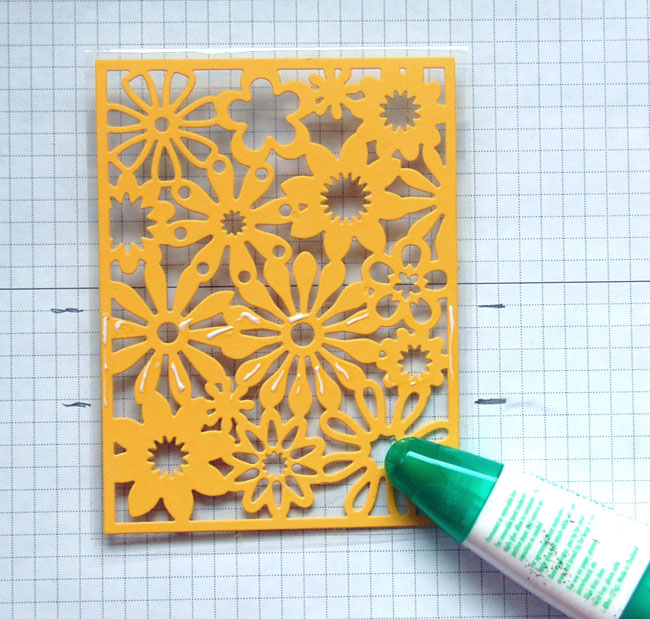
Step 6:
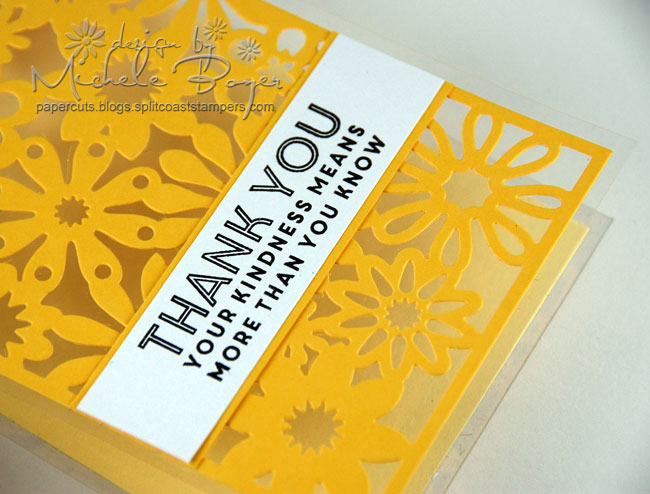
Stamp sentiment onto white card stock. Trim and mat onto darker card stock. Using grid paper as a guide, mark area where sentiment strip will be placed. Carefully add bits of liquid glue within the marked areas. Use small amounts of glue as you don’t want it leaking out between the die-cut areas resulting in a messy look on the inside of the card.
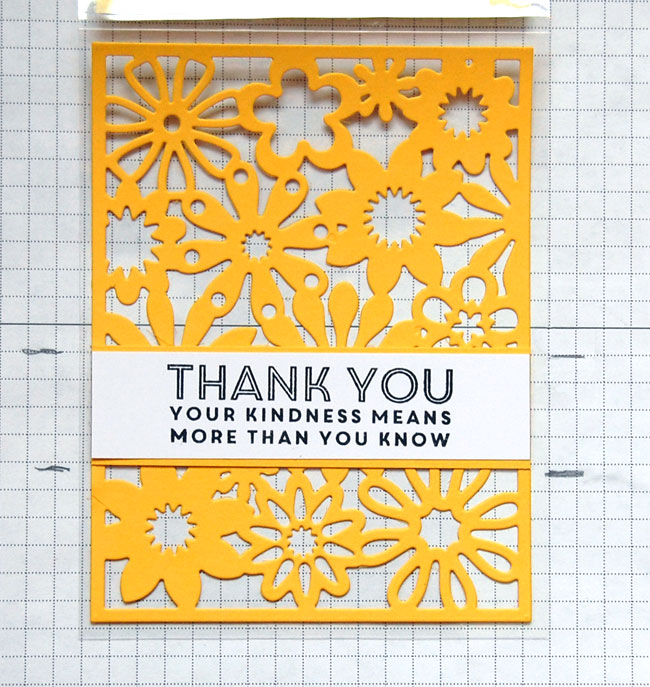
Step 7:
Adhere sentiment strip across card front.
Step 8:
To finish the inside and provide a place for a written message, cut lighter card stock and adhesive sheet slightly smaller than the die-cut panel on card front. (In this case, the size would be just a bit smaller than 4″ x 5 1/4″. The inside panel should not show around the edges of the die-cut panel on the front of the card.) Remove one side of the adhesive liner and adhere lighter card stock block; remove remaining liner sheet. Holding the lighter panel against the back of the front panel while aligning edges, slowly close card to adhere the panel to the inside of the card. This will ensure the inside card stock aligns with the front/die-cut card stock when the card is closed.
Share tips, start a discussion or ask one of our experts or other students a question.
No Responses to “Foolpoof Guide to Creating Acetate Cards in 8 Easy Steps”