
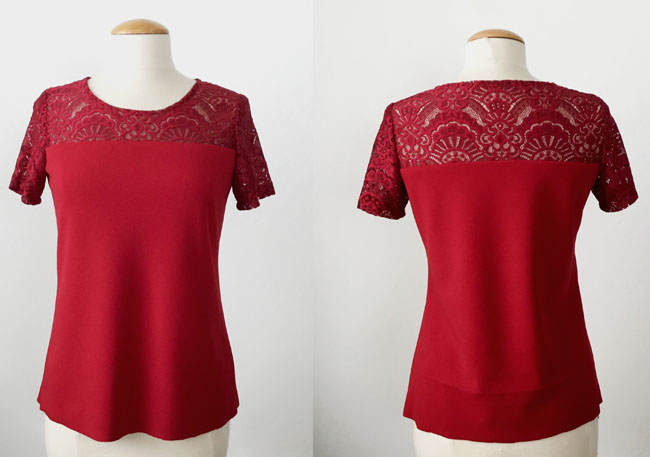
Dress up a standard knit tee by adding a touch of lace! Here’s how to adapt a tried-and-true knit tee pattern into a unique, elegant version.

How to update a knit T-shirt with lace details
Step 1: Determine the placement of the lace

To determine the placement of the lace panel, pin your pattern pieces together at the shoulder and see where the placement would work for your figure. You can drape the pattern pieces over your shoulder or over a dress form and mark the pattern.
I decided to add lace to the upper part of the bodice, ending just above the bust. If you plan to do the same, a good guideline is to place the bottom edge of the lace about halfway between the shoulder and the bust apex.
It looks best when the lace at the center of the tee is not too close to the neckline, so you can even raise the neckline to keep a pleasing proportion of lace across the front.
Step 2: Mark line for the pattern split
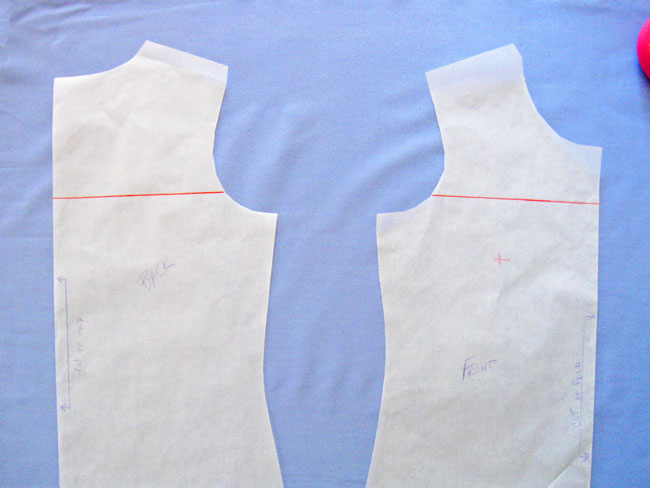
Once you’ve determined where you’ll add lace, draw a line across the front pattern piece, perpendicular to the center front.
Place the back pattern piece on your work surface, lining up the side seams, and then mark the horizontal line on the same spot on the back pattern piece. It doesn’t have to be down to the millimeter, but make sure it is above the side seam by the same amount as the front pattern piece. Draw the line on the back pattern piece perpendicular to the center back.
Cut the patterns along the split lines, and be sure to write on each pattern piece what they are, such as “lower back” or “upper front.”
Step 3: Add seam allowances
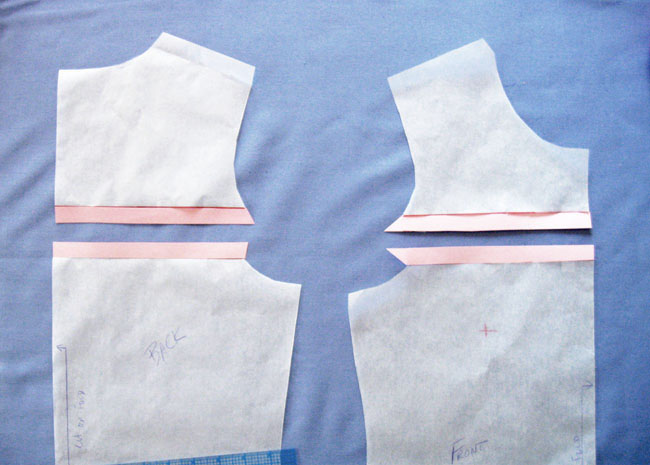
Add the seam allowances to your pattern pieces. In this example, I added a 5/8″ seam allowance (shown in pink).
Step 4: Evaluate your lace fabric
Sometimes knit lace fabric or other knits have selvedges that are curled or very tight, which make it difficult to lay the fabric flat. You can cut off the selvedge, or just clip into to it (as shown here) to release the tightness at the edge and allow the fabric to lay flat.
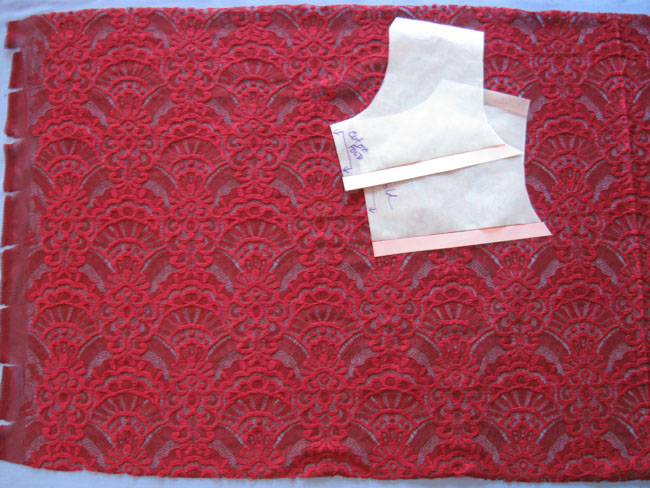
Step 5: Cut out the lace pieces
Lace fabric often has a very noticeable pattern and directionality, so keep those in mind before cutting your fabric.
For this lace I chose to have the motifs placed symmetrically across the front and the back.
Be sure to follow any markings on your pattern pieces, such as “cut on fold,” as my pattern indicated.
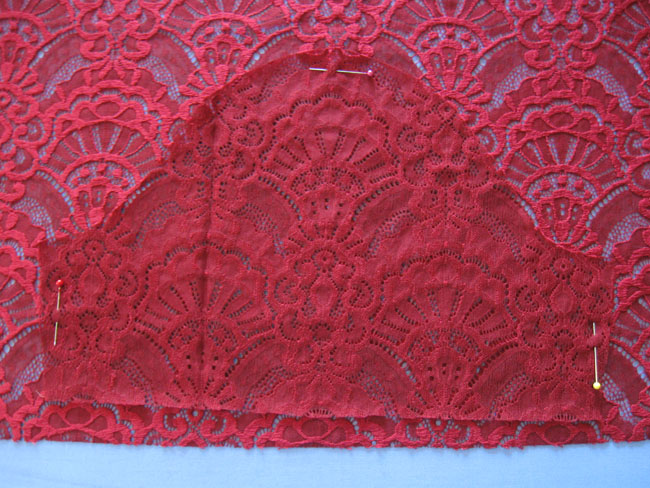
If you plan to create your sleeves with lace, don’t skip this step! They should also be cut with some attention to the pattern in the lace.
Cut out one sleeve, and then flip it over, matching the motifs of the lace weave to create to mirror image sleeves.
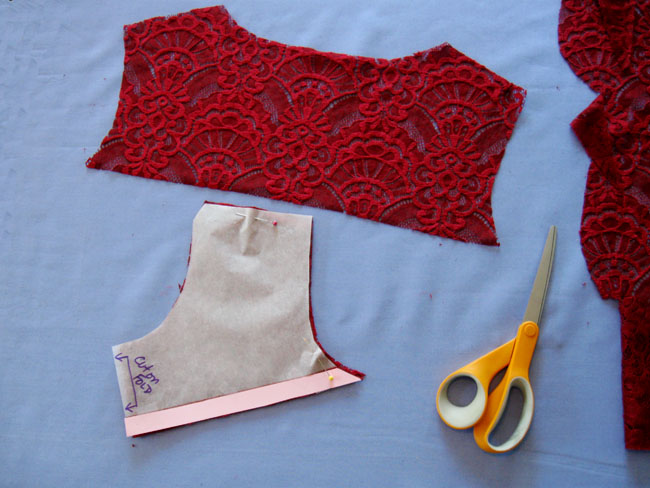
Step 6: Cut the knit fabric pieces
Cut out the lower portions of your top in your coordinating knit fabric. Assemble the pieces by seaming the upper lace piece to the lower knit piece (for the front and back). Then continue sewing your top following your pattern instructions.
Can anyone recommend a method to add lace to an existing tee shirt?