
Skirts are a staple in a girl’s wardrobe, and sewing your own skirts can ensure you get exactly what you want. Having a skirt pattern that fits well and is comfortable to wear is a plus. Start with a simple A-line skirt pattern first, and work on adjusting the pattern/patterns to fit just right. Once you are happy with the fit of your skirt, then you can make any design change you like to create different looks.

Photo via Craftsy member SueAColorfulCanvas
Remember, fit is personal. I like my skirts to be snug enough around my waist so they don’t swivel around my body during wearing, so I go for close to zero ease in the waist area. I prefer a little more ease in the hip area so sitting is comfortable. There’s not a hard and fast right or wrong — your goal should be to create the fit that feels good to you and flatters your body shape.
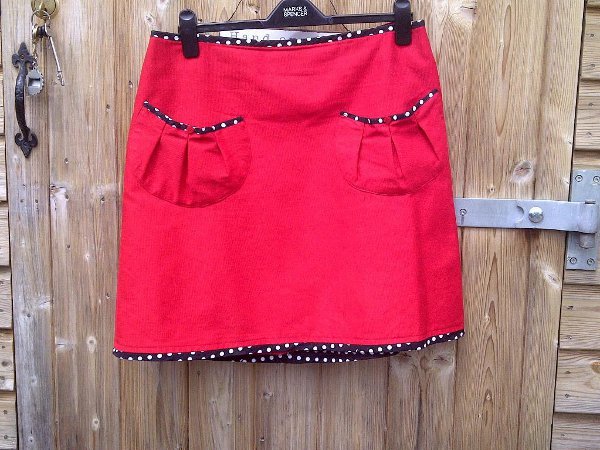
Photo via Craftsy member Purdy Cheese
Here are a few tips and tricks for adjusting your skirt patterns:
One way you can help reduce the number of fitting adjustments you have to make is by measuring a few skirts already hanging in your closet that have that “just right” feeling. You can also look on pattern pieces to see if the manufacturer provides a “finished dimension” for hip and waist, and compare those numbers to your body measurements and/or a skirt with the fit you prefer.
Next, you should make a quick fitting garment using muslin or leftover fabric and sew with a basting stitch length. This test garment, sometimes called a muslin or toile, will be used only for fitting. It really helps to have a fitting buddy to take and record measurement changes!
See also our post Perfect Fit: How to Fit a Muslin.
Adding extra ease to waist only
To make waist adjustments:
Tie a narrow piece of elastic around your waist so you have a consistent waist placement line. If your test fitting skirt feels just right in the waist — great! If the waist is a little snug, open up the side seams and measure the amount of “spread” between the stitching lines, and how far down the side seam the change is needed.
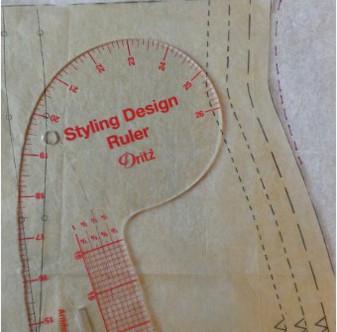
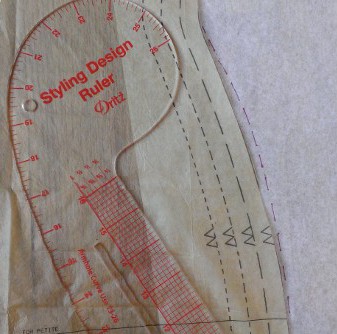
Remember to keep your side seams at your actual side body, and they also should be running straight down and perpendicular to the floor. If your test skirt is a little too generous in the waist, pin out the excess fabric on both side seams. Take the skirt off and transfer those changes to your paper pattern, and blend the new cutting line into the existing line with a smooth curve.
Adding extra ease in the hip area only
To make hip adjustments:
Next, take a look at how your skirt looks in the hip area. If your test skirt is pulling or it is uncomfortable to sit down, open up both side seam allowances through the hip area and measure the amount of spread. This is the amount of fabric you will need to add. If your skirt is too large in the hip, pin out the excess and try sitting again to make sure you still have sufficient room to move.
One other thing that can affect the hip fit is dart length. The dart tip should end slightly above the fullest part of your hip.
If you want to try drafting a simple skirt from your body measurements, be sure to check out the Design & Sew an A-Line Skirt class with Deborah Moebes. If you want to learn more about all aspects of fit, check out Sew the Perfect Fit, taught by Lynda Maynard.
Be sure to come back to the Craftsy blog tomorrow for this week’s installment of Free Pattern Friday! It’s one you won’t want to miss!
Share tips, start a discussion or ask one of our experts or other students a question.
No Responses to “Tips and Tricks for Adjusting Skirt Patterns for a Perfect Fit”