
When sewing the lining into a garment with an invisible zipper opening, many sewing patterns instruct you to attach the lining along the top edge of the garment (i.e. the neckline of a dress) and then hand sew the lining to the zipper tape on the inside using a slip stitch. It is usually possible, however, to attach the lining to the zipper by sewing machine instead, which is generally a faster, stronger and cleaner method. It may involve a slightly different order of construction, so always plan ahead!
Read on for simple instructions for sewing lining to the invisible zipper of a garment without any hand sewing.
Before starting, you will need to the construct the shell of your garment and the lining separately. Leave the seam with the zipper completely open on the lining. I find it easier to sew the seam below the zipper together after the lining is already attached to the zipper tape.
Step 1:
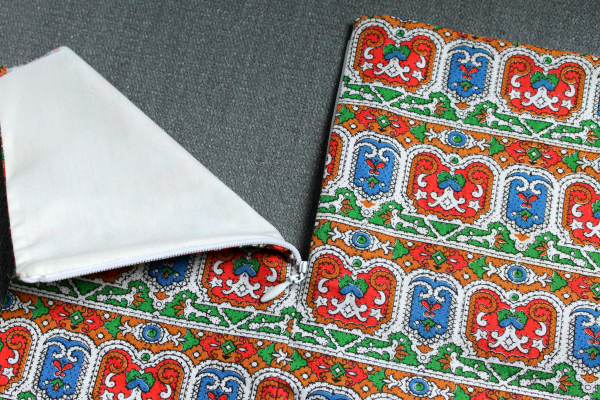
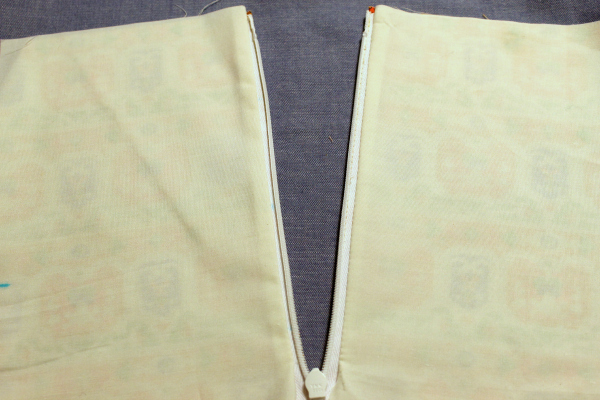
Insert the invisible zipper into the garment shell as instructed in your pattern or with your preferred method. Then finish sewing the seam below the zipper. In this example, I’m using an invisible zipper that zips all the way to the top of the sample garment. The top edge is still raw:
Step 2:
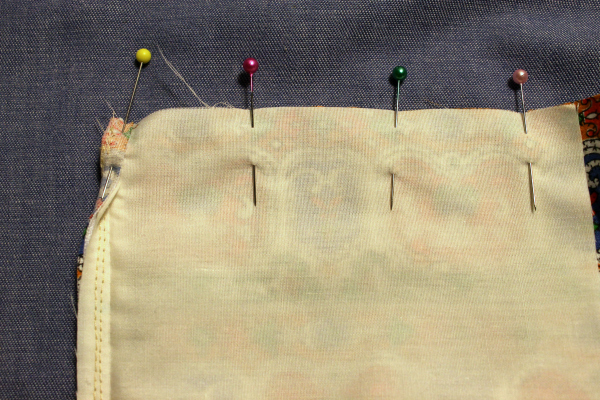
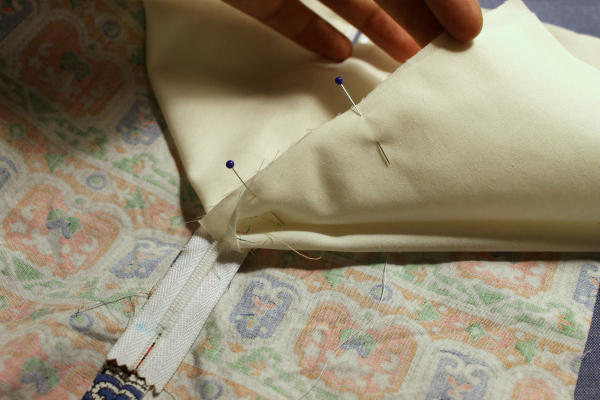
Open the zipper all the way, then flip out the seam allowance that is attached to the zipper tape. Fold the other side of the garment out of the way if that is helpful. Now lay the corresponding lining piece on the garment, right sides together, matching raw edges. Pin the lining to the zipper tape down to the zipper stop.
Step 3:
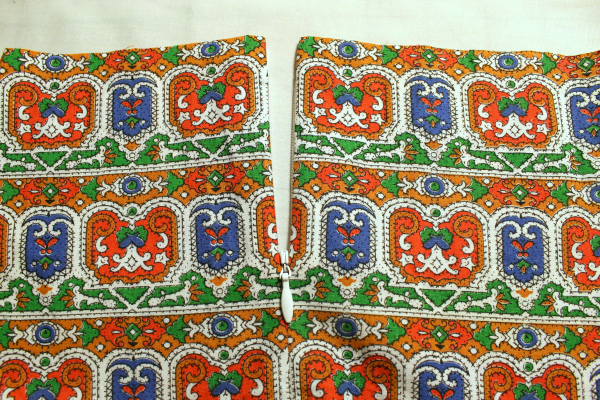
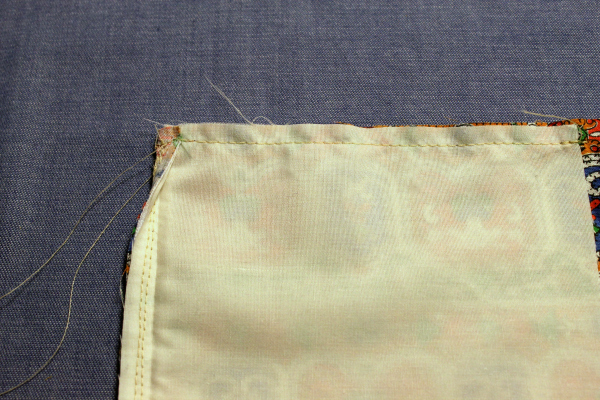
Using a zipper foot, sew down the length of the zipper tape until you reach the zipper pull, removing pins as you go. You can feel the teeth of the zipper through the lining fabric and guide the zipper foot along that ridge. You can decide how close or far away from the teeth you want the lining seam to be. I try to get pretty close without obstructing the function of the zipper, which is about 1/8″ to 1/4″ away.
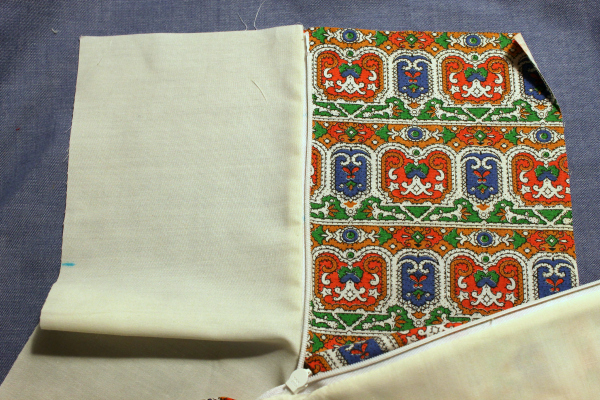
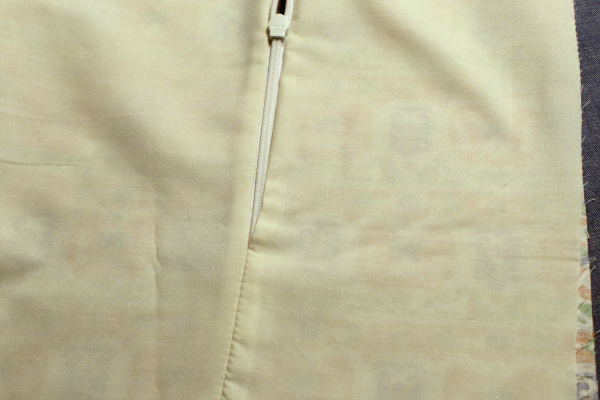
Repeat this whole step on the other side of the zipper with the other side of the lining. You may have to change the orientation of the zipper foot if you want to sew from the top edge to the bottom of the zipper, or leave it the same if you want to sew from the bottom up. Your garment will now look something like this from the inside:
Step 4:
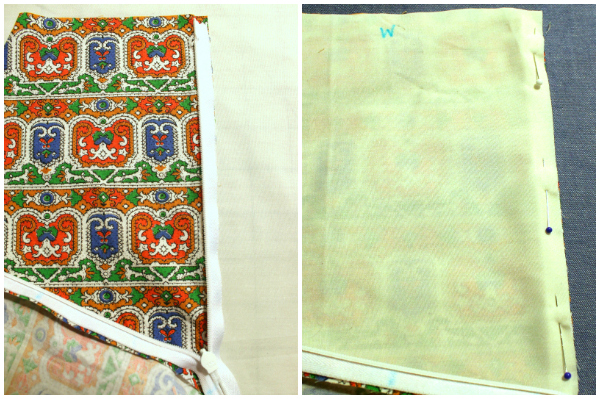
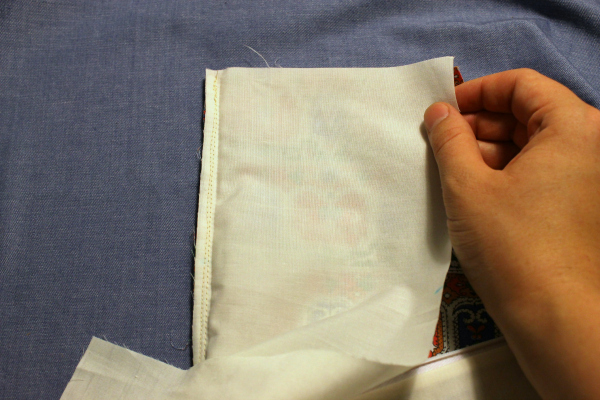
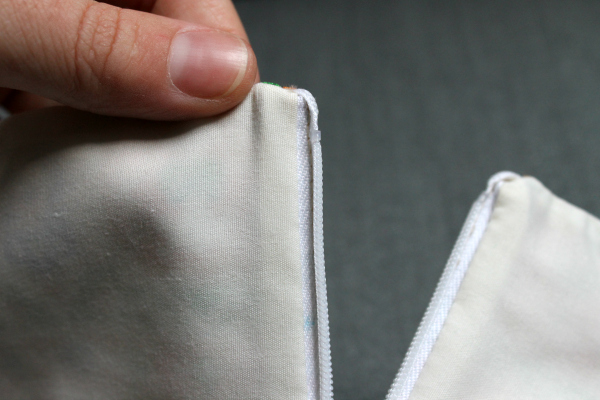
To sew the top edges together, first choose one side and then separate the garment fabric from the lining fabric at the zipper. In this photo, the right side of the garment and the right side of the lining are both facing up:
Now flip the lining fabric over so the right side is aligned with the garment’s right side.
Step 5:
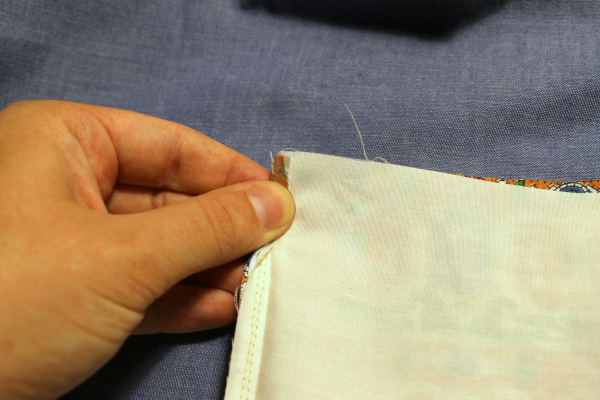
Before pinning anything, fold the seam allowance you just sewed toward the lining fabric. The edge of stitching that attaches the lining to the zipper tape should be on the edge of this fold. Now pin in place and keep pinning along the top edge.
Step 6:
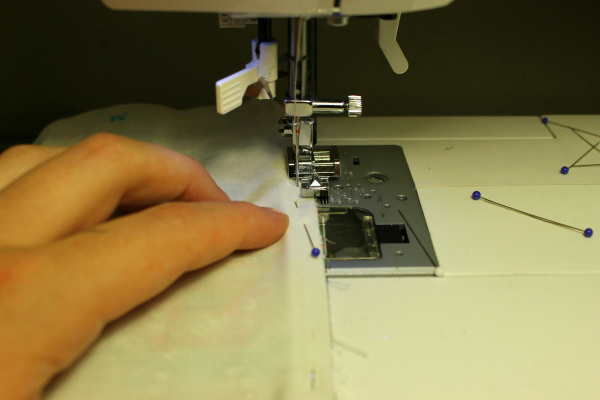
Sew the top edge in place.
Step 7:
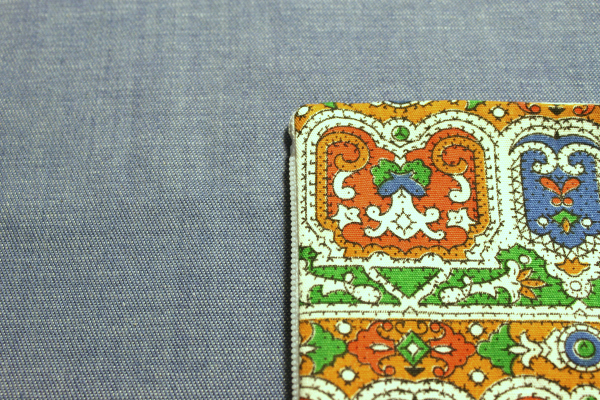
Repeat on the other side. Trim seam allowances if necessary and turn garment right side out, pushing out cornersat the top of the zipper.
Step 8:
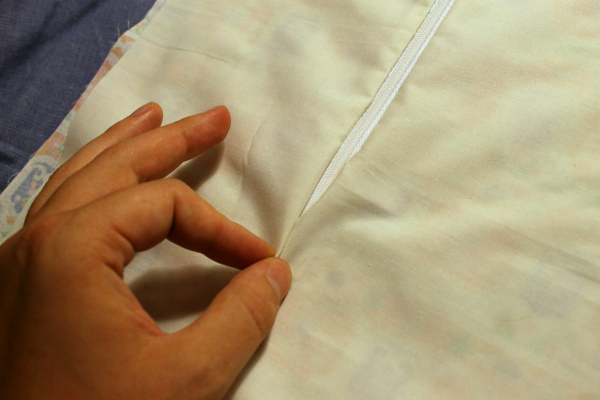
On the inside of the garment, determine where the seam of the lining should begin below the zipper. Mark this placement or simply pinch with your fingers as you turn the lining wrong side out. Pin and stitch this seam all the way down. Press open.
You’re done with your zipper! Admire the clean finish.
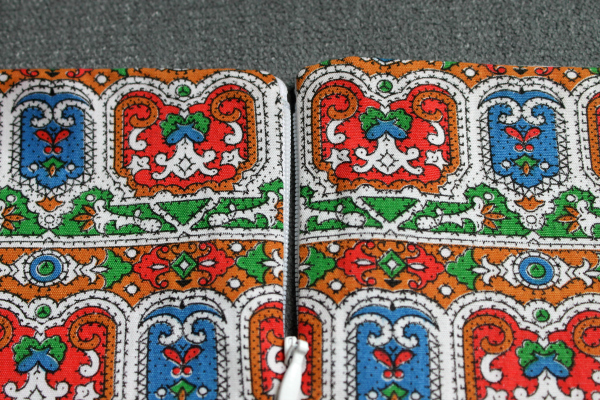
You can always add a hook and eye above the zipper to keep the corners more square and put less tension on the top of the zipper.
Share tips, start a discussion or ask one of our experts or other students a question.
No Responses to “How to Attach Lining to an Invisible Zipper With a Sewing Machine”