
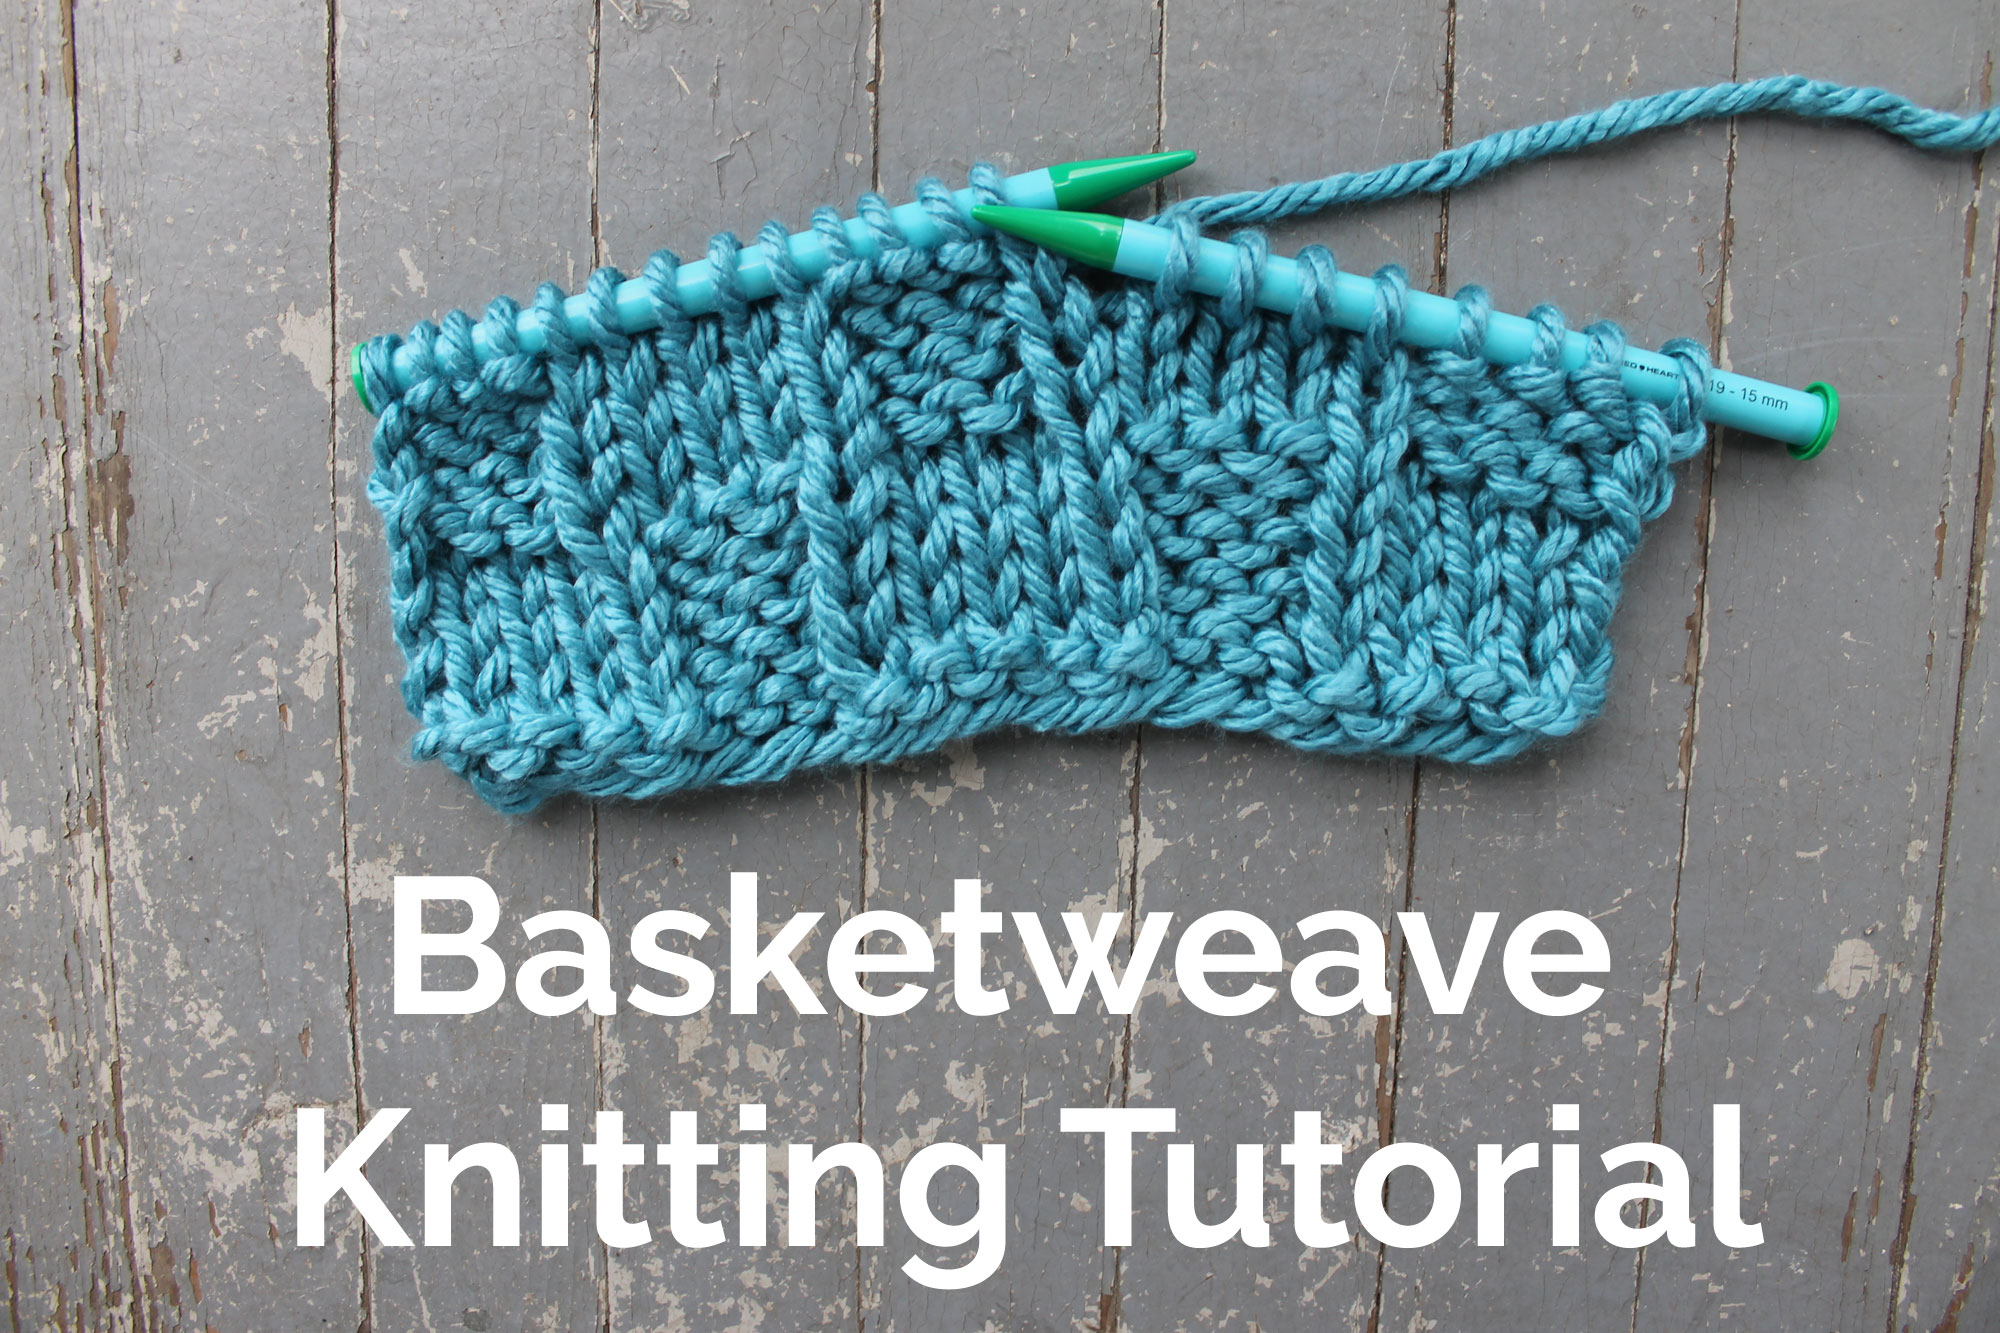
Get a tutorial for knitting the basket weave stitch, a cool texture that only uses knits and purls.
Many beginner knitters get bored with the same old stockinette stitch and garter stitch over and over. Basket weave knitting is a great way to shake things up a little without getting frustrated over learning a lot of new skills at once.
Basket weave knitting uses the exact same stitches as stockinette — knits and purls — except that they’re in a different order. The result is not only a cool texture, but also an easy way to learn how to “read” your stitches so that you don’t have to constantly refer back to the pattern.
This basket weave knitting tutorial will give you the basics you need to knit this versatile texture. (We’ve also provided some FREE basket weave patterns to help you practice!)
Basket weave knitting stitch
Here’s the basic stitch pattern for those of you who want to see the pattern without scrolling through the photo tutorial:
Multiple of 8 plus 5
Row 1: K5, *P3, K5; repeat from * to end of the row.
Row 2: P5, *K3, P5; repeat from * to end of the row.
Row 3: Repeat Row 1.
Row 4: Repeat Row 2.
Row 5: K1, *P3, K5; repeat from * to the last stitch, K1.
Row 6: P1, *K3, P5; repeat from * to the last stitch, P1.
Row 7: Repeat Row 5.
Row 8: Repeat Row 6.
Repeat Rows 1 – 8 for the pattern.
Basket weave stitch tutorial
Let’s take a closer look at the stitch.
Cast on and knit a border row.
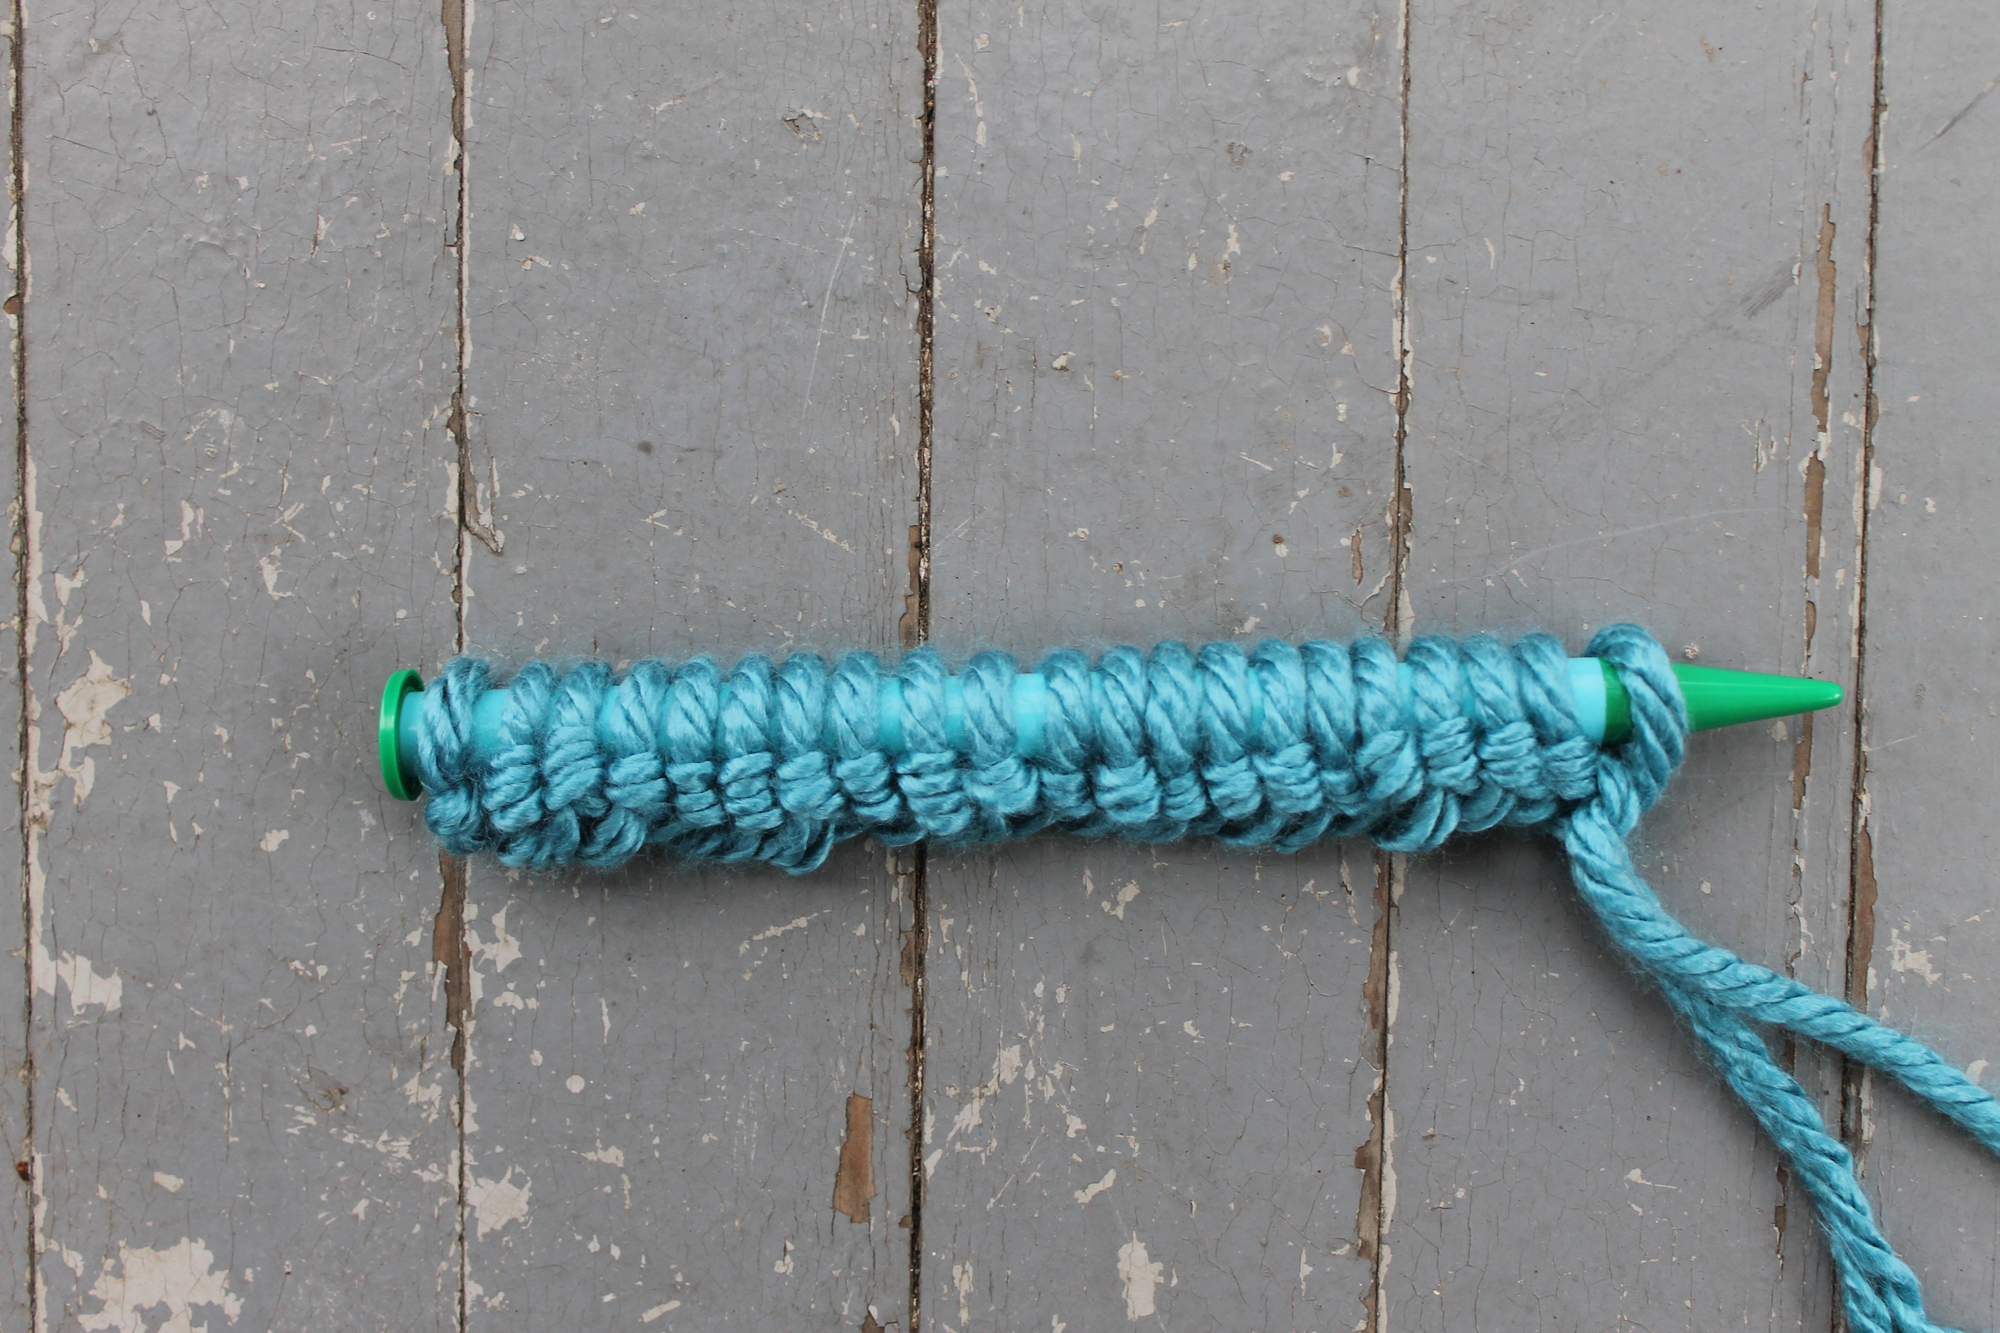
Cast on a multiple of 8 plus 5 stitches. So for example, cast on 29 stitches, 37 stitches, 45 stitches, etc. For this swatch, I cast on 21 stitches.
For my swatch, I wanted to start out with a knit row across the bottom just for a little border. If you would like a border, too, simply knit across the entire row. Easy enough! Note that you can knit additional rows as a border if you’d like.
Row 1:
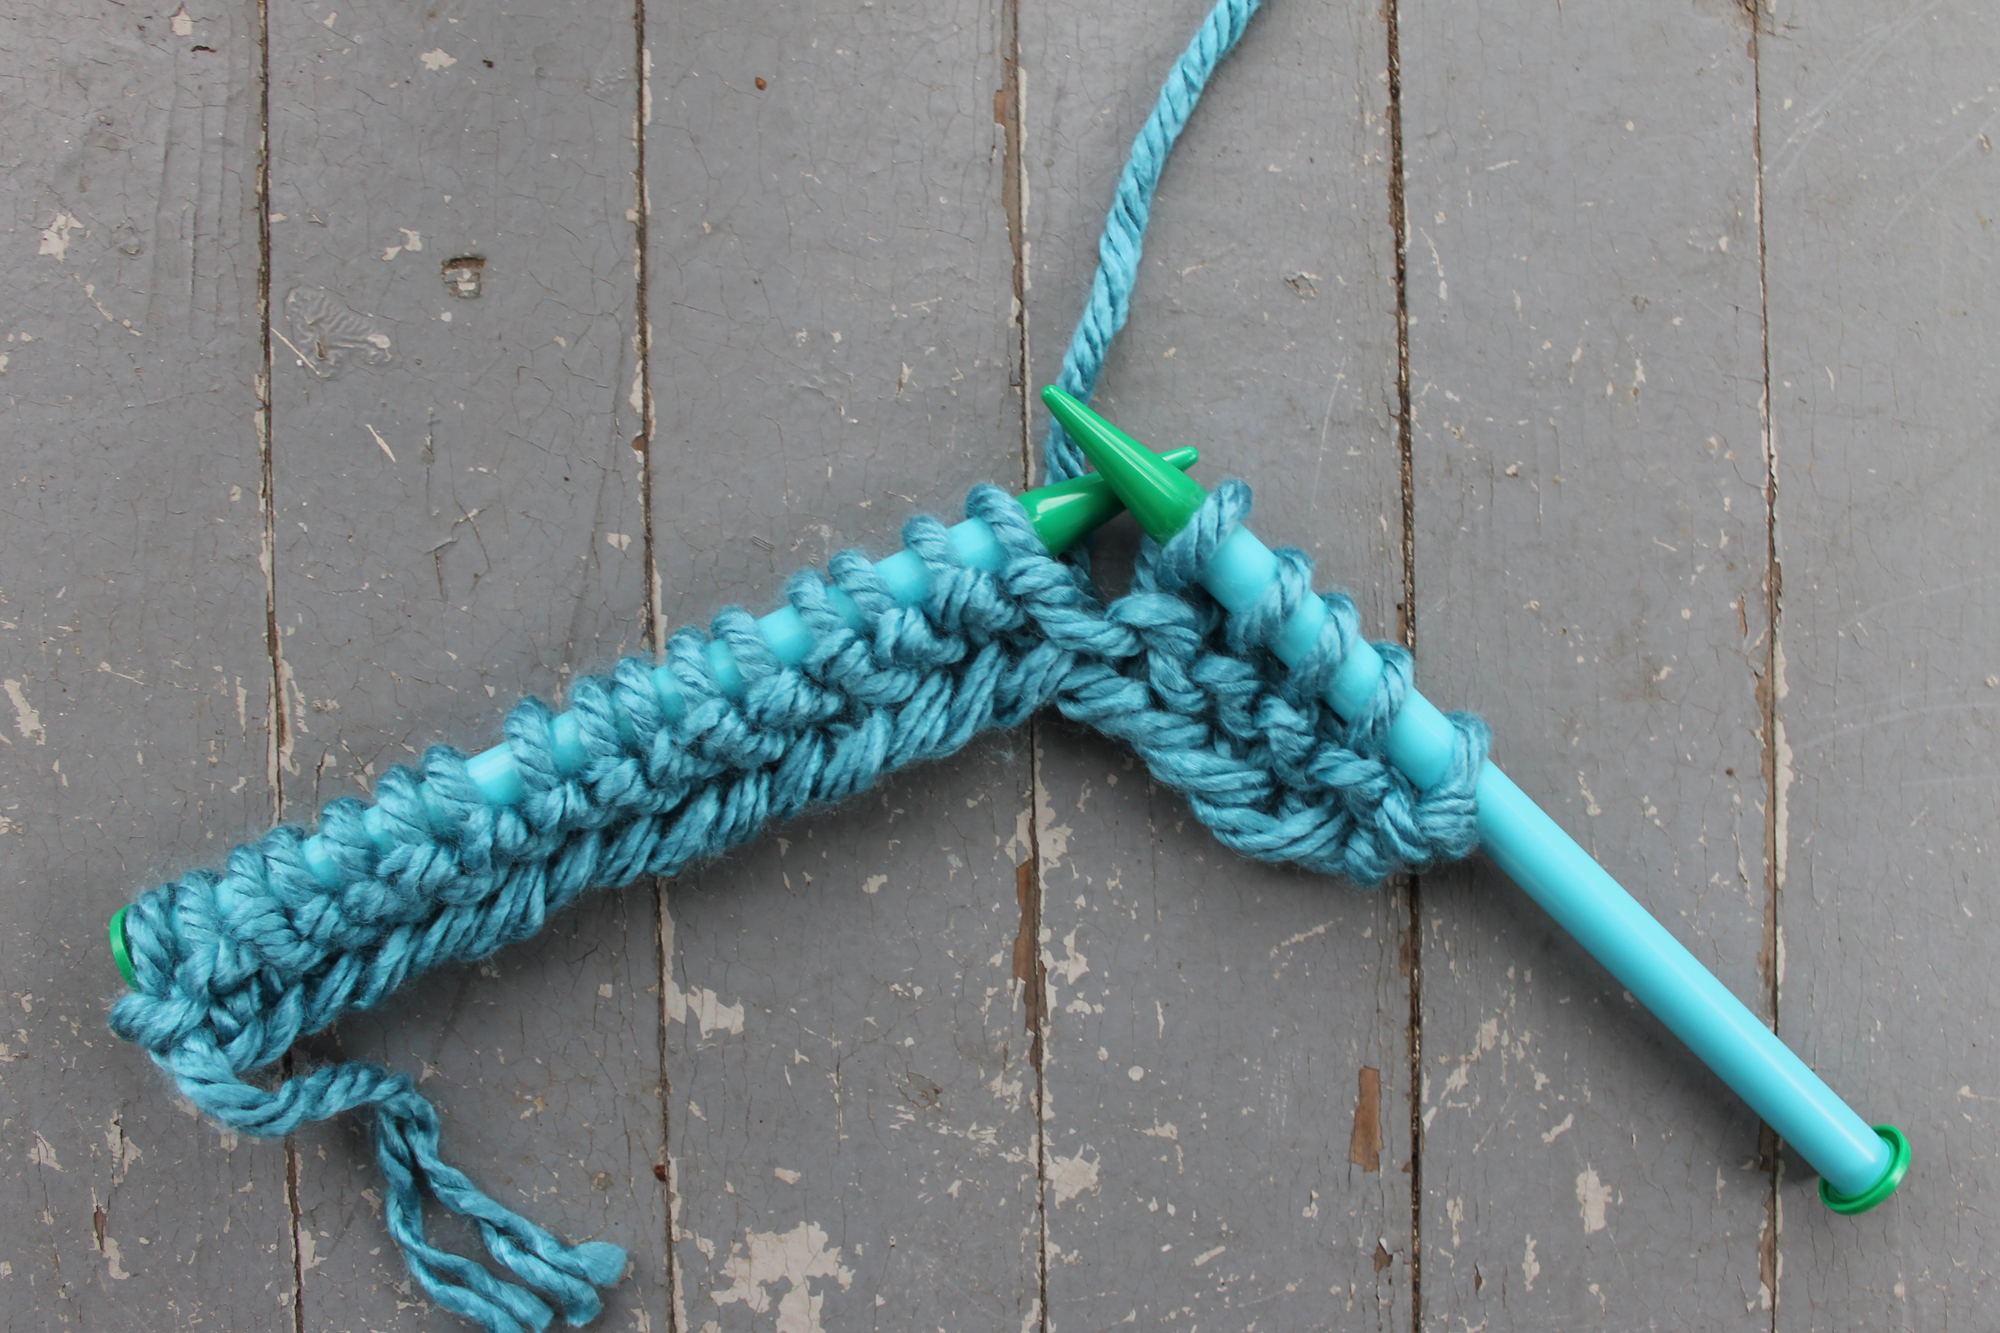
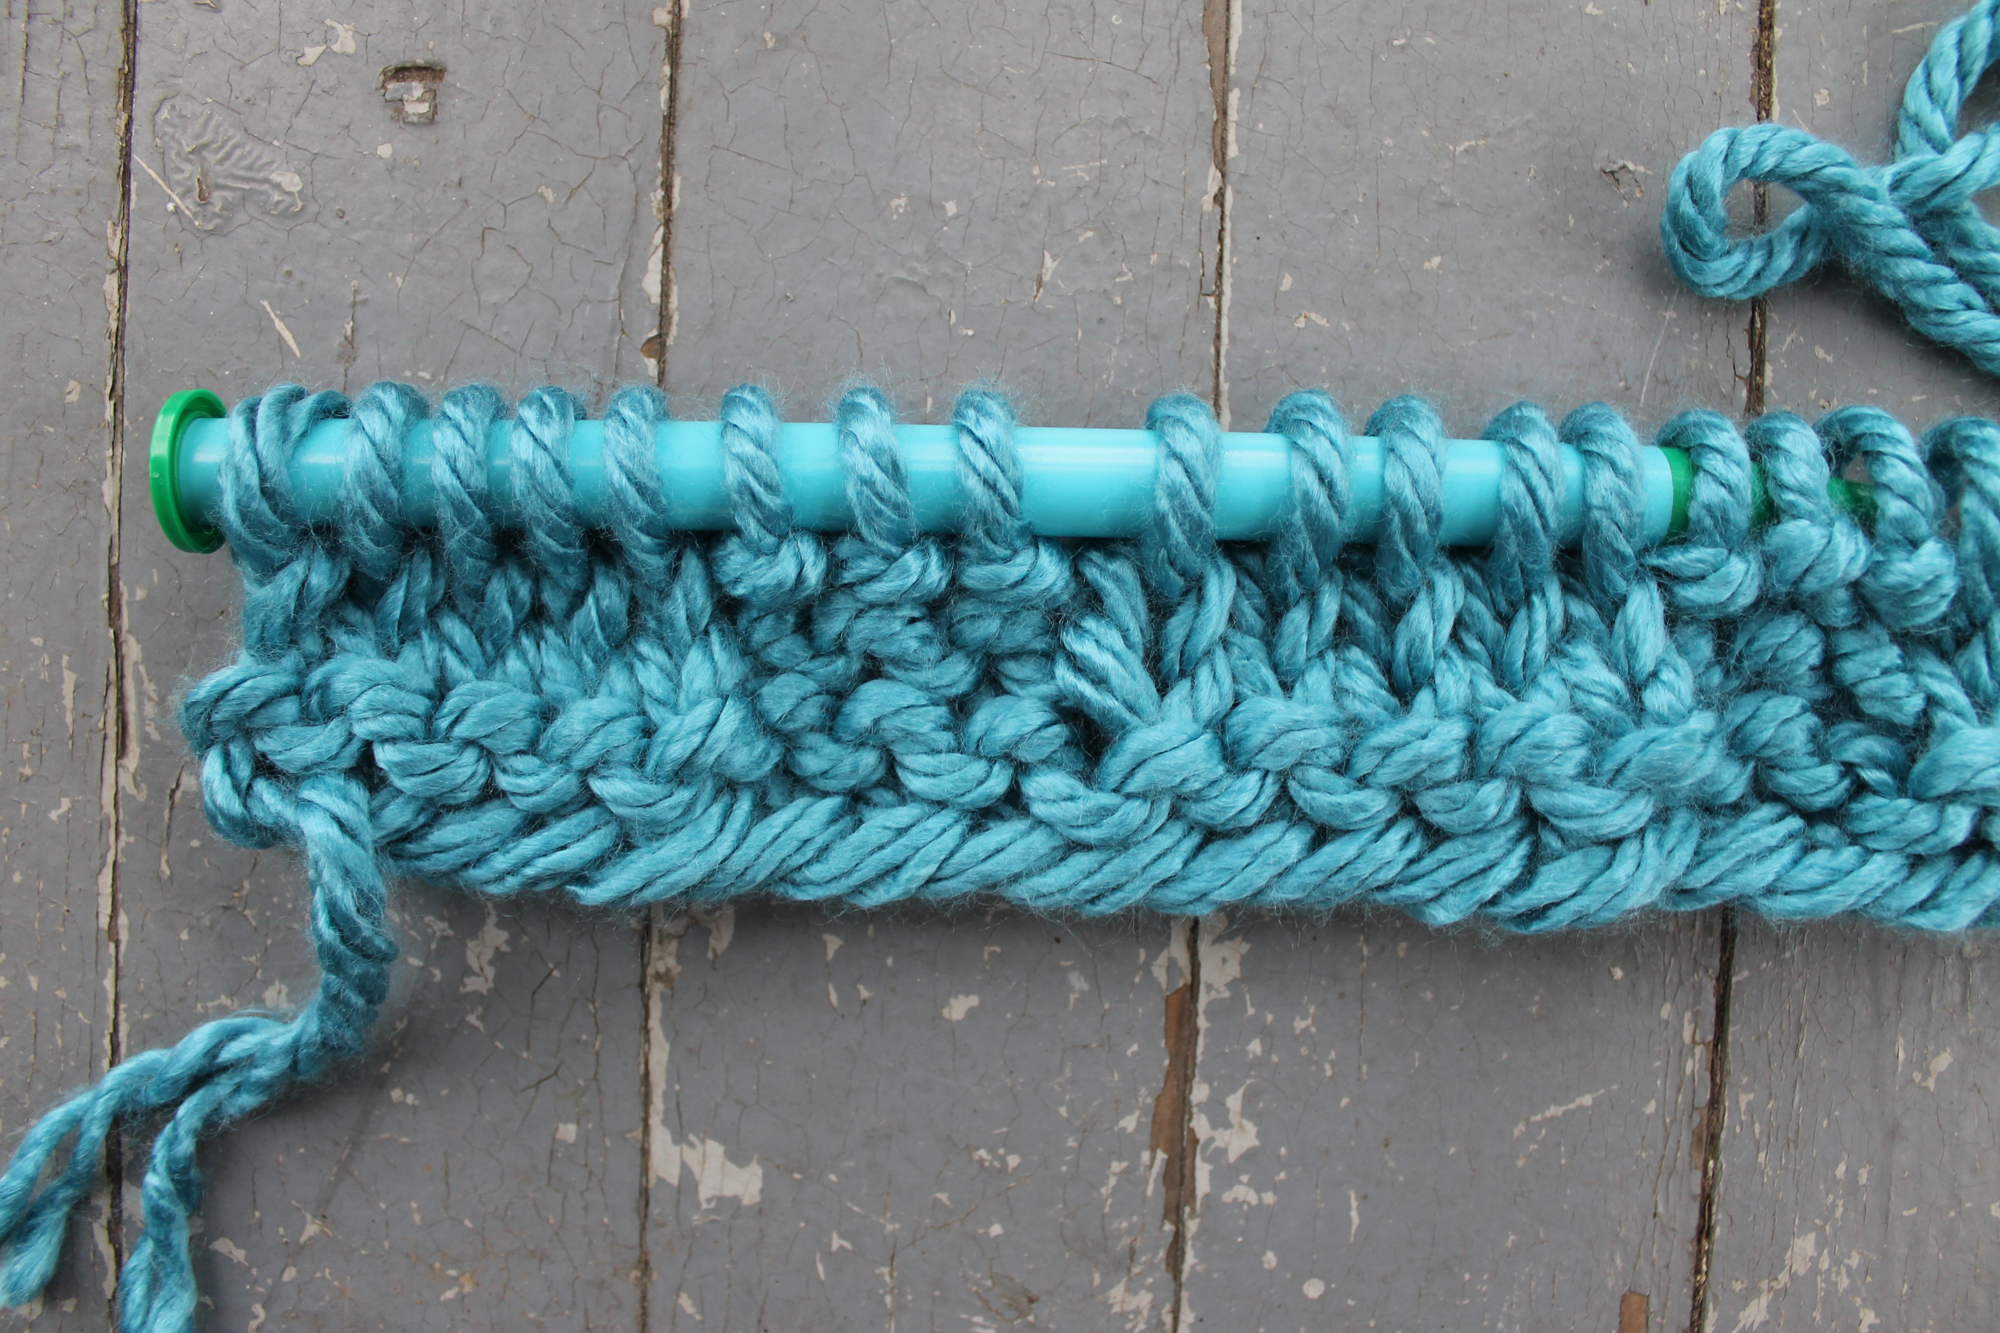
Begin the row by knitting 5 stitches.
After these five stitches is when the basket weave texture really begins. Purl 3, then knit 5 stitches. Repeat this to the end of the row. You should have alternating groups of knit and purl stitches across the row.
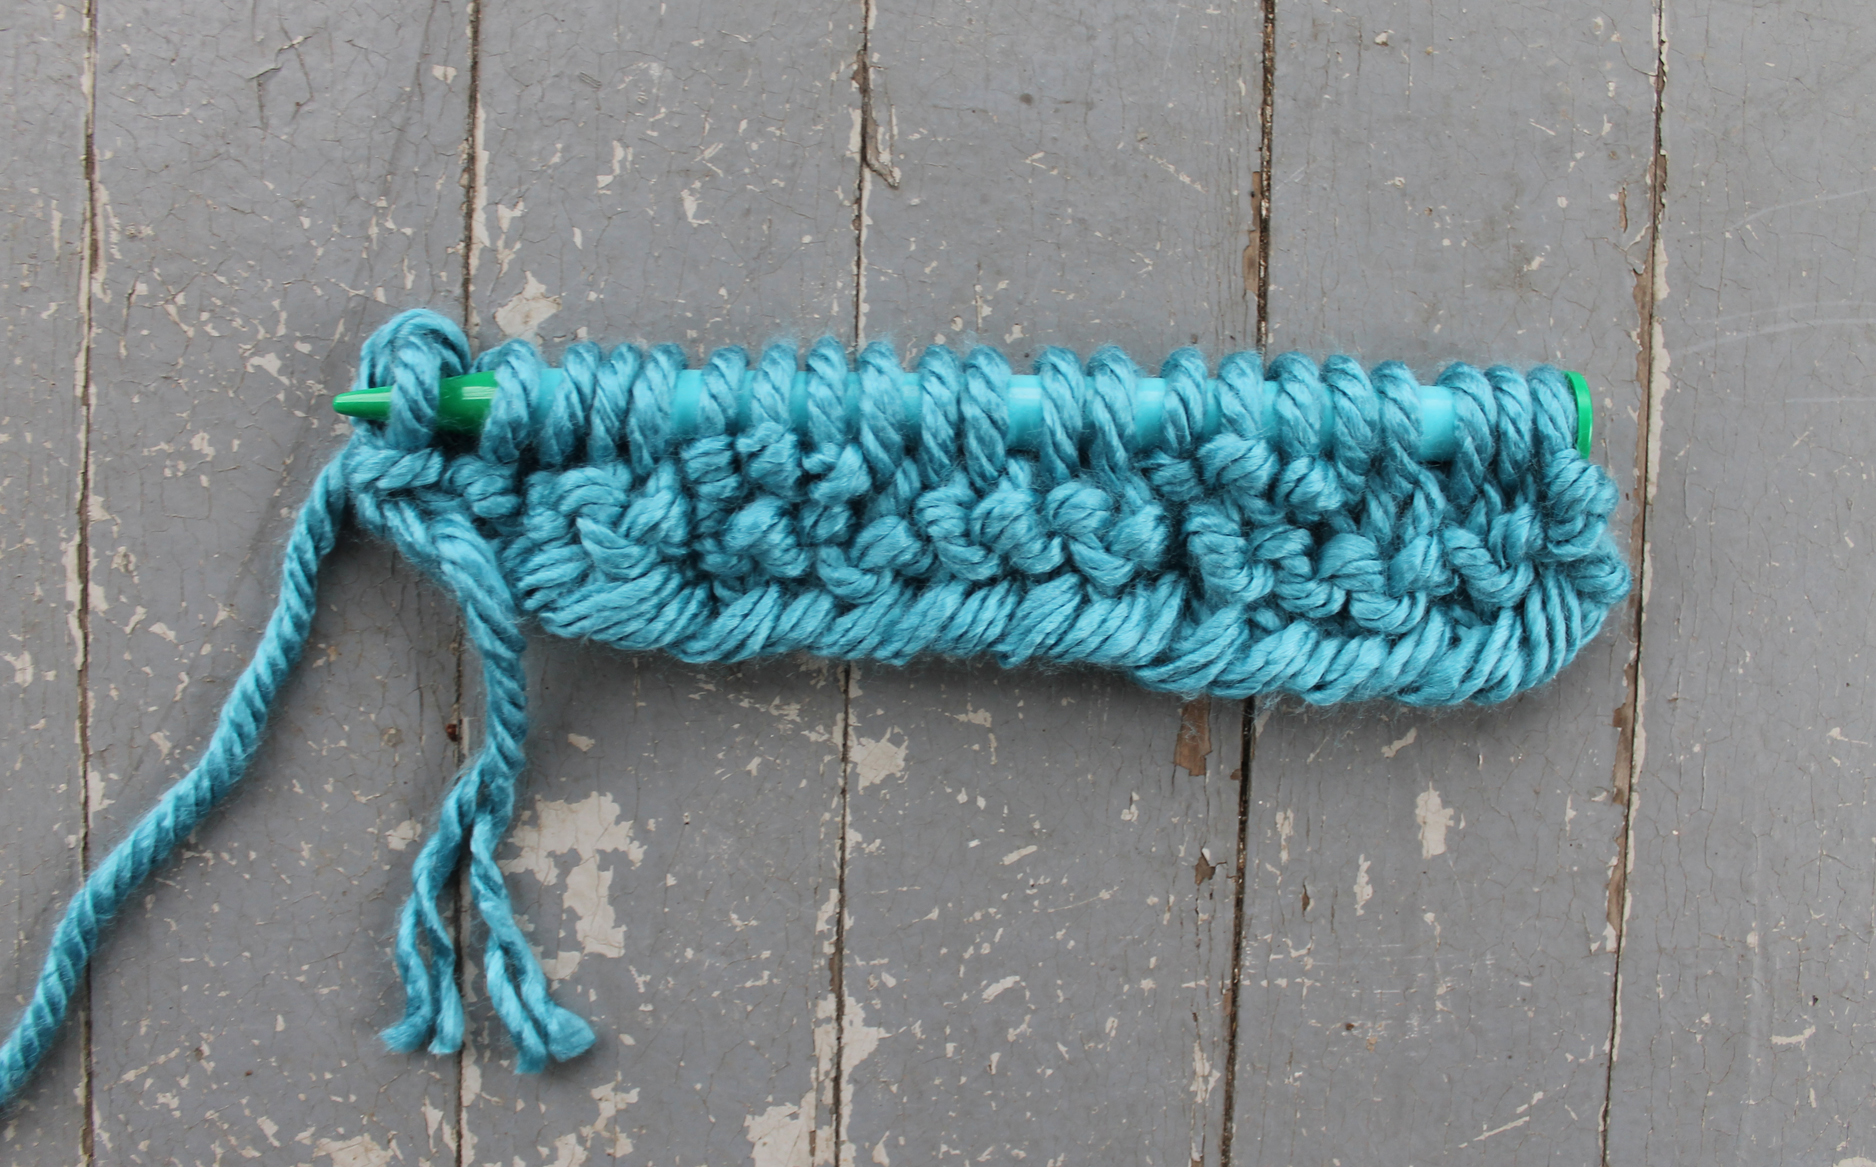
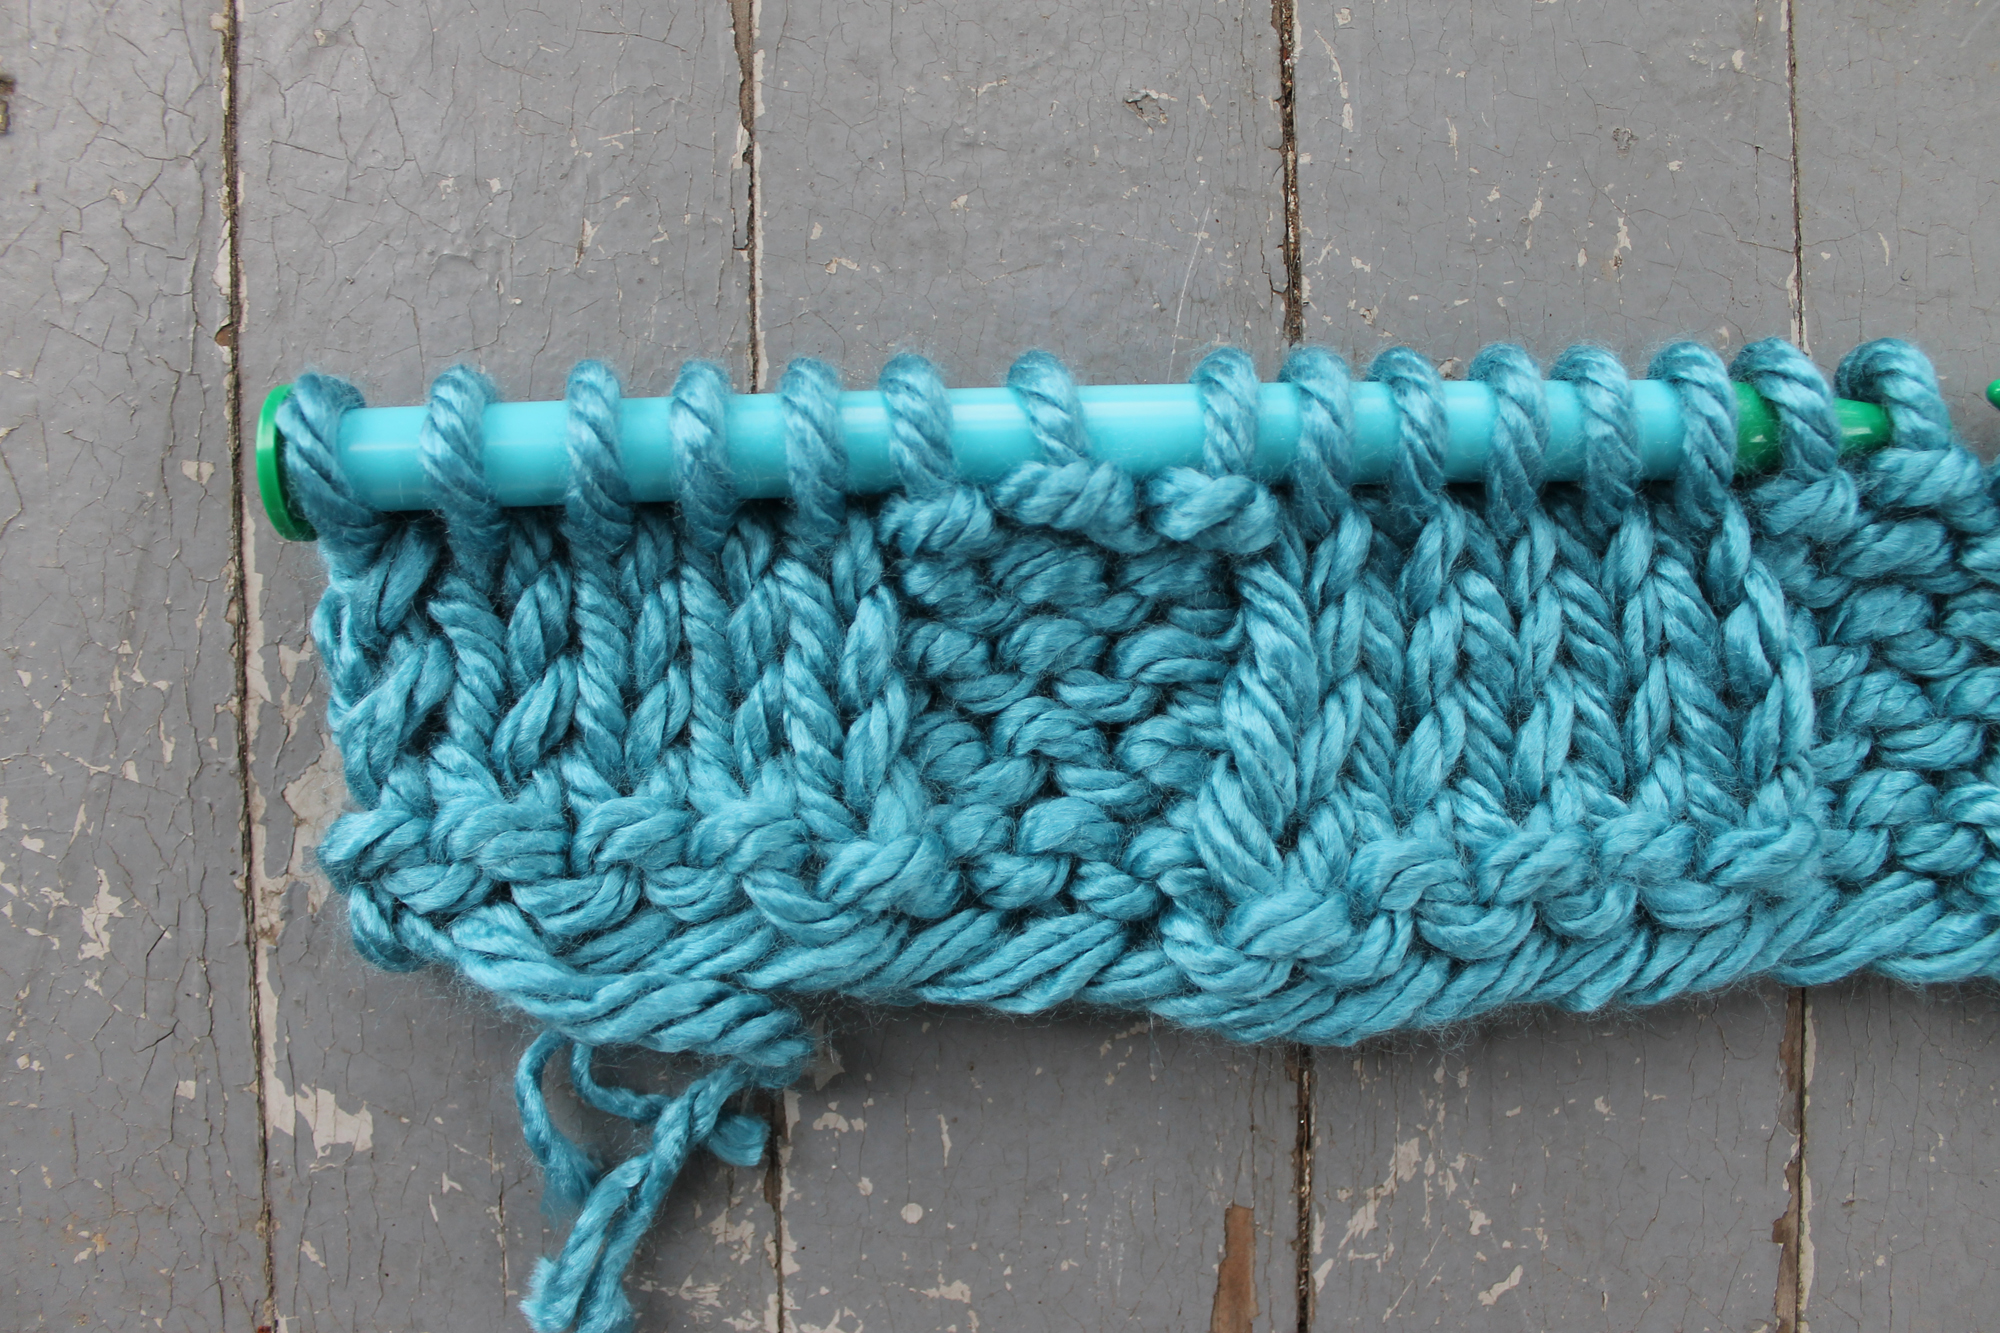
Row 2:

Row 2 is the reverse of Row 1. Begin by purling 5 stitches. Notice that you’re purling the purl stitches.
Now knit 3, then purl 5 stitches. Repeat this to the end of the row.
If you can read your knitting, you won’t need to count as you knit. Simply knit the knit stitches and purl the purl stitches.
Rows 3 and 4:
Repeat Rows 1 and 2. When you finish, you will have one set of alternating knit and purl squares. This is your first set. Go, you!
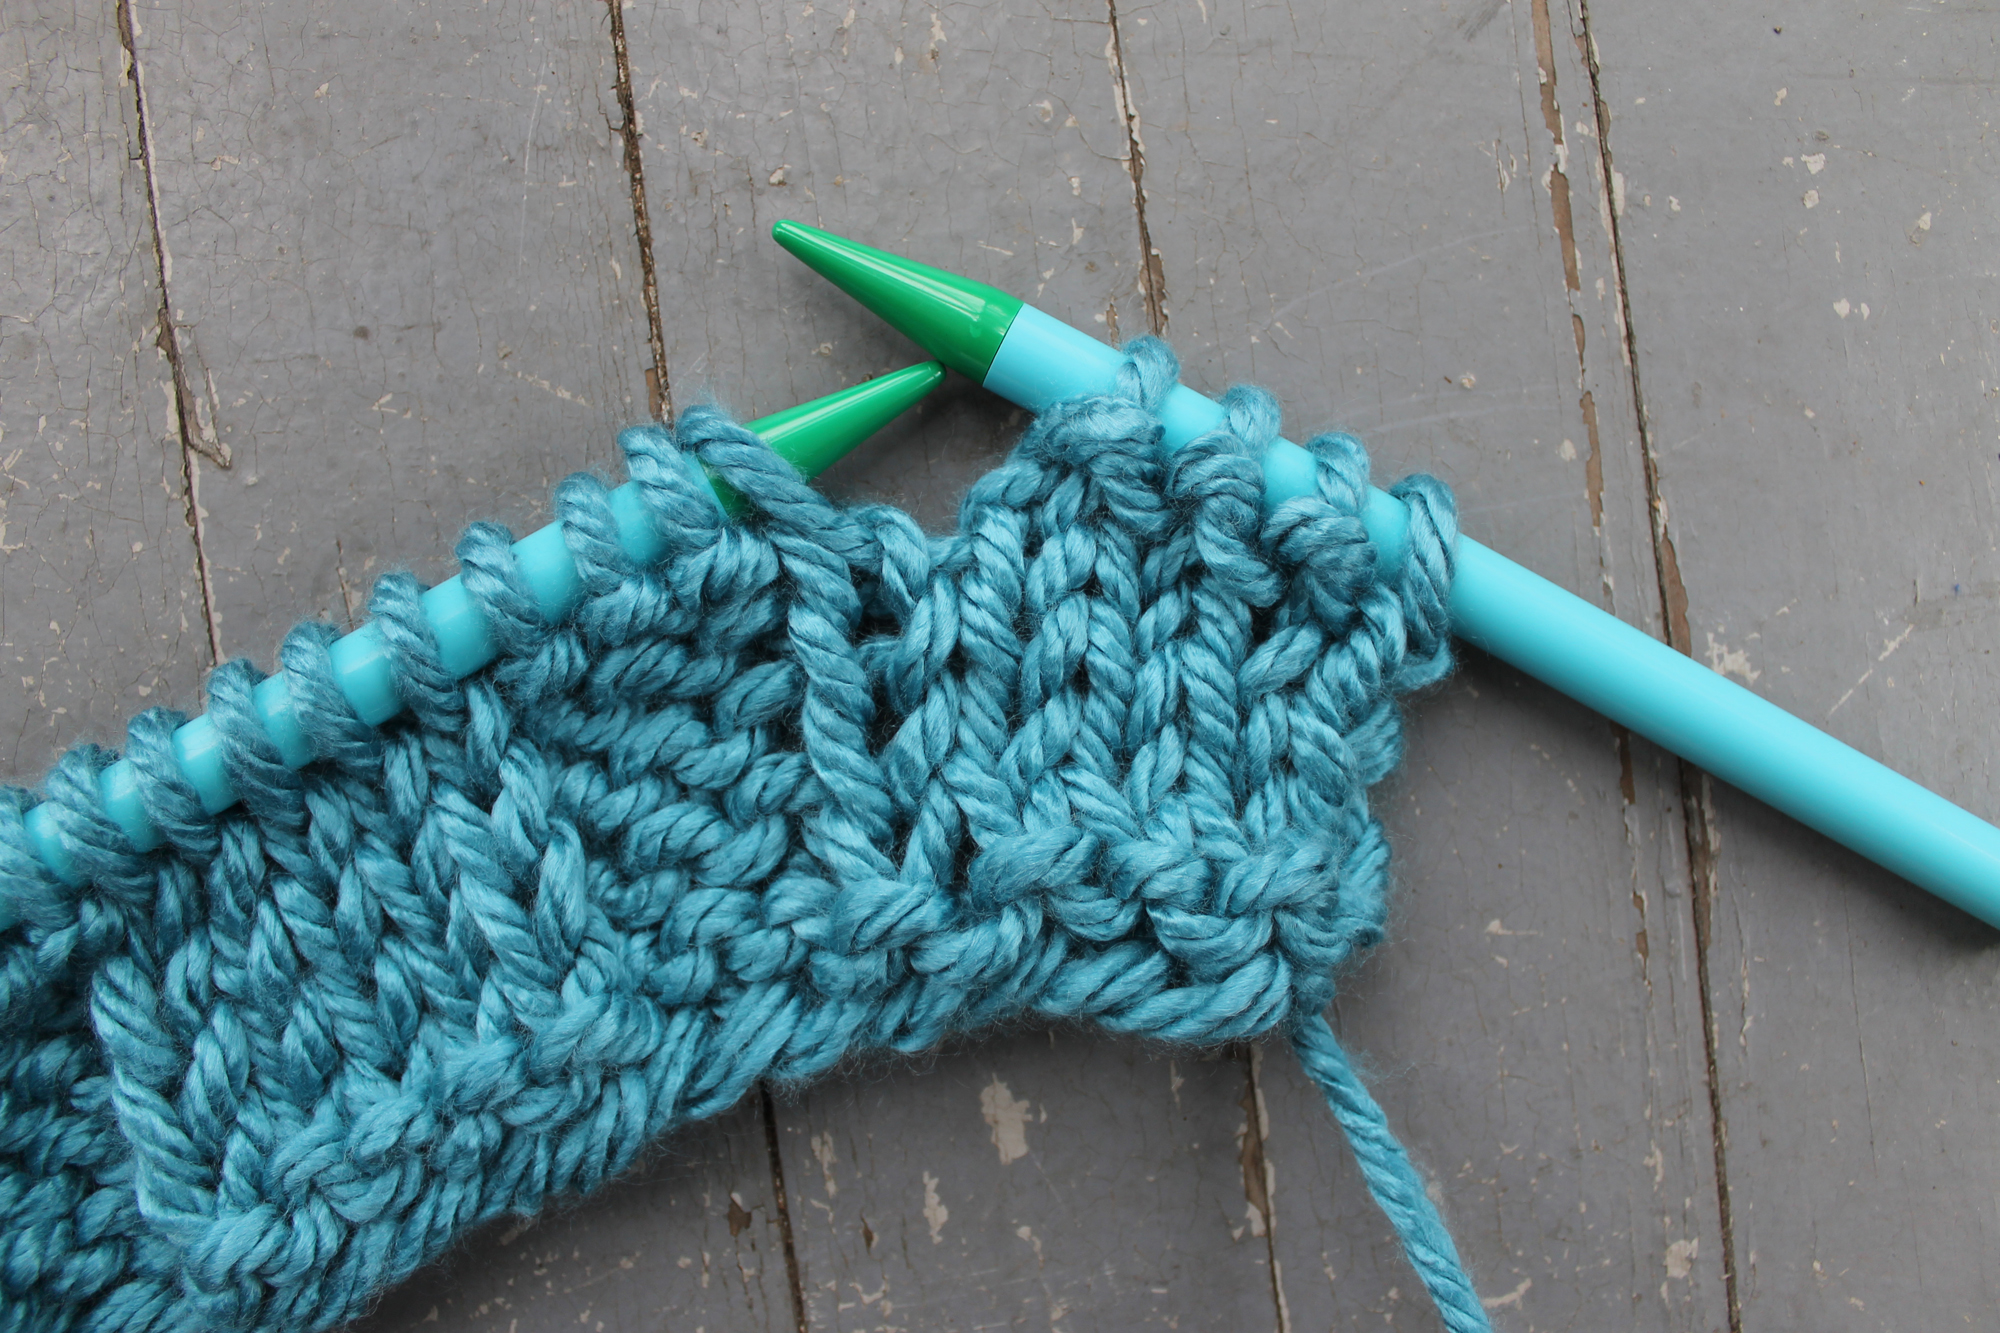
Row 5:
Now you’ll begin the second set of basket weave squares. This is Row 5. Knit the first stitch of the row, then purl the next 3 stitches.

Knit the next 5 stitches. You’ll notice that in this row, you are not knitting the knits and purling the purls. This is beginning the second set of basket weave squares. Since our squares are not even, this row will not use that read-your-stitches technique you used earlier.
Repeat the P3, K5 to the last stitch. Knit the last stitch.
Row 6:
Now you can get back to reading your stitches. For Row 6, purl the first stitch, then repeat K3, P5 all the way across the row until the last stitch. Purl the last stitch.
Rows 7 and 8:
Repeat Rows 5 and 6. When you finish, you will have completed a second set of basket weave squares.
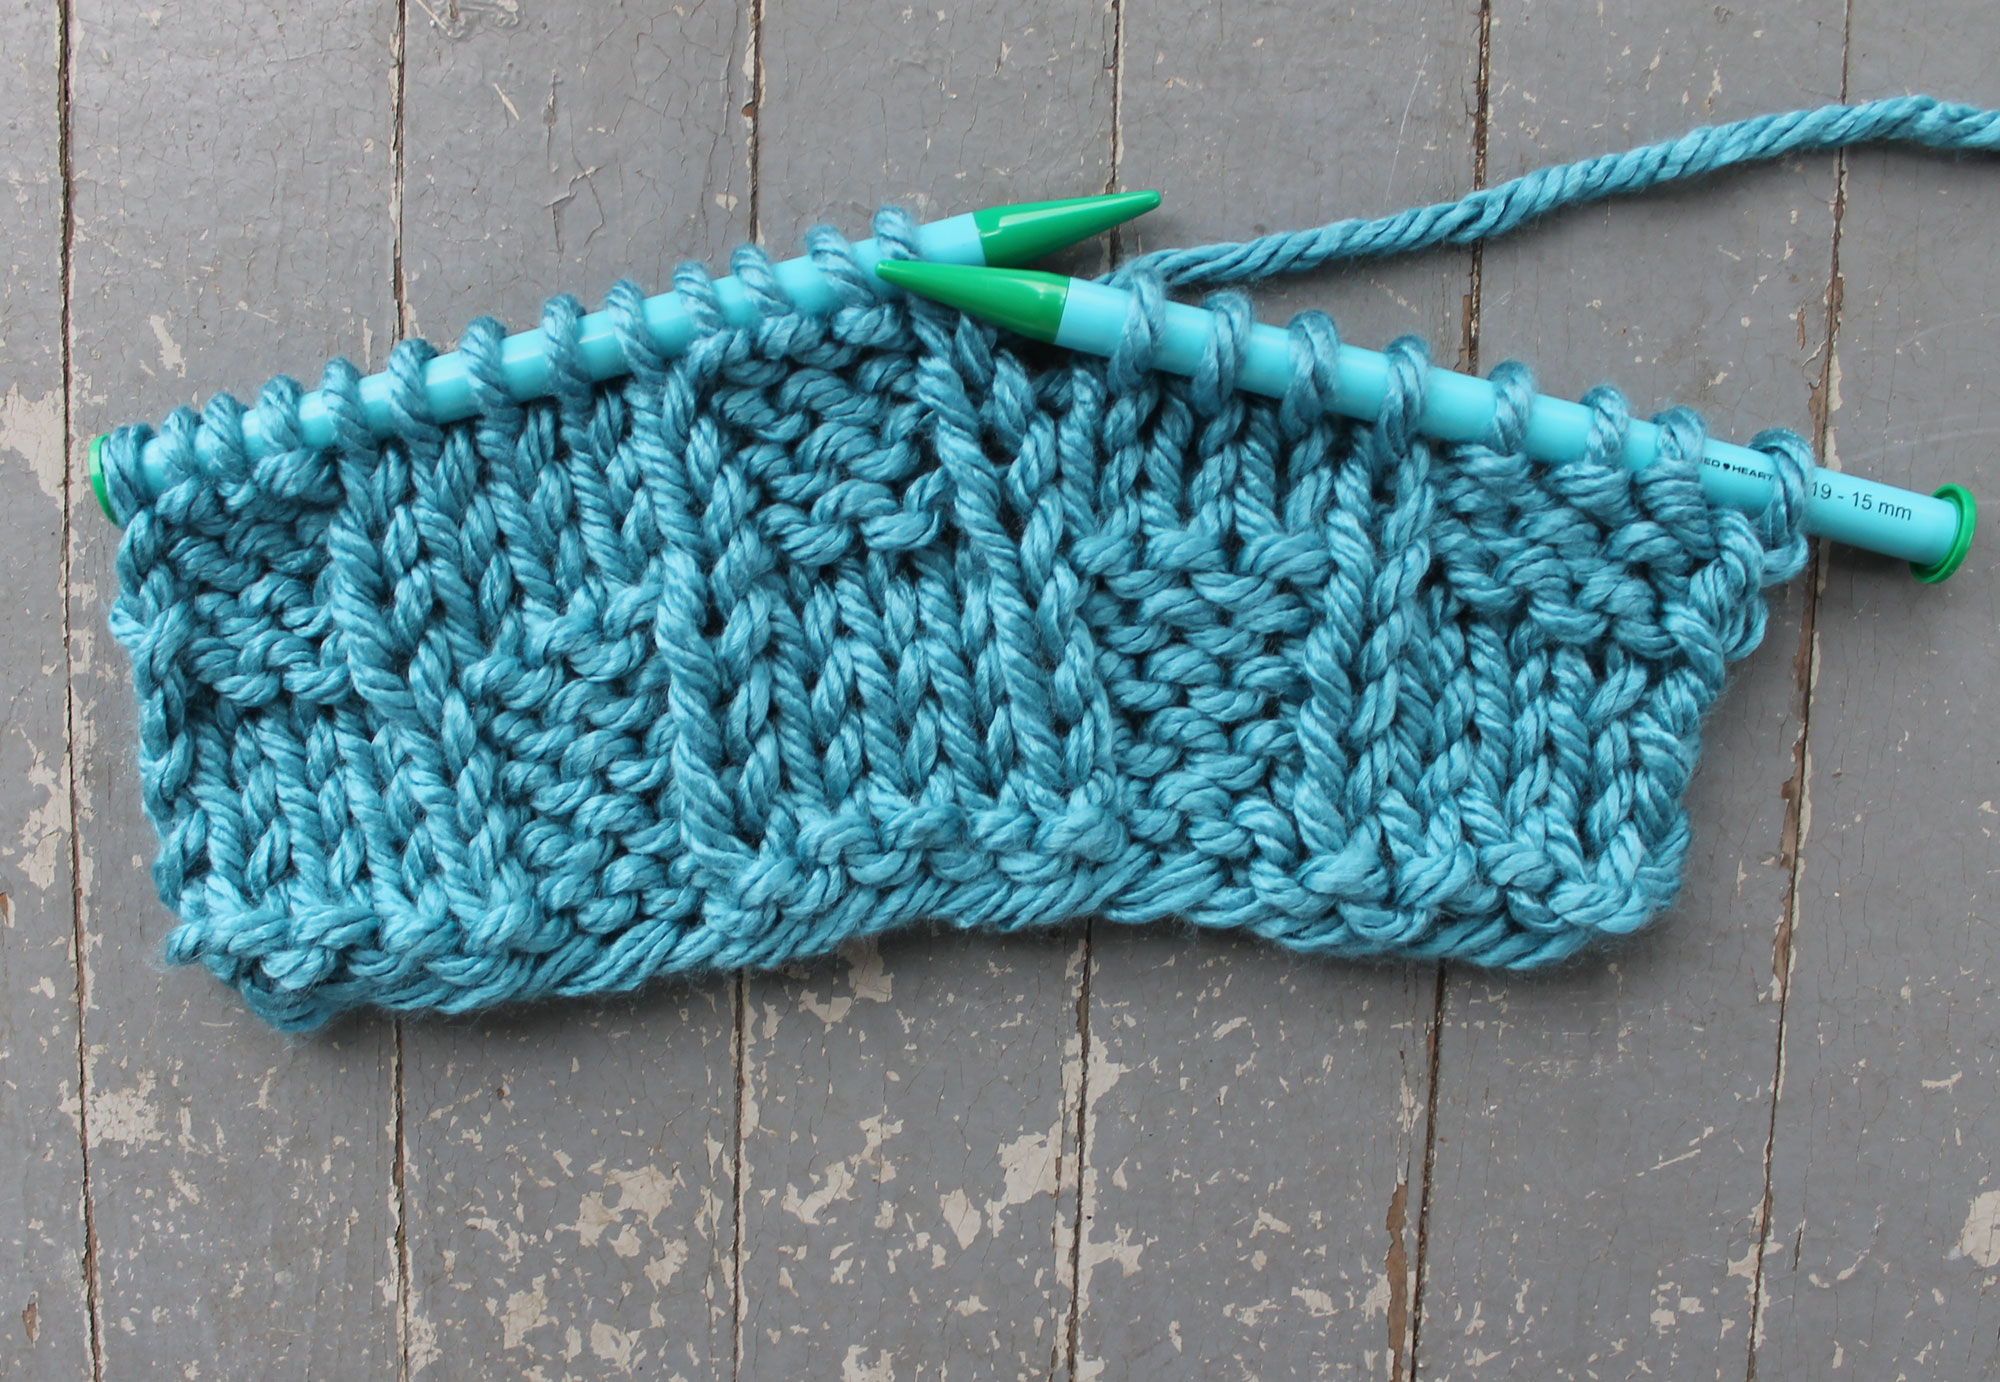
Continue repeating Rows 1 – 8 of the stitch until you have reached the desired length.
Basket weave variations
If you’d like, you can vary the number of stitches for a smaller basket weave. So for example, instead of using the P3, K5 repeat, you can do a P2, K3 repeat. The basket weave squares will be more narrow. On the other hand, you can also increase the number of stitches for a wider basket weave.
You can play with the height of the basket weave, too. The basket weave used in this tutorial has a weave that is 4 rows high, but you can make the basket weave shorter or taller.
Play around, work up a few swatches and see which one you like best for your project.
Basketweave stitch patterns
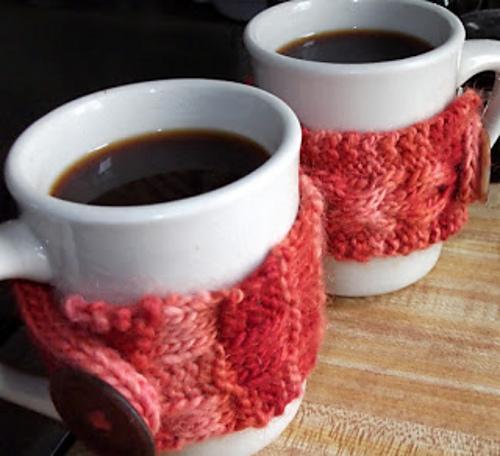
Photo via Craftsy member Kristin Creates
1. His and Hers Coffee Cozies
The basket weave pattern here was designed for the “his” coffee cozy. Practice cabling with the “hers” cozy or just get some extra basket weave practice in with two matching cozies.
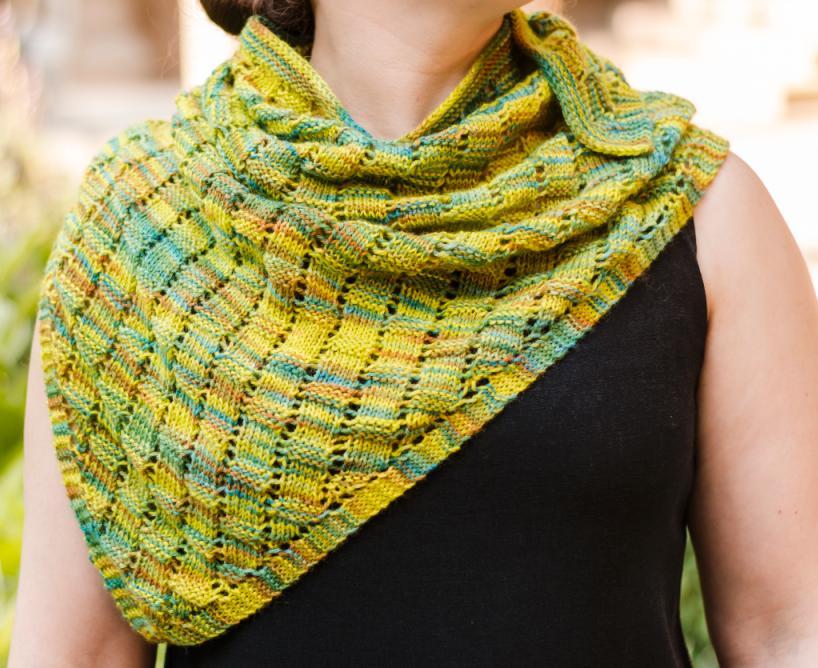
Photo via Craftsy member HappyFuzzyYarn
2. Basket Weave Lace Shawl(ette)
For the more adventurous beginner, this shawl features an awesome variation on the usual basket weave stitch. There’s some lace knitting involved, so you’ll need some experience with lace stitches and reading charts.
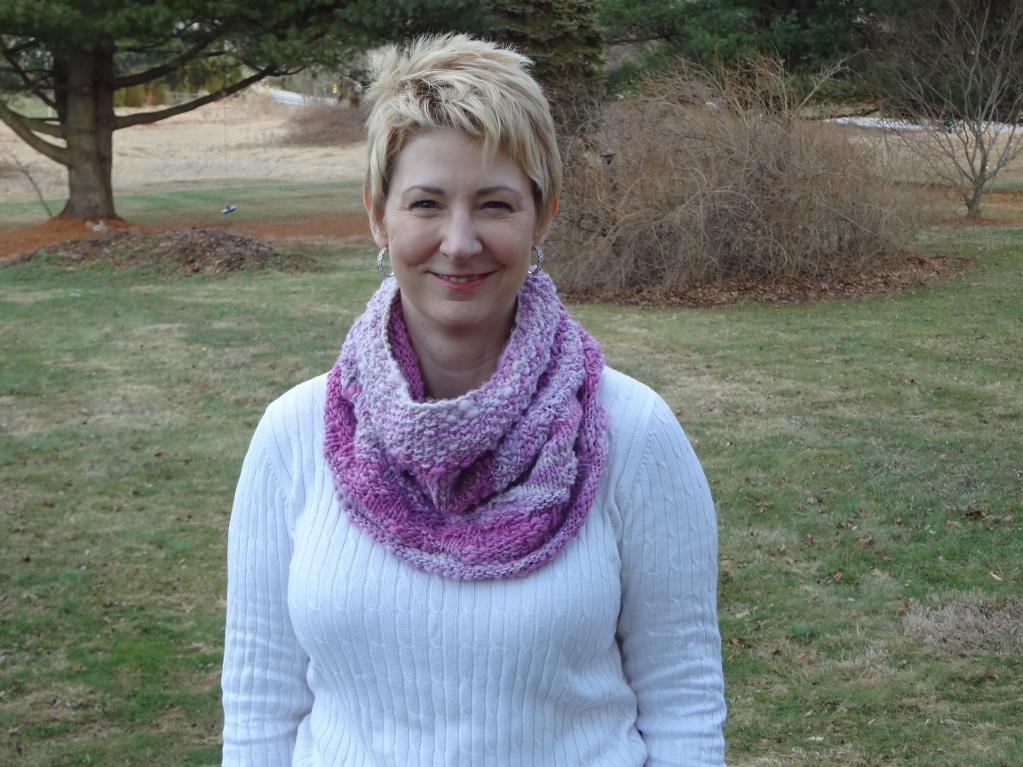
Photo via Craftsy member michelle312
3. Cowlick Cowl
If you really want to show off a basket weave texture, use a chunky yarn like the one used to stitch this cowl. This cowl uses both basket weave and slip-stitch patterns for even more interesting textures.
Share tips, start a discussion or ask one of our experts or other students a question.
No Responses to “How to Knit A Beautiful Basket Weave Texture + 3 Patterns”