
Paper choice is very important when working with Copic markers, but how do you know what will work and what won’t? What characteristics are best?

Paper choice is very important when working with Copic markers. A simple test can help you determine which one is best for you.
There are numerous brands of card stock available, many of which work great with Copics for paper crafting. Recommendations can be found on the web or through friends, but just like anything else, there may be a brand or two you prefer for any number of reasons. A simple test can help you decide which papers work, which won’t and which ones you prefer.
Things to consider when choosing the best paper for Copic markers:
Smooth, white card stock with tight fibers will be the easiest to test. A textured paper will provide little “trails” in which the ink can flow past a stamped, printed or drawn line.
Paper is available in many different weights, and those weights, among other factors, affect the performance of Copic markers. A specific heavyweight paper may hold the ink within a stamped line, but it will also absorb more ink than a lighter-weight paper so you will need to refill your markers more frequently. Color intensity can be affected by paper weight as well.
Copic markers will bleed through most papers so always work over scrap paper to protect your work surface.
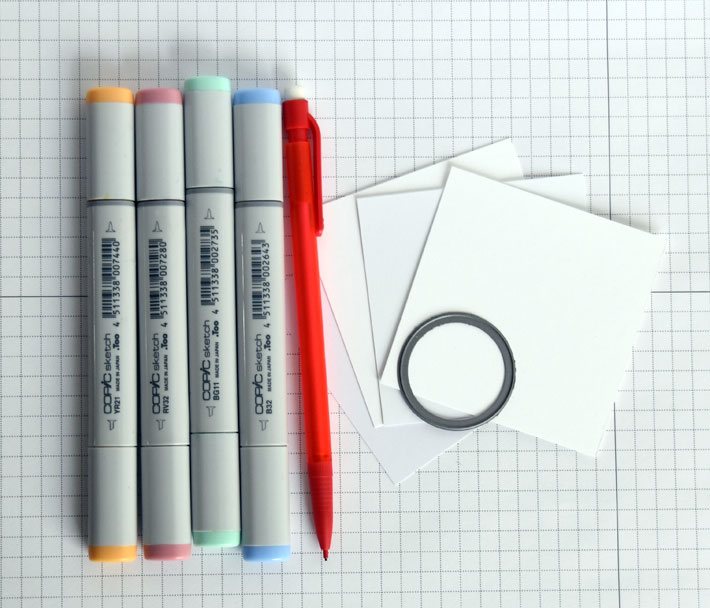
Supplies you’ll need:
- Paper samples
- Pencil
- Medium to light Copic marker
- A darker Copic marker shade to test blendability
- Scrap paper
- Shape to trace (if desired)

Step 1:
Select white card stock samples from those you have on hand. Label each with the manufacturer. I’ve selected four from my paper stash, numbering each in lieu of listing manufacturers in order to create a “blind” test. (I will reveal my favorites later.)
You may also find it helpful to cut the papers to 3″ x 3″ with the intention of saving the samples in a notebook for future reference.
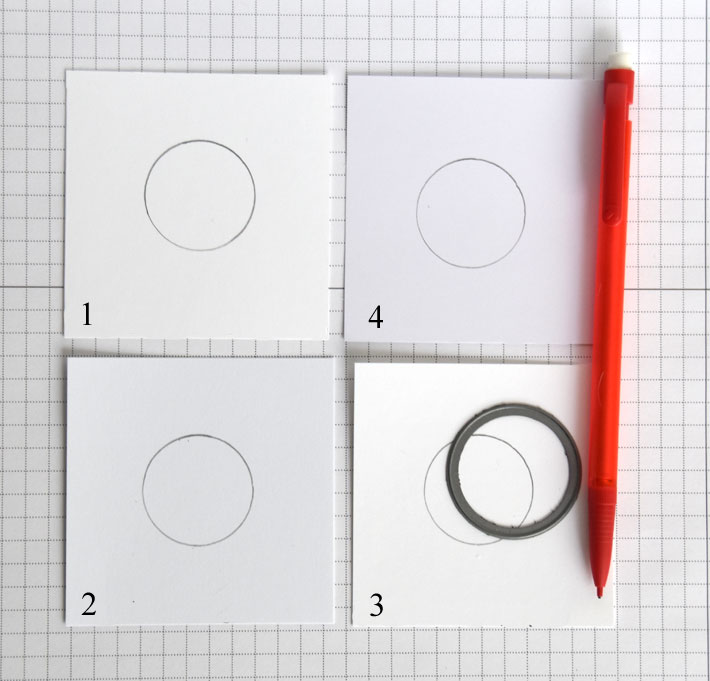
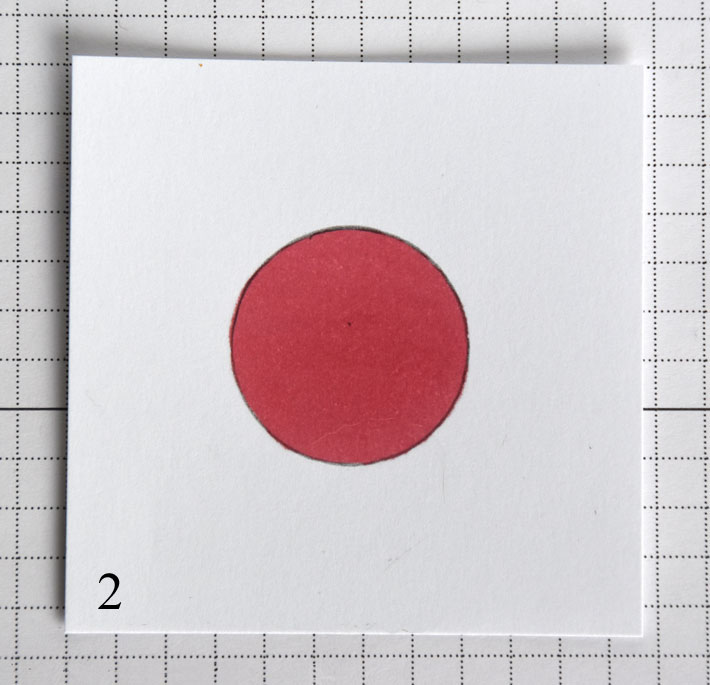
Step 2:
Trace or draw a simple shape onto each sample. I have used a pencil for this test to eliminate questionably compatible ink.
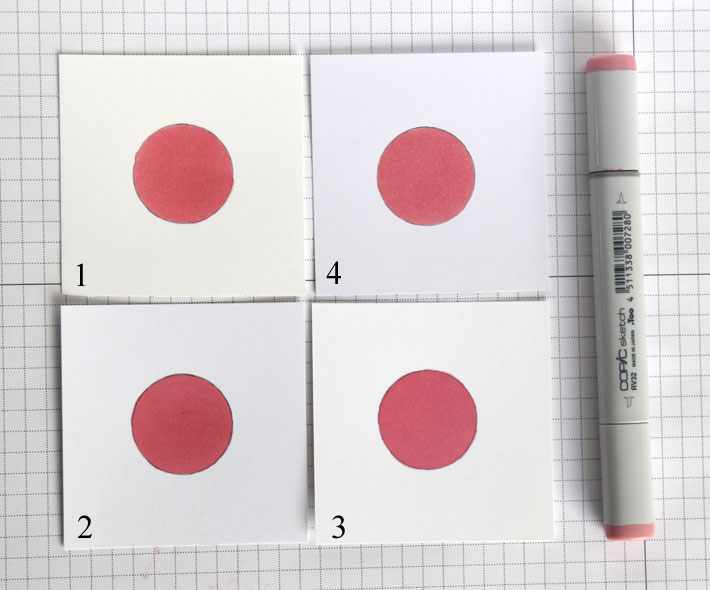
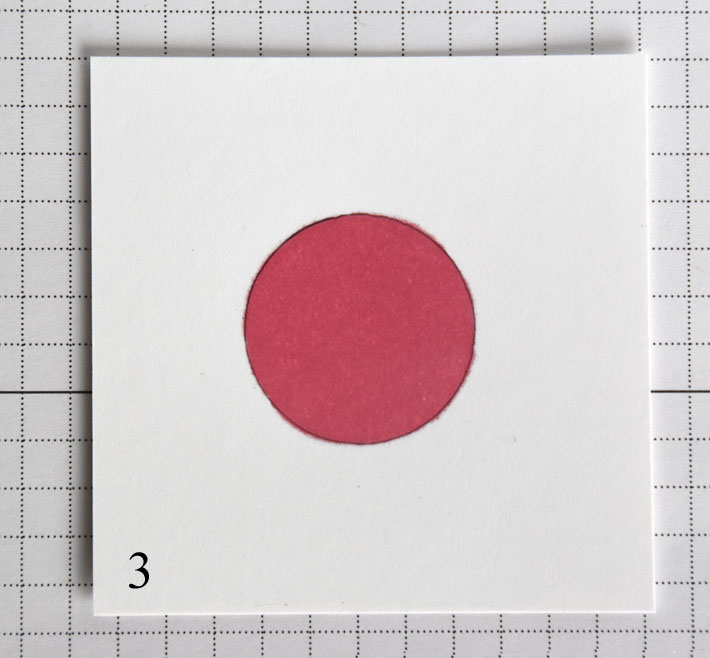
Step 3:
Choose a light to medium marker to color in each shape. If the marker you choose is too dark, it may be a bit difficult to see the pencil line.
Color slowly, using smooth, even strokes up to (but not across) the pencil line. Try not to touch the tip of your marker to the pencil line to avoid nib discoloration. If your shape is a bit large, there’s no need to color the entire area.
Step 4:
Look very closely at the the pencil lines. If there is feathering past the lines, your paper may not be a good choice. If you are testing a paper known by others to be compatible, too much ink may have been applied.
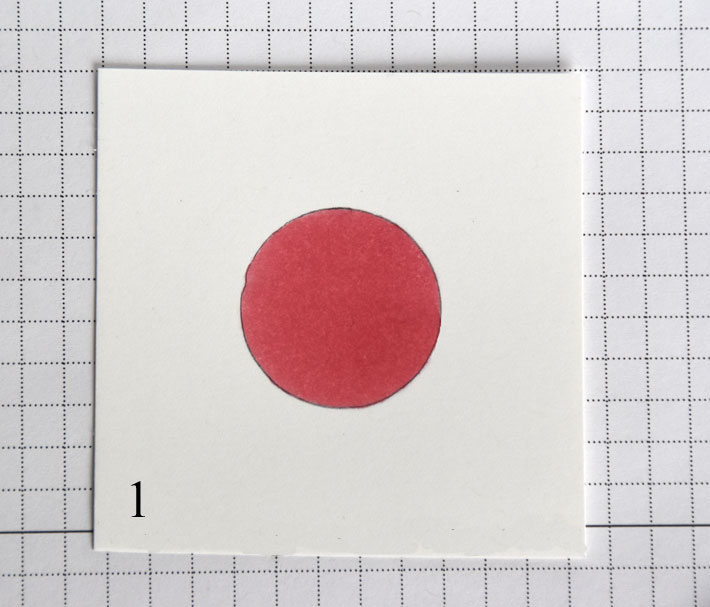
Number 1 above appears to be a good choice. There is slight feathering along the bottom right edge but I applied a lot of ink. When coloring this sample, I noticed that this heavier paper absorbed a bit more ink than I am used to, but I achieved positive results in coverage.
Number 2 showed somewhat favorable results with good coverage, but as additional ink was applied, feathering has occurred outside of the pencil line.
Number 3 shows considerable feathering around all edges. This paper would definitely not be a good choice for Copic coloring.

Number 4 produced positive results with no feathering and excellent coverage.
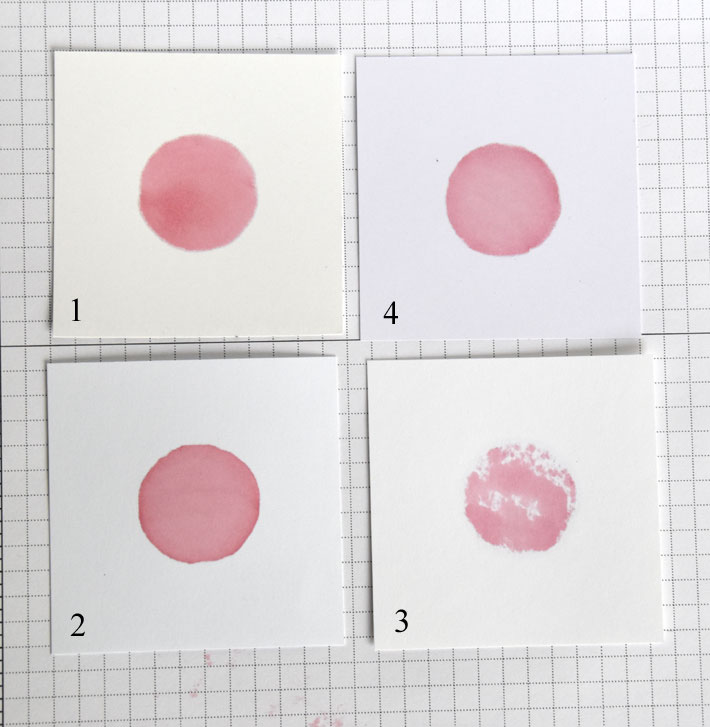
Step 5:
Flip the test paper over. The appearance of ink on the back side of your paper will show how evenly the ink was applied and how well the paper has accepted the ink. Number 3 above shows many splotches, which means there is a chance I did not apply the ink as evenly as Numbers 1, 2 and 4. We also determined in Step 4 that Number 3 was not a good fit for Copic marker use so the paper is also not handling/distributing the ink well.
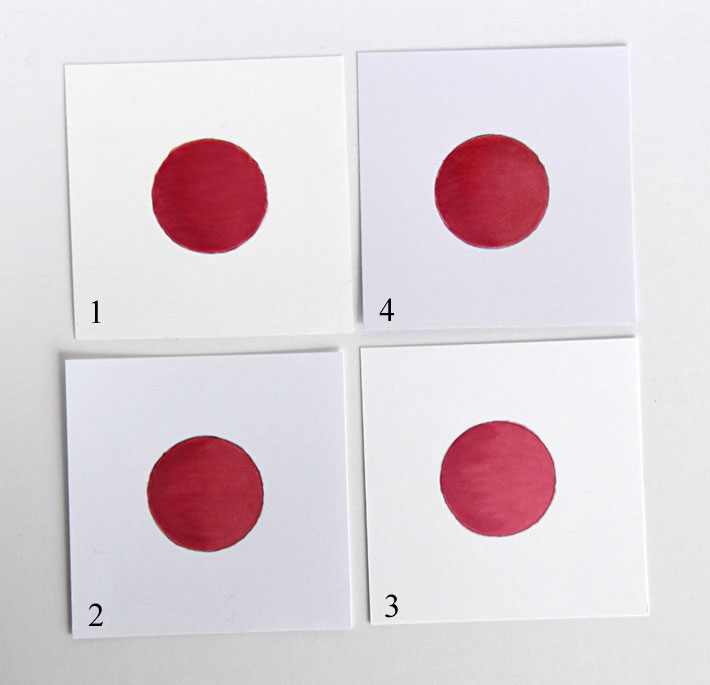
Step 6:
With a darker marker, color along one side of each shape, then blend with the lighter marker. (Here’s a tutorial for how to blend Copic markers.) Looking at the photo above, Numbers 1 and 4 blended very well but Numbers 2 and 3 show streaks. No matter how much ink I applied, I could not blend successfully on those papers.
Tiny Townie Anabelle Needs Your Address by Stamping Bella
My personal preferences include X-Press It Blending Card (Number 4 in the test above) and Taylored Expressions Sugar Cube Premium card stock (Number 1 above). Both are ideal for stamping and card making, with excellent coverage and blending. These are simply my preferences, and I used what I had on hand. You may prefer a different paper, so it is important to test several options to determine which is the best fit for you.
Share tips, start a discussion or ask one of our experts or other students a question.
No Responses to “The 6-Step Test to Find the Best Paper for Copic Markers in Paper Crafting”