
Bokeh is a common term used in photography that has lately made its way into card making. It’s a fun technique of adding muted or “out of focus” circles to a background. The background can be plain, brightly colored or even patterned. For this tutorial, we’ll show you how to create a bright watercolor backdrop for our bokeh effect.
How to make bokeh cards
To create the watercolor background for your bokeh cards, choose colors that blend well together. By doing so, additional hues will naturally be created as the inks run and overlap. For example, by selecting pink and yellow, the colors stand well on their own and blend to a nice bright orange where they mix. If too many individual colors are used, or if the colors are not complementary, you will end up with a brown/muddy background.
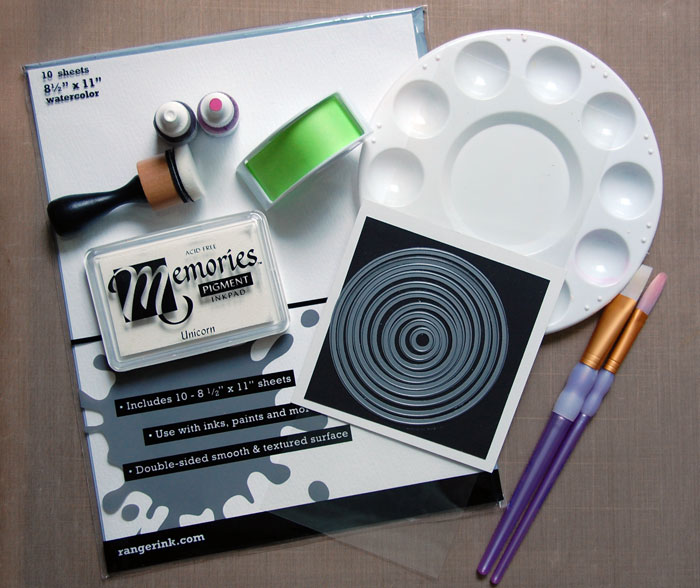
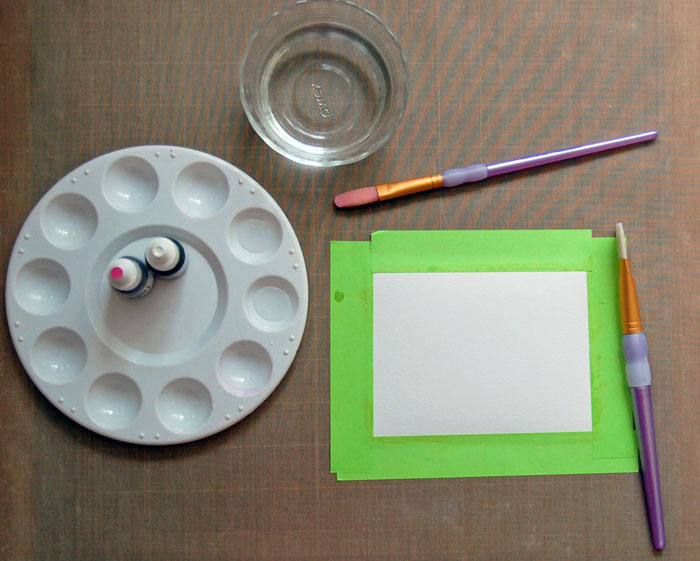
Supplies you’ll need:
- Watercolor paper
- Reinkers (I used Ripe Raspberry and Banana Split by My Favorite Things)
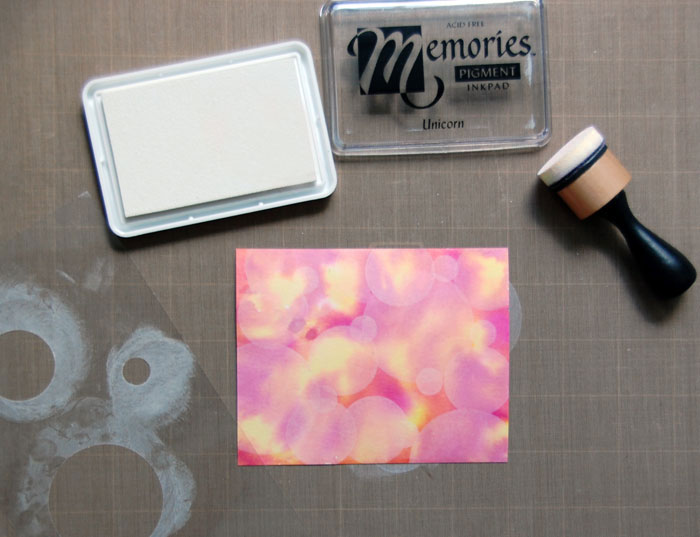
- White pigment ink (I used Unicorn by Memories/Stewart Superior)
- Paintbrushes
- Blending tool
- Post-it tape or other low-tack tape
- Craft sheet or protective cover for work surface
- Circle dies (I used Circle STAX 2 by My Favorite Things)
- Acetate
- Paint palette
- Small bowl of water
- Paper towels (as needed)
- Heat gun (optional)
Step 1:
Cut watercolor paper to 5 1/2″ x 4 1/4″.
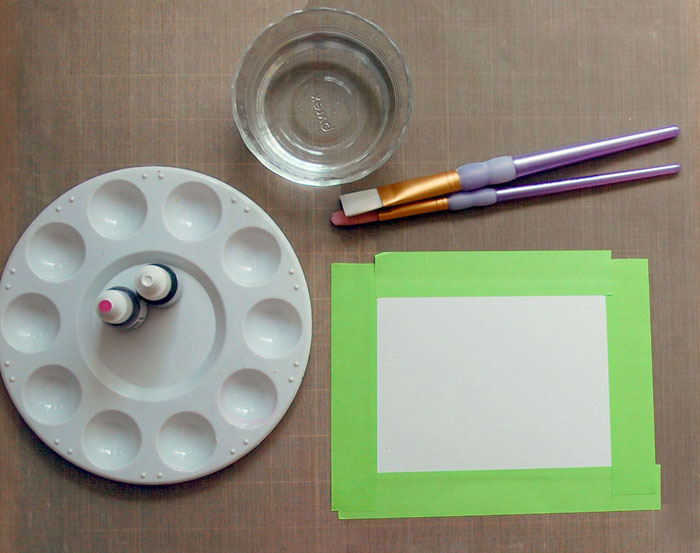
Step 2:
Using Post-it or low-tack tape, secure paper to craft sheet.
Note: The watercolor paper I used has a smooth side as well as a textured side. Since I will be stamping on the finished surface once my background is complete, I chose to use the smooth side.
Step 3:
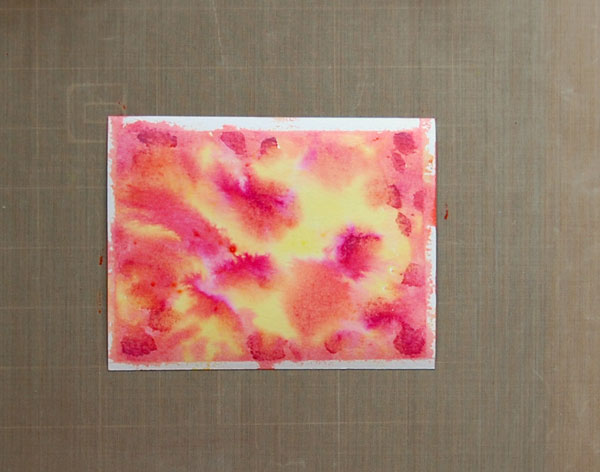
Cover surface of the paper with water. Do not over saturate, but you want the entire surface to be wet.
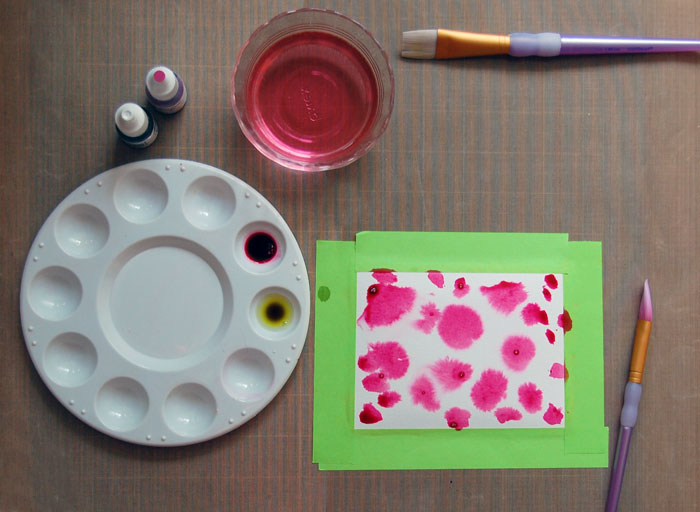
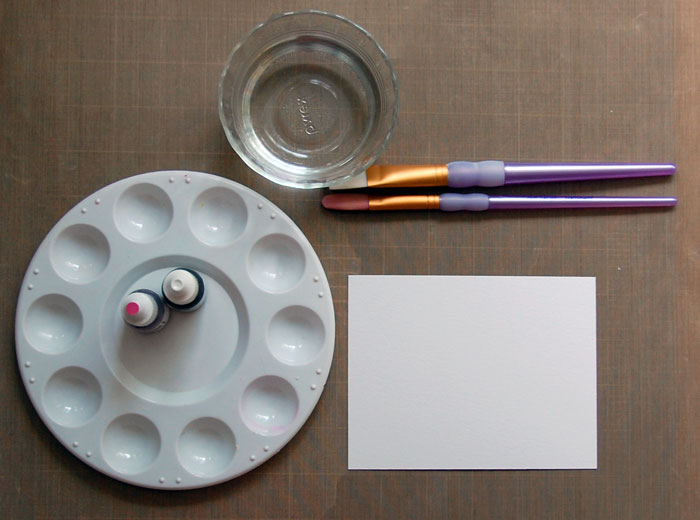
Step 4:
Fill two wells of paint palette with water. Add several drops of ink to each well. Beginning with pink, randomly dab watery ink mixture onto paper.
Step 5:
Randomly add dabs of yellow ink mixture. The goal is to cover the entire surface with blots of ink.
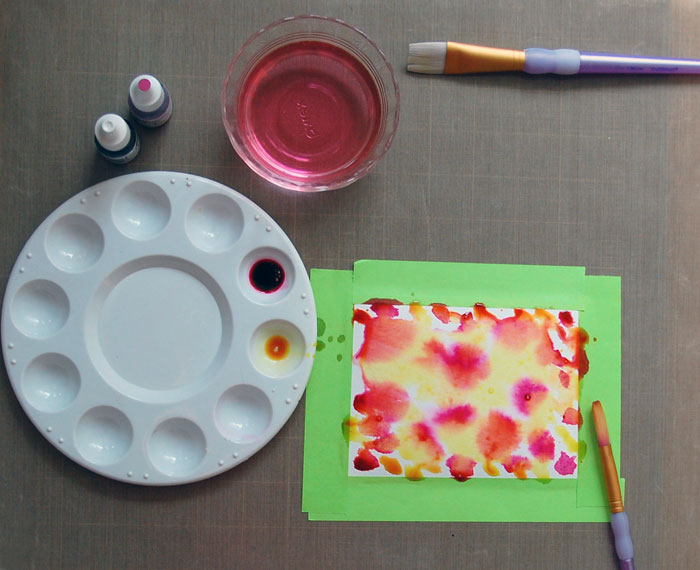
Step 6:
Continue to add ink or water until entire surface is covered, leaving no white.
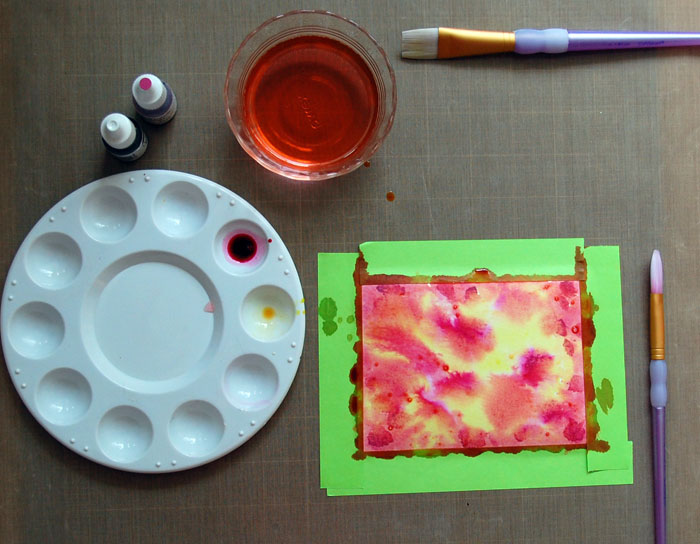
Step 7:
Remove tape and allow to dry. A heat gun can be used to speed the drying process. If using a heat gun, be sure to rotate the heat around different areas of the paper to “encourage” the paper to dry flat (or close to flat).
Step 8:
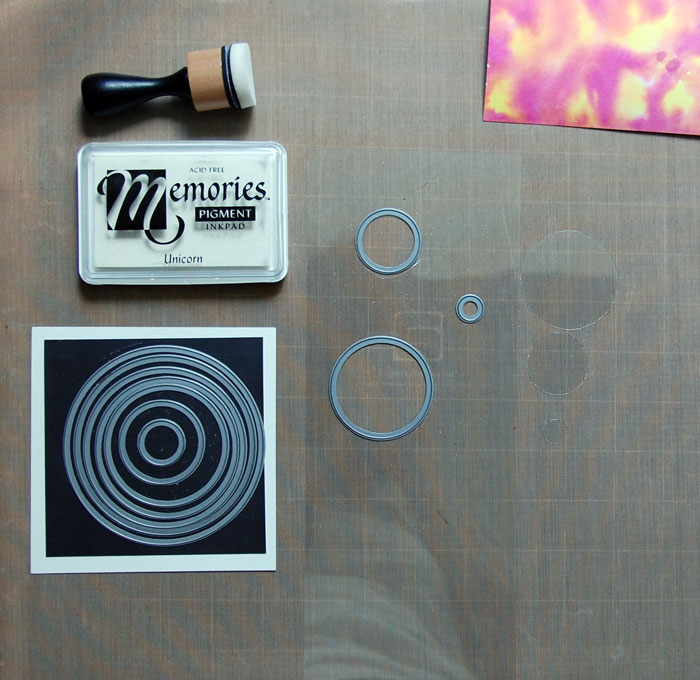
Choose three sizes of circles and die-cut each from a piece of acetate.
Before moving on to Step 9, be absolutely certain the paper is completely dry. If the paper is not completely dry, ink will transfer from the paper onto the blending tool and into the white ink pad.
Step 9:
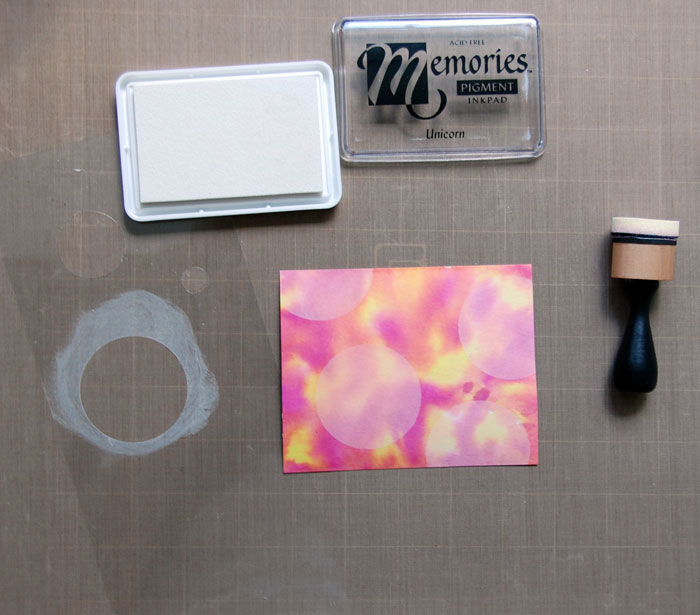
Using blending tool, apply ink through largest circle onto paper. Repeat several times, blending some circles partially off the edge of the paper.
Step 10:
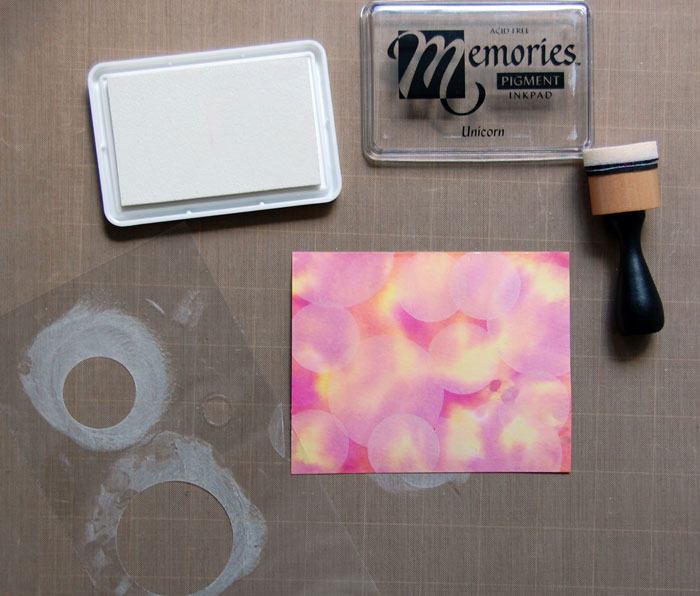
Repeat process with middle size circle, overlapping some of the larger ones.
Step 11:
Blend smaller circles randomly over larger circles. I did not cover the entire paper with white as I wanted some of the brightness of the watercolor background to show.
Step 12:
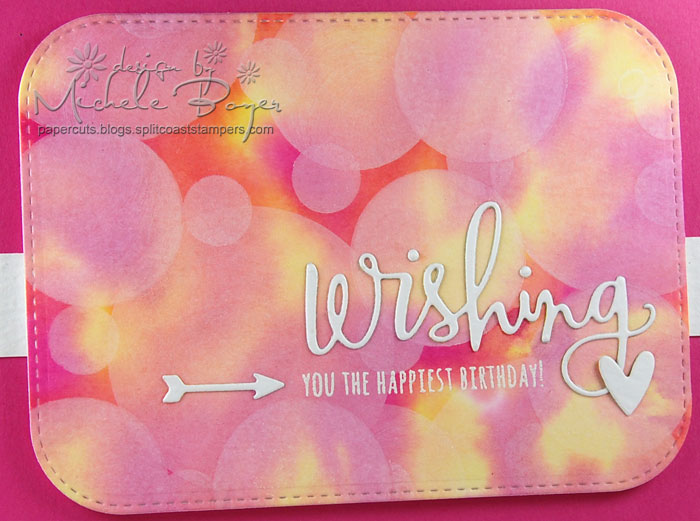
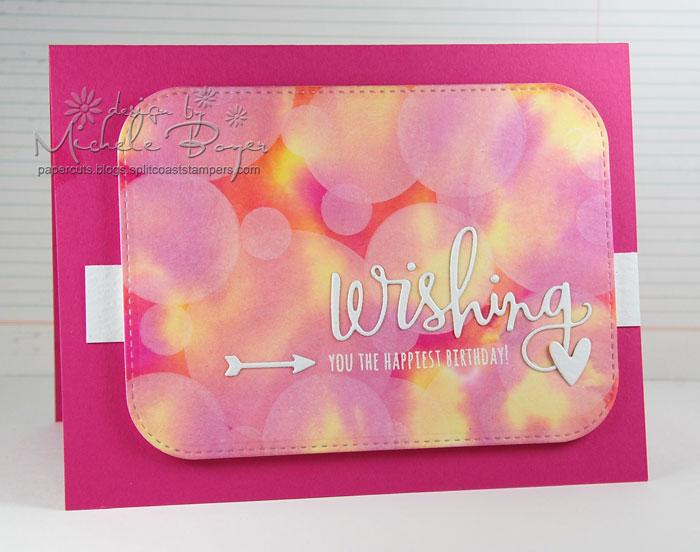
Once the ink has completely dried, finish card as desired.
I die-cut the bokeh panel using Stitched Rounded Rectangle STAX by My Favorite Things. I used Sending and Wishing stamp set with Wishing die by Simon Says Stamp. The arrow and heart were die-cut from watercolor paper using Tiny Hearts Dies by Paper Smooches. The smaller portion of the sentiment was white embossed, and the bokeh panel is secured to the card front using foam tape.
Share tips, start a discussion or ask one of our experts or other students a question.
No Responses to “A Simple Way to Create Trendy Bokeh Cards With Watercolor”