
Looking to add a little intrigue to that quilt? A mitered border can be a beautiful (and easy!) way to kick your top up a notch. And with border prints, it’s simpler than ever! Just follow our step-by-step tutorial for a mitered border that brings out the best in your quilt.
What’s a border print?
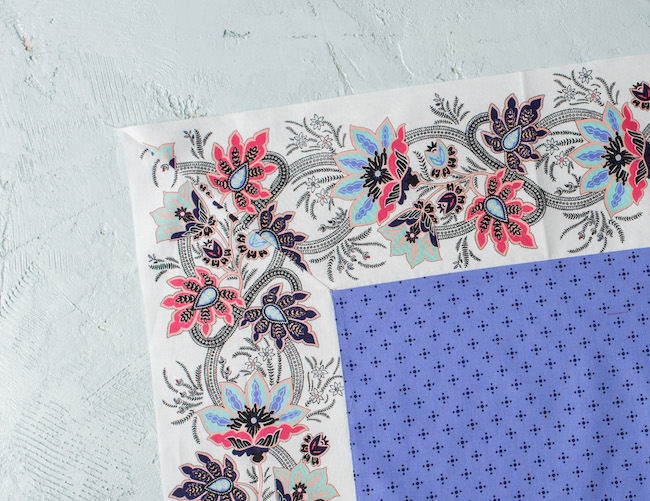
Some fabric collections include prints that are arranged in repeating columns. When you cut out any of these columns, you instantly get a border piece that’s ready to attach. Here’s an example from Boundless’ new collection, Melrose & Vine.
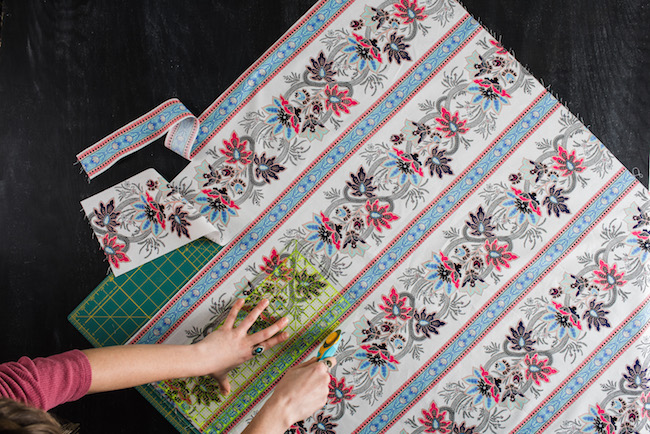
With Melrose & Vine you get the option of a thin striped border, a larger-scale print border or a combination of both.
What’s so great about a border print?
There’s a few great ways border prints can make an impact in your quilt — and make things a heck of a lot easier too!
- Borders create a statement within the design
- They’re an easy way to increase the size of your quilt with minimal piecing
- They increase the perceived complexity of your quilt without taking all that much extra work
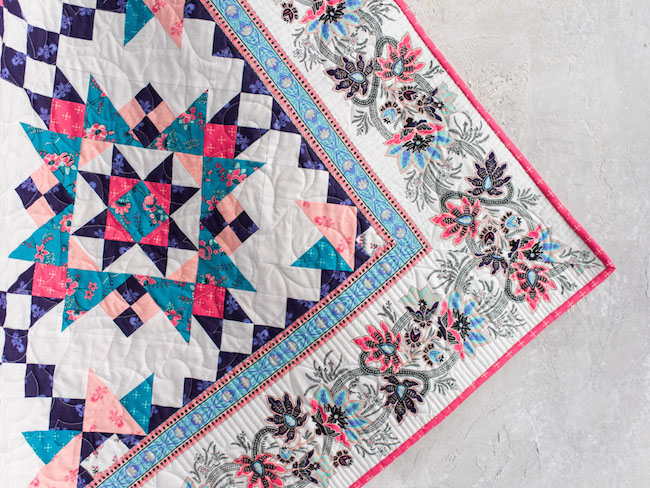
In fact, you can see all three of these elements at work in the Starlet Quilt Kit. The quilt uses the border print from above to create a mitered-corner border, adding the perfect amount of contrast to make those center blocks pop.

How do I make my own mitered-corner border?
A mitered corner means that your corners meet in a 45-degree angle. If you take a quick look at a picture frame, you’ll see an example of a mitered corner.
Sure, the mitered border might be a little tougher than skipping the angle, but all it takes is some careful measuring and sewing. Plus, the angled seam is nearly invisible!
Start with this simple equation to figure out the length of each border side.
Length of quilt side + (width of the border x 2) + 6″ = Total fabric for border piece
Let’s break down each piece in the equation.
- Length of quilt side: Measure the length of the side of the quilt you’re sewing the border to.
- Width of the border: How wide is your border? Multiply it by two! This makes sure you have enough excess fabric on either side to match the width of the adjacent piece at either corner.
- Plus 6”: You’ll need a little extra fabric for the mitered corner on each side as well as the seam allowance. This six inches will have you covered!
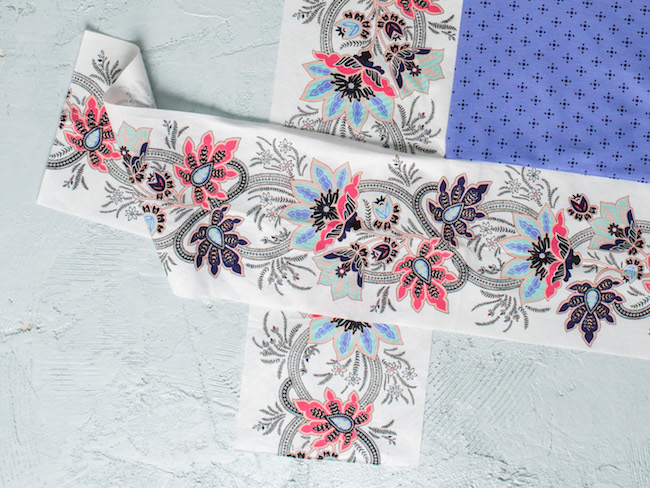
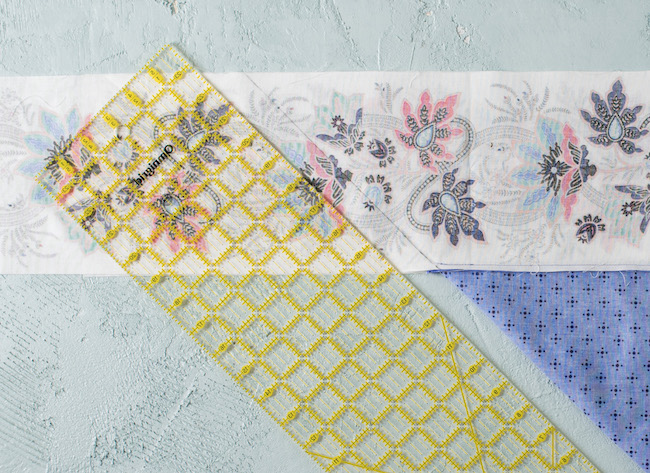
Use the equation to find out the border length you need on each side. Then, just cut your border fabric to those dimensions.
Here’s an example to follow:
If your quilt top is 40” x 50” and your borders are 2″ wide, your equation for the top and bottom border would be 40″ + (2″ x 2) + 6″ = 50″.
That means those two borders would each measure 2″ x 50″. For the side borders, my equation would be 50″ + (2″ x 2) + 6″ = 60″.
You’ve carefully measured and cut your border fabric. Now it’s time to sew it onto the quilt!
Step 1: Pin the borders in place
- Fold both the border and quilt top in half, then mark their centers.
- Line the centers up and pin them together to stay accurate.
- Pin the ends of the quilt and border together before proceeding to the rest.
Step 2: Sew the borders onto the quilt top
- Sew the border to your top, starting and stopping ¼” away from your edge.
- Make sure to backstitch at each end.
- Repeat for all four border pieces.
Step 3: Mark where to sew the mitered corner
There’s a few ways to mark for the mitered corner, but this method is probably the simplest to pull off.
- Fold the quilt top in half diagonally with right sides facing each other (this will create a triangle).
- Line up two connecting border pieces (like the top border and the right side border) and put them on top of one another.
- Line everything up so that the fold of the quilt top runs at a 45-degree angle between the two border pieces.
- Place your ruler along the 45-degree angle you created and extend it over the borders.
- Use a pencil to trace the angle on the border.
- Pin the border in place to prepare for sewing.
Hint: It can be helpful to trace the angled line onto both pieces of border fabric. That way, no matter which way you take the quilt to your sewing machine, you’ll see the markings.
Step 4: Sew your corner
- Locate the stitch line you made when sewing your border to your quilt top. Start sewing right there. (This will ensure that you there are no gaps or spaces on the front.)
- Follow your pencil line directly, sewing from the stitch line out toward the end of the border.
- Backstitch at the beginning and end.
- Unfold your quilt to make sure the border lies flat and that there are no gaps in the inner corner.
Hint: The first few times that you attempt this, you may notice some puckering at the corners. This is caused when you start sewing too far into the quilt top, or too far away from the quilt top.
You can solve for puckering by:
- Re-sewing
- Pressing carefully with steam
- Experimenting with pressing your border seams in different directions (i.e. toward the quilt top or toward the border)
Step 5: Trim, press and… presto!
- Trim the excess border to ¼”.
- Press seam open.
- Repeat for all four corners.
- Kick back and admire your hard work!
Share tips, start a discussion or ask one of our experts or other students a question.
No Responses to “5 Simple Steps to a Mitered-Corner Border With Border Prints”