
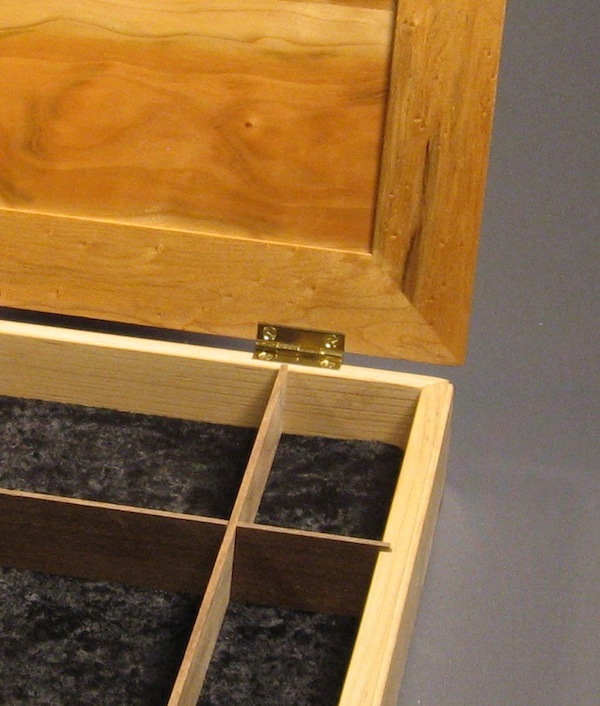
If you have spent a long time making a nice box, it is frustrating when the hinges don’t look just as nice as the rest of the box.
Photos via wooden-box-maker.com
While a badly installed hinge might work, it will detract from the box, rather than being unobtrusive or adding a decorative element. Because of this, it is important for your woodworking to know how to install hinges.
Follow along to learn how to mortise box hinges by hand.
Step 1: Marking
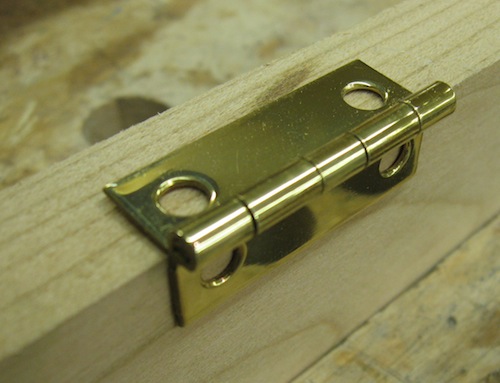
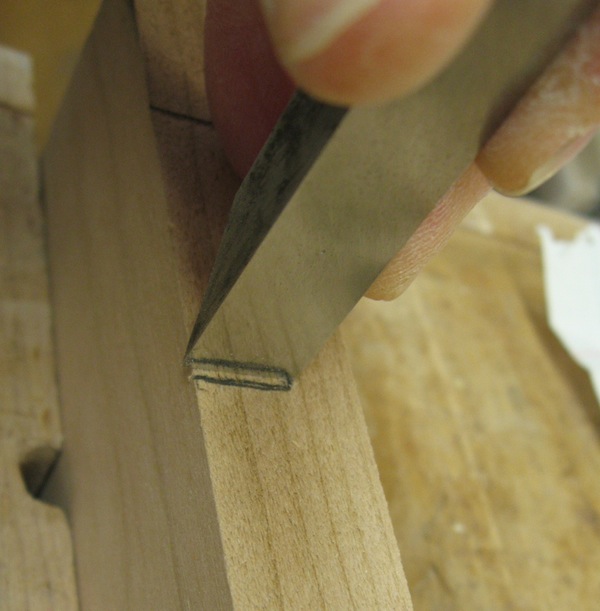
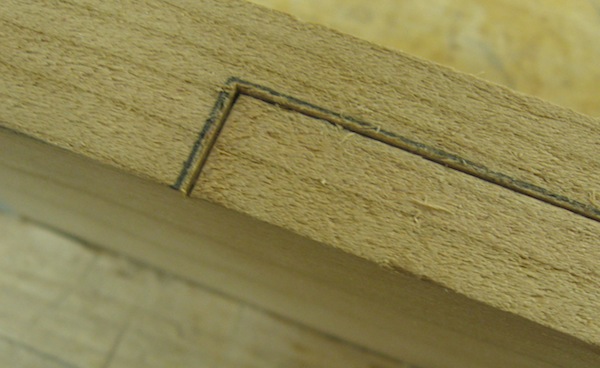
Start by marking where you want your hinge to be. Hold the hinge in place (I like to fold it down so that I know it is fully open and flush with the edge). Make your mark with a sharp pencil or marking knife.
Step 2: Begin the mortise
Next take a sharp chisel and make a cut all the way around on the inside of your line. It’s best to cut the ends first because it is easy to split the wood when you are going with the grain. If you cut your ends first you are less likely to split the wood when you cut the long side of the hinge mortise.
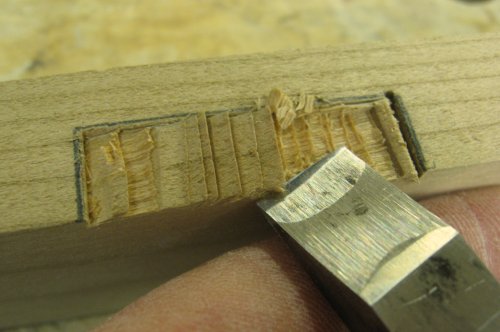
Step 3: Chop the mortise
Now line up your chisel parallel with your end cut. Keep the bottom of the chisel facing towards the front of the mortise (relative to your cut). Angle the chisel just a bit, in toward the mortise, and make a series of cuts from one end of the mortise to the other. Keep the angle and the chisel taps consistent. At this point it is better to have a cut that is a bit shallow, rather than one that is too deep.

Once you’ve cut across the mortise, turn your chisel so the bottom is facing down and, using a sideways shearing motion, cut away the chips. Check that the bottom of the mortise is even and clean up any high spots.
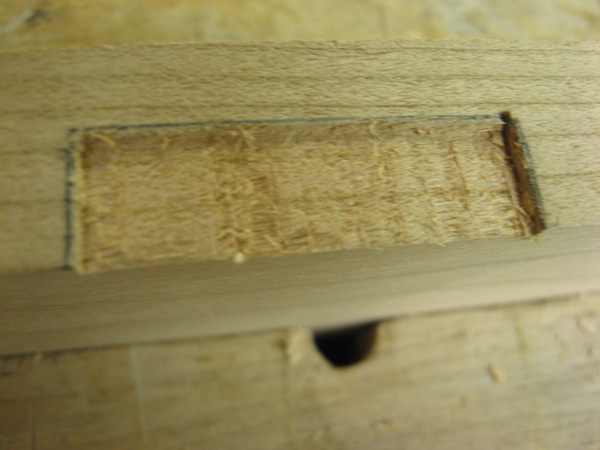
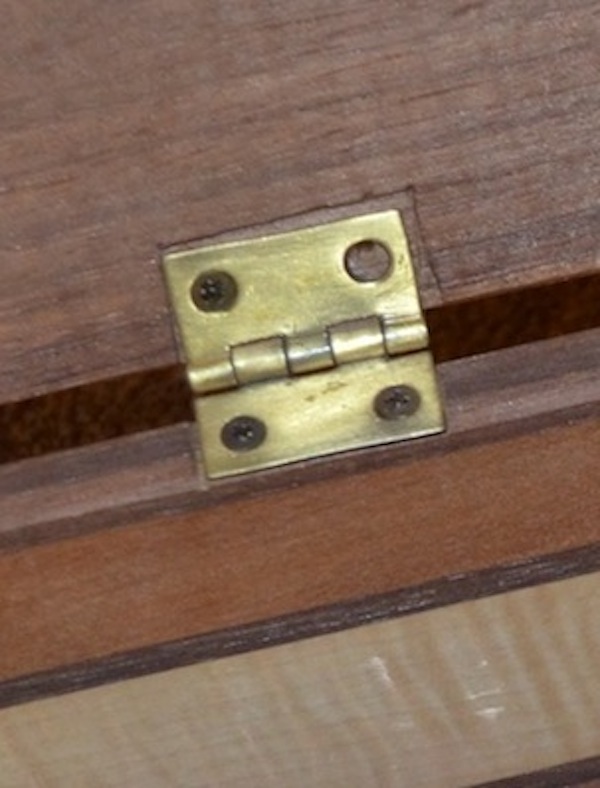
Check the fit of your hinge. If it is not deep enough, repeat what you just did until you get the right depth. The final depth should be half the thickness of the barrel of the hinge. On some hinges that will mean the hinge will be flush when in place, but on other hinges the mortise will be deeper than the hinge itself. It’s also nice to sand off the pencil marks, which I did not do below.
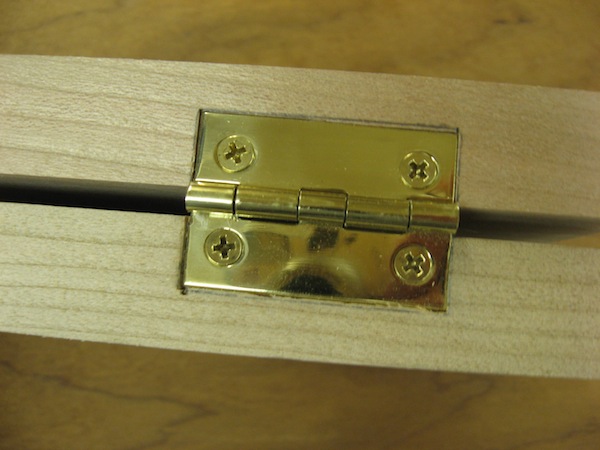
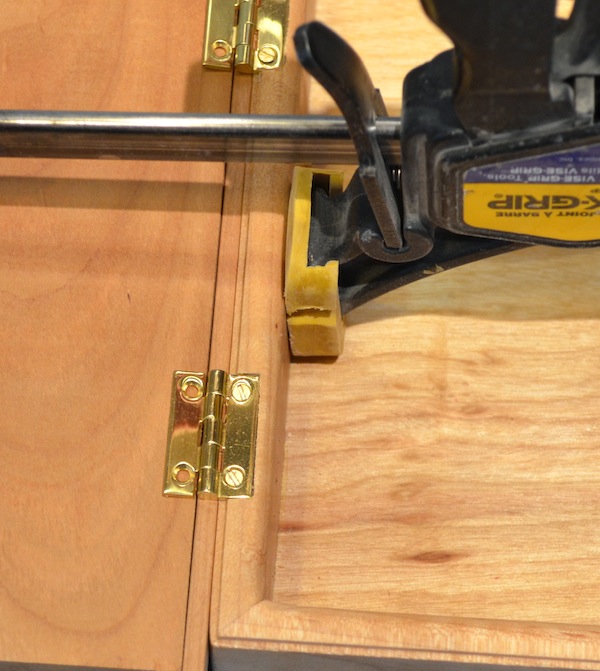
Once you are satisfied with your mortise, screw the first side in place. I always pre-drill. I use brass screws and they are very soft. I have snapped more than one and it is frustrating and time consuming to dig out the broken screw, fill the hole and put another screw in place. So, after way too long, I learned my lesson and now I pre-drill.
Step 4: Begin the second side
Once the first side is screwed in place, mark your lines for the other half of the hinge. Remember to keep a gap, the width of the barrel of the hinge, between the two hinge flaps. I often use a shim between the pieces to keep the distance consistent for each hinge.
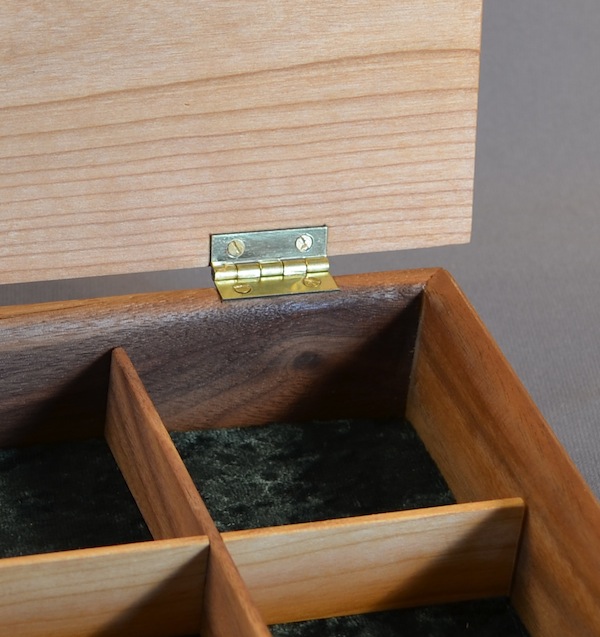
Repeat the process of chopping and cleaning for the second side. Test your fit and, if you like it, drill and screw for that side as well. That’s it, you now know how to mortise a box hinge.
Share tips, start a discussion or ask one of our experts or other students a question.
No Responses to “How to Mortise Box Hinges”