
The beauty of sewing your own lingerie is that it gives you the opportunity to fix annoying issues you might have with some of your ready-made lingerie!
Without a doubt, fitting is the most difficult part of making a bra. It’s complex and has so many variables based on style, body type, fabric and more. It’s no wonder entire classes exist on the subject! However, there are a few common issues that have surprisingly easy fixes.
Today, I’m going to discuss common problems with simple solutions
1. Bra straps that fall down
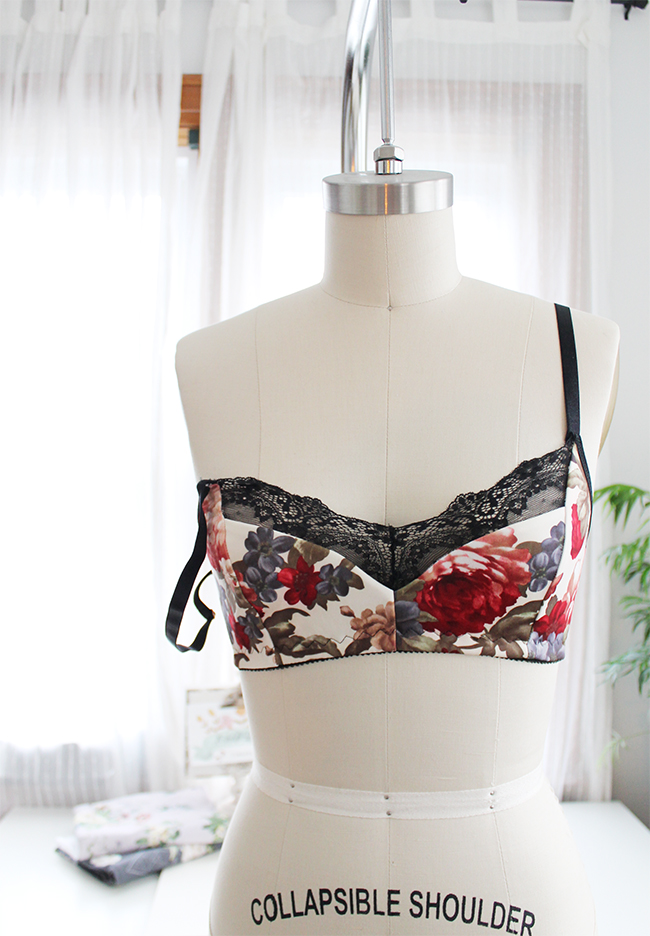
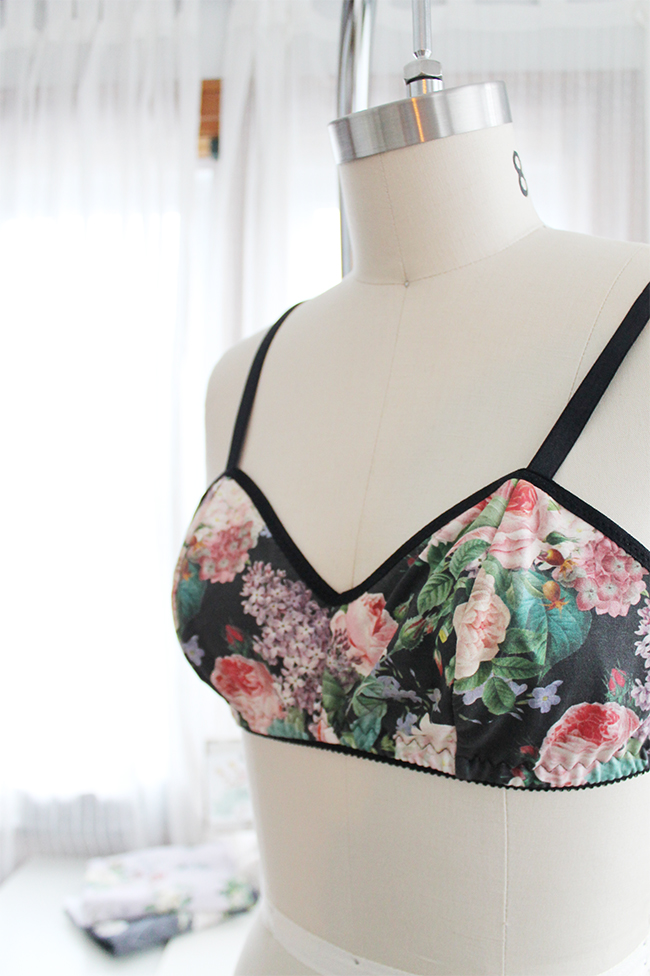
Photos via Ohhh Lulu
Straps that just won’t stay up — this issue plagued me for years before I started making my own lingerie! This is a common problem for anyone with a narrow back and shoulders.
The good news is the fix can be quite simple! By adjusting the strap placement, you can achieve a strap that’s more likely to stay where it should.
On a bra (or even camisole) with a plain back, simply move the straps closer to the center back point.
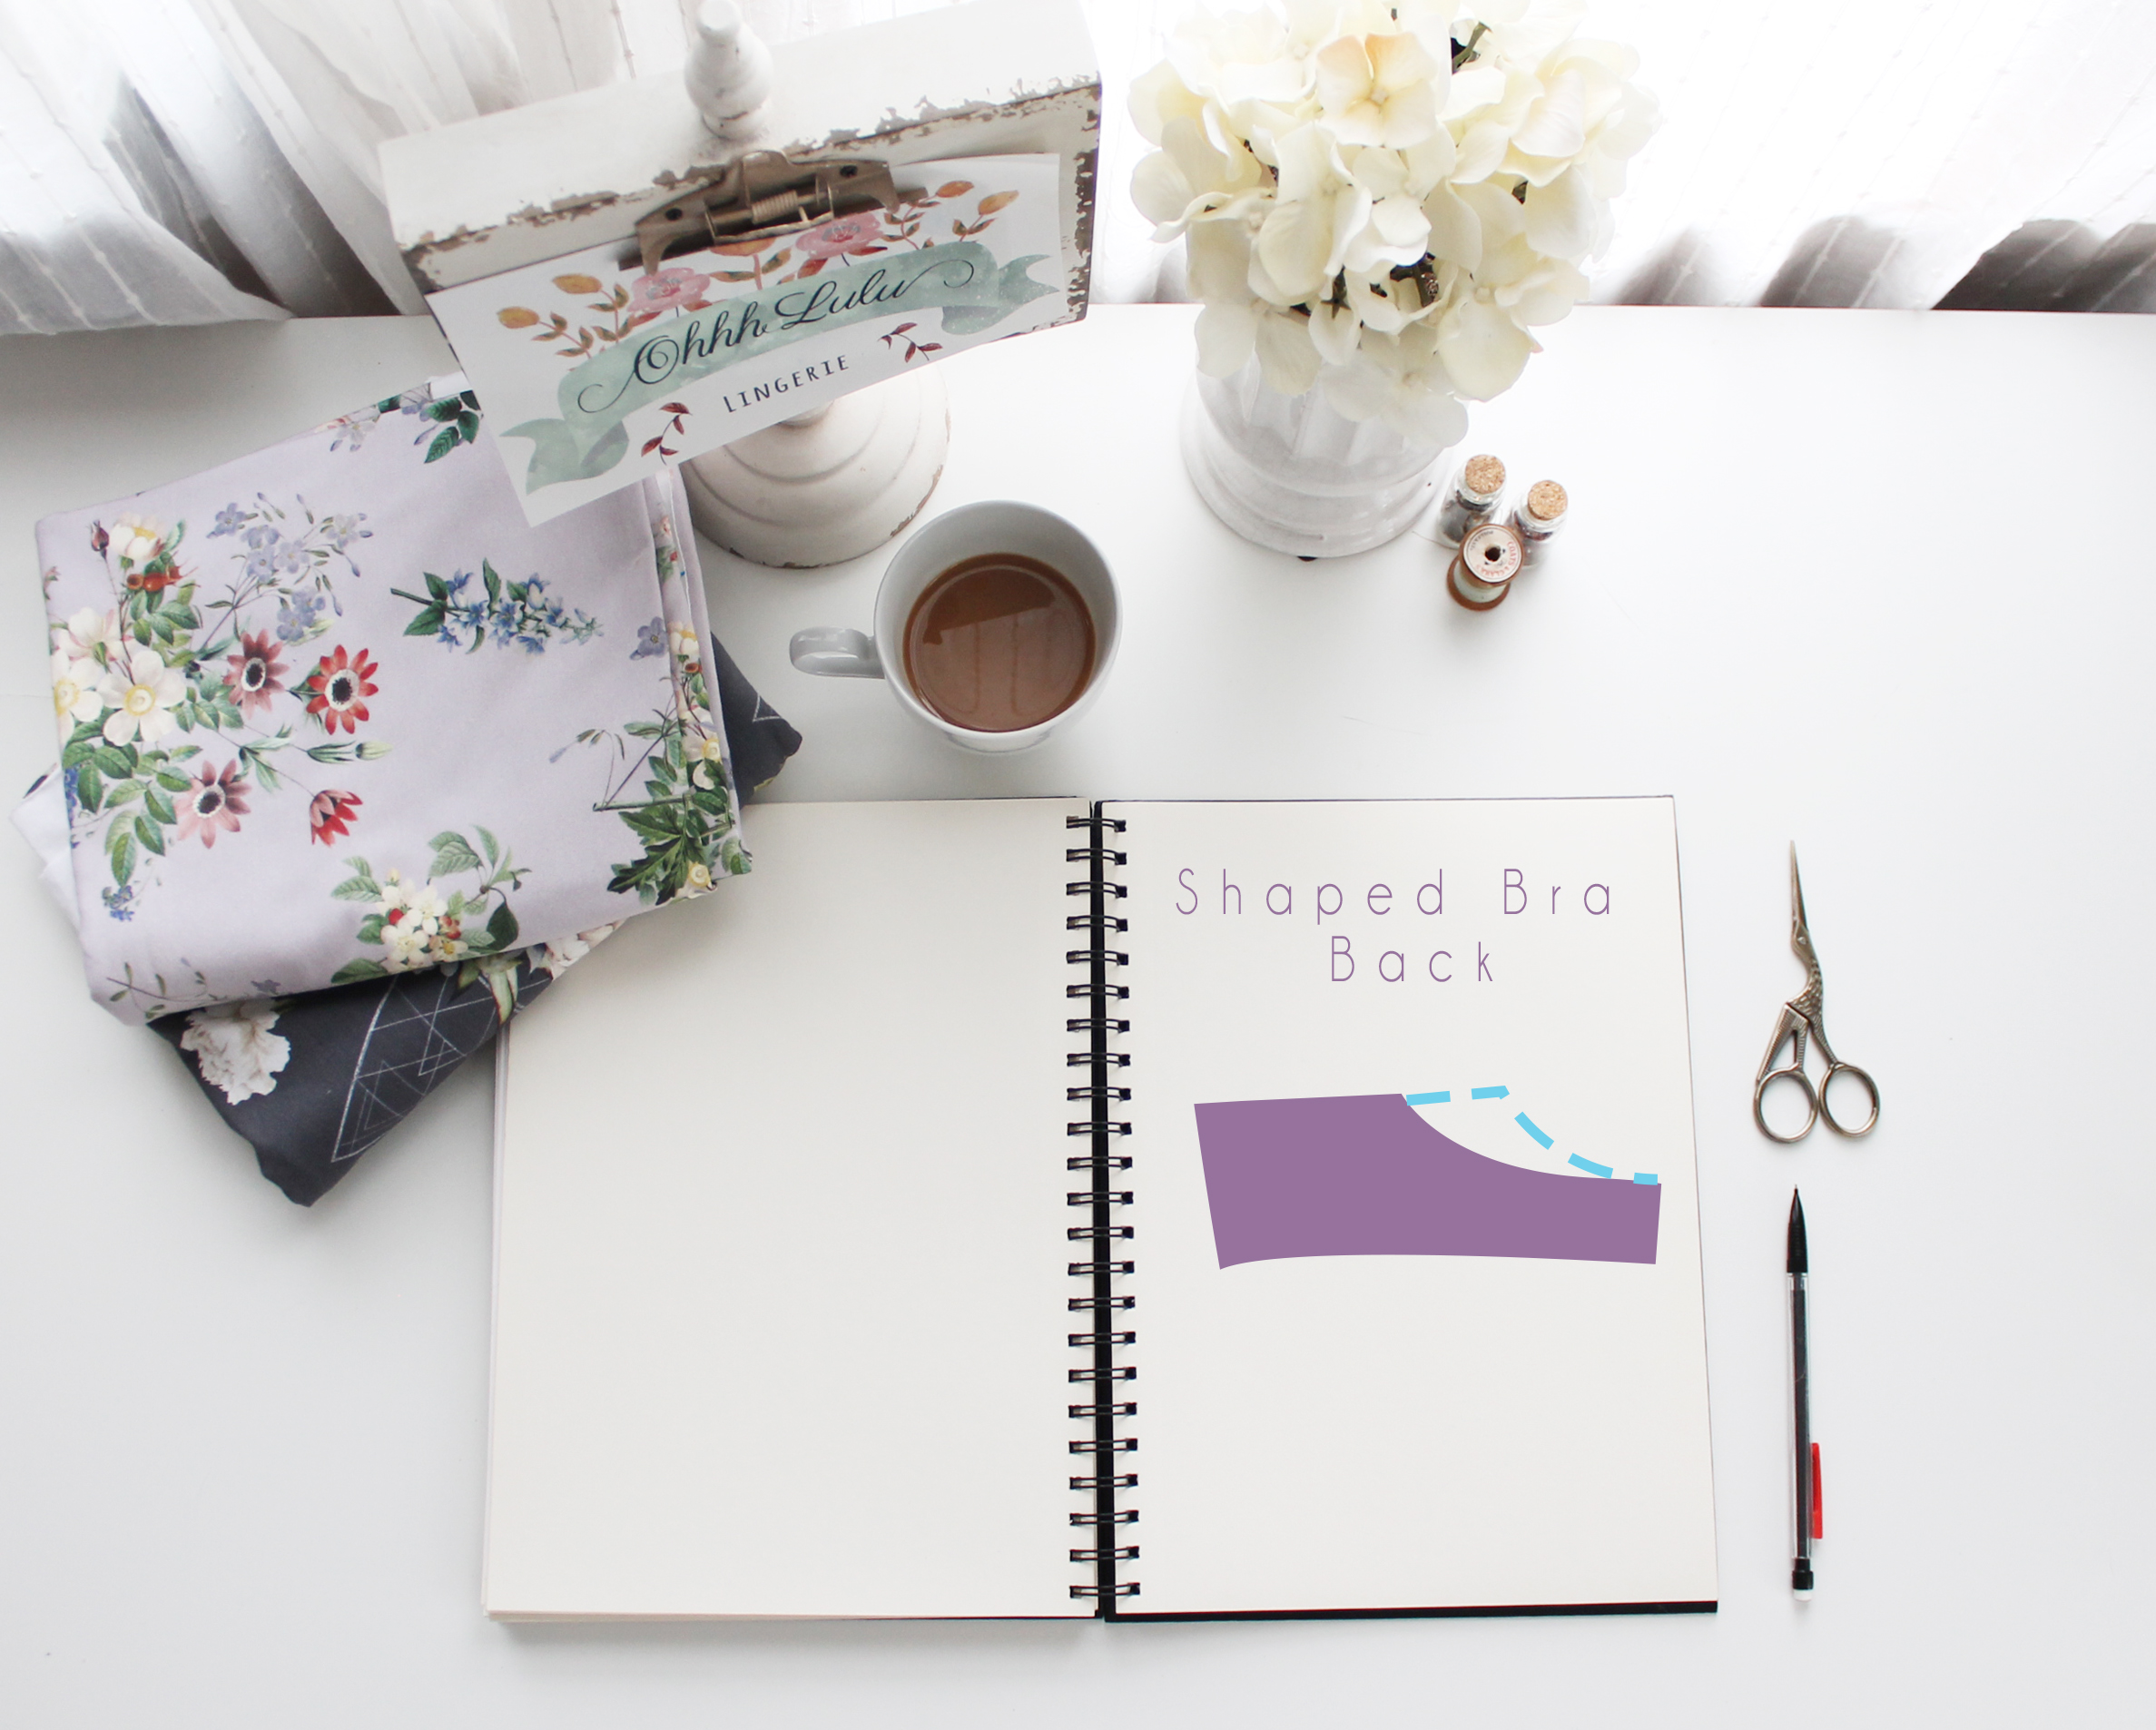
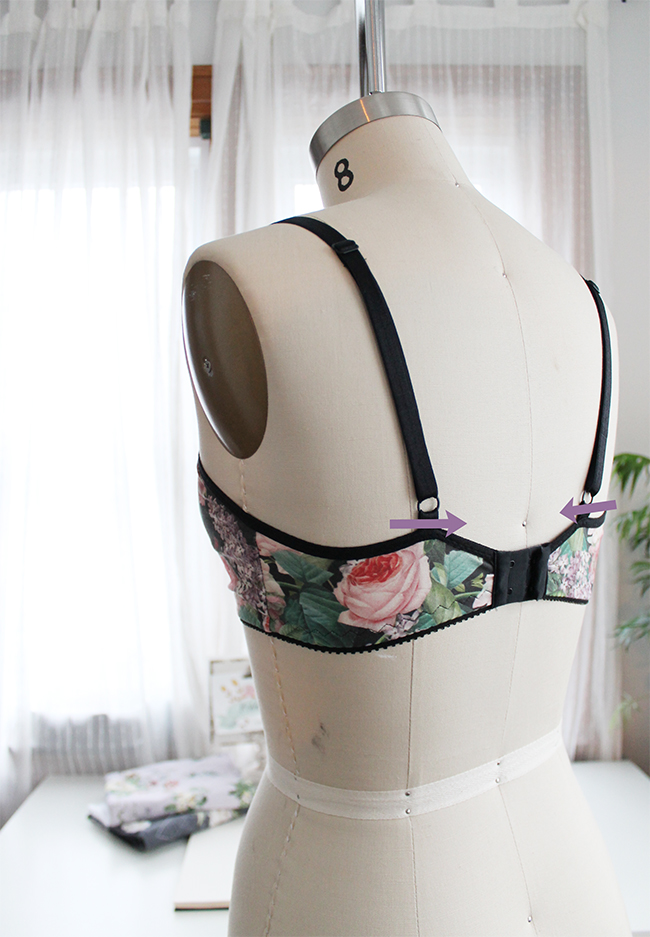
On a bra with a shaped wing like you see above, you’ll need to make a simple alteration to the pattern piece prior to cutting the fabric. Trace the back band onto a piece of paper. Move the strap extension closer to the centre back, then continue on as usual. This will draw the straps in toward the center of your body, helping to prevent them from slipping.
2. A band that rides up
Bra Fitting 101 teaches that your bra band should run parallel to the floor, without riding up in the back. A band that rides up in the back could indicate a too large band.
A quick fix for this, without starting from scratch, is to take the bra in from the center back by simply removing any excess when it’s pulled snug around your body, and if needed, reducing it at the side seams.
If you’re encountering this issue, consider going down a band size on your next project. Another tip that works great with soft bras in particular is to use a wider, firmer band elastic. This prevents the bra from stretching too much with wear and will help to keep the band where it belongs.
3. A cup that overflows
A too small cup creates tell-tale “spillage” over the top of the cup. This can create unsightly lumps and bumps under clothing and is downright uncomfortable.
Unfortunately, there isn’t a quick fix for a bra that is already made, but there is a quick pattern alteration you can make for your future bras.
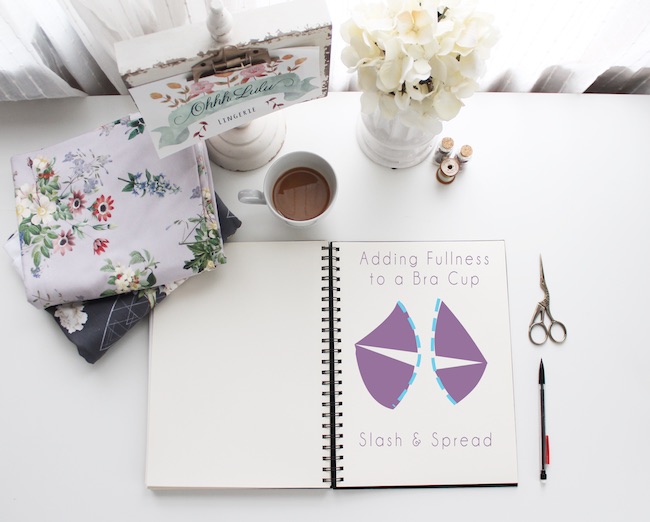
If you have a fuller bust, you’re likely already well acquainted with a full bust adjustment. The same basic principles apply to bras. I use the “slash and spread” method to add height and depth to the cup. The amount that you open up your pieces and the extra depth you will add will vary depending on your body.
4. A cup that’s not quite full
On the opposite end of the spectrum is a cup that’s a little too large. This causes excess fabric to form over the bust.
Just like for a cup that’s too small, the fix happens in the pattern alteration phase. A cup that bunches around the bust has too much fabric. This is a pretty simple pattern alteration to make! Most bra cups are made of 2 or 3 curved cup pieces. To remove excess fabric, you can begin by straightening out the curved seams that create the shaping of the cup. This helps remove the extra depth that’s causing the fabric to bunch.

Bra fitting is an extremely complex subject. Even after years of making bras for myself and others, I still can find myself perplexed by it. However, these simple fixes to common problems are a great starting point for understanding and addressing some basic fit issues.
Share tips, start a discussion or ask one of our experts or other students a question.
No Responses to “Quick Fixes for 4 Common Bra Fit Issues”