
Buttercream has made a huge comeback over the past few years! Decorators are thinking outside of the box, finding more and more ways to create new buttercream textures using simple tools. The petal-finished cake is one of those techniques.
Buttercream petals are very versatile. They can be used as an all-over cake finish or to add pretty details. Two techniques are commonly used to create this effect. I’ll show you the first one as my cake finish and the second to create the flowers and leaves on top of the cake. Either technique can be used to finish the sides of a cake.
Read on to learn two simple but effective techniques for piping buttercream petals!
 All images via Erin Bakes
Buttercream petal technique tutorial
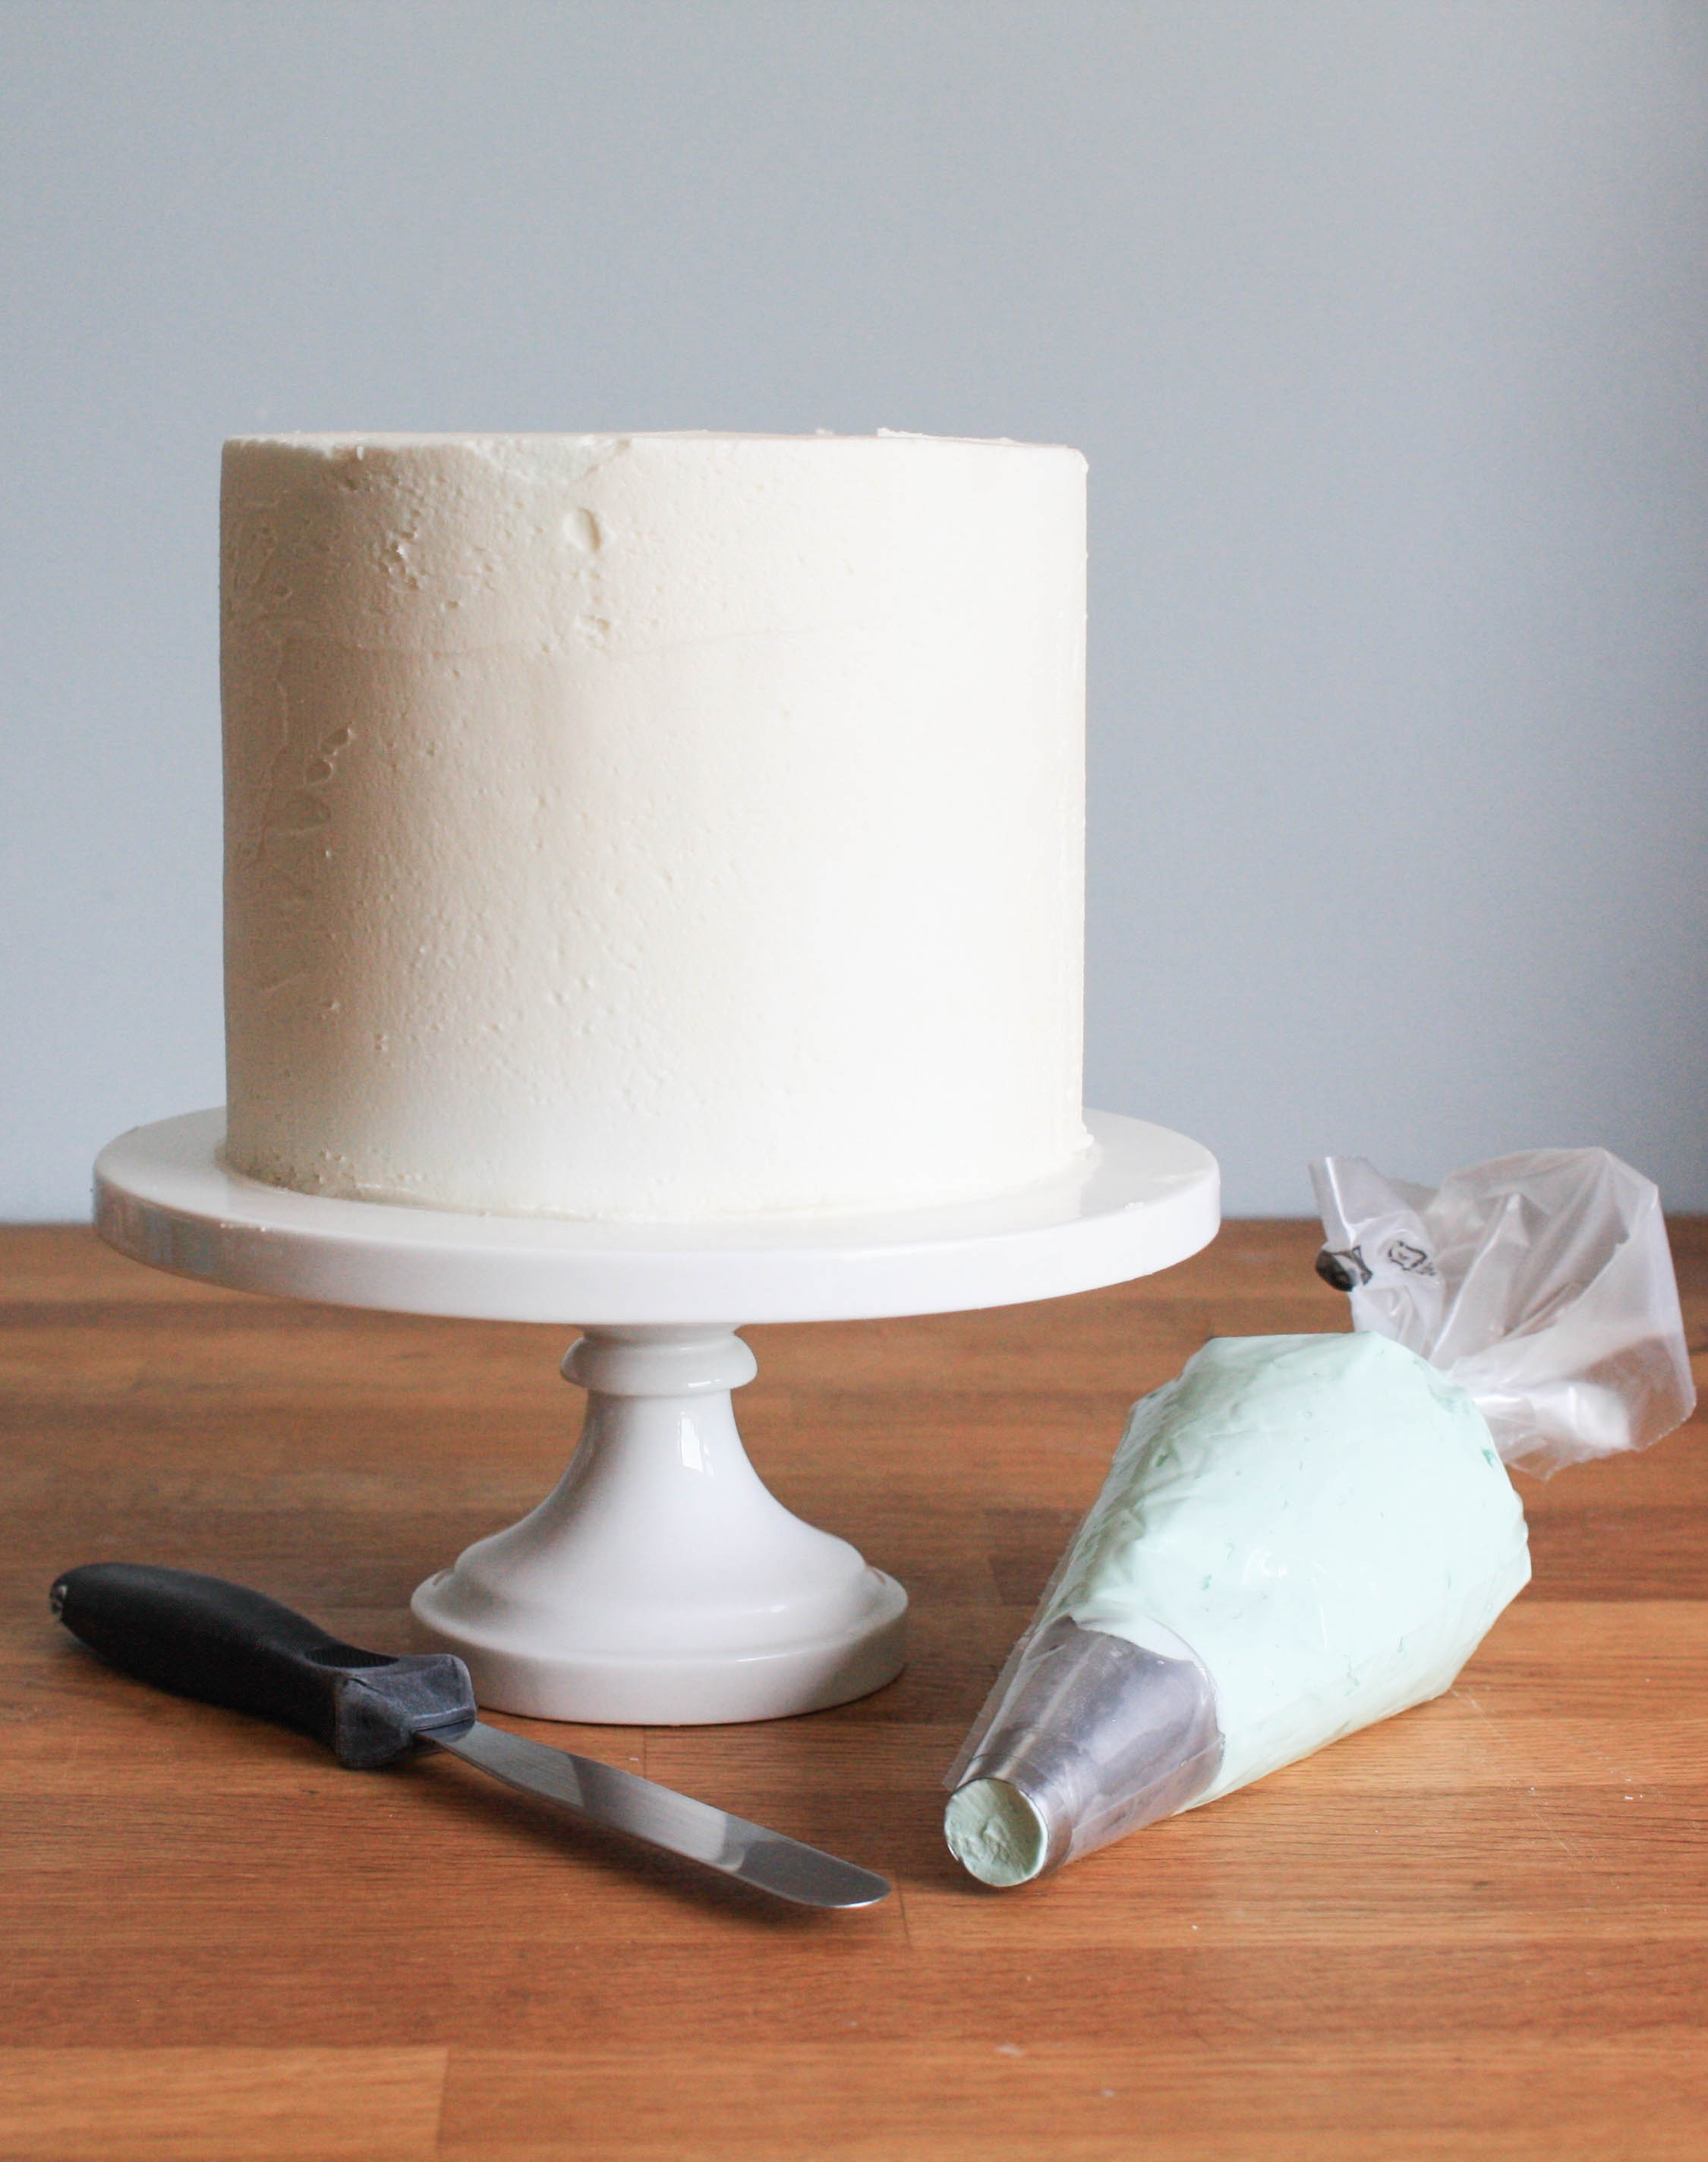
Supplies:
- Large round piping tip (I used Atecco #809)
- Piping bag
- Buttercream
- Small icing spatula
- Crumb-coated cake
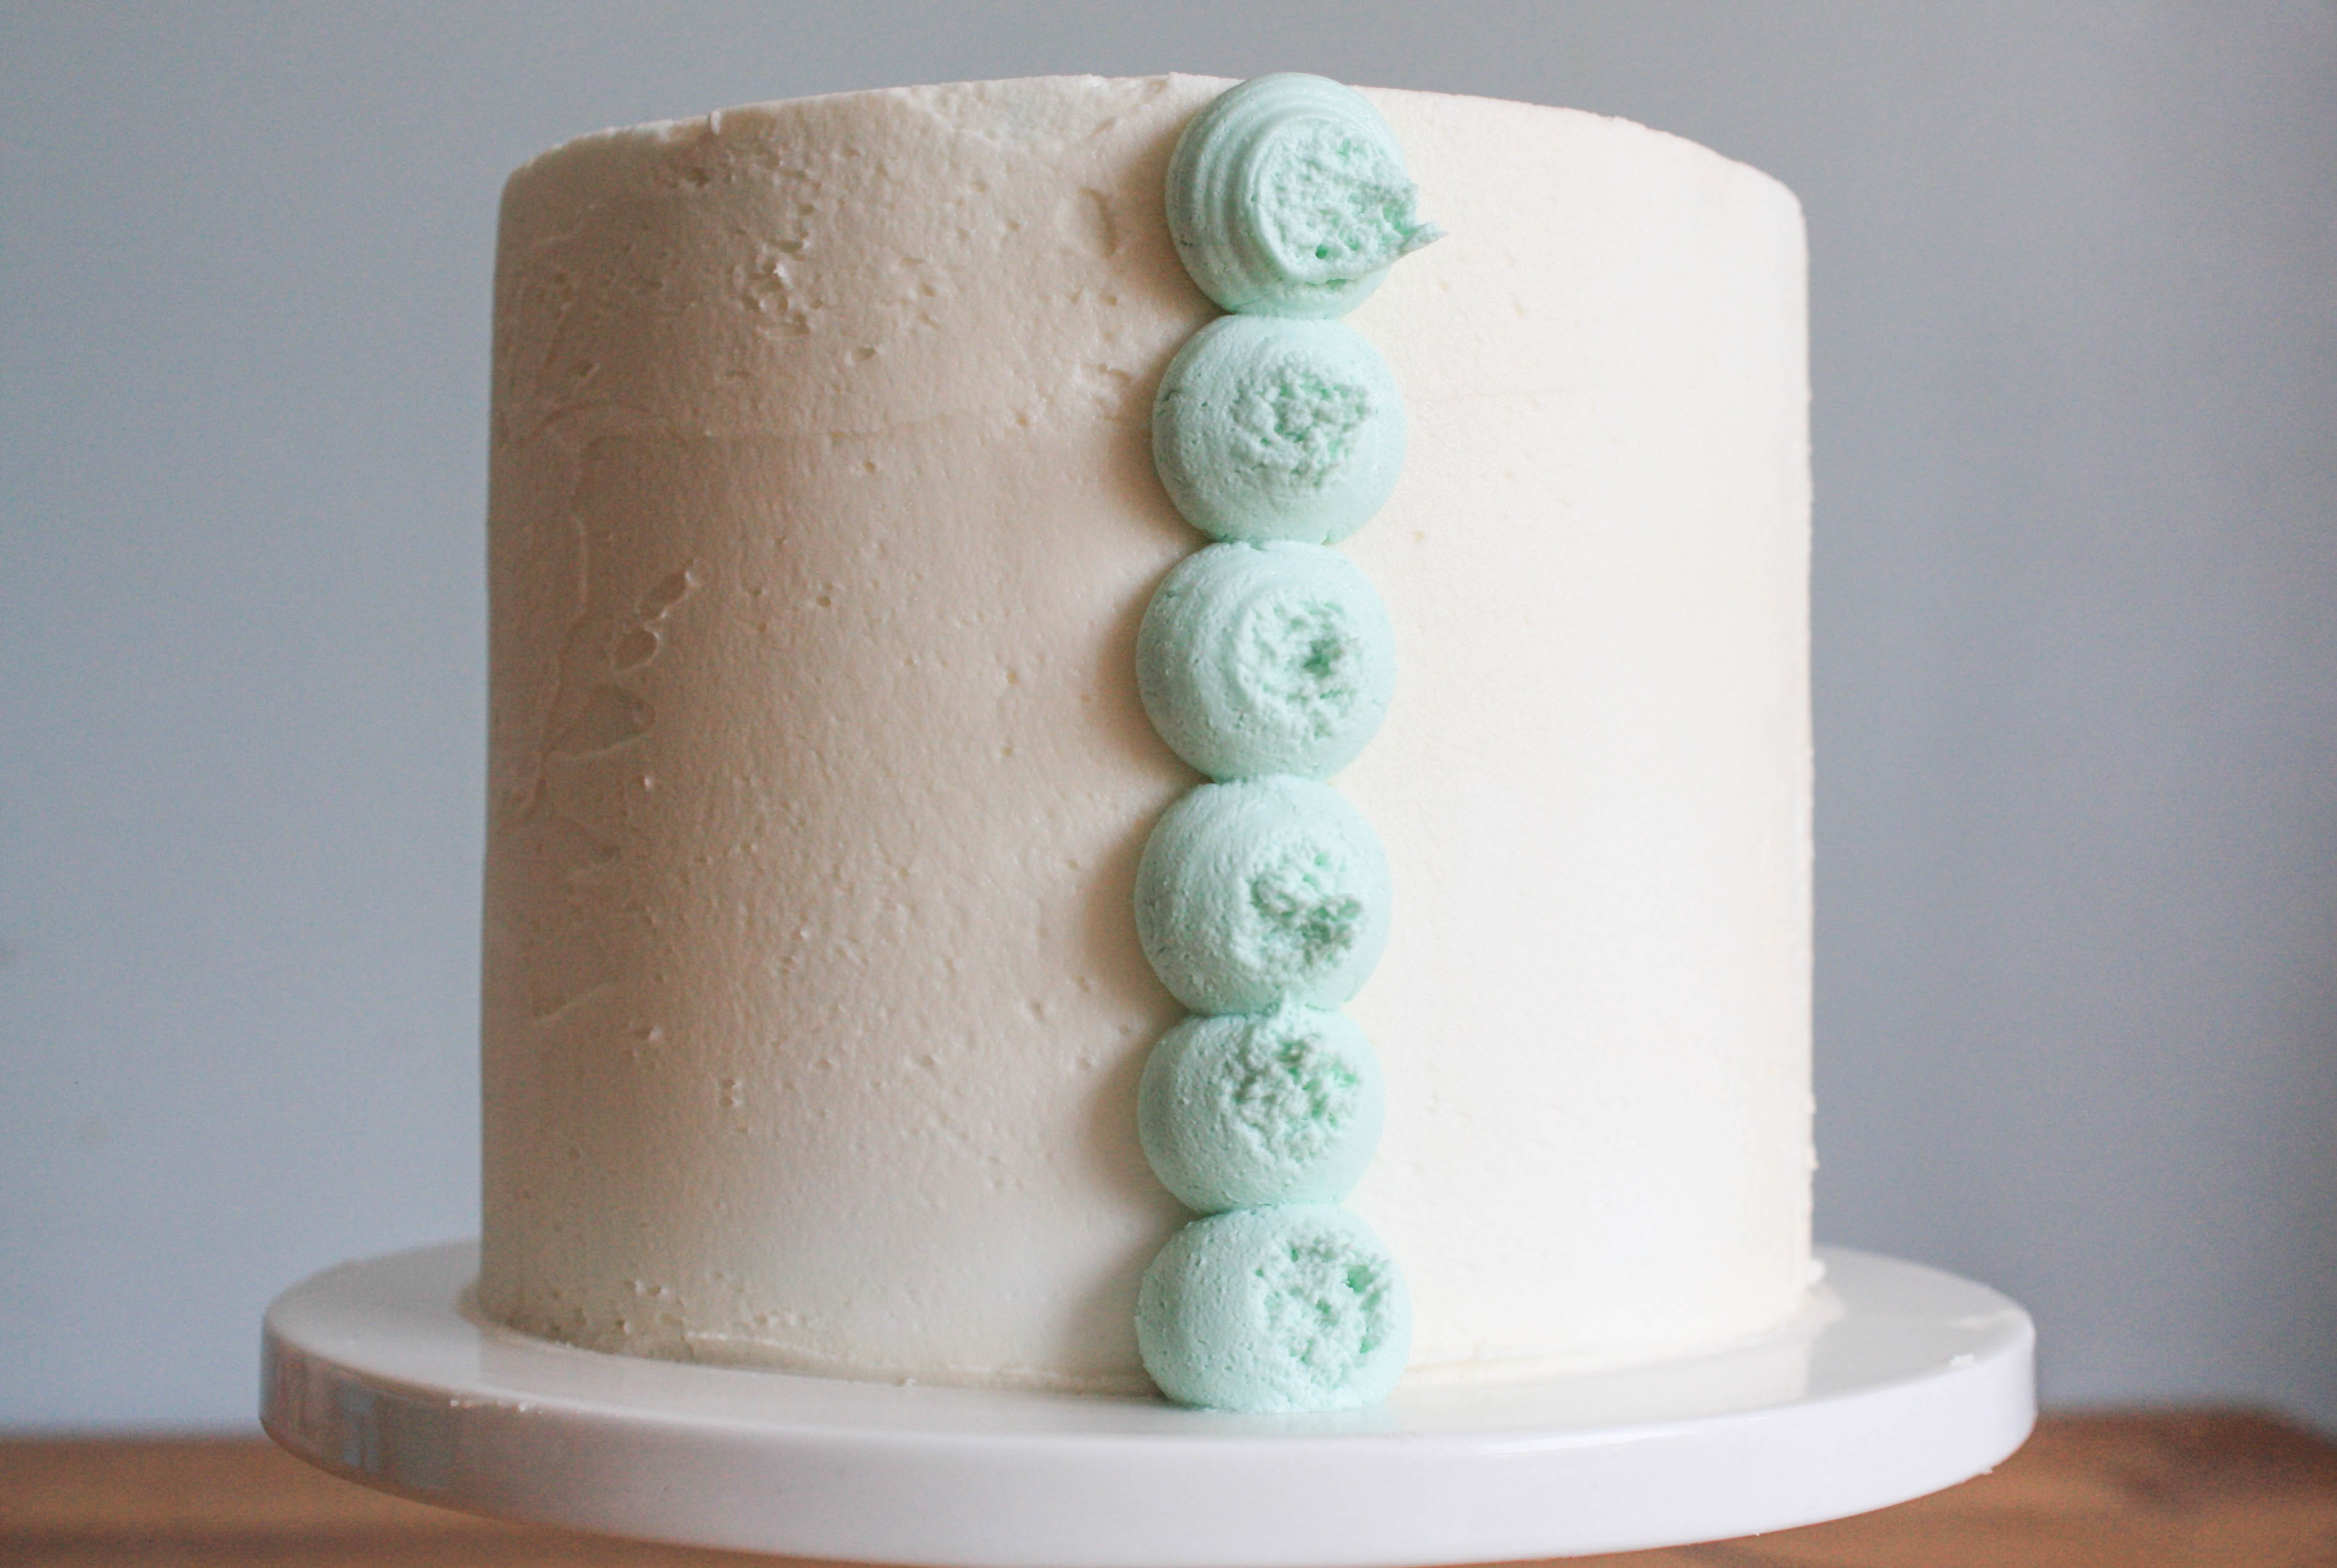
Step 1:
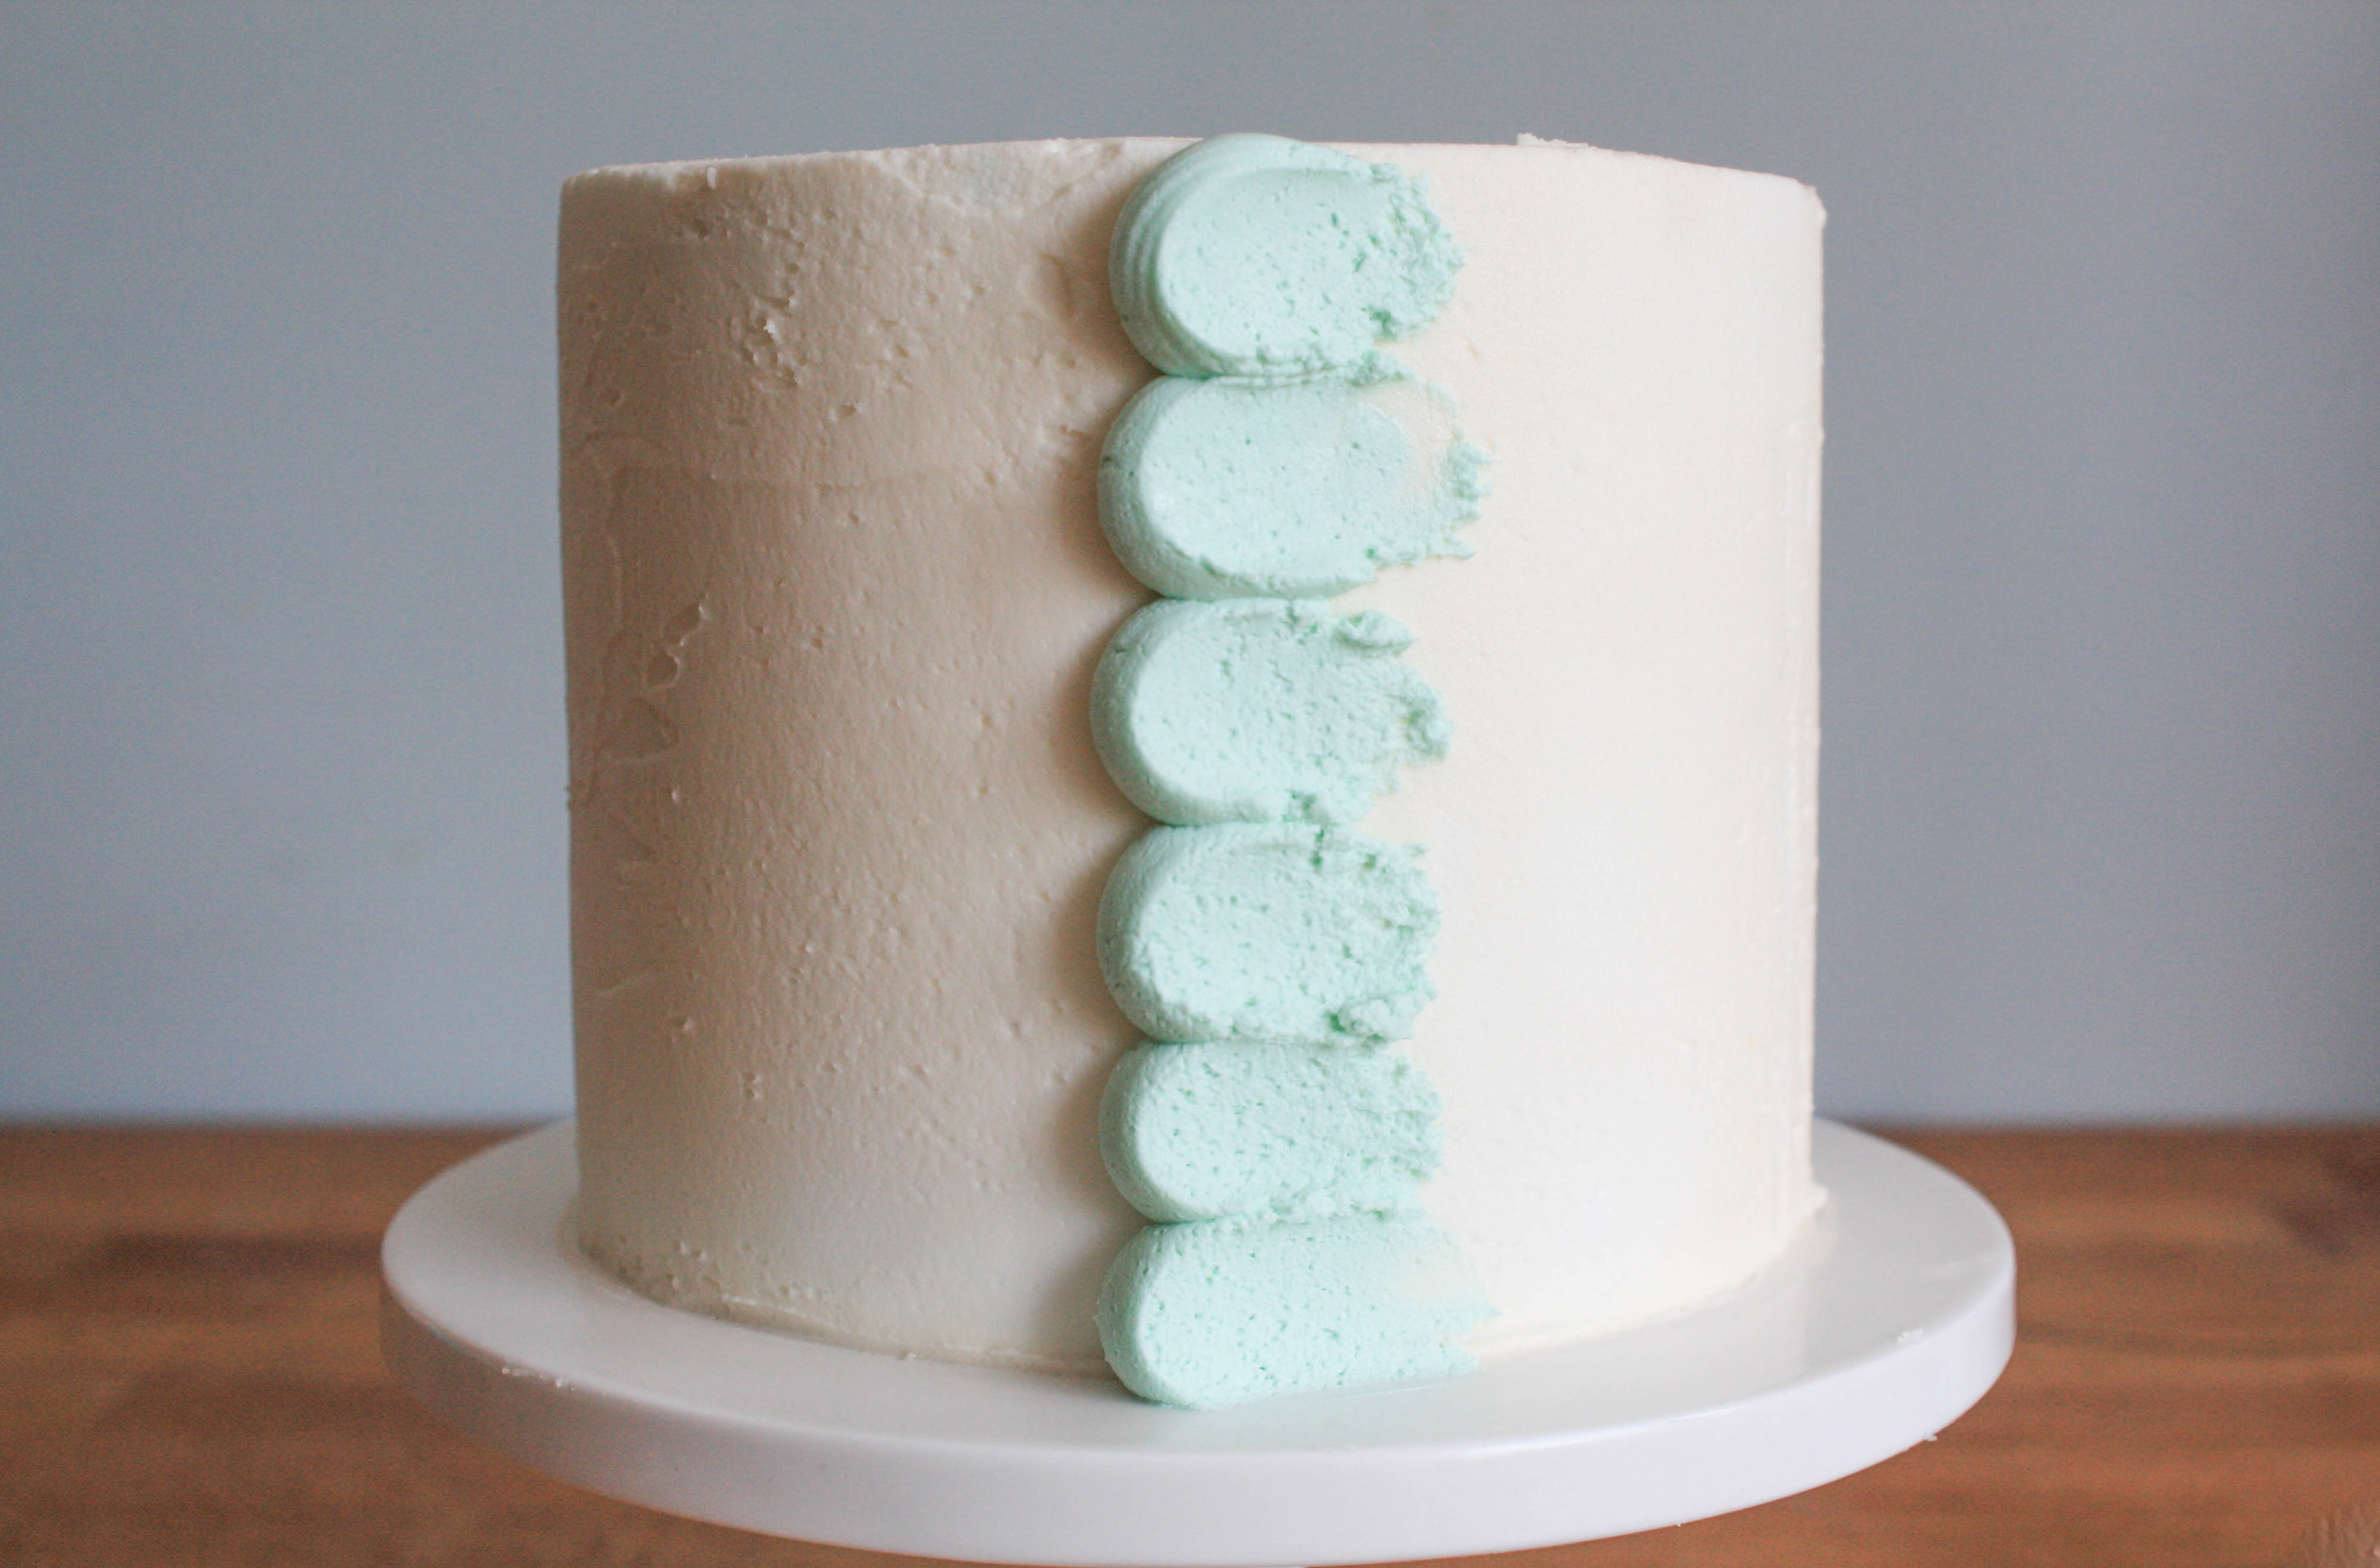
Pipe a row of dots onto the side of your crumb coated cake. Try and keep the dots similar in size and in a straight line. If you have trouble keeping a straight line, mark the crumb coat with a ruler first and use the line as a guide.
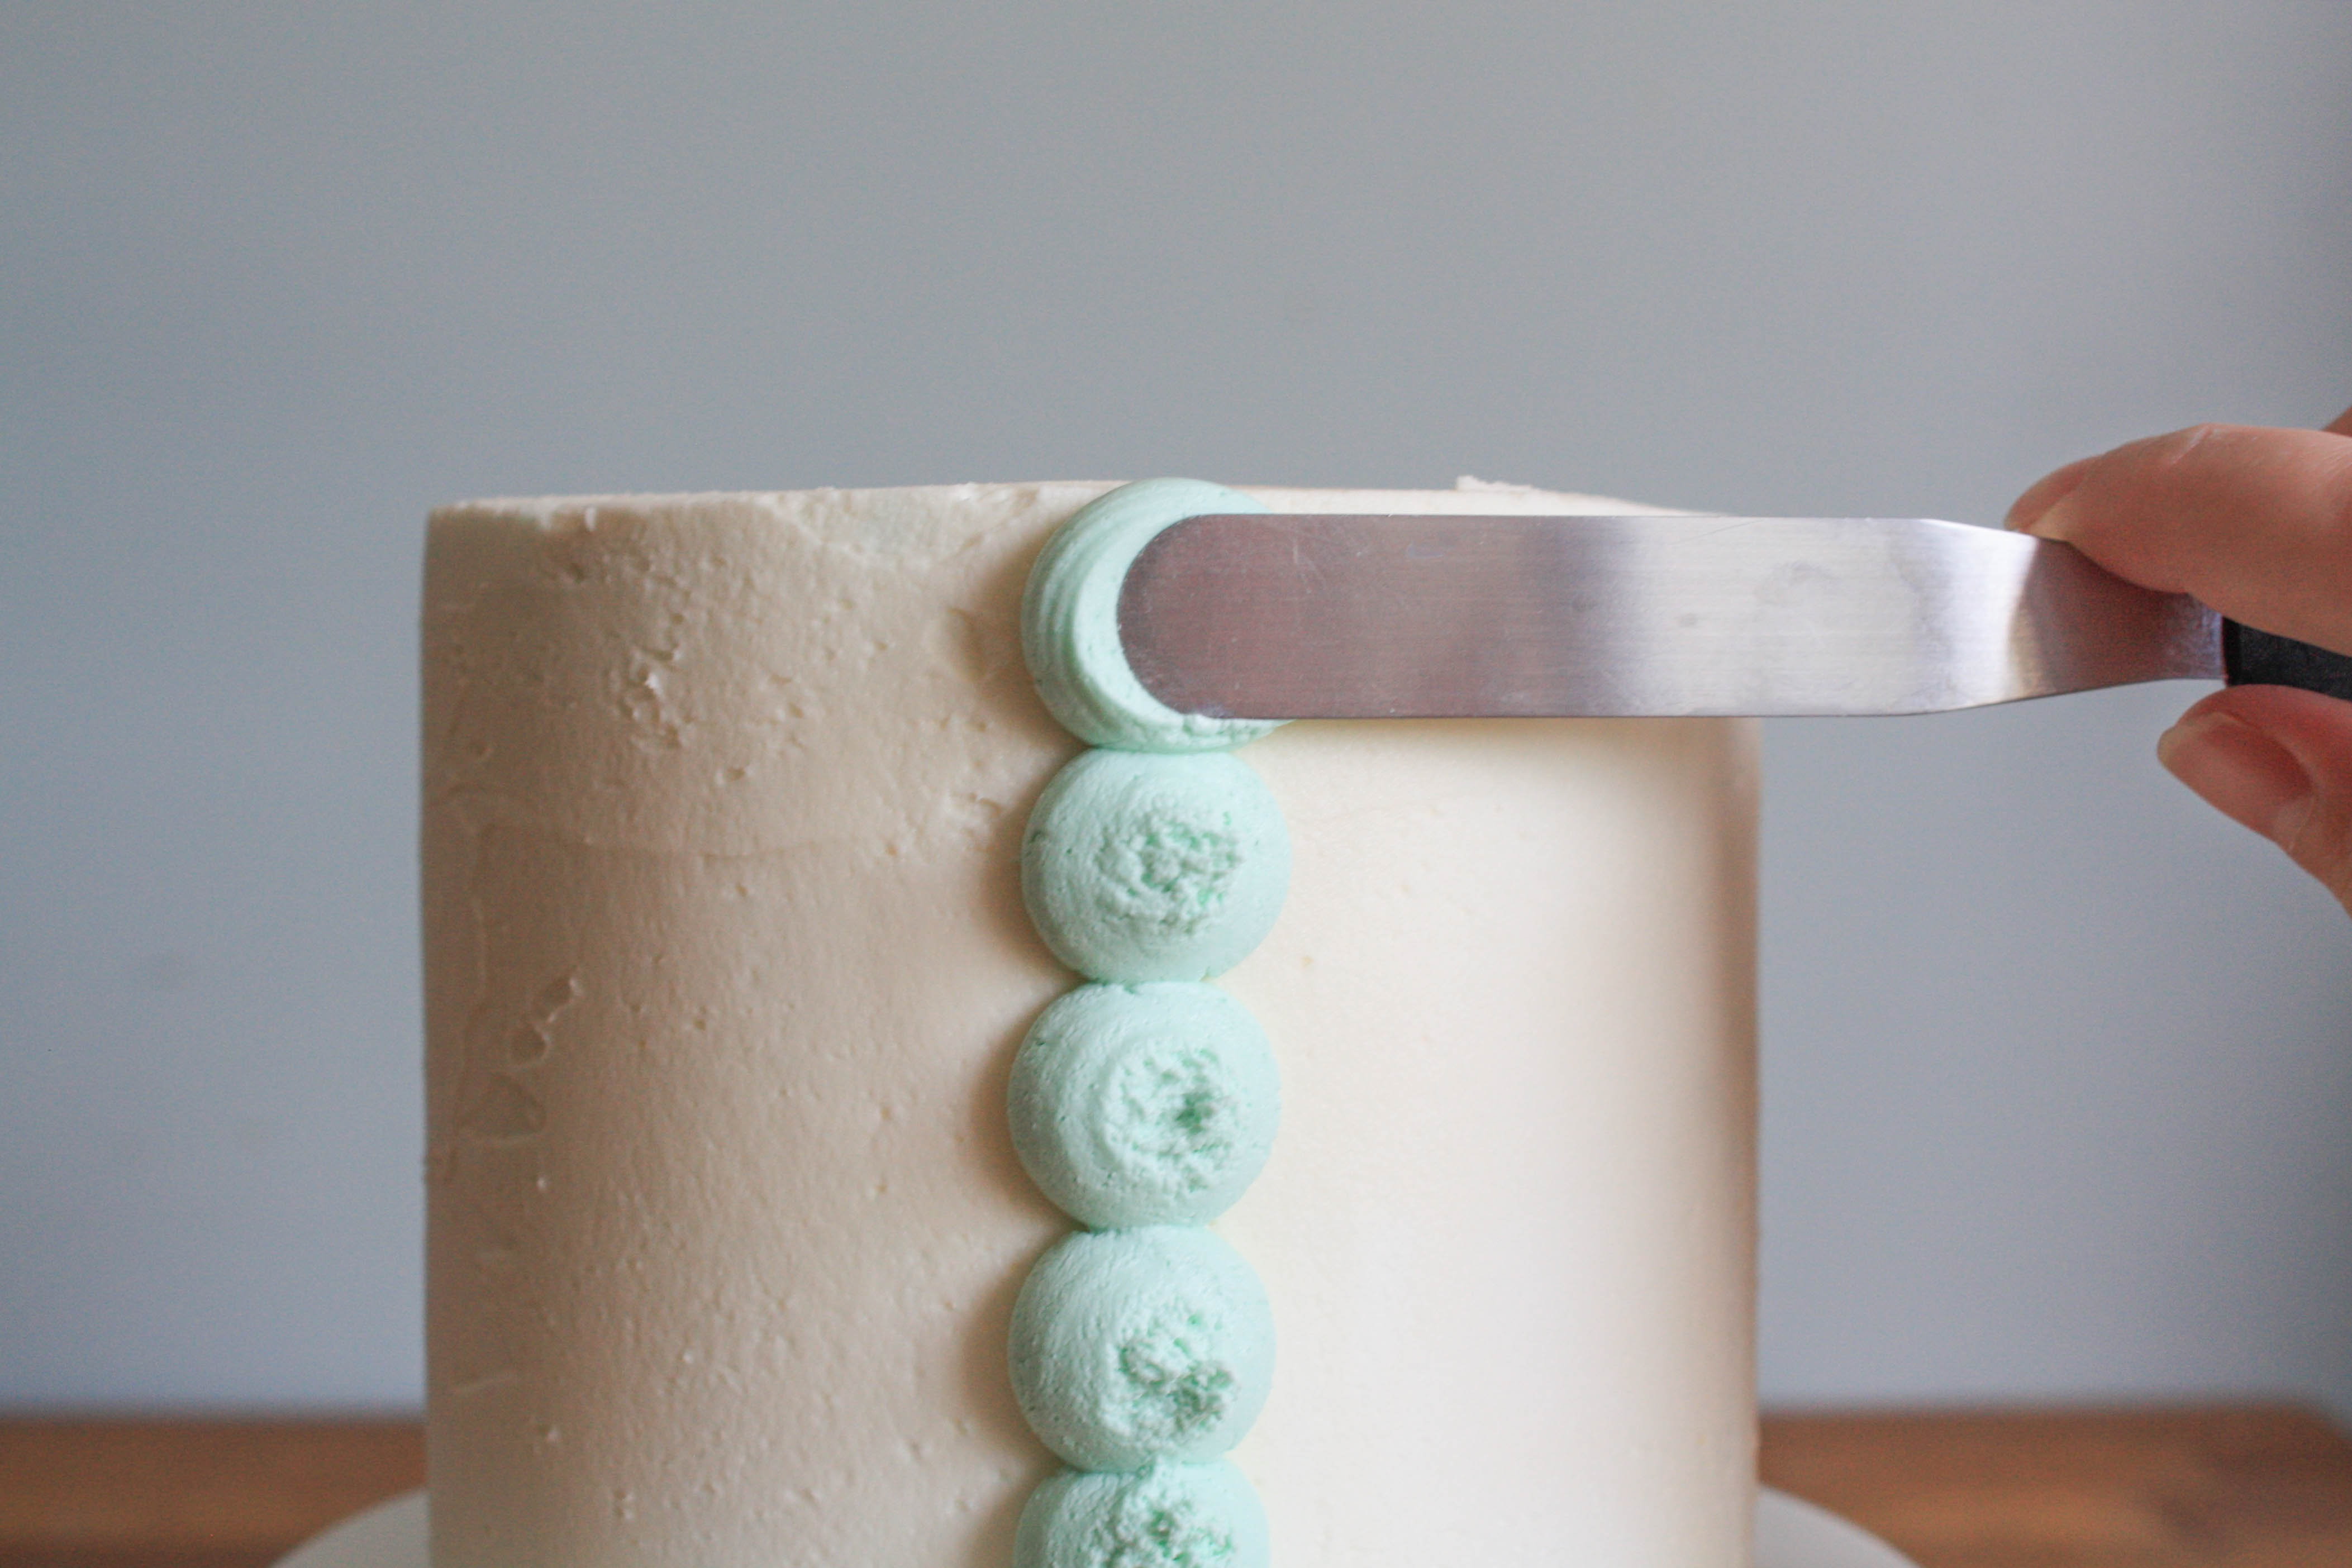
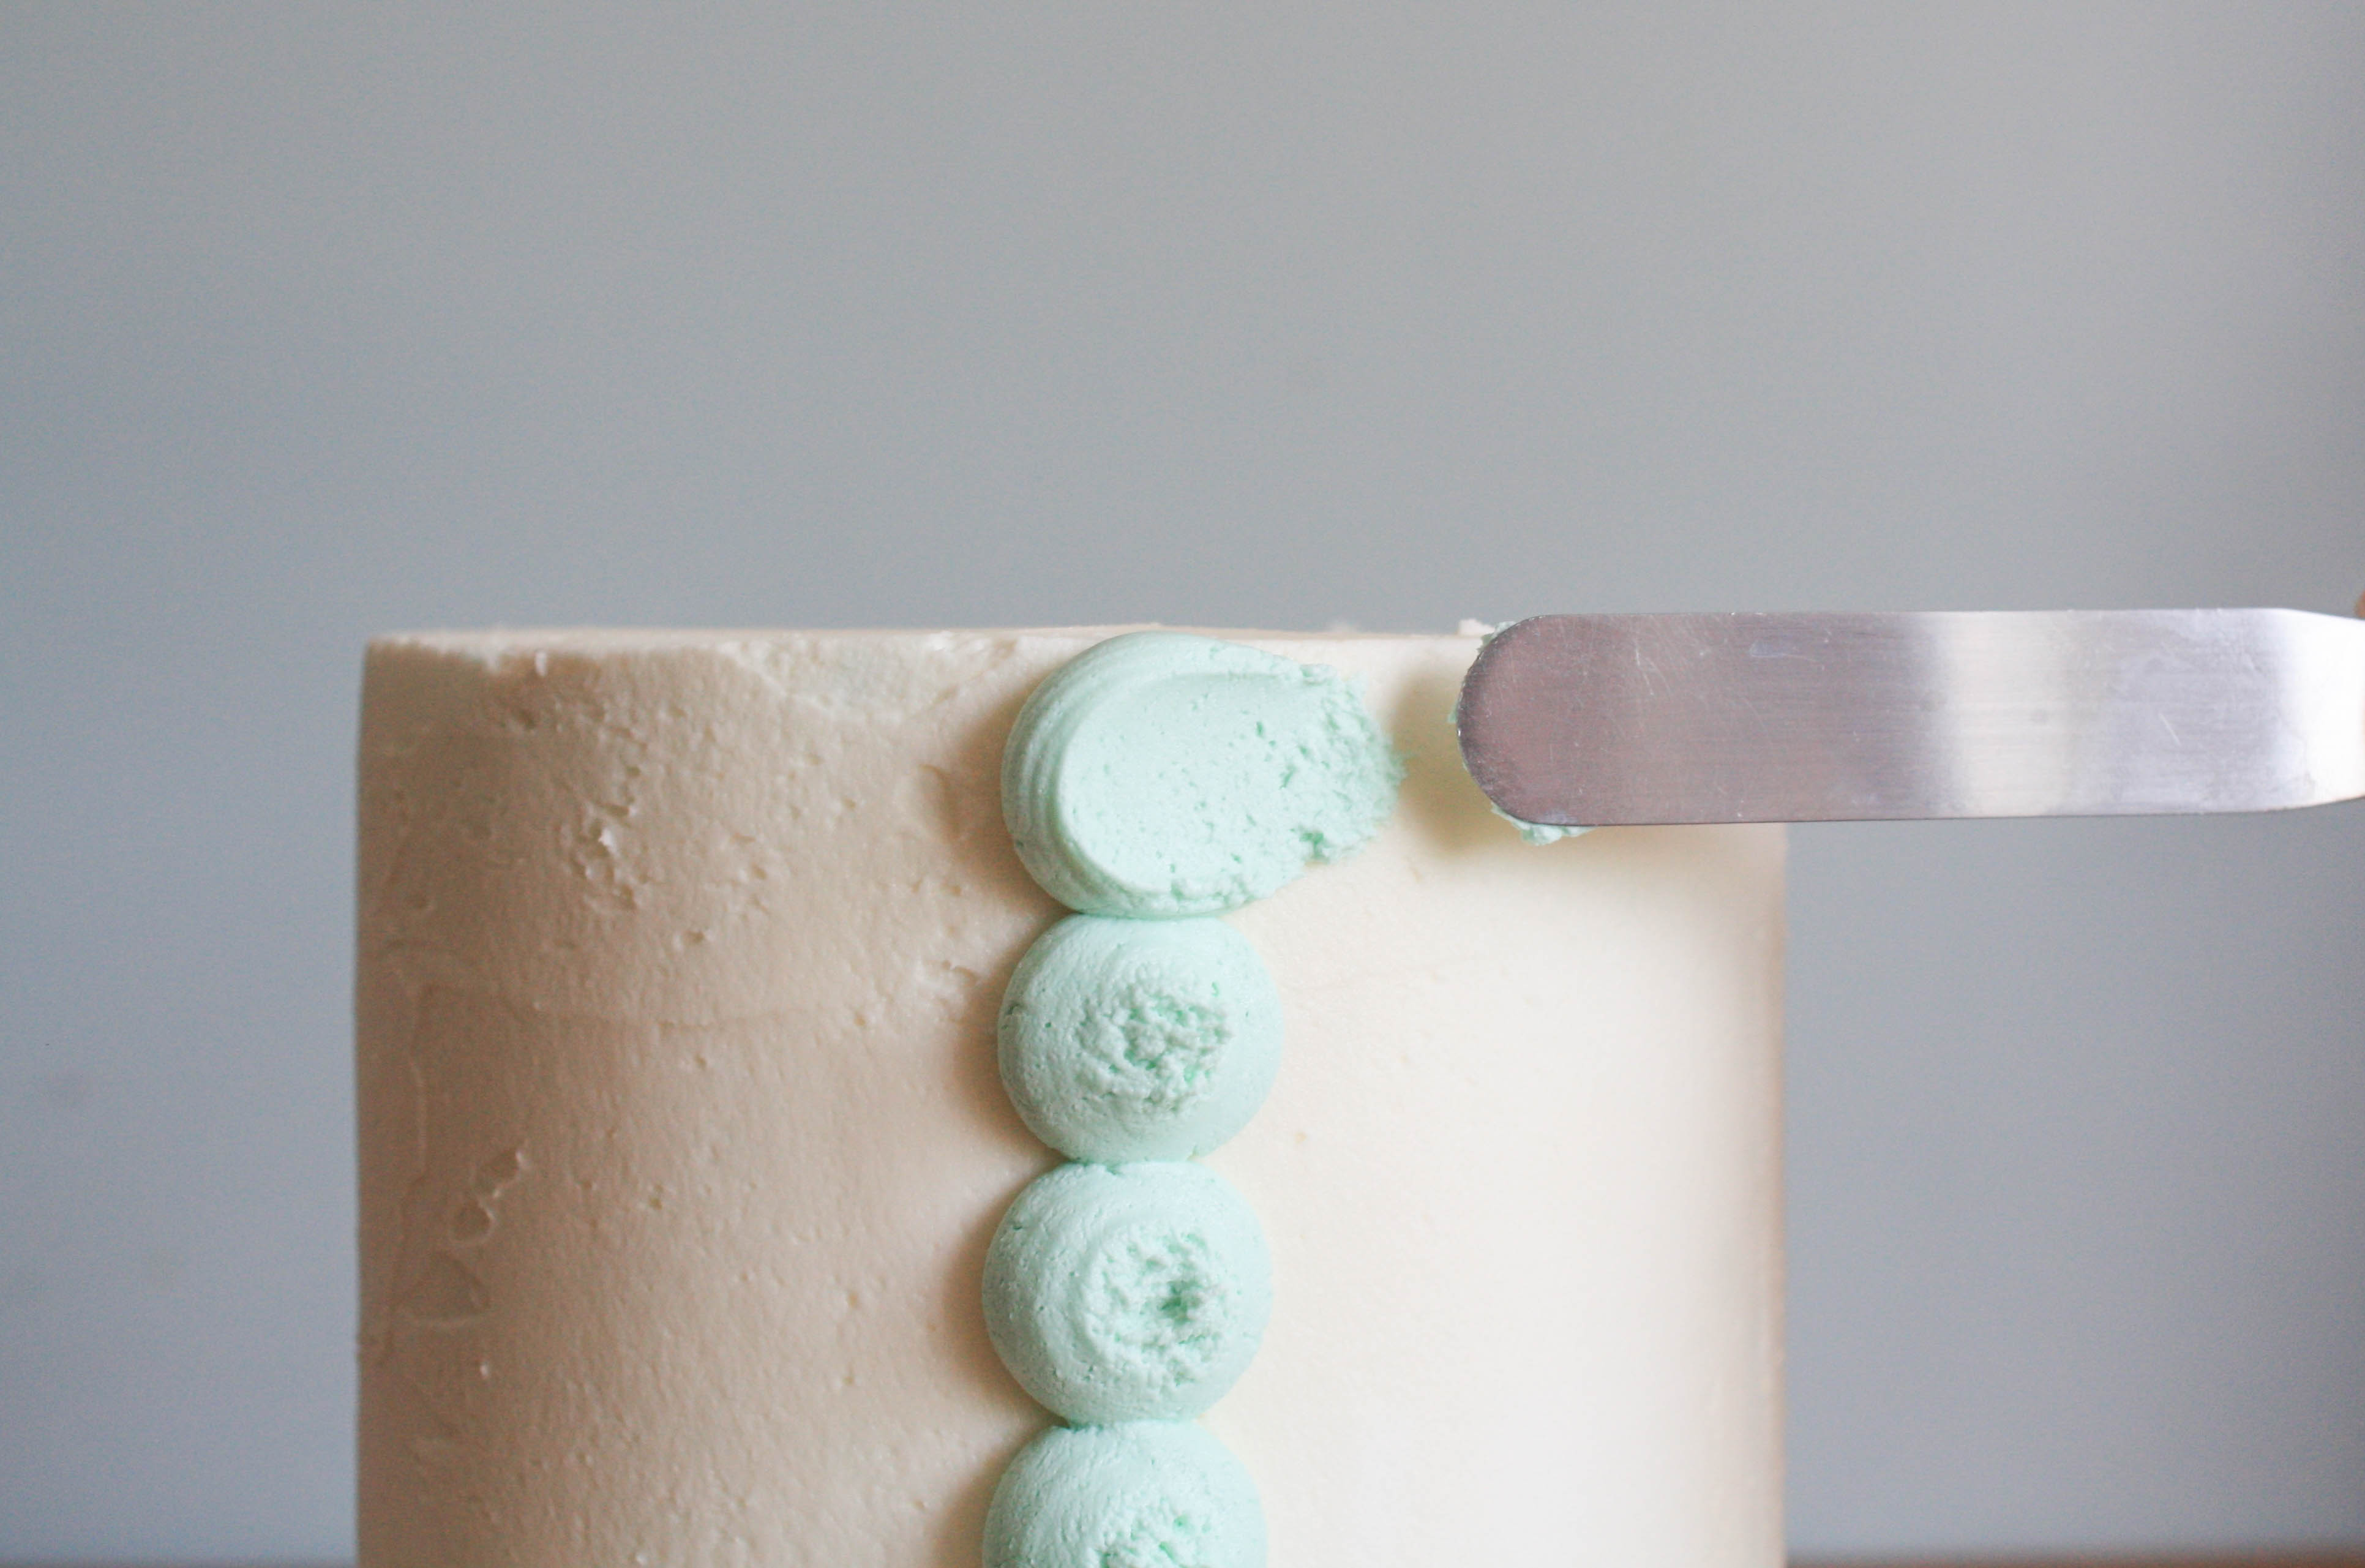
Step 2:
Use an icing spatula to smush the dots. Hold the spatula horizontally and apply pressure to the first dot. Press hard enough so that the dot smushes down, but not so hard that it loses its shape. When you reach the crumb coat, pull the spatula away to the side, smearing the dot across the surface of the cake. Repeat down the line until all of the dots have been smeared.
Step 3:
Pipe another row of dots so that they overlap the first row of smeared dots.
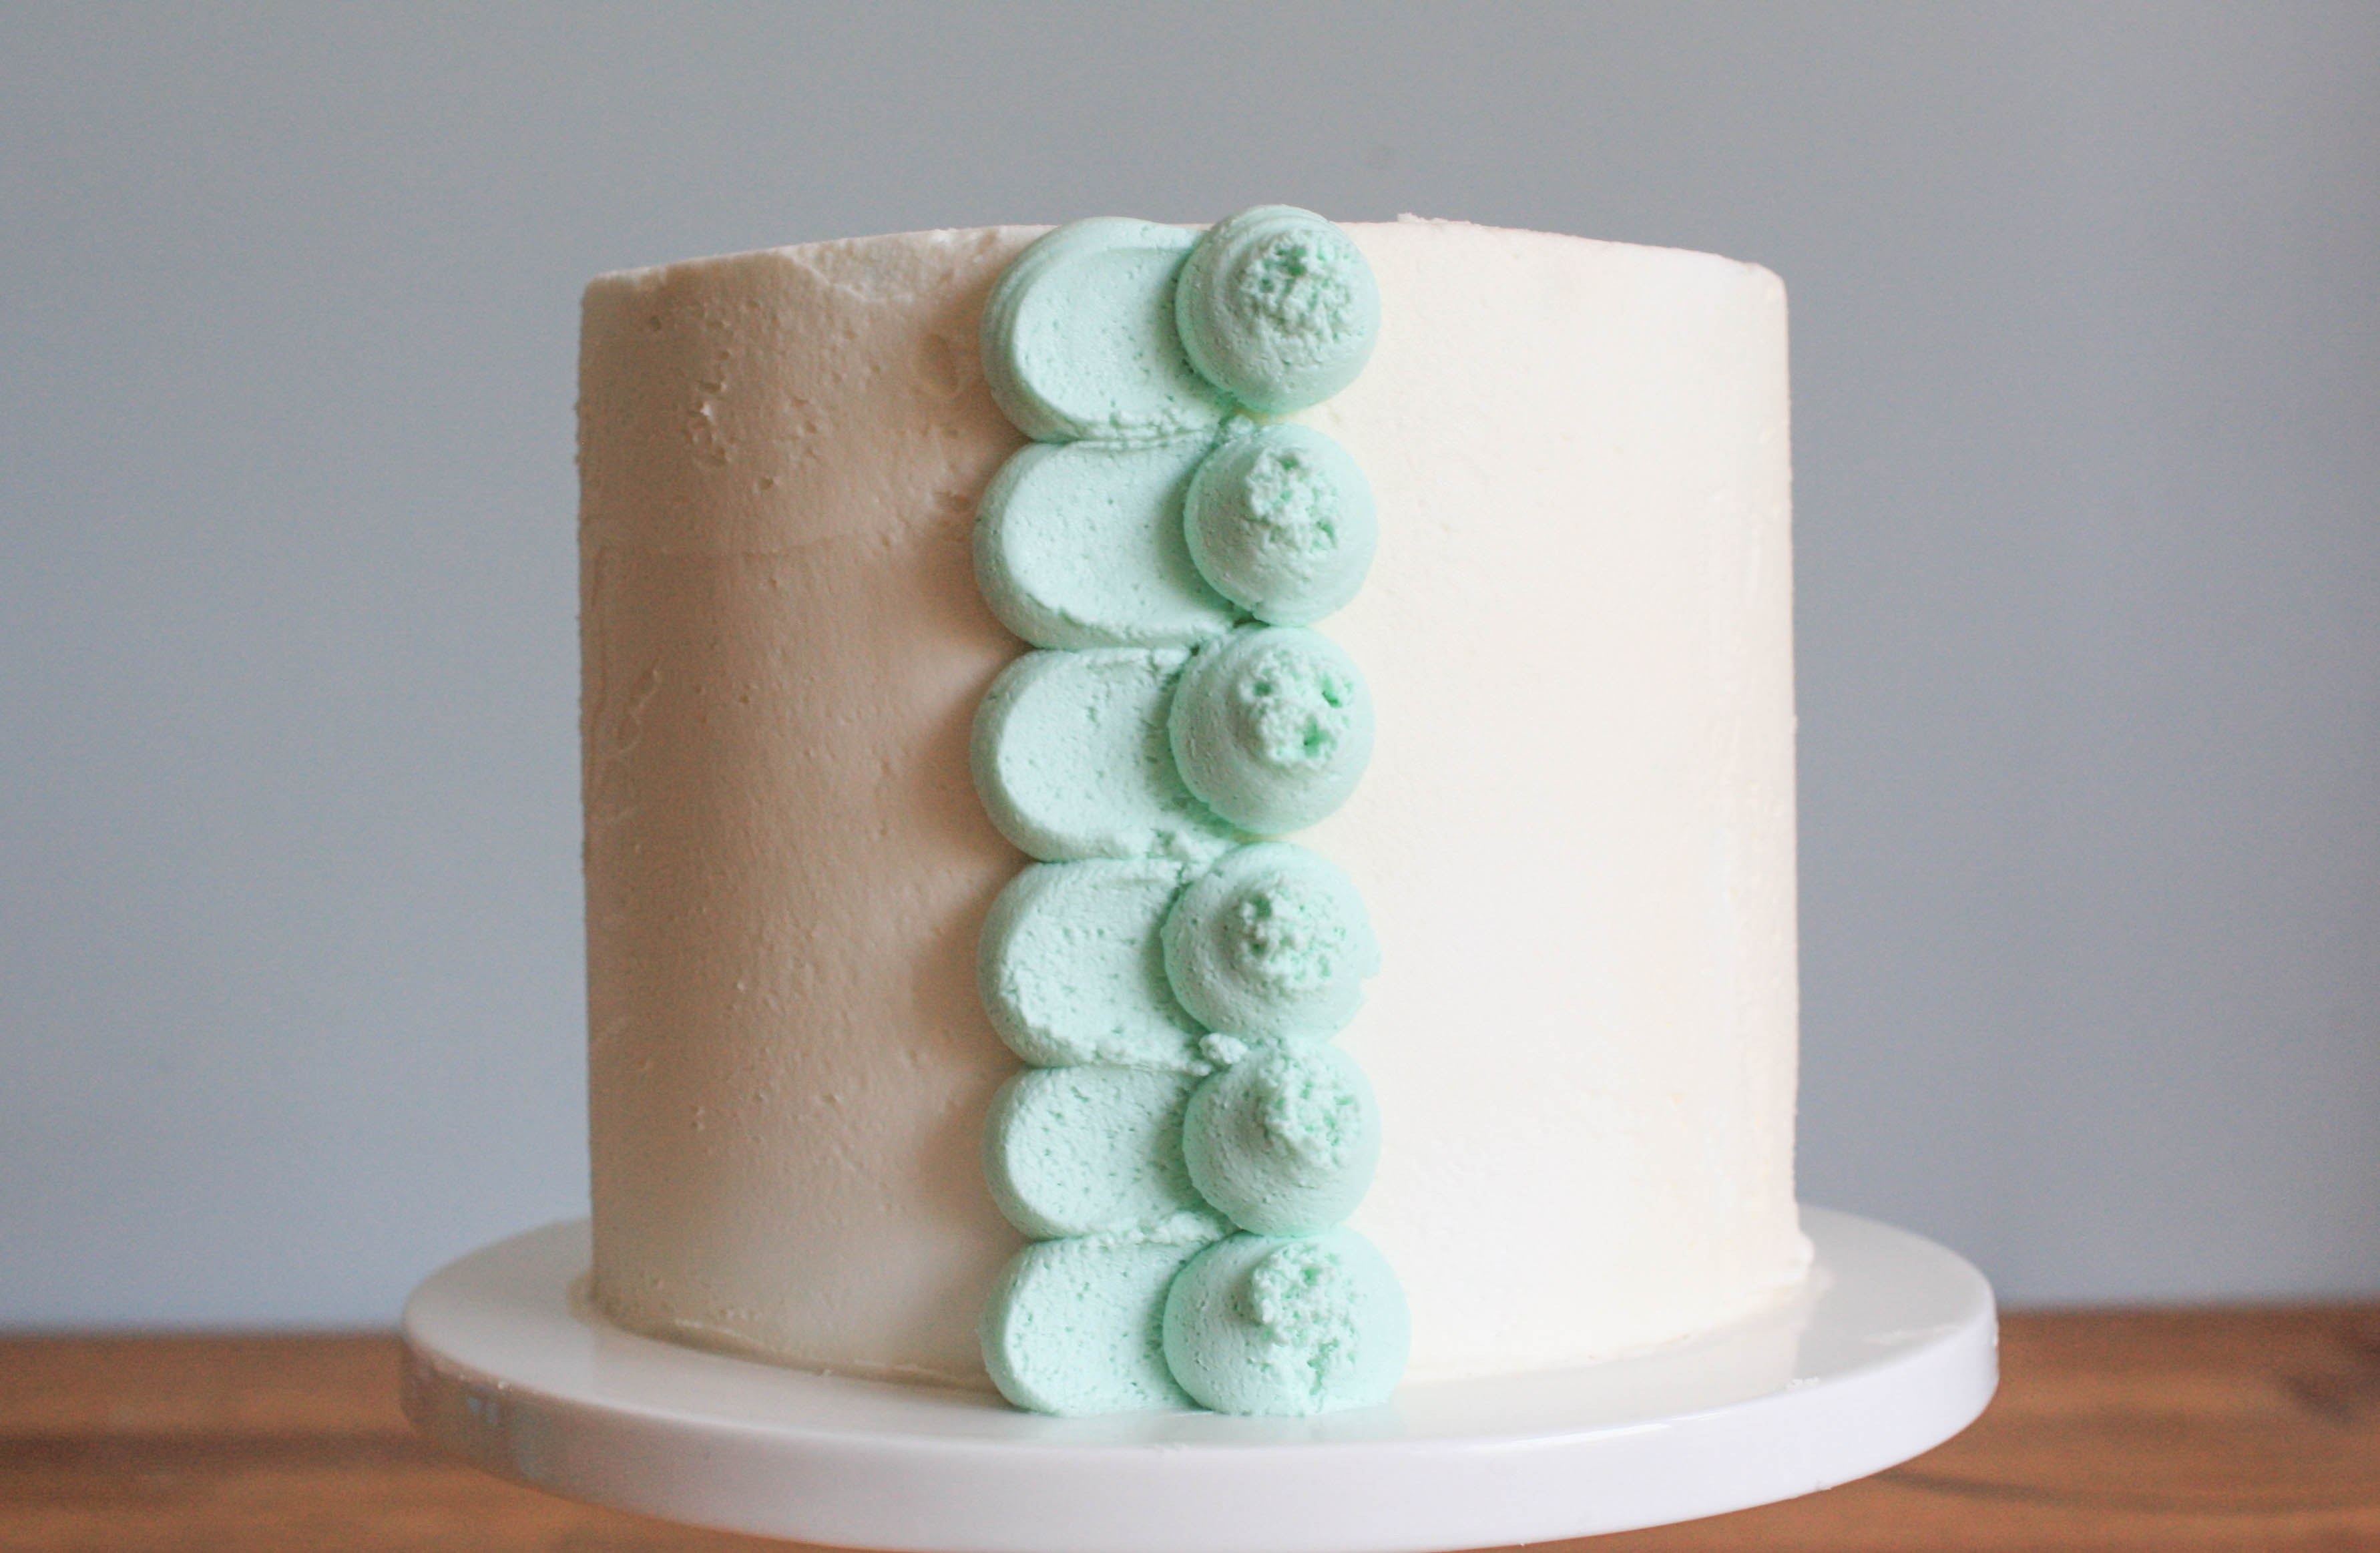
Repeat the smearing technique all the way around the cake until your entire surface has been covered. For the final row, you can leave off at your last smear, or pipe a row of dots and leave them un-smeared.

Piping petals to add simple embellishments
This method requires even fewer tools, but it does take a little more practice with the piping bag!
Step 1:
Hold the piping bag where you’d like the fattest end of the petal to end up. Pipe a dot, but as you release pressure on the piping bag, pull the tip down and away, creating the smeared petal shape.

Step 2:
Start the next petal so that it slightly overlaps the first. Finish the petal so that the tails of the first and second petal completely overlap. Repeat until the first layer of the flower is complete. Finish the flower by piping a circle of smaller petals on top of the first layer.
Step 3:
Pipe leaves around the flower, so that the fat end of the petal is closest to the flower. Allow some of the leaves to overlap on the fat ends, leaving the tips pointing out.

Once you’ve mastered these simple buttercream petal techniques, try mixing things up! Experiment with smaller or larger round tips, combine tip sizes, or even try tips with different openings. As beautiful as these petals are as a cake finish, they can also be used to finish a cupcake! Top a cupcake with a pretty piped flower or pipe petals in rows across the top of the cupcake for a more geometric look.
Share tips, start a discussion or ask one of our experts or other students a question.
No Responses to “Simple Yet Stunning: The Buttercream Petal Technique”