
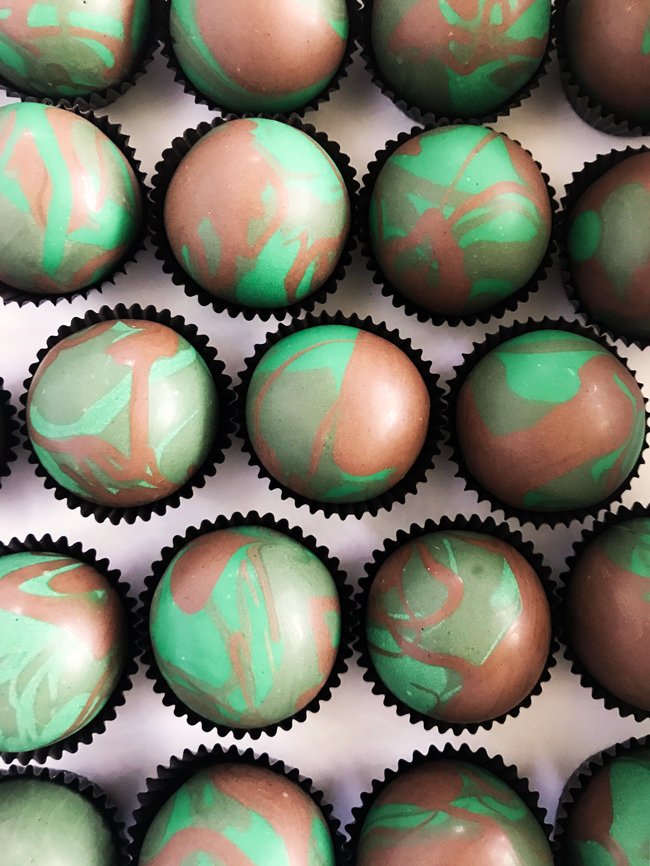
Camouflage is a pattern that has increasingly become even more popular as a party theme, so it’s no surprise these camouflage cake pops have become a very popular request. They’re quite simple to make, as I’ll explain step-by-step below, and not as mind boggling as it may seem with using three colors instead of two– very different from creating a classic marble pattern.
Mixing the camo candy coating
You’ll need three colors: a medium green, a dark green and also a light brown (like milk chocolate). We’ll consider the medium green as our base color. The other two are the accent colors we will use to achieve the camouflage effect.
To create the two shades of greens, you’ll need to add brown to them in different amounts:
- The darker green should be a mix of equal parts green and brown.
- The medium green is green mixed with just a tiny bit of brown to create a warmer tone of the color (you don’t need to alter it too much).
Camouflage cake pops tutorial
You’ll need:
- Cake pop dough ready for shaping
- Green and light brown candy coating
- Paramount crystals
- 6” paper lollipop sticks
- Toothpicks
- Waxed paper
- Cake pop stand
Step 1:
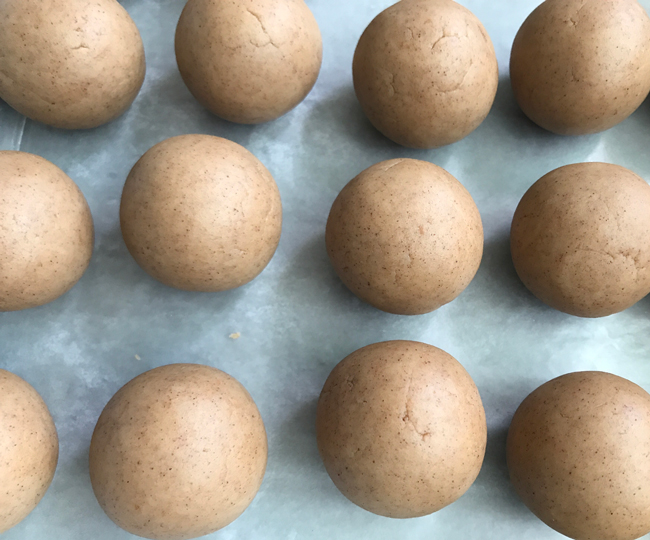
Use a cookie scoop to create uniform portions. Roll each portion into a ball. Place the cake balls on a waxed paper–lined cookie sheet and refrigerate for at least 10 minutes.
Step 2:
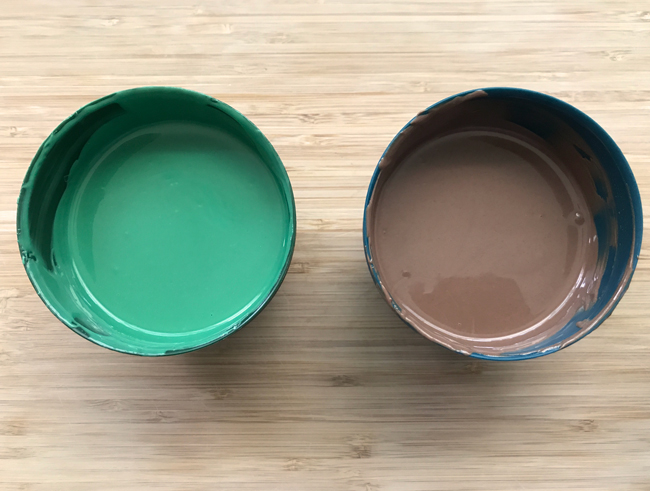
In two separate containers, melt green and light brown coating. Microwave each color for 1 minute at 50 percent power. Stir. Continue to microwave at 50 percent power for 30-second bursts, stirring between each heating interval, until melted and smooth. Then, use paramount crystals to thin the coating to the consistency of loose glue or wet paint.
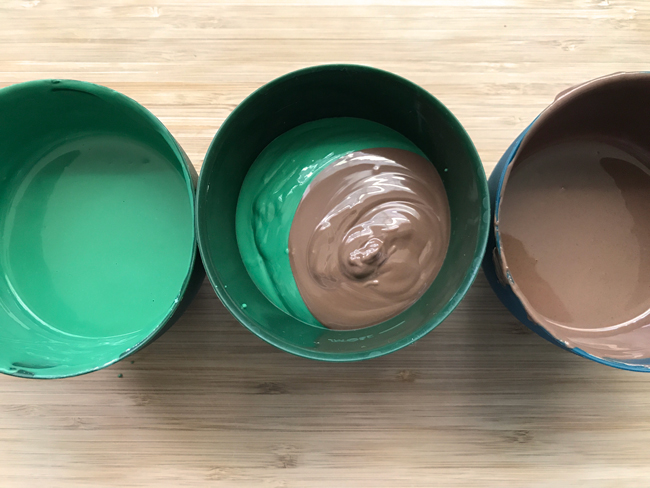
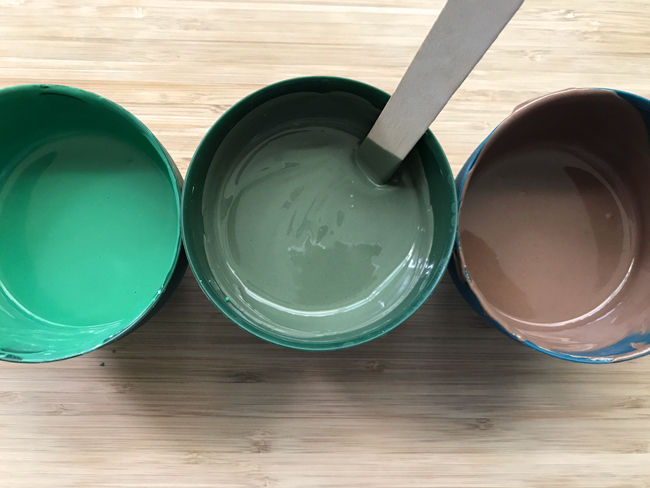
In a third container, mix equal parts green and brown to create a dark green color.
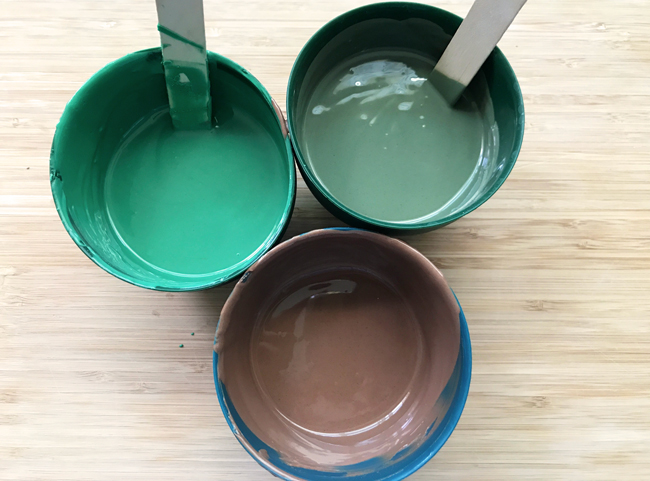
Add a little bit of brown (about 2 tablespoons per 8 ounces) to the medium green, as explained above.
Tip: You want all three coating colors to be the same in consistency. The coating should be on the thinner side and should drip smoothly.
Step 3:
Remove the cake balls from the fridge. If they were in the fridge for longer than 10 minutes, let them sit at room temperature for a bit, to take the chill off. Dip ⅓” of each lollipop stick into the coating and place in the cake ball until about halfway through.
Step 4:
This step is super important — please read it thoroughly!
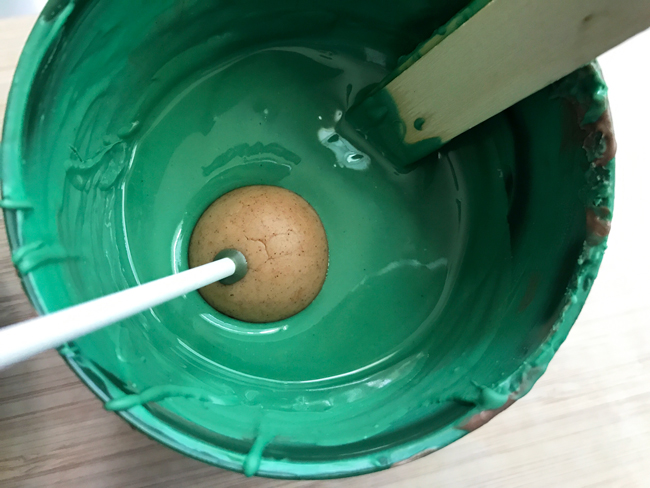
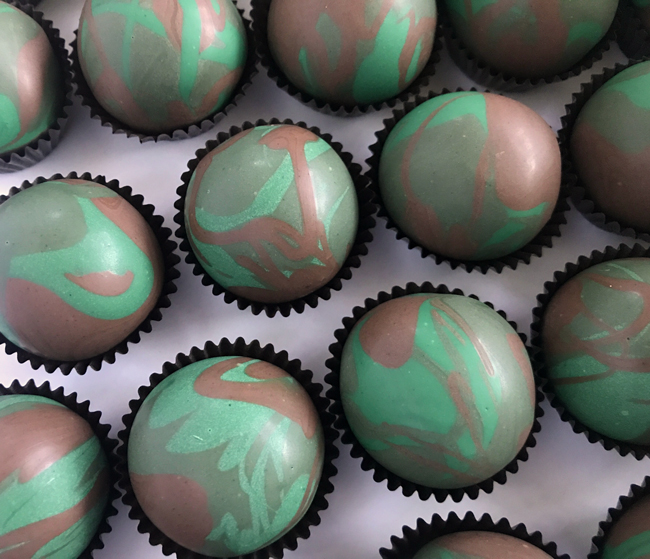
Start by dipping a cake pop into the medium green base color.
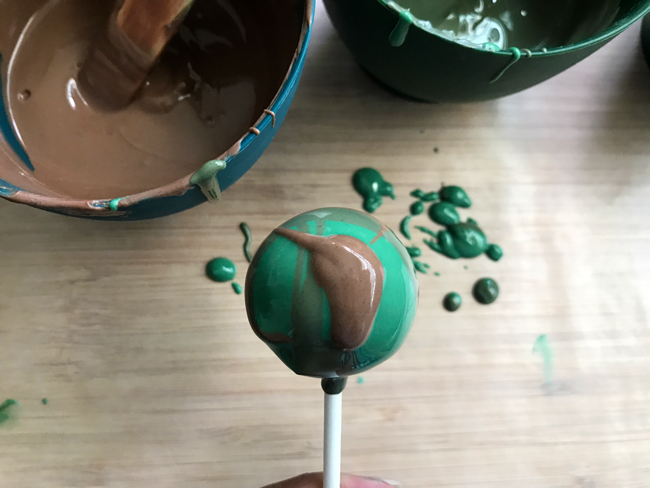
Next, using a spoon or jumbo popsicle stick, drip a small dollop of the other two colors on the cake pop it in two or three different spots. Give the cake pop a gentle side-to-side shake to even out the coating.
I like using the big popsicle sticks because it results in larger, thicker spots of color compared to using a drizzle motion (which looks more like marbling). Use a toothpick to pop any air bubbles you see on the surface.
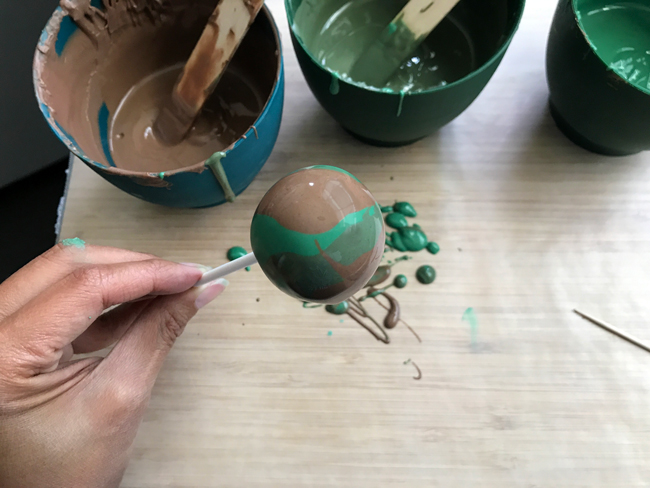
As you do this step, the coating should be dripping all over the place. But make sure to let the coating drip directly onto waxed paper — not in a container of candy coating.
That way, you can reheat the drips and add most of it it back into your dark green color, as well as a little into the medium green. If it drips right into the container, the temperature of the drip will be far cooler than the coating in the bowl, so you’ll need to stir the coating after each use — not ideal for streamlining this process.
When you get to the point that you’re adding dripped candy back into the coating, it’s best to dip into the dark green color first. This allows for essentially zero waste and the drip will yield a similar color as what you originally mixed.
During the process of making these cake pops, your base color will shift in color slightly (because we’re reusing the drip), but it will not be so dramatic that it alters the overall look of the set. Place on a cake pop stand to let dry completely.
Step 5:
If you’d rather serve cake balls instead of cake pops, once the cake pops have dried and set completely, carefully twist the stick and pull out to remove from the cake ball. Place a dollop of candy coating in a small chocolate/candy cup liner and place the cake ball in it hole-side-down. The dollop of candy will secure it in the cup and disguise the hole from the stick.
Share tips, start a discussion or ask one of our experts or other students a question.
No Responses to “How to Make Cool Camouflague Cake Balls”