
Low-light photography is a fun challenge and can yield some very interesting results. Plus, every year it seems to get easier and easier as the technology allows for higher ISOs with less digital noise. The great thing about low-light photography is that it doesn’t require a lot of equipment, can be a lot simpler than dealing with a lot of bright lights, and can give you some unexpectedly awesome photos.
Here are some simple tips & tricks for capturing images in low light.
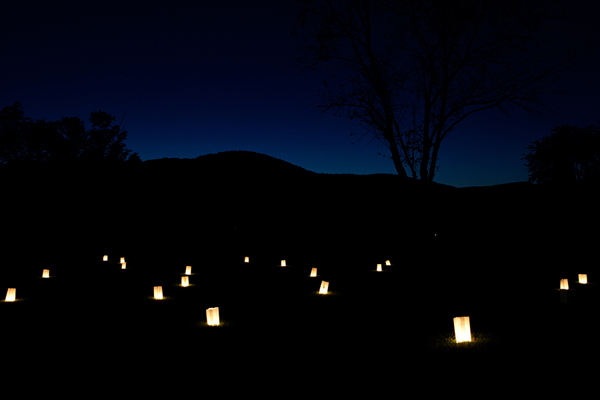
Long shutter speed lets the color really come through
Raise your ISO
If you are working with a newer DSLR, the quickest, easiest, simplest, most no-brainer way to get a low-light image is to crank up the ISO. My camera has relatively little noise at ISO 3200 and if I’m just displaying it on the web, at a fraction of the original size, you can’ t see the noise at all. That gives me 5 extra stops of light over the basic ISO 100 I typically shoot at in daylight. In addition, most new cameras will allow for much higher ISOs, gathering very little light and turning it into a usuable images. The best way to find out what your camera is capable of is to take it into a very low light situations and test the different ISO settings available to you.
Use a wide open aperture
If you frequently shoot photos in low light, like at a concert or in a bar, it is in your best interest to have a lens with a wide aperture. A 50mm f/1.8 is a great (and typically affordable) place to start. If you have never used one, f/1.8 will blow your mind with how much more light you can capture over the typical kit lens at f/3.5 or f/5.6. No matter the lens you are working with, the widest aperture will give you the most flexibility in low-light.
Use a tripod (or steady yourself)
Tripods are a game-changer in low-light photography. By eliminating camera movement you can use the whole range of apertures by adjusting shutter speed instead. Suddenly, when f/18 was an absurd thought with a hand-held camera in low light, it makes sense because you can open the shutter for 60 seconds and still get a sharp image.
If you don’t have a tripod available, use whatever you can to steady the camera or yourself. Set the camera on a table, a bench, a ladder… whatever you can find. Or if you are hand-holding it, lean against a wall or sit down so there is less potential for movement.
Slow that shutter speed down
Get your shutter speed as slow as you can before the photo starts looking blurry. If you are hand-holding it, this may mean 1/60 second. For people with very steady hands or wide lenses, you may be able to still get sharp pictures at 1/15 or 1/30 second.
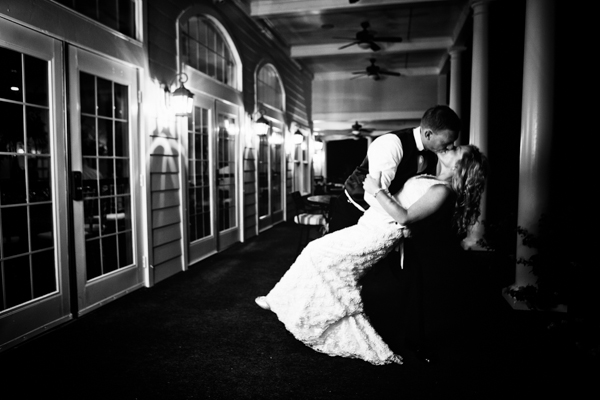
1/15 second at f/2.8
Exhale while shooting
Like a seasoned sharpshooter, learn to exhale while shooting. If you hold your breath trying to remain still, your body will tense up and be less likely to stay still. Instead, slowly let out your breath as you are taking the photo.
Use burst mode
Continuous shooting mode or burst mode takes many photos in rapid succession when you press the shutter. This can be helpful in low light because just the act of pressing the shutter can be enough to cause camera shake. By holding the shutter down, you increase your chance of one of the photos turning out sharp.
Image stabilization
Many new lenses include an image stabilization feature, which can allow for 1-3 extra stops of shutter speed flexibility. This means that under normal circumstance when you would have needed 1/100 sec to get a sharp photo, you can shoot at 1/15 sec using image stabilization on your lens and achieve the same level of sharpness.
So, give it a try! See how dark it can be while still getting interesting photos.
Mastery of light is an essential for all photographers. Build your skills — and your portfolio — by learning how to create a compelling image, no matter the light source in the online photography class The Essentials for Understanding Light.
Share tips, start a discussion or ask one of our experts or other students a question.
No Responses to “Unexpected Photos: Tricks for Capturing Images in Low Light”