
The channel stitch is a wonderful and simple way to add a decorative element to your clothing or accessories. Although it is often thought of as a couture technique, channel stitching is achievable for any home sewer with a bit of practice and attention to detail. The best part: all you need to create the channel stitch is your garment fabric, interfacing, thread and the ability to stitch a straight line!
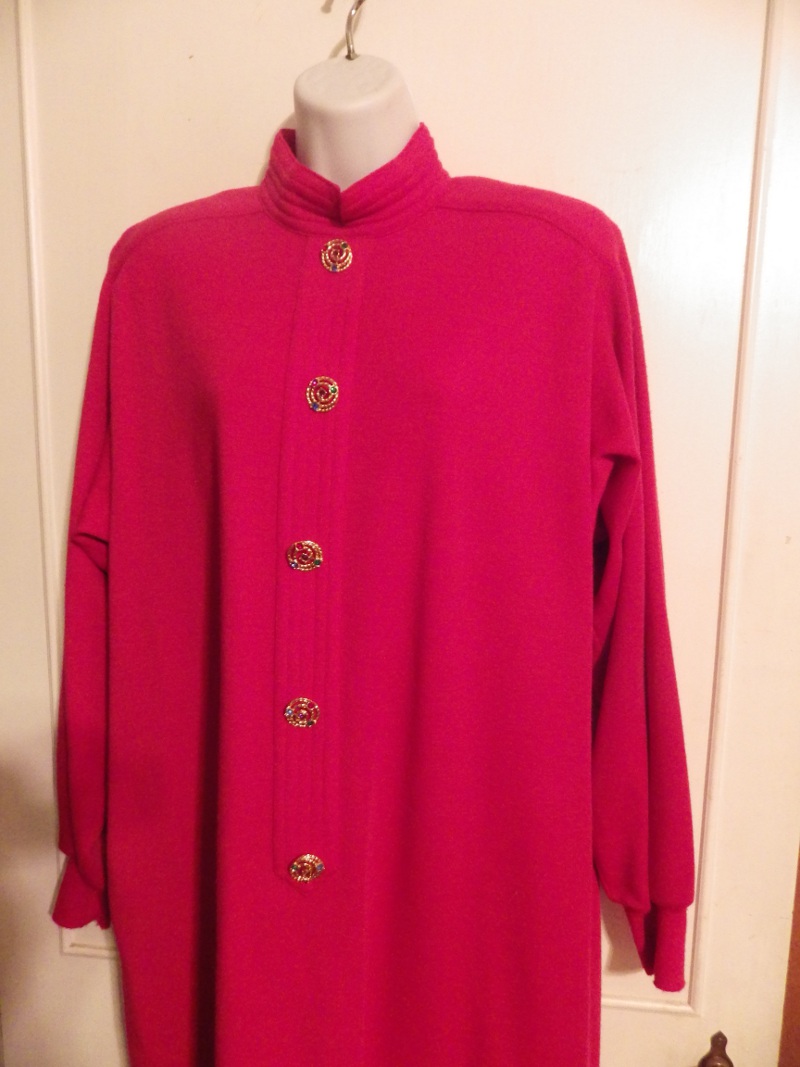
Photo via Marguerite Mix Vintage Delights
What is a channel stitch?
Channel stitching is a more specific term than quilting or topstitching, and generally is considered to be multiple rows of parallel stitching lines.
The channel stitch can be used to:
- Add a decorative element to a plain fabric or design
- Help unify a variety of design elements into a more cohesive whole
- Add structure to a garment made from lighter weight fabrics
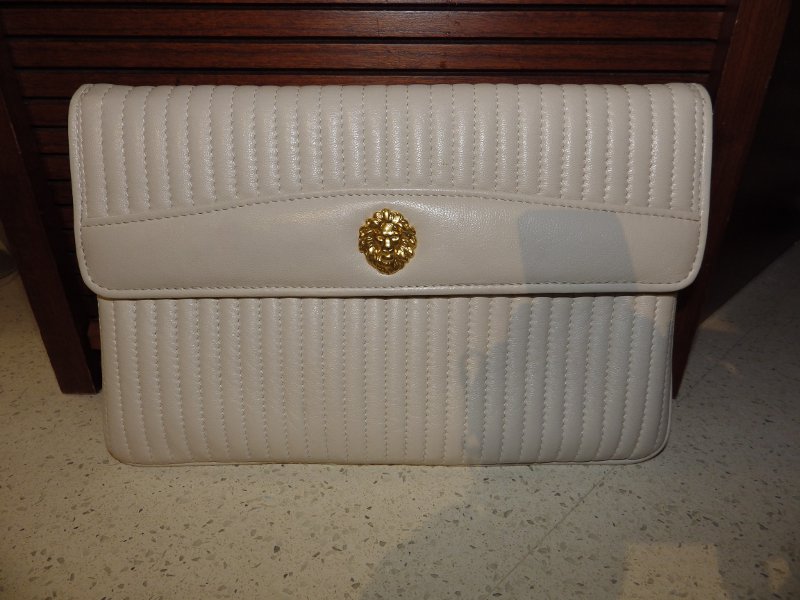
Photo via Marguerite Mix Vintage Delights
Where is channel stitching used?
Channel stitching is often applied on a small section of a garment, like the collar or cuffs, to add detail to a plain fabric or simple design. But the channel stitch can be used much more liberally, and even can be applied to the entire garment. Geoffrey Beene was a couturier who used channel stitching extensively in many of his creations, and he was considered a master of this technique.
One thing to consider with channel stitching is that it will definitely add weight wherever it is used, and the more rows of stitching you apply, the firmer the fabric will become.
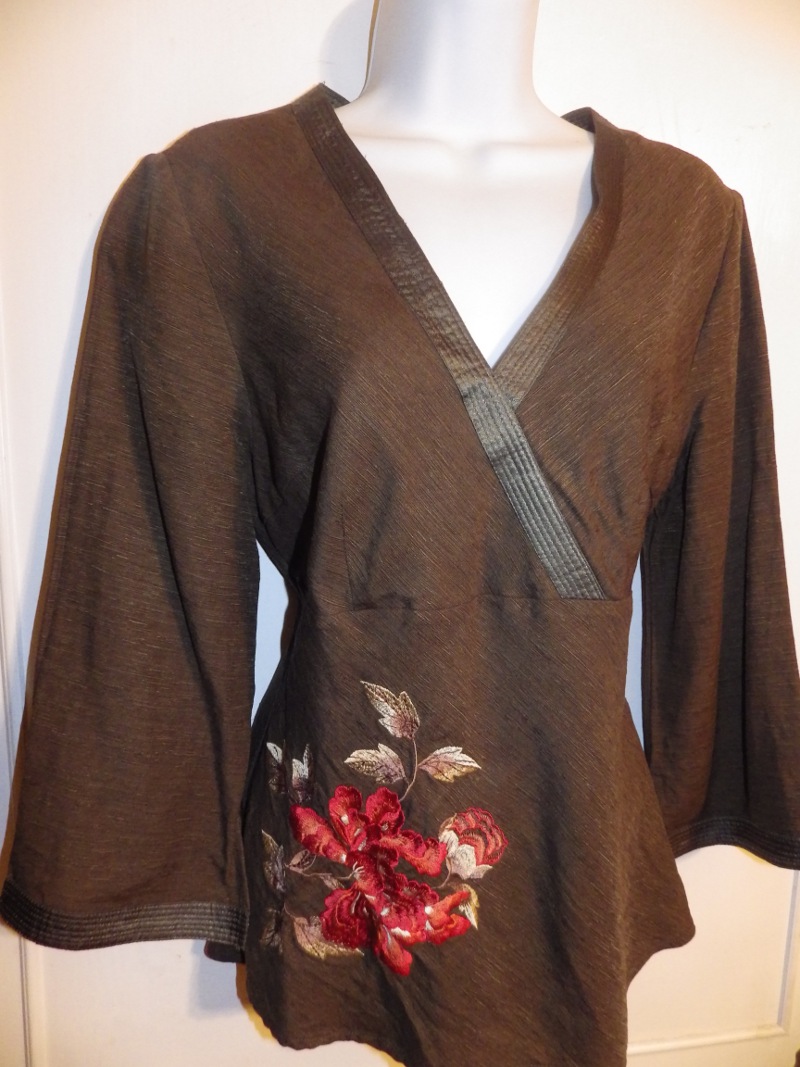
Photo via Marguerite Mix Vintage Delights
How to channel stitch
Channel stitching can be applied either during or after garment construction — it all depends on the section of the garment and the stitch path you want to create. For example, cuffs are often channel stitched before they are sewn onto a sleeve. Collars and placket combinations, hems, or neckbands are often channel stitched after the garment is finished to ensure straight lines of stitching across seamlines.
Step 1:
Determine the appropriate weight of interfacing for your project, and either fuse or baste into place.
Step 2:
Using a fabric-safe marker, draw your first line onto the area to be stitched.
Step 3:
If you are channel stitching cuffs or another area before garment construction, you can reduce stiffness in the seam allowance by starting and ending the stitching just slightly into the seam allowance area. Using a very short stitch length to start and end will eliminate loads of little knots! Remember to increase your stitch length to the desired length as you move outside the seam allowance.
Step 4:
To help maintain the grainline of the area you are working on, press and straighten after each line of stitching.
Step 5:
Repeat Steps 2-4 until you have applied the amount of channel stitching you desire for the area being stitched.
Its important to test, test, test. Each fabric will react differently, and the type of interfacing you use will definitely impact the finished result as well. You may want to buy a bit of extra fabric to ensure you have enough yardage to experiment with.
In the end, you are the designer, and you will need to select the combination of thread, stitch length, distance between rows, and interfacing that you like for your project. Spend a little time experimenting until you are satisfied with the overall effect, and this is a great chance to practice your straight stitching as well!
Share tips, start a discussion or ask one of our experts or other students a question.
No Responses to “Add Designer Appeal to Your Garments With the Channel Stitch”