
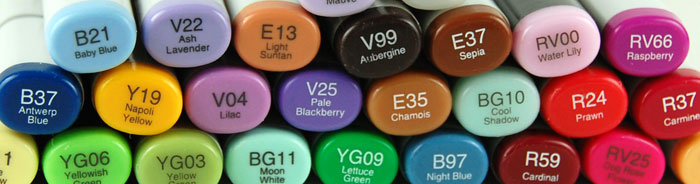
The Copic marker code
 The first symbol is a letter representing a hue or color family, i.e. R-Red, B-Blue, Y-Yellow, BG- Blue-Green, etc.
The numbers following the letter are broken down into two parts with each digit representing a different classification or characteristic of the marker color. For that reason, it is easier to understand the color code if the numbers are viewed individually rather than together. For example, think of G14 as G-one-four or YR23 as YR-two-three.
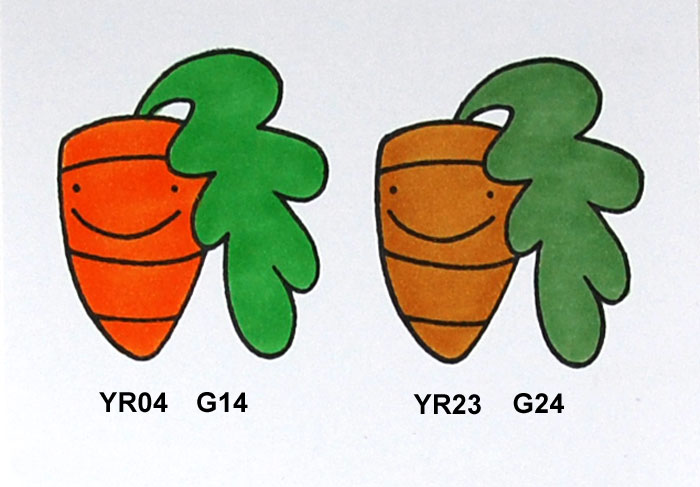
The first number indicates saturation. The lower the number, the brighter, more pure or vibrant the color. As the first number increases so does the amount of gray within that color. With a higher first number, the color is less vibrant or toned down.
In the photo above, I used YR04 (YR-zero-four) and G14 (G-one-four) to color the carrot on the left. With low first numbers, you can see that the colors are bright and vibrant. By increasing the first numbers, YR23 (YR-two-three) and G24 (G-two-four) as used to color the carrot on the right, the colors become more muted or less bright. There can be a significant change in saturation by increasing the first number by just one or two numbers.
The first symbol is a letter representing a hue or color family, i.e. R-Red, B-Blue, Y-Yellow, BG- Blue-Green, etc.
The numbers following the letter are broken down into two parts with each digit representing a different classification or characteristic of the marker color. For that reason, it is easier to understand the color code if the numbers are viewed individually rather than together. For example, think of G14 as G-one-four or YR23 as YR-two-three.
The first number indicates saturation. The lower the number, the brighter, more pure or vibrant the color. As the first number increases so does the amount of gray within that color. With a higher first number, the color is less vibrant or toned down.
In the photo above, I used YR04 (YR-zero-four) and G14 (G-one-four) to color the carrot on the left. With low first numbers, you can see that the colors are bright and vibrant. By increasing the first numbers, YR23 (YR-two-three) and G24 (G-two-four) as used to color the carrot on the right, the colors become more muted or less bright. There can be a significant change in saturation by increasing the first number by just one or two numbers.
Low First Number = Pure/Vibrant High First Number = More Gray/Less Vibrant
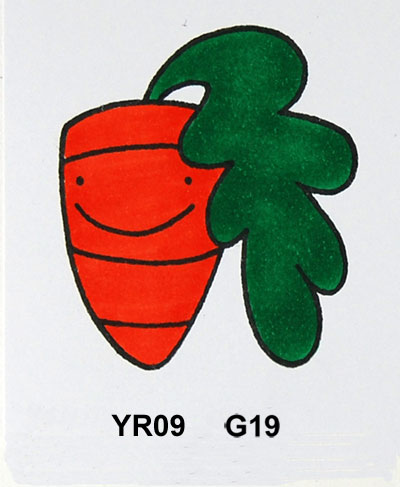 The second number indicates brightness or color shade. Lower numbers are lighter shades while the higher numbers are darker. In the photo above, I’ve increased the second number to 9 (using YR-zero-nine and G-one-nine). The colors are still very bright and pure but they are a darker shade.
Low Second Number = Lighter Shade High Second Number = Darker Shade
Natural blending groups
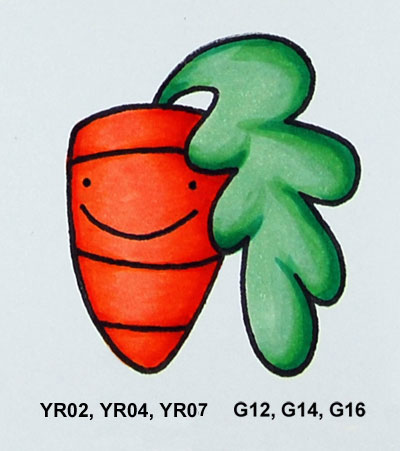 Within each color family there are smaller sequences of numbers. For example, in the photo above, I used YR02, YR04 and YR07 for the carrot and G12, G14 and G16 for the leaves. The saturation (or first numbers) are the same (zero for the carrot, one for the leaves) and the second numbers are two to four digits apart.
As a general rule, by keeping the color family (the letter) and the first digit (saturation) the same, you can be assured of a natural blend by increasing the second number by increments of two to four. Keep in mind this is not a “hard fast” rule as many colors can be blended. Find those you like and keep notes for future reference.
Note that because brown can be made up of so many different colors, the E group, or earth hues, do not exactly follow Copic code. There are, however, different natural blending groups, each with its own touch of red, gray, peach or green, providing many options for coloring different shades of brown.
For a great visual reference in choosing blending groups, check out the Copic color wheel, as published by Imagination International, Inc.
You might also enjoy our posts on basic coloring and shading with Copic markers and how to blend Copic markers.
Within each color family there are smaller sequences of numbers. For example, in the photo above, I used YR02, YR04 and YR07 for the carrot and G12, G14 and G16 for the leaves. The saturation (or first numbers) are the same (zero for the carrot, one for the leaves) and the second numbers are two to four digits apart.
As a general rule, by keeping the color family (the letter) and the first digit (saturation) the same, you can be assured of a natural blend by increasing the second number by increments of two to four. Keep in mind this is not a “hard fast” rule as many colors can be blended. Find those you like and keep notes for future reference.
Note that because brown can be made up of so many different colors, the E group, or earth hues, do not exactly follow Copic code. There are, however, different natural blending groups, each with its own touch of red, gray, peach or green, providing many options for coloring different shades of brown.
For a great visual reference in choosing blending groups, check out the Copic color wheel, as published by Imagination International, Inc.
You might also enjoy our posts on basic coloring and shading with Copic markers and how to blend Copic markers.
Share tips, start a discussion or ask one of our experts or other students a question.
No Responses to “Coloring With Copic Markers: Unraveling the Code”