
You don’t need a stack of colored cardstock to create paper crafts that are full of vibrant hues. In this post, we’ll show you how to create a rainbow-colored handmade card with just some white cardstock and a few inks.
Coloring with ink is a fun and easy way to make custom colored cardstock for your paper crafts, and it’s also a great technique for perfectly matching die cuts and background elements with stamped sentiments and details in handmade card, scrapbook, and other paper craft projects.
A technique that’s fun, easy, and colorful … what more can you ask?
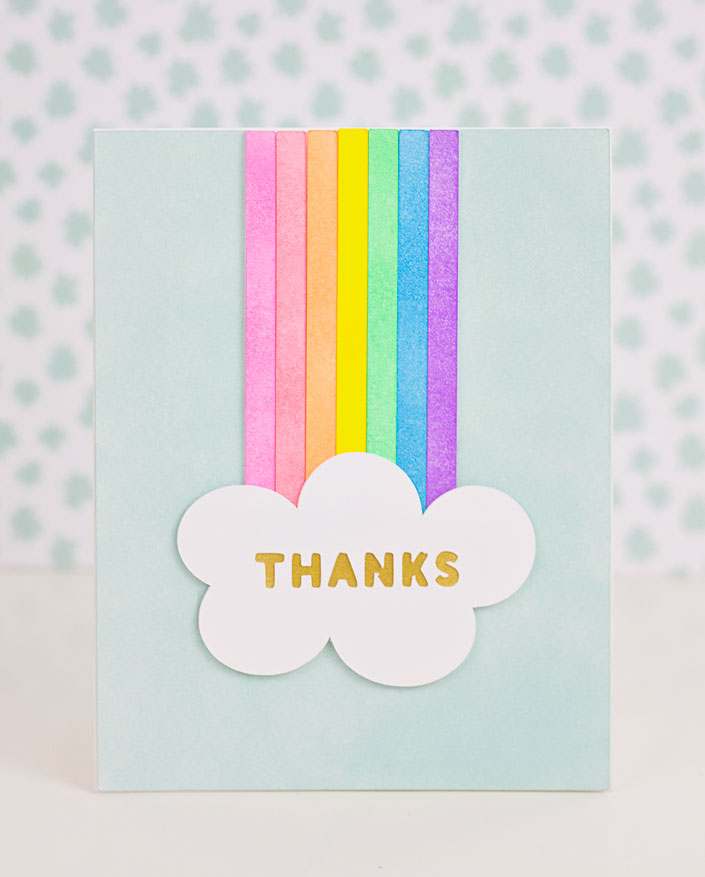
How to make a handmade rainbow “thanks” card by coloring with ink
Supplies you’ll need:
- White cardstock
- Ink in a variety of colors (I used Tsukineko Radiant Neons and Golden Glitz, plus Avery Elle Sea Glass pigment inks, but most dye inks work very well for this technique, too)
- Ink daubers*
- An appropriate paper craft project (I used the Cascading Rainbow A2 Card Front, design #76089 from the Silhouette online shop, and altered it by adding a “thanks” sentiment to the cloud in Silhouette Design Studio)
- An A2 card base
- A double-sided adhesive runner
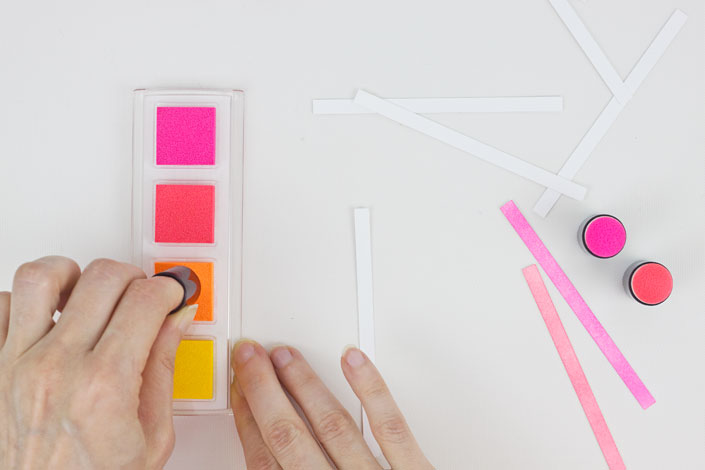
Step 1:
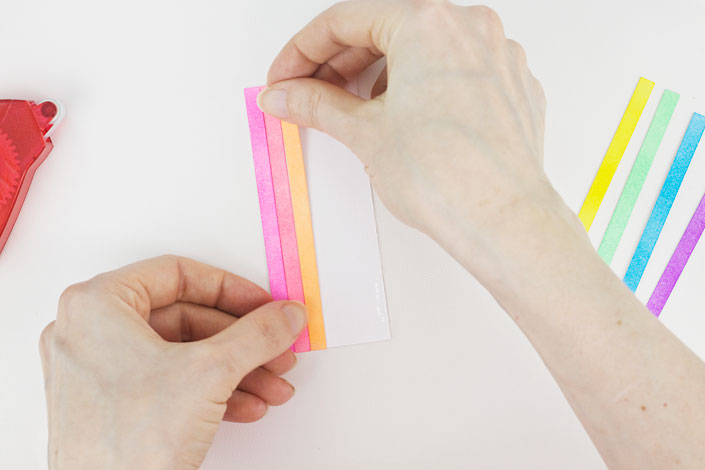
First, pounce your ink dauber in the ink to load it with color. Then, rub the ink onto the cardstock using small, circular motions. When most of the ink has been transferred from the dauber to the cardstock, reload the dauber and continue to rub it onto the cardstock until completely colored. You may need to go over some areas more than once to get the depth of color that you want.
Continue to color all of the pieces of cardstock in your project, using a different dauber for each ink color.
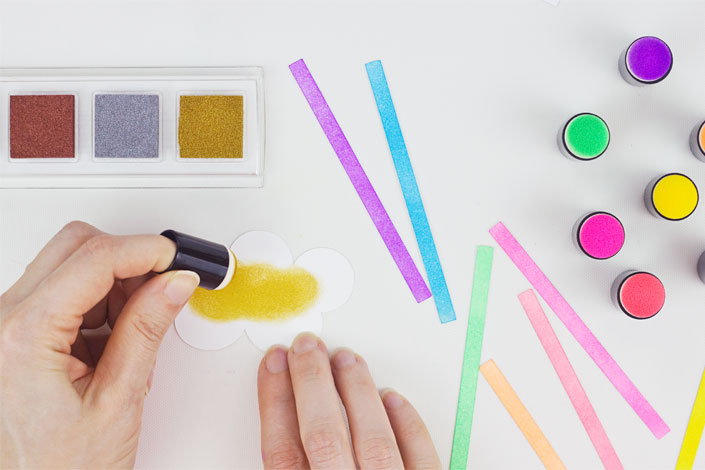
Step 2:
For the background layer of the cloud, I used Tsukineko Golden Glitz pigment ink and colored only the area of the cloud that will show through when I adhere the “thanks” layer over it.
Set all of the inked pieces of cardstock aside to dry completely before adhering the pieces together.
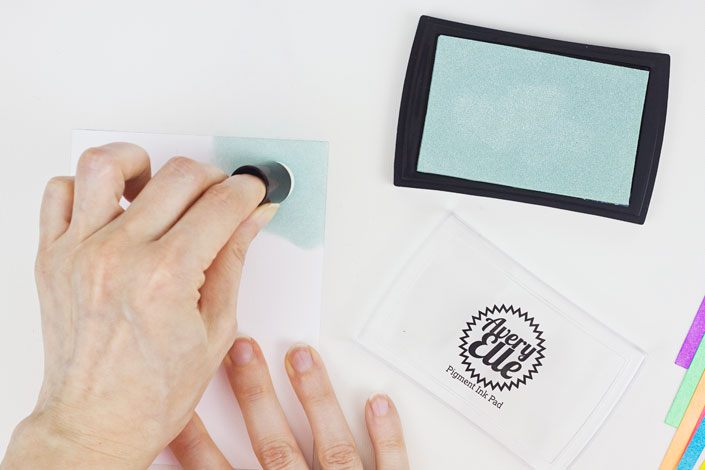
Step 3:
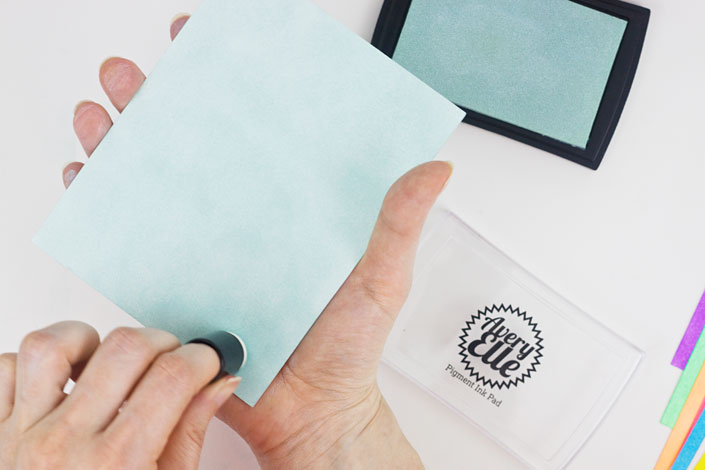
When coloring larger pieces of cardstock, like this background piece, use the same small, circular motions as before, start in one corner, and move your way across and down the piece. If you want results that are more uniform, with dense color coverage, work in small segments of the piece at a time (as shown above).
If you want a less uniform, more stippled look, work in a larger area with a variety of larger brushstroke-like, pouncing and circular motions.
Step 4:
If you find that it’s difficult to get color onto that last little area of cardstock without smearing the ink with your fingers as you hold the cardstock in place, try placing it into the palm of one hand and lightly holding it on either side with your fingers while you daub on the color. Works luck a charm for me!
Step 5:
Cover the rainbow backer piece (uncolored) with double-sided adhesive and press each piece of the rainbow on top to adhere.

Step 6:
Cover the front of an A2 card base with double-sided adhesive and press the colored background piece onto the card. Place double-sided adhesive on the back of the completed rainbow piece and adhere it to the top center of the card. Add double-sided adhesive to the uncolored areas of the background layer of the cloud (see Step 2) and adhere the die cut “thanks” cloud layer on top. Center the cloud at the bottom of the rainbow and adhere it with double-sided adhesive to finish the card.

You might also enjoy our DIY rainbow card tutorials.
Share tips, start a discussion or ask one of our experts or other students a question.
No Responses to “A Creative Technique for Coloring With Ink”