
Couching embroidery, or couch stitch, is a form of crewelwork in hand embroidery that is worked mostly on the surface of the fabric using wool thread. Crewel embroidery dates back to the 11th century, and while still a favorite amongst modern stitchers, its use and style has changed a bit to suit contemporary tastes.
What is couch stitching?
Couching, or the couch stitch, requires two threads: One remains completely on the surface, while the other loops through the fabric and over the thread to hold it in the form of the design.
Couching embroidery can be used as either a freeform hand embroidery or a more structured type of crewelwork. Crewelwork typically means that the design is worked in wool, but modern stitchers and embroiderers have been using 6-strand floss or perle thread to create various kinds of surface embroidery and embellishment using couching.
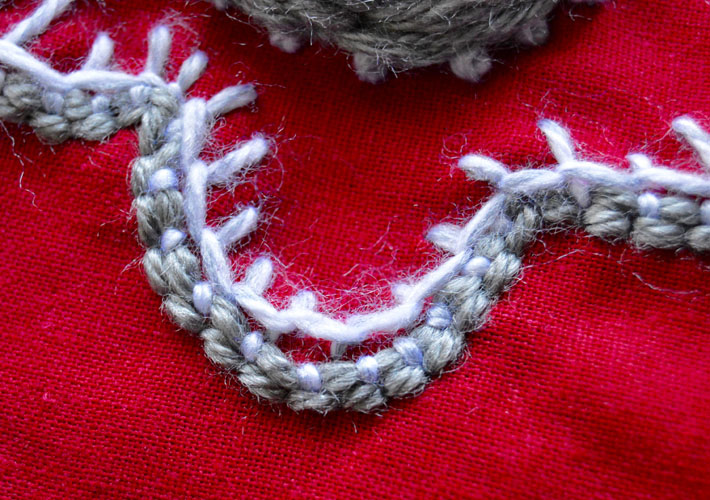
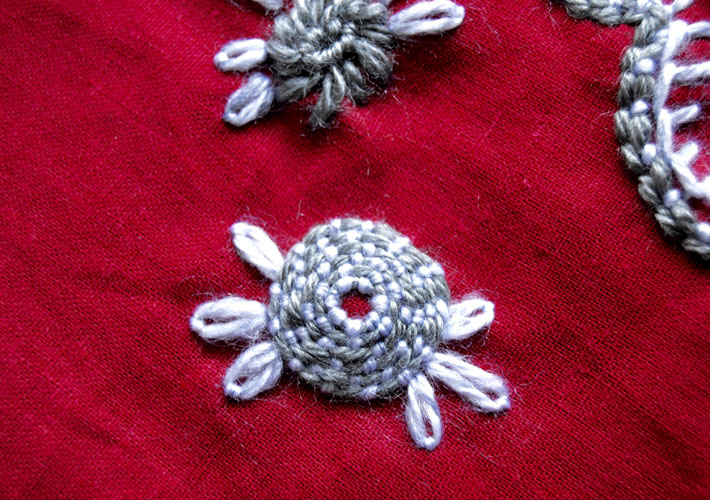
The couching stitch in the photo above is at the center of the three style of stitches, and you can see there are two different color threads used to work this stitch. The swirl featured in the photo below is done entirely in couching, as well. I created these pieces and worked with the couching stitch when I took Kristin Nicholas’ super fun class, Stitch It With Wool: Crewel Embroidery.
Couching embroidery tutorial
Couching can seem sort of tricky at first, because you have to hold one thread down while you work the second thread around it, but it really is a beautiful stitch. Once you’ve gotten used to the process of it, I guarantee, you’ll want to try various threads and colors to create a variety of fabric embellishments and color combinations.

To get started with this tutorial, you will need:
- Two needles (I used tapestry needles because they are very pointy and have a larger eye for the wool thread)
- Linen or osnaburg
- Two kinds of wool thread or yarn
- An embroidery hoop
- Scissors
- Embroidery pattern and your transfer method of choice (I used embroidery transfer paper)
For this tutorial, I am doing a monogram in two very different colors to demonstrate the style of the stitch and allow the difference to be very noticeable for you to see how the stitch is worked.

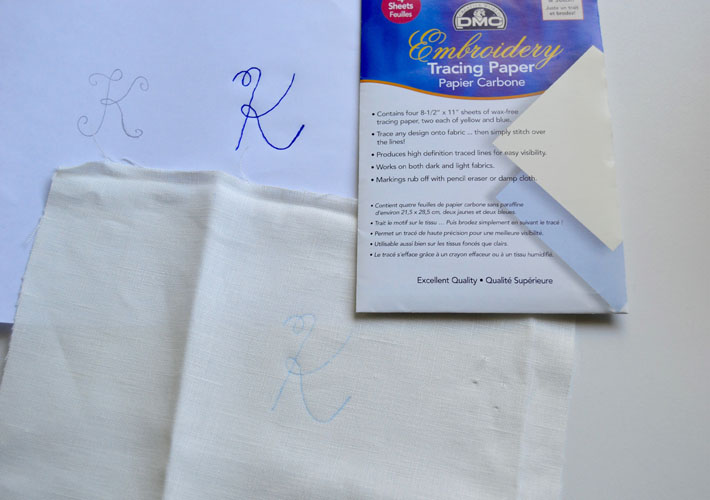
Step 1:
Transfer your design or pattern to the fabric. I am using embroidery tracing/transfer paper. I laid the colored carbon side of the paper down on the fabric, then placed the pattern or design on top of that. Using a ballpoint pen, I traced over the design, leaving a nice transfer of the pattern on the fabric.
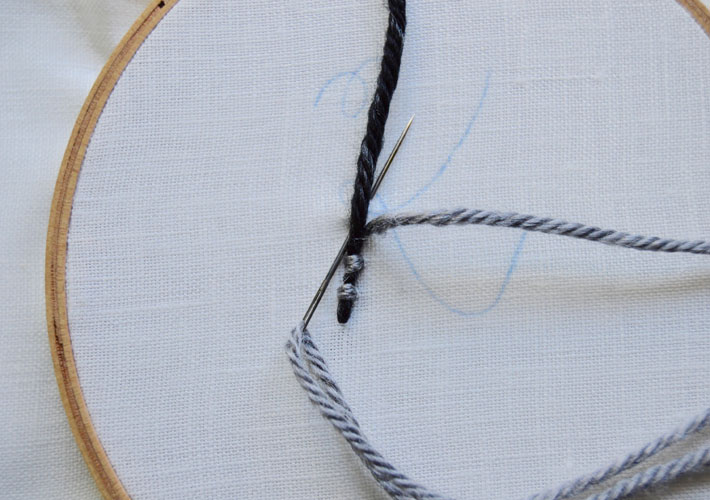
Step 2:
Place the fabric in the hoop and thread each needle with the different threads. I am using the black thread as the surface thread and the grey thread as the thread that will tack it down.
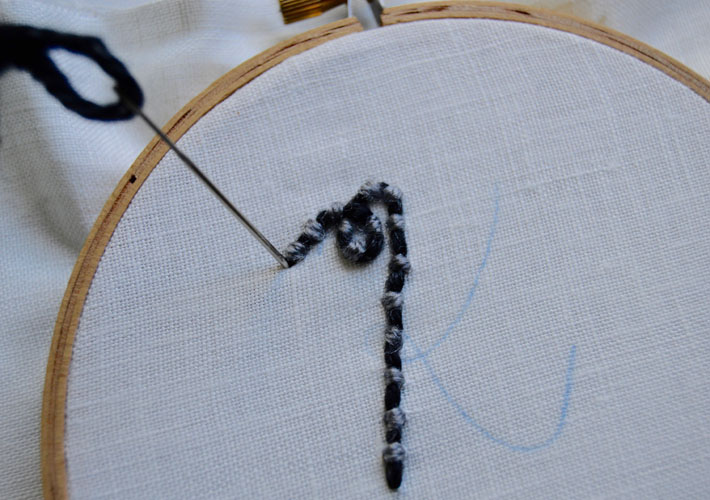
Begin by bringing the surface thread up through the fabric at the base or beginning of the first line to be stitched. Because I won’t be moving this needle through the fabric, I usually pin it elsewhere in the hoop to keep it out of the way, but with the thread still loose.

Step 3:
Bring the second thread up through the fabric just to the side of the surface thread and take one stitch right over the surface thread and down through the fabric. Bring the needle and thread back through the fabric just to the side of the surface thread.
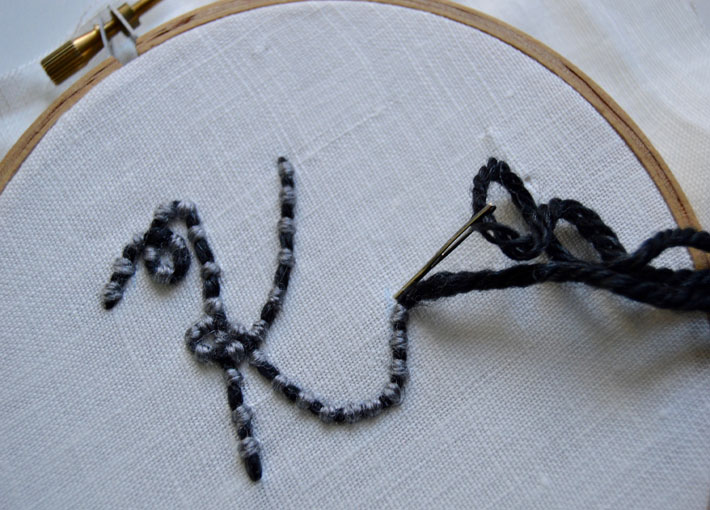
Repeat this process while following the embroidery design on the fabric. This will hold the surface embroidery thread in place.
Step 4:
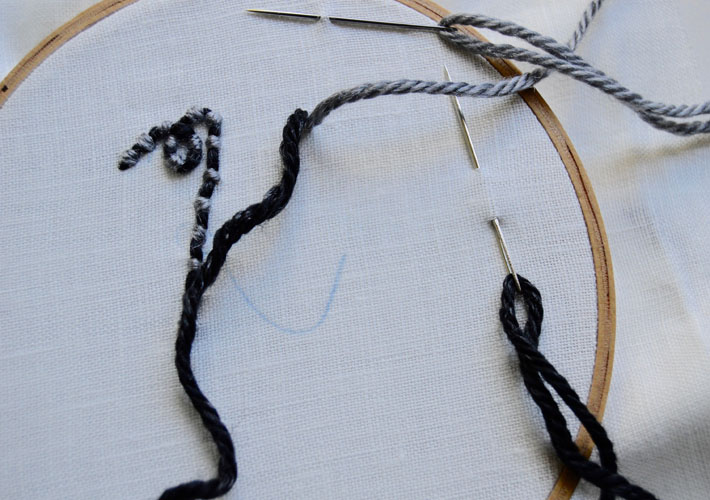
When you reach the end of the section, take the needle with the surface thread — in this case the black thread — and take it down through the fabric and knot it on the underside.
Step 5:
Repeat the same couching technique for the other section of the letter or design. Bring the surface thread up and pin the needle elsewhere in the hoop. Bring the tacking thread up just to the side of the surface thread and begin tacking it down.
Step 6:
When you reach the end of the pattern, take the surface thread down through the fabric and knot it on the underside.
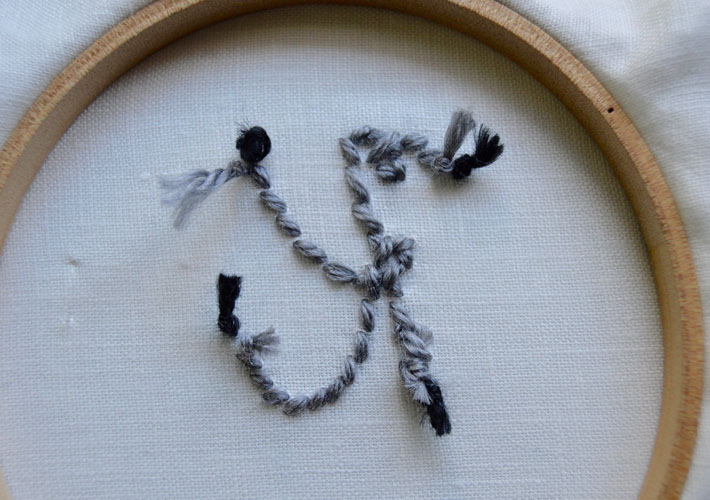
Below is a shot of the underside of the hoop. You can see the second (grey) thread is only on thread that moved in and out of the fabric. Meanwhile, the surface thread was only tethered to the underside of the hoop at the beginning and ending of the design.
This is the complete monogram finished in couching embroidery.
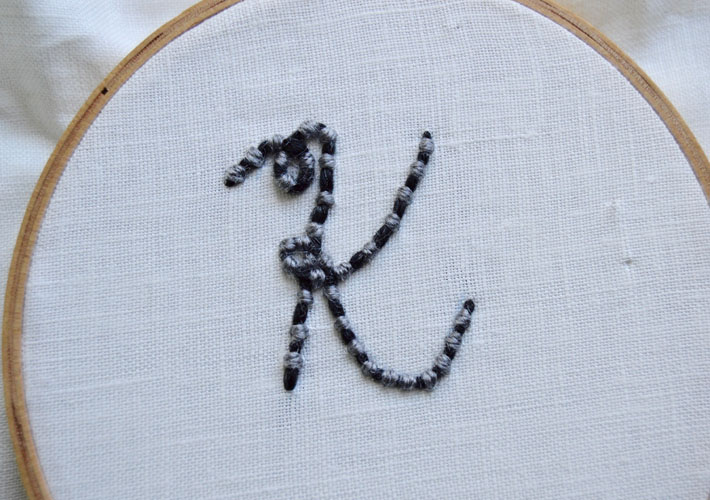
Using different color combinations or trying different thread weight or thickness can create a variety of texture and vibrancy when it comes to couching. I hope you enjoy this tutorial and will give couching a try!
Share tips, start a discussion or ask one of our experts or other students a question.
No Responses to “Have You Tried Couch Stitching?”