
Are you tired of the same old look of your cards? Perhaps you have wondered how you can add a little something extra to your card making project to make it look even more special. The secret is in the details. Here, I will share with you six creative card making ideas to take your paper crafts projects to the next level. To borrow a phrase from Emeril Lagasse, let’s kick those cards up a notch!
For detailed, step-by-step instruction on how to make interactive cards, sign up for the FREE Craftsy mini-class Create Stunning Birthday Cards with Kimber McGray, who shows you how to make the gift pocket, penny spinner, pop-up surprise cards and more!
1. Add texture
One of the simplest ways to add interest to a card is to introduce different textures to it. This can be easily achieved by using different types of textured papers, or by embossing plain card stock. If you make rubber-stamped cards, try using heat-embossing to add texture to your cards. Heat-embossing the greeting makes the card look more classy and expensive. You can also add textures to a card by applying a different material onto it. For example, you can glue microbeads (like I did above) or add flocking material to make the card look more interesting.
2. Embellish
Glitter, enamel dots and rhinestones are some of the quickest methods to add an extra element of fun to a card. How about those sequins? They are very popular in the paper crafting community and are also great for making the card sparkle. I like to add bling to my projects by applying a touch of Stickles glitter glue. It is easy to apply and quick to dry. For example, in the picture above, I replaced the “cherry” with an enamel dot and applied Stickles glitter glue to highlight the sprinkles.
You might also enjoy our look at different types of glitter for card making.
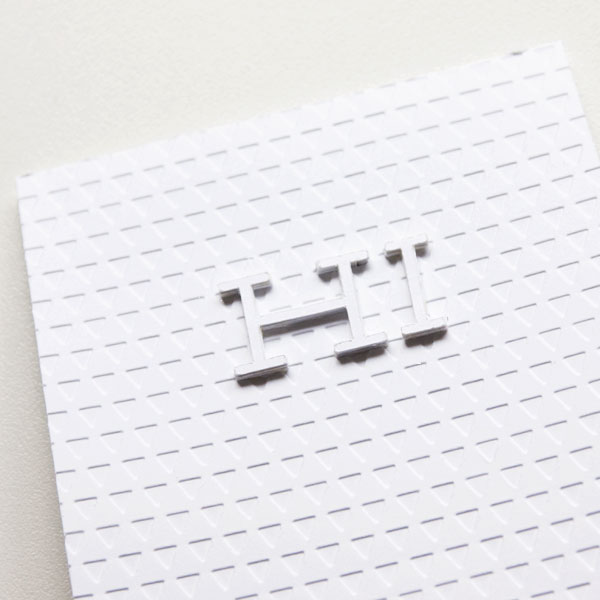
Photo via Kristen Magee
3. Adding dimension with layers
Instead of sticking all the layers of a card down with glue, how about using foam tape or pop dots? By raising a few of the layers, it makes the finished card more interesting to look at compared to one that is completely flat.
Learn more about adding texture and dimension to your handmade cards with our post on paper layering techniques.
4. Patterned paper
When making a card with die cuts or punched-out shapes, try using a mixture of patterned papers and solid color card stock. The patterned papers help to break up the simplicity of the plain colors, thus making the overall project look more sophisticated. Having said that, be careful not to use too many different patterns on a single project. While a mixture of both types of papers may help to make the card look more attractive, using too many patterns may have the reverse effect. An overuse of patterned papers may make the card look too busy and that is not a good thing.
5. Replacing shapes with real materials
Whenever you can, try using real-life materials to replace the shape that mimics the object. For example, instead of using a circle shape for a button, use a real button on your card. An example of this is illustrated in the photo above.
6. Interactive elements
Action Wobble springs and the zipper die cut are two of the quickest ways to add some playfulness to a card. Add a spring to an image to make it move or use the zipper die cut to hide a greeting. The greeting is revealed when the recipient pulls off the “zipper.”
Share tips, start a discussion or ask one of our experts or other students a question.
No Responses to “Tricks of the Trade: 6 Easy Ways to Make Your Handmade Cards Stand Out”