
We’ve all crocheted squares and circles — but what about diamonds?
This trendy crochet motif is no more difficult than other shapes, but its unique shape gives a totally different impact to the design.
Combine crochet diamonds to create scarves, blankets and so much more. You can work them up in any of the basic stitches, and you can make just one motif or a strip of repeating diamond.
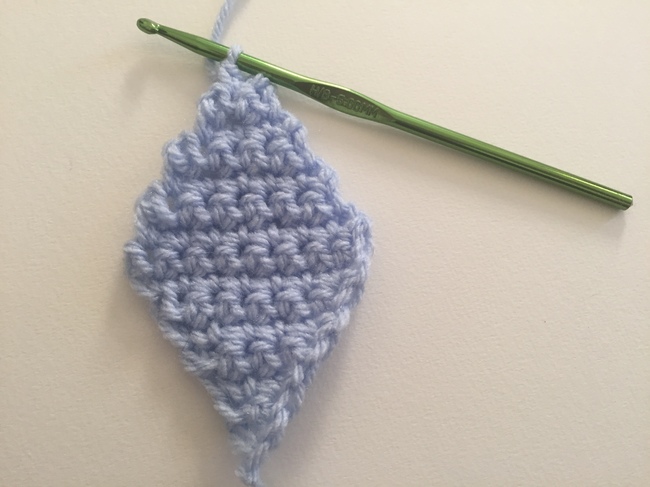
Single crochet diamond pattern
A crochet diamond’s construction is really simple: You start at one point, increase to the center, then decreasing to the other point. This is especially easy in single crochet.
Crochet diamond: increasing
Step 1: Ch 2
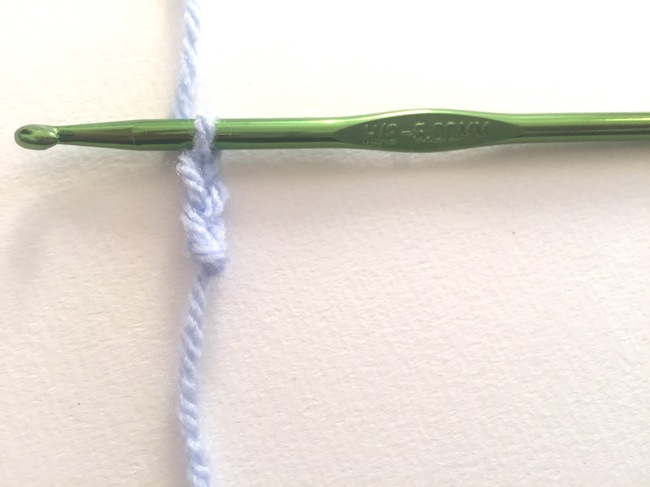
Step 2: Sc in second ch from hook

Step 3: Ch 1 to turn, sc in same st, sc in next st (total 3 sc)
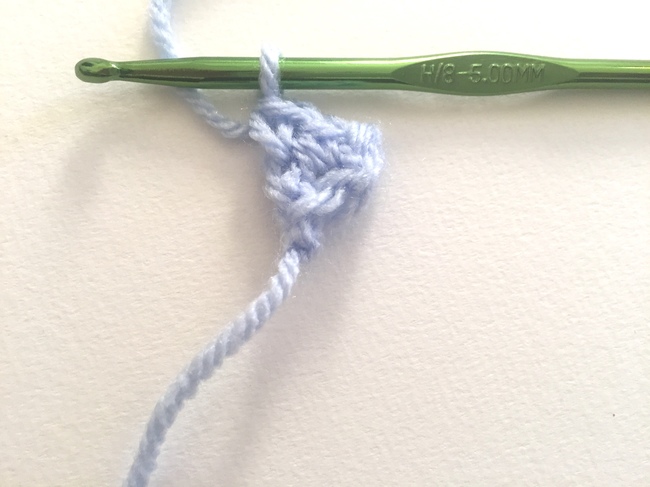
Step 4: Ch 1 to turn, sc in same st, sc in each of next 2 st (total 4 sc)
Step 5: Ch 1 to turn, sc in same st, sc in each of next 3 st (total 5 sc)
Step 6: Ch 1 to turn, sc in same st, sc in each of next 4 st (total 6 sc)
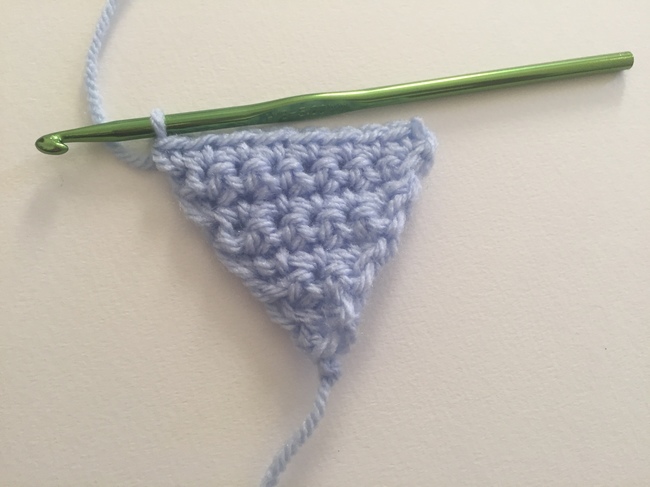
You get the general idea. From here, you can can continue to increase row by row to grow the diamond as wide as you wish
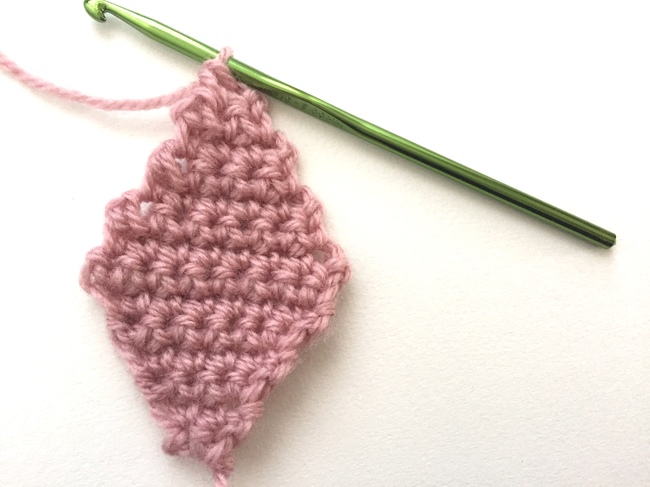
Crochet diamond: decreasing
When your diamond is wide as you like, you’re ready to begin decreasing. If you made your diamond narrower or wider than the 6 sc stitches shown above, the “total” count stitches below will differ but the steps are the same:
Step 7: Ch 1 to turn, sc in second st and each st after (total 5 sc)
Step 8: Repeat previous step, reducing 1 sc in each row until you reach the top with only 2 sc
Step 9: Ch 1, sl st into next st, finish off and weave in ends
Repeating crochet diamond pattern
You can make diamonds like these one by one — or you can also save yourself some time by creating a chain of diamonds. All you have to do is increase again after you’re done decreasing.
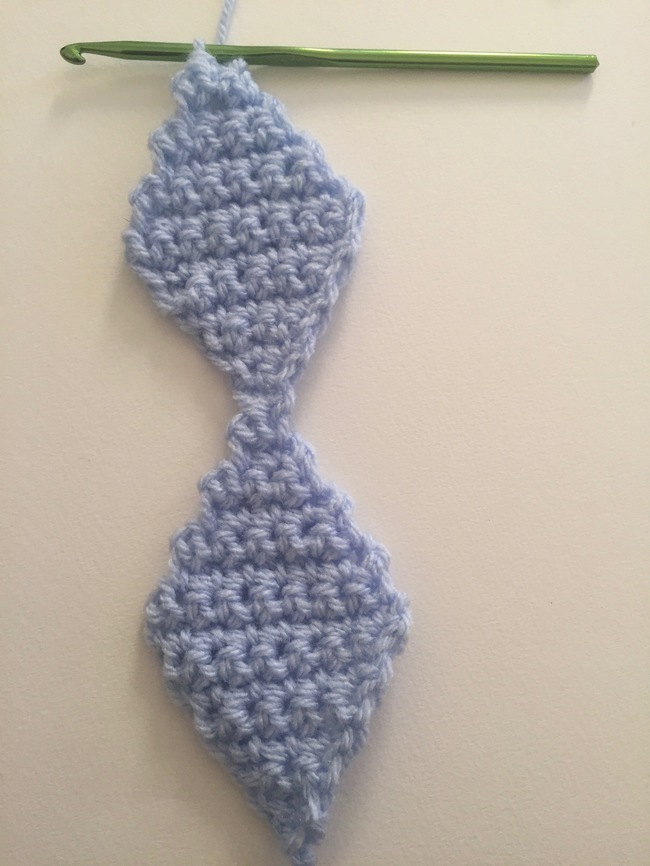
Begin with a regular single crochet diamond by working the steps above. Then, repeat Steps 3 to 8 for the second diamond.
Continue repeating Steps 3 to 8 to add as many diamonds as you wish to the strip. When you are ready to complete the strip, work step 9 to finish.
Crocheting a flat edge on diamond motifs
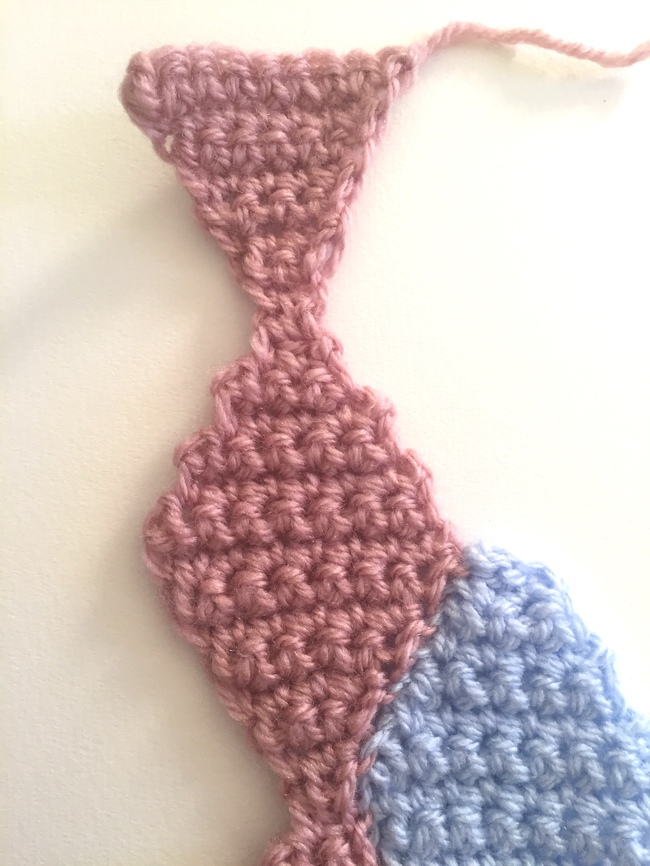
If you want the top and bottom edges of your motifs to be flat (as for a blanket edge), just work half diamonds at the beginning and end of each strip.
For example: You could begin with a ch 1o, work 9 sc stitches into and decrease down to the top point, work as many diamonds as you want, then work only the increase steps for the final triangle.
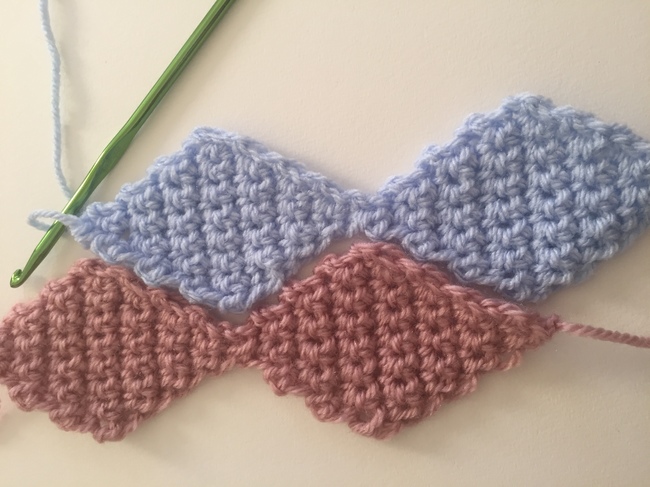
The strips of crochet diamonds can be joined to create wider swaths of fabric. Join using any favorite joining method, such as whip stitch.
Half double crochet diamond pattern
The same basic concept of the single crochet diamond can be altered just slightly to work a diamond in half double crochet.
- Ch 3
- Hdc in third ch from hook
- Ch 2 to turn, hdc in same st, hdc in next st (total 3 hdc)
The rest of the diamond increases and decreases in the same pattern as the single crochet diamond. For increases, ch 2 to turn; then hdc in the same st and each st across. For decreases, ch 2 to turn; then hdc in the second st and each st across.
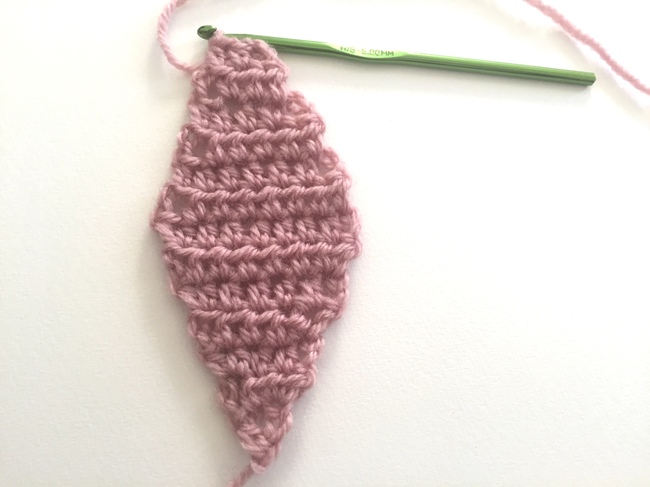
Double Crochet Diamond Pattern
You might think that you could work the same basic diamond crochet pattern using double crochet stitches, but it doesn’t quite work. Once you get into the taller stitches, you’ll get strange gaps at the edges of the work.
There’s an easy fix: Increase and decrease two stitches per row (instead of one). For the decreases, use a dc2tog than simply skipping at stitch. Here is how you’ll do it:
- Ch 4
- Dc in fourth ch from hook
- Ch 3 to turn, dc in same st, 2 dc in next st (total 4 dc)
- Ch 3 to turn, dc in same st, dc in each of next 2 st, 2 dc in final st (total 6 dc)
- Ch 3 to turn, dc in same st, dc in each of next 4 st, 2 dc in final st (total 8 dc)
- Ch 3 to turn, dc2tog, dc in each of next 3 st, dc 2 tog (total 6 dc)
- Ch 3 to turn, dc2tog, dc in next st, dc2tog (total 4 dc)
- Ch 3 to turn, dc2tog (total 3 dc)
- Ch 3 to turn, sl st to next st. Finish off and weave in ends.
When it says Ch 1 to turn is it meaning you chain 1 then turn the pattern over? And once you turn it, which which to do do the sc?
Cool! How can I save this?