
Ever since I was a little girl, I have been a fan of crochet rugs. My granny used to make them all the time, and I have a crochet rug from her among the many others strewn around my house.
This post will walk you through making your crochet rug.
We’ll start with deciding on a shape and ending with finishing it off. Along the way, we’ll discuss some of the challenges you might face and how you can fix or avoid them.
1. Deciding on your shape
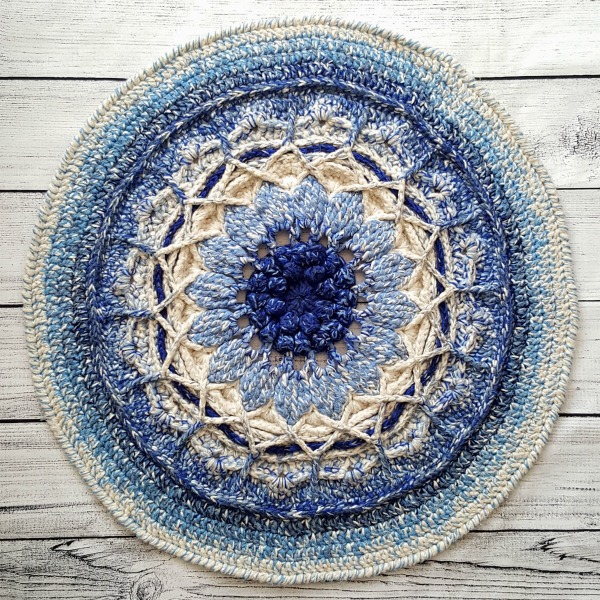
Although round rugs are very popular, they are more tricky than square or rectangular rugs. If you are confident in your knowledge of crochet circles and how to fix them if they start to buckle or bowl, you will find making circular rugs easy. The same applies for square rugs worked in the round.
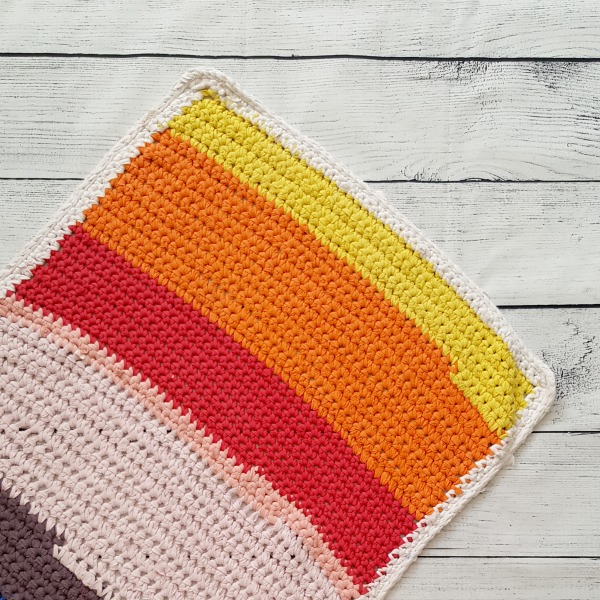
If, however, you are more of a beginner, you should try and keep to square or rectangular patterns that are worked in rows. They are more forgiving.
2. Deciding on a pattern
Virtually any pattern or stitch repeat can be turned into a rug by using a large hook and thick yarn. When choosing your pattern or stitch repeat, it is worth considering two things:
- Are there any large holes or lacy parts in the pattern in which you might catch your toe (and trip)?
- Is the pattern a yarn hog? If the stitches are dense and take a lot of yarn, you might find that your rug ends up costing you more than you thought it would.
If you need a hand choosing your rug pattern, have a look at these quick crochet rug patterns.
3. Choosing your materials
Each type of yarn has its own pitfalls when it comes to rugs.
Jersey cotton
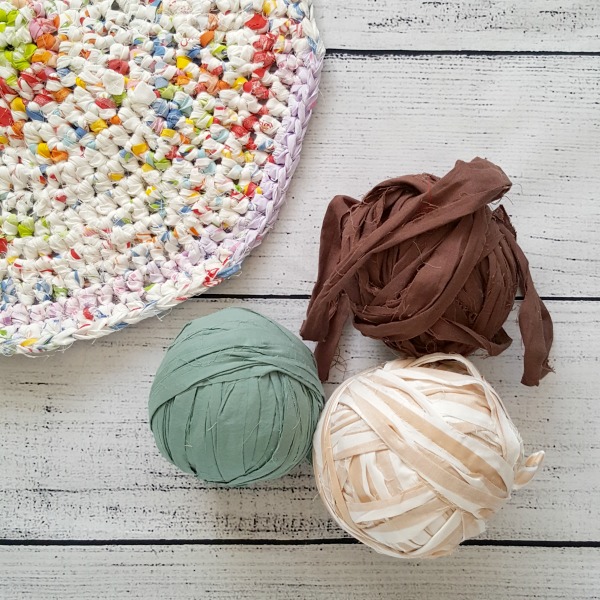
Jersey cotton (or T-shirt yarn) is elastic and even slight changes in your tension will alter the density and shape of your rug (sometimes dramatically). Different types of jersey cotton also “tube” differently. Some types make beautiful, shiny tubes of yarn, and other types fray at the edges and look less pleasing when worked up. If you are going to use more than one color yarn, make sure that the “yarn” has the same elasticity and look.
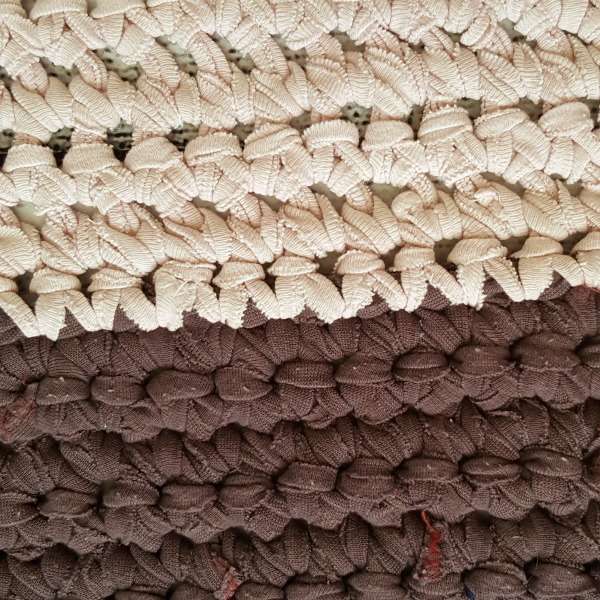
Jersey cotton yarn that frays (top) and jersey cotton yarn that “tubes” easily (bottom)
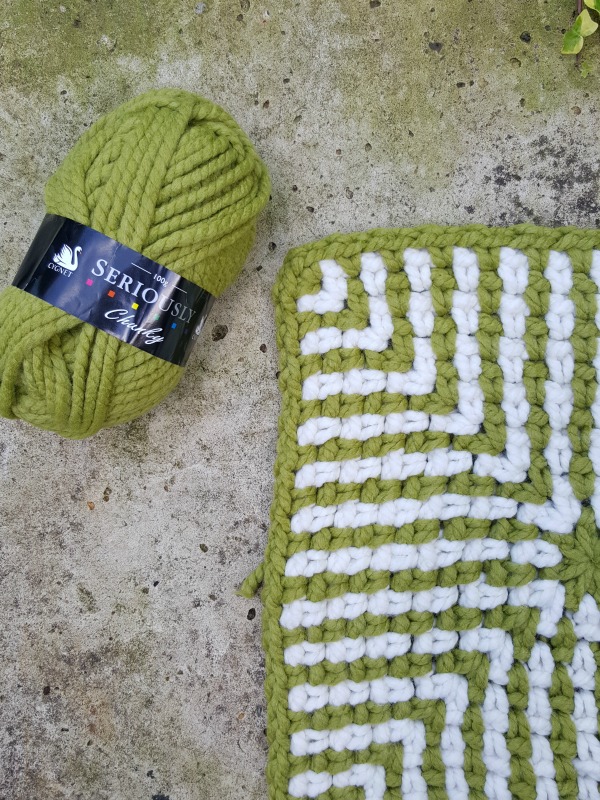
Acrylic
Acrylic yarn — either really bulky or multiple strands held together — works really well for a crochet rug. It doesn’t have the elasticity of jersey cotton, so it is easier to keep your stitches neat. However, acrylic pills, so it is not a good choice for areas that will receive heavy foot-traffic.
Fabric yarn
Non-elastic fabric yarn has the same benefits as acrylic and none of the drawbacks. It is, however, extremely hard on your hands and it has a tendency to shed tiny fibers.
4. Choosing your hook
It is possible to create rugs with hooks as small as 5.5 mm, but the smaller your hook, the thinner your rug will be. I prefer using a 10 mm crochet hook, because I like the thickness of the rug it creates (using an appropriate thickness of yarn).
You can go as big as a 25 mm hook — if you can find one. But anything bigger than 10 mm will put more strain on your wrists and arms because you will need thicker yarn.
5. Making your rug
When you make your crochet rug, pay attention to gauge. You don’t need to work to a specific gauge, but you want to work as tight as you comfortably can.
If your hands and wrists hurt too much and your stitches are very dense, use a bigger hook with the same thickness yarn. Or, consider using a slightly thinner yarn. Take frequent breaks to give your hands, wrists and arms a chance to rest.
If you are working your rug in rounds, especially if you’re making a circle, check your rug often. If it starts to buckle, you have too many stitches. Crochet a round or two without increasing at all and then continue with the pattern. If it starts to “bowl,” you don’t have enough stitches and you will need to make more increases.
6. Finishing your rug
I prefer to finish my rugs with a round of reverse single crochet (crab stitch), which is a nice dense stitch that helps the edges lay flat.
Some people like adding non-slip backing to their rugs so that they don’t slide around. There are many ways to do this, but I prefer sewing non-slip drawer liners (cut to size) to the back of my crochet rug. The drawer liners have holes in them, so they are easy to sew through. If you decide to do this, use long stitches so that you can unpick them when you need to wash or repair your rug.
If this seems like too much work, you can rubber coating spray like Plasti Dip onto the back of your rug instead.
Begging to crochet
Would like to know the pattern and what kind of yarn you use for rugs.
Where can I find the pattern for the first rug.
What yarn replaces Lily Rug Yarn?
Can you use macrame rope aswell for croatching a carpet?