

Cut-out sugar cookies are just so fun to make! They’re great to customize for all kinds of event, and they come in all kinds of shapes and sizes — and they’re super tasty, too. While cut-out cookies aren’t hard to make, you can make yours look even more professional with a few quick tips.
Start with the perfect sugar cookie dough
The best roll-out sugar cookies start with the best sugar cookie dough.
Skip the sift
We’ve tested recipes with both non-sifted and sifted flour and found that sifted flour actually yields bumpier cookies. This can happen because when you sift, you can add air into the flour, creating pesky air bubbles that appear in your dough.
Never over mix
Over mixing your cookie dough can lead to them spreading in the oven — say bye bye to those fun shapes you cut out!
To avoid over mixing, add your butter, sugar, eggs and flavoring together until roughly mixed before adding in the other dry ingredients. Also, it’s tempting to leave your mixer on while you attend to other chores, but try to stay put.
If you’re worried that you may have over mixed your dough, don’t fret: Let your cut-out shapes chill for longer in the fridge.
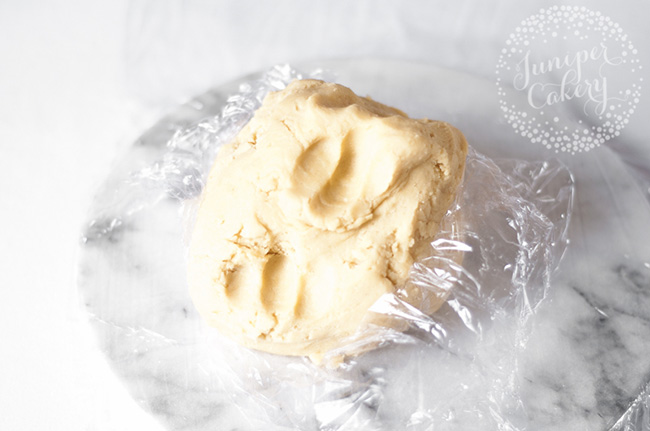
Let it sit
One tip a lot of cookie enthusiasts use is to let their dough “marinate.” If you add a flavor into your dough, chill it for a full 24 hours before working with it. This lets the extracts, essences or flavor pastes work their way in to the cookies more.
When kept chilled in the refrigerator, sugar cookie dough should be fine to use for up to 3 days after making. Frozen dough will last up to 3 months.
Roll it out just right
The best method for rolling out sugar cookie dough
Personally, we keep it simple when rolling out cookie dough: We just use a large silicone rolling pin and roll the dough on a clean, flour-dusted surface.
However, we’ve heard of lots of smart tricks you could employ to make rolling easier. Some of those include:
- Sandwiching the chilled dough between parchment paper
- Using rolling pin guides (like books, dowel rods, etc.) to keep the dough to an even thickness
- Rolling the cookie dough into a rectangle (instead of a circle) for more real estate
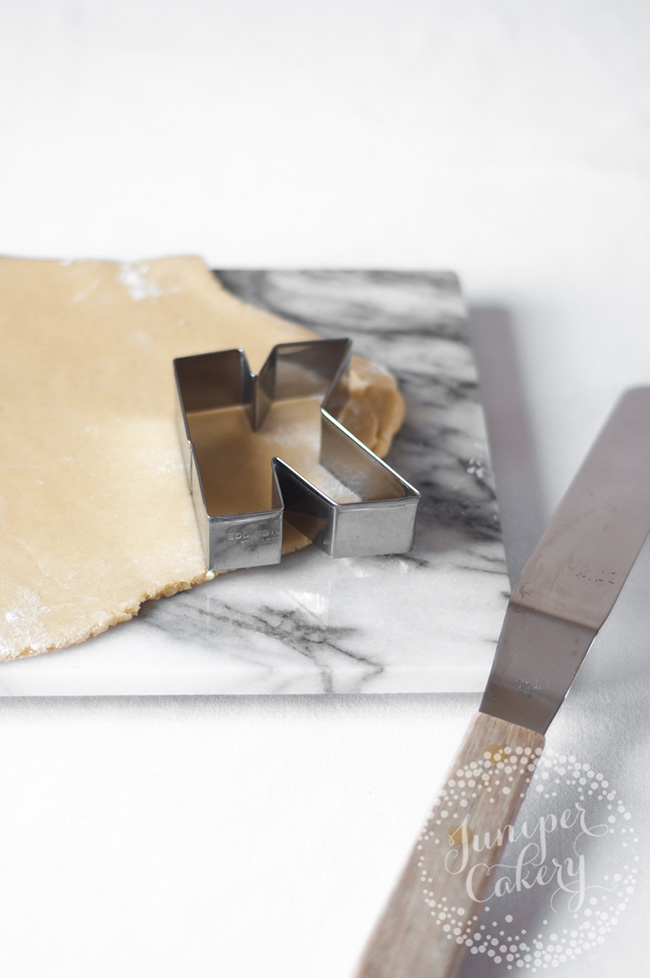
One essential tip is to roll out and cut your shapes while the dough is still nice and cold from the fridge. It’s going to be ridiculously hard trying to cut out warm, sloppy, textured dough!
Getting the right thickness
When it comes to thickness, you have to strike the right balance: Too thin and they’re too delicate to handle. Too thick and they lose their good texture or snap in the bite.
Generally, our cookies are around 4 to 5mm thick (1/8″ to 3/16″). But this largely depends on how you like to work.
Remember, cutting thicker cookies will use up your dough quicker. Rolling out your dough even just a tiny amount more will help your cookie dough go further!
The right surface for rolling out dough
While most surfaces will get the job done, some are better or worse than others.
We generally stay away from anything wooden. Wood (especially untreated or glazed wood) can “soak” or retain moisture and grease from past use, which we’re sure you won’t want in your cookies.
In contrast marble is a great surface for rolling out dough! Since marble is a naturally cold surface, it helps keep your dough chilled and easy to work with before baking.
Cut right to it!
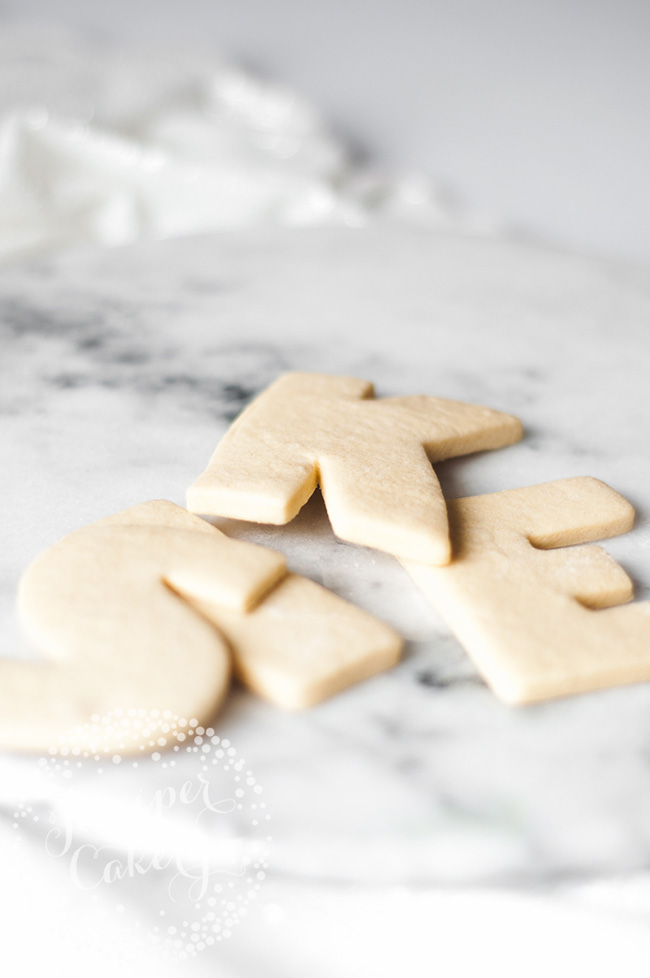
Once your dough is rolled out, it’s ready to get cut up! Cutting correctly can lead to nice, neat cookies, and strategic placements mean you get more out of your dough.
Make the most of your cookie dough
If you’re creating a collection of cookies, try to vary the sizes a little: Create larger “focal” cookies with lots of smaller “filler” designs.
This not only keeps the designs interesting, but it’ll help make the most out of your dough. You can cut the smaller cookies out in the scraps, and then re-roll any additional scraps and continue cutting.
Cutting sharp cookies
Always dust your work surface with flour — and even coat your cookie cutters with flour. Flour stops the dough from sticking to the counter or cutter. If they get stuck, you may end up with cookies that are little warped.
Another tip: Use a small angled palette knife or spatula to transfer your cookies. Try not to handle the cut shapes too much as they’ll begin to droop or stretch.
Choosing cookie cutters
There are thousands of awesome shapes and styles on the market — but sadly, not every cookie cutter is up to snuff. Here’s what to look for.
Shape
If you’re new to cookie baking, steer clear of thin or overly detailed shapes. You’ll end up with broken pieces or misshapen cookies if you’re not too experienced.
We also tend to stick to simple shapes just because they’re more versatile. For example, a detailed tattoo heart cookie cutter wouldn’t get used as much as a simple heart. If you’re creative, you can make lots of different designs out of one cookie cutter — it’s pretty cost effective!
Size
No matter your level, before you buy, always check the sizes and measurements! These days cookie cutters exist in mini, small, medium, large and even gigantic sizes. The last thing you want is to order some cute cutters only for them to be completely the wrong size.
Material
Materials are important too. For metal cookie cutters stick to stainless steel / rust free. When it comes to plastic always wash by hand unless otherwise stated on packaging. Plastic is great especially when it comes to having custom cutters 3D printed, but as soon as they end up in the dishwasher they’ll melt out of shape!
Bake it good
Of course, you’ll want to follow the baking directions in your recipe to bake your cookies to perfection. But regardless of the instructions, these extra tips can make a big difference.
Lining your baking sheets
You can use either parchment paper or silicone baking mats under your cookies — it’s totally up to you!
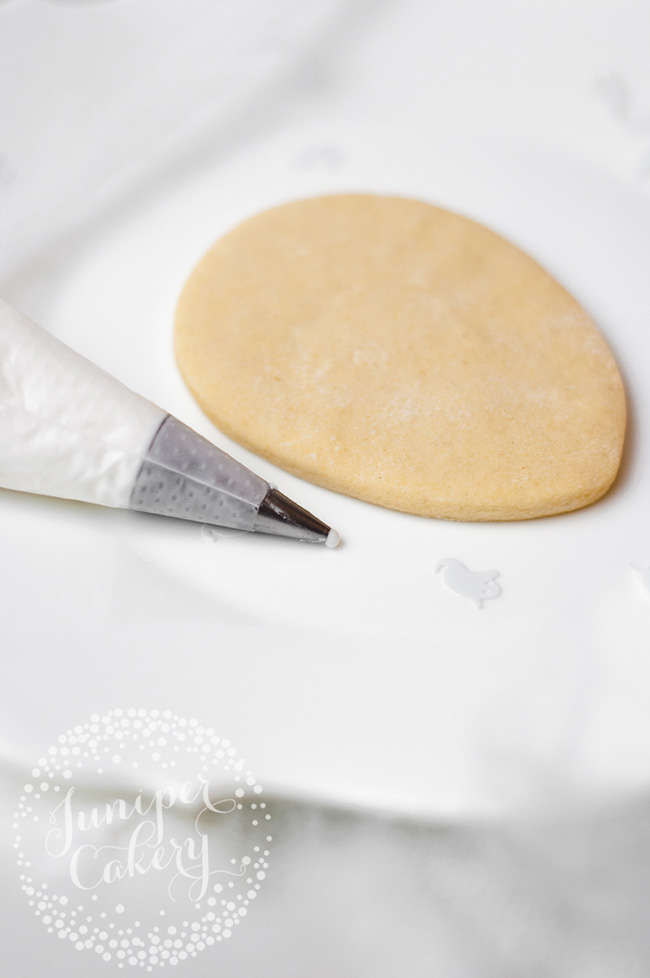
We typically use thick silicone baking mats. We’ve found that parchment paper can buckle under heat leading to “wobbly” cookies, which wreaks all kinds of havoc when it’s time to use royal icing. All that lovely royal icing ends up pooling or being uneven.
Prevent spreading
The key to getting perfect shapes or edges on your cookies is to chill them before baking! We place our trays of cut cookie shapes in the refrigerator for around 30 mins to 1 hour. Then it’s time to bake them. Chilling helps solidify the butter in the recipe so it doesn’t lose shape as soon as the cookies at placed in a hot oven.
Great Article. I just learned a lot about cookie making. Thanks.