
Truth: turning plain sugar cookies into gorgeous works of art can feel a bit daunting. But with the right tools, a little wisdom and a fun-focused game plan, decorating with royal icing can get a whole lot easier. Here are some tips to get you started.
1. Plan Ahead
Lacking a plan is where new cookie decorators often go wrong: a cookie might seem like a small thing, but it can take as much planning as a three-tier cake. Sketch out your idea and plan what colors or textures will go where. When you’ve finalized your design, write everything down, from the colors and consistency of your royal icing to the number of cookies you’ll be decorating. This helps reduce time and stress in the long run.
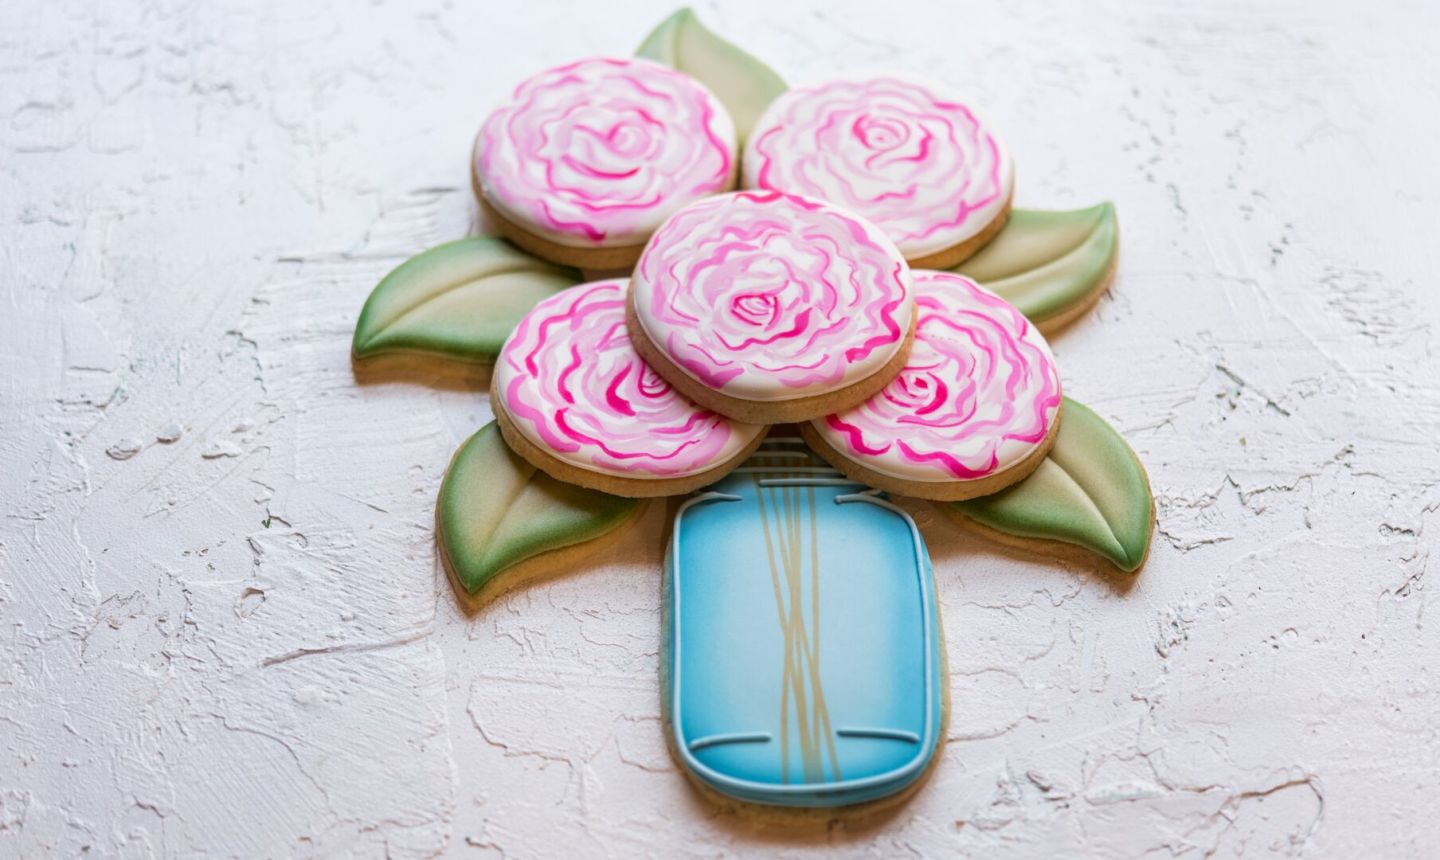
2. Keep It Simple
Intricate cookie designs are cool, but you don’t need a lot of bells and whistles to make a beautiful cookie. If you’re fairly new to cookie decorating, follow the guideline of less is more. And remember, a simple outline and some strategically-placed sprinkles can go a long way.
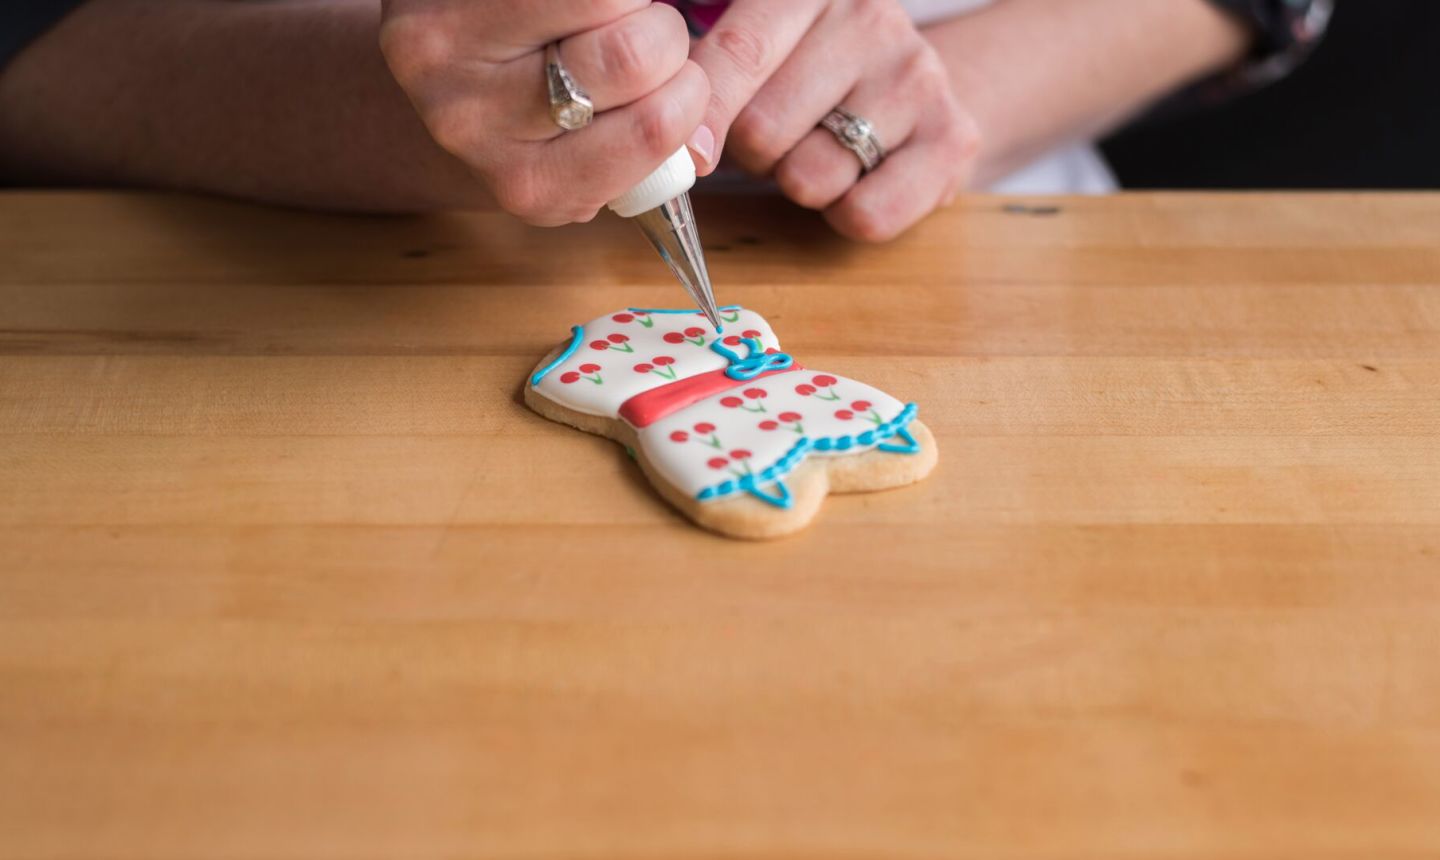
3. Add Pins to Your Toolkit
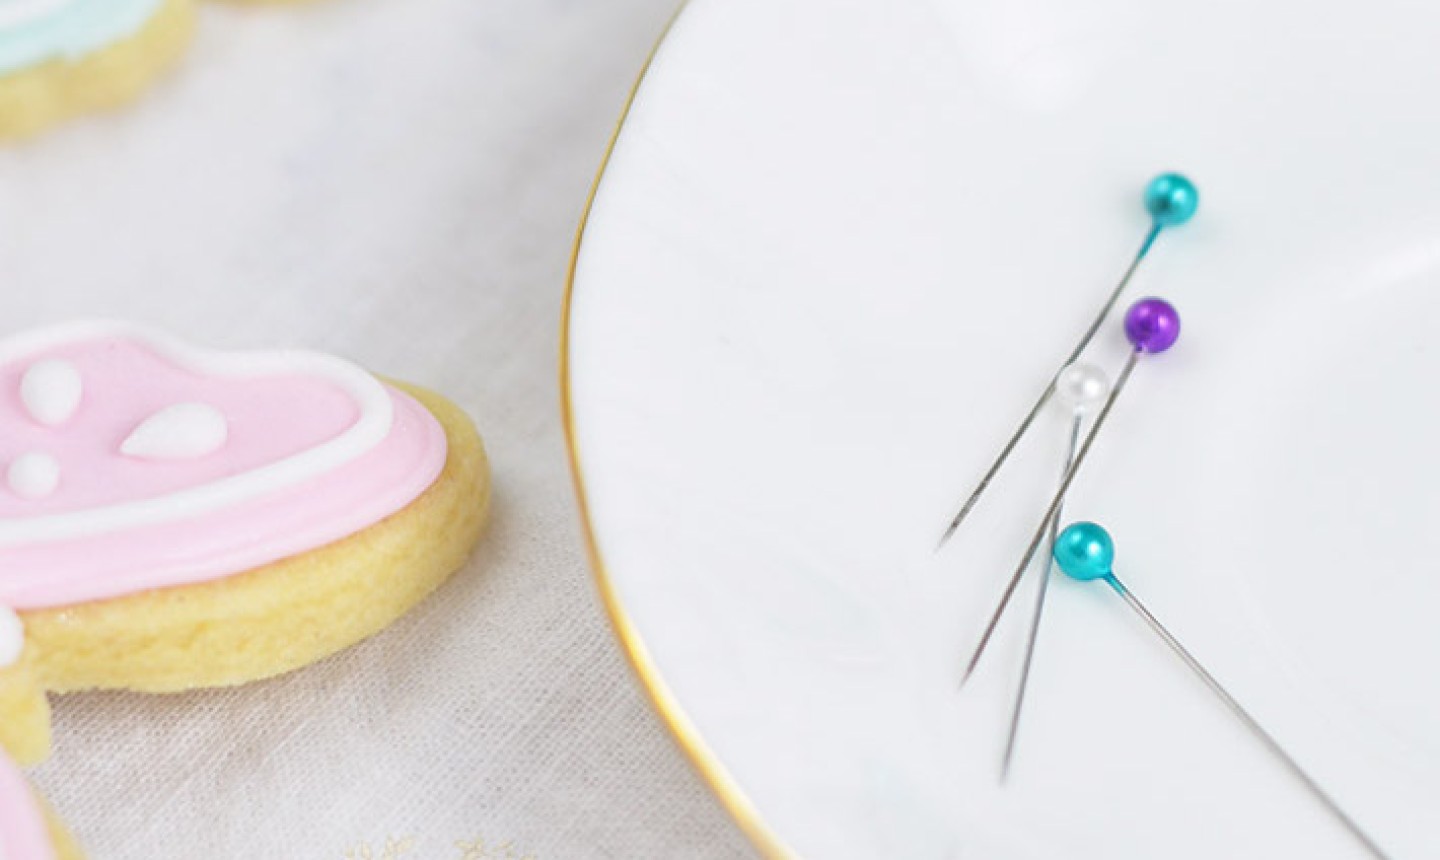
Royal icing can crust over piping tips very quickly, which is a big problem when you’re busy swapping colors or correcting any slipups. This is where pins can be super handy — just insert one into each piping tip when you’re not using it, then remove when you need to resume piping.
Pro Tip: If you’re using wider piping tips, try using uncooked spaghetti sticks or even lollipop sticks in the same way.
Pins also come in handy for popping pesky air bubbles in your royal icing. Once you flood your cookie, tap it gently against your work surface so the hidden air bubbles rise to the top. Then pierce each one with your pin.
4. Become Besties With a Spray Bottle
Using a spray bottle makes changing your piping consistency so much easier. When mixing the icing, you might find that two spritzes of water makes the perfect piping consistency, whereas four squirts makes the icing prime for flooding. Use those same numbers with every color and you’ve just sped up the entire process! (Just remember to empty and rinse the spray bottle after each use.)
5. Draw Your Design
To keep your work in tip-top shape — whether it’s your 10th or 100th cookie — use an edible marker to draw your piping lines onto the dessert. You can also write color codes for your icing to help you keep track of what goes where.
6. Focus on Efficiency
Cookie decorating is not for the impatient — you need to take your time with each cookie and, when you’re decorating a big batch, efficiency is key. That’s why it’s important to keep your rough design sketches and color charts close by, and work by color: for example, flood your cookies with the same color first, then pipe all the pink accents on each cookie before moving on to the white accents. Continue in this fashion so you’re not switching piping bags every few minutes.
That is amaaaaaaaaaaaaaaaaaaazing!!!