
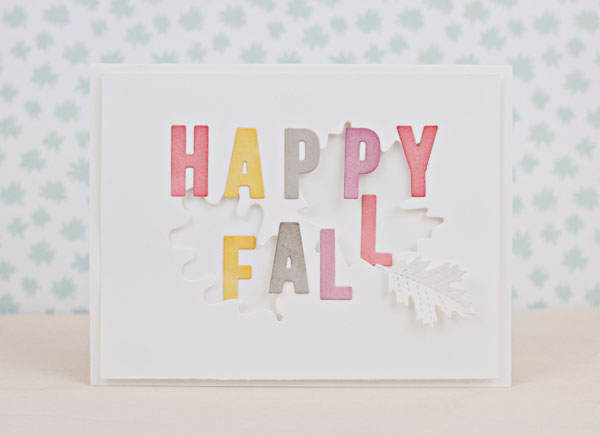
I love the deep, rich colors of fall, but I wanted to mix it up a little with this handmade card by playing with a non-traditional color palette and plenty of white space. Metal dies were used to make the sentiment and leaf elements, and the result is a minimalist, modern “Happy Fall” card that you can send to friends and family to say hello and wish them a happy season.
How to make a die-cut card for fall
Materials you’ll need:
- White card stock
- A paper cutter
- Low tack artist’s tape or washi tape
- A die-cutting and embossing machine (Cuttlebug, Big Shot, etc.)
- Dimensional foam squares or foam tape
- Craft glue
- Ink pads in a variety of colors (I used Hero Arts Fresh Peach, Butter Bar, Wet Cement and Soft Blossom inks)
- Metal leaf dies (I used Lawn Fawn’s Stitched Leaves)
- Metal alphabet dies (I used Avery’s Alphas Elle-ments)
Step 1:
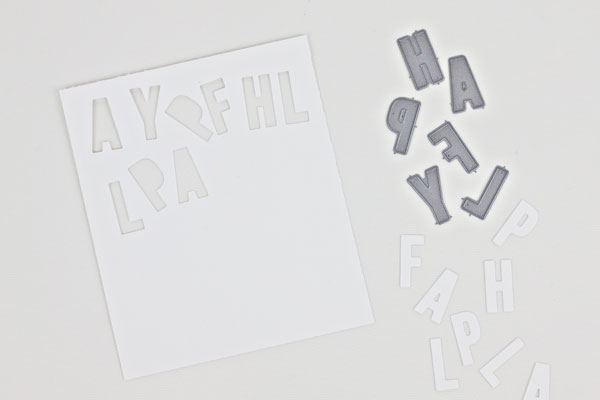
Cut a piece of white card stock to slightly smaller than an A2 card size. I cut mine to 5.25” x 4”. Place the letter dies onto a second piece of white card stock and cut them out using a die cut and embossing machine.
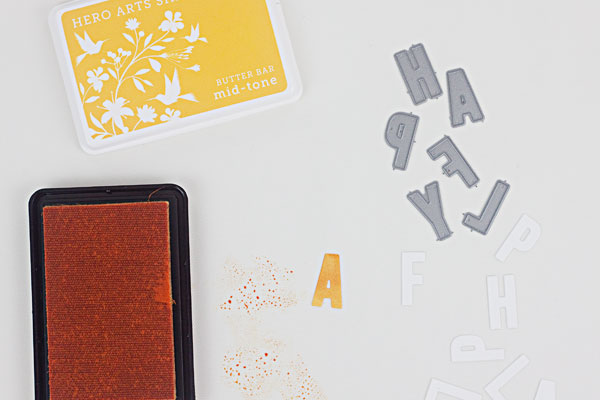
Step 2:
After you’ve cut the letters, color them by placing them, one letter at a time, onto an easy-to-clean surface or a piece of scrap paper and pressing an ink pad onto each letter. It may take a few presses to cover the whole letter with color. Set the letters aside to allow the ink to dry.
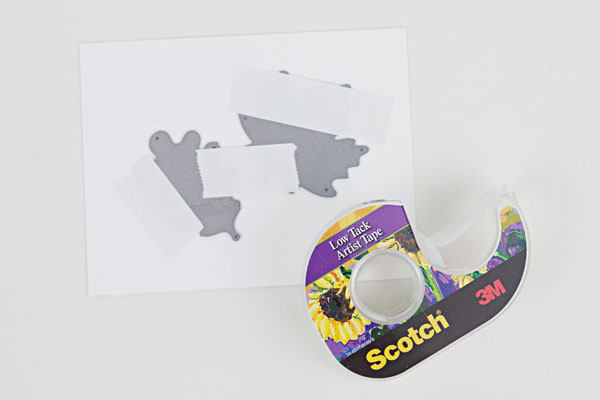
Step 3:
Place two large leaf dies onto the piece of card stock that you cut in Step 1, and keep them in place with a low tack tape like artist’s tape or washi tape. Run the card stock through a die cut and embossing machine.
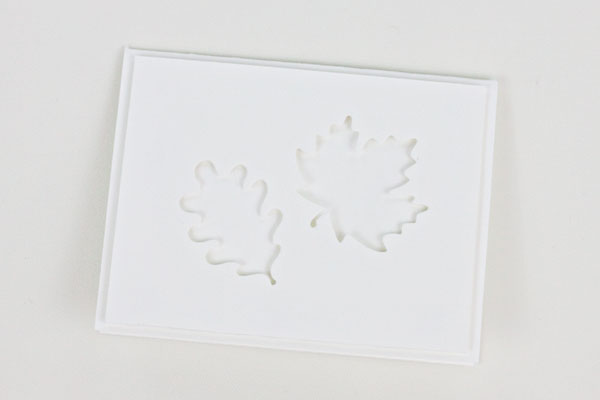
Step 4:
Remove the tape and the metal dies and attach the die-cut card stock to the front of a card base using dimensional foam squares or foam tape.
Step 5:
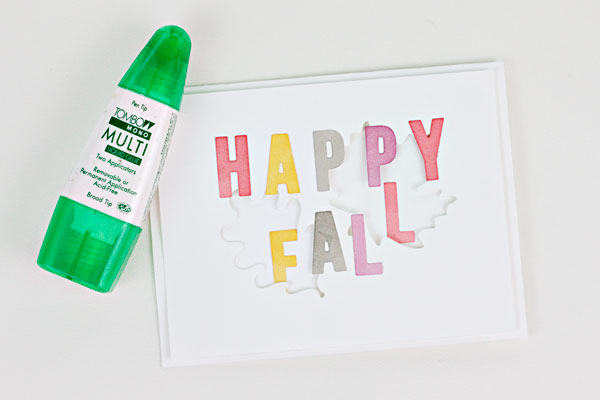
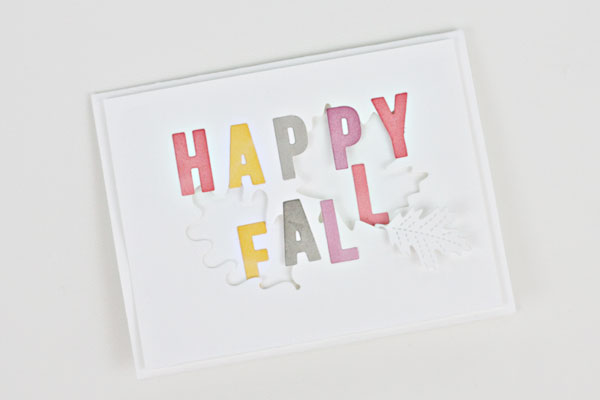
Attach the letters to the front of the card using craft glue. I tucked a couple of letters underneath the die-cut leaf background to add dimension and interest.
Step 6:
I added a bit more dimension by attaching one of the smaller stitched leaves from the metal die set to the bottom right corner of the card. Because of the stitched detail on the leaf, you can easily shape and bend it to give it a more three-dimensional look. Attach the leaf to the card with a foam square or a piece of foam tape.
Don’t have metal dies? No problem. You can easily create a similar card using a digital die-cutting machine to cut a leaves background, letters and leaf accent. No ink pads? Markers, colored pencils or even crayons would work, too!
 Looking for a perfect fall paper project?
This fall, create three seasonal wreaths you’ll love for years with the perfectly paired American Crafts Autumn Crisp Kit and FREE Festive Fall Wreaths online video lessons you won’t find anywhere else! Buy the kit, filled with crisp paper, die cuts, ribbon and more, and unlock lifetime access to the exclusive lessons!
Share tips, start a discussion or ask one of our experts or other students a question.
No Responses to “Using Metal Dies to Make a Handmade "Happy Fall" Card”