Quilted pillow covers are so fun to make! Not only are they quick sewing projects, they are very functional.
When making a pillow cover, some people like to make the cover so that it is not removable. The top is sewn together, the pillow insert is stuffed inside a small opening, and then that opening is sewn closed
Another option? Make it removable! It does take a little bit more time to make, but it is completely worth it. Not only can the pillow cover can be easily taken off and washed, it’s also easy to switch covers and update the decor of the room.
Here are three great removable pillow cover options for you to try!
Envelope closure
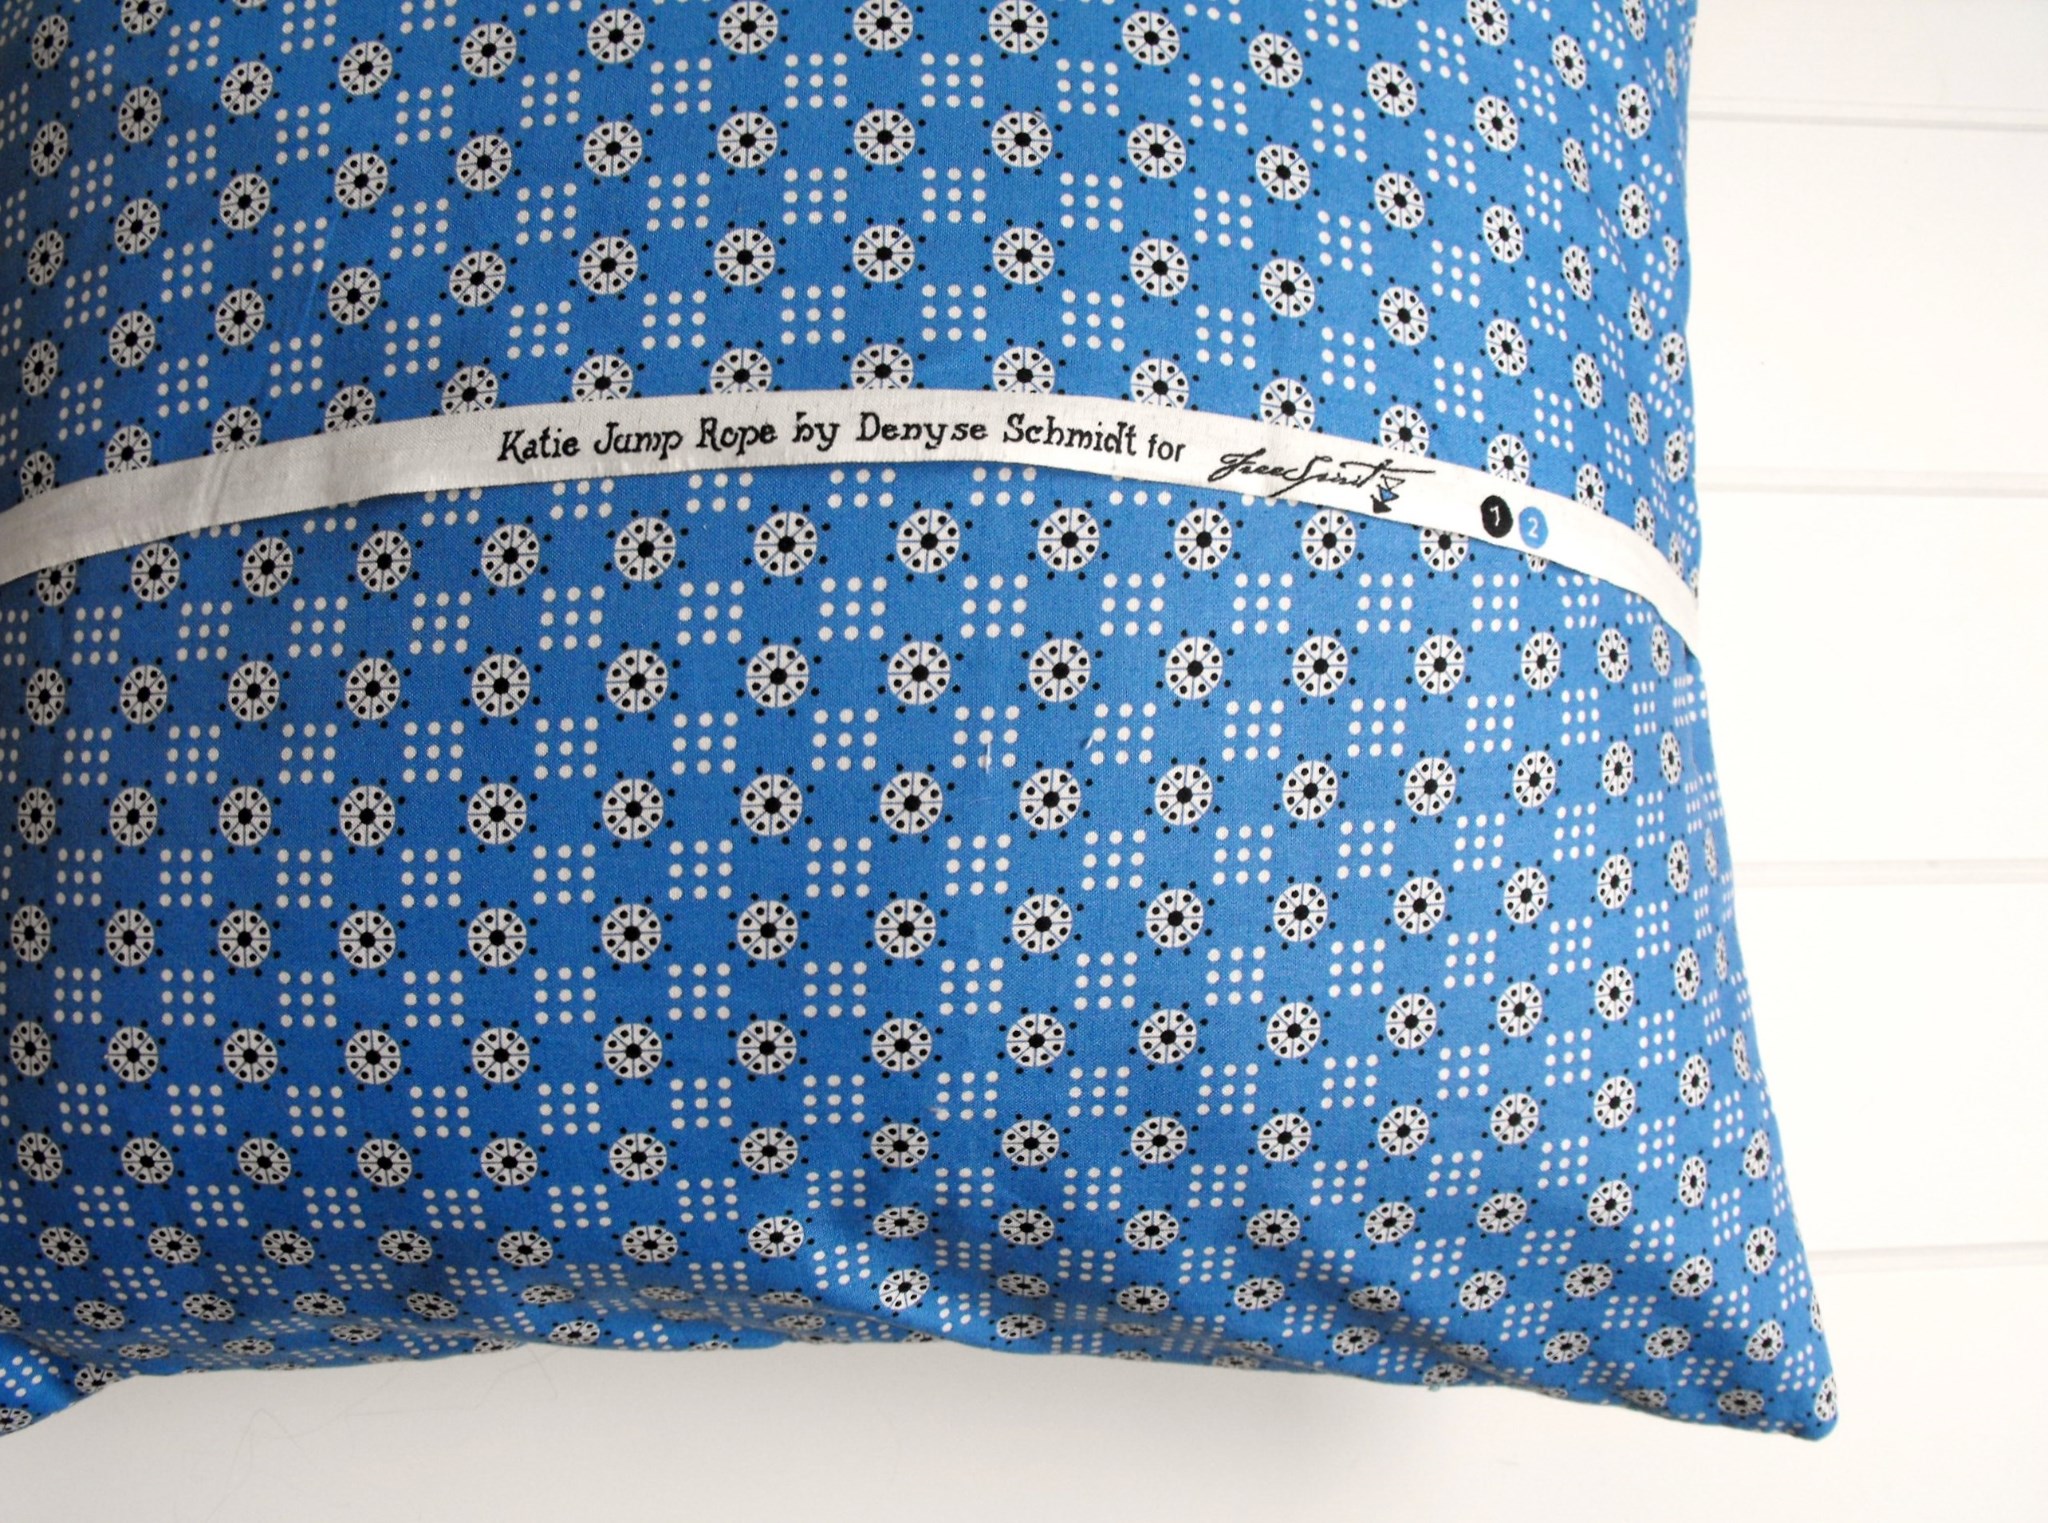
This is the easiest option to back a removable pillow cover. The back of the pillow resembles an envelope, just like it sounds. The backing consists of two pieces of hemmed fabric that overlap. This creates the opening where the insert is tucked inside. Be sure that the extra fabrics overlap each other by approximately 4” so that there is no gapping and the insert does not show.
The most time consuming part of the envelope backing is hemming. The center sides of the two backing pieces need to be hemmed before they are sewn to the pillow front. If you would like to eliminate that step, try using the selvage edges of your fabrics for this part since those ends are already finished.

Photo via Fussy Cut
To learn how to make a pillow with an envelope closure, check out this tutorial by Katy of Monkey Do.
Invisible zipper closure
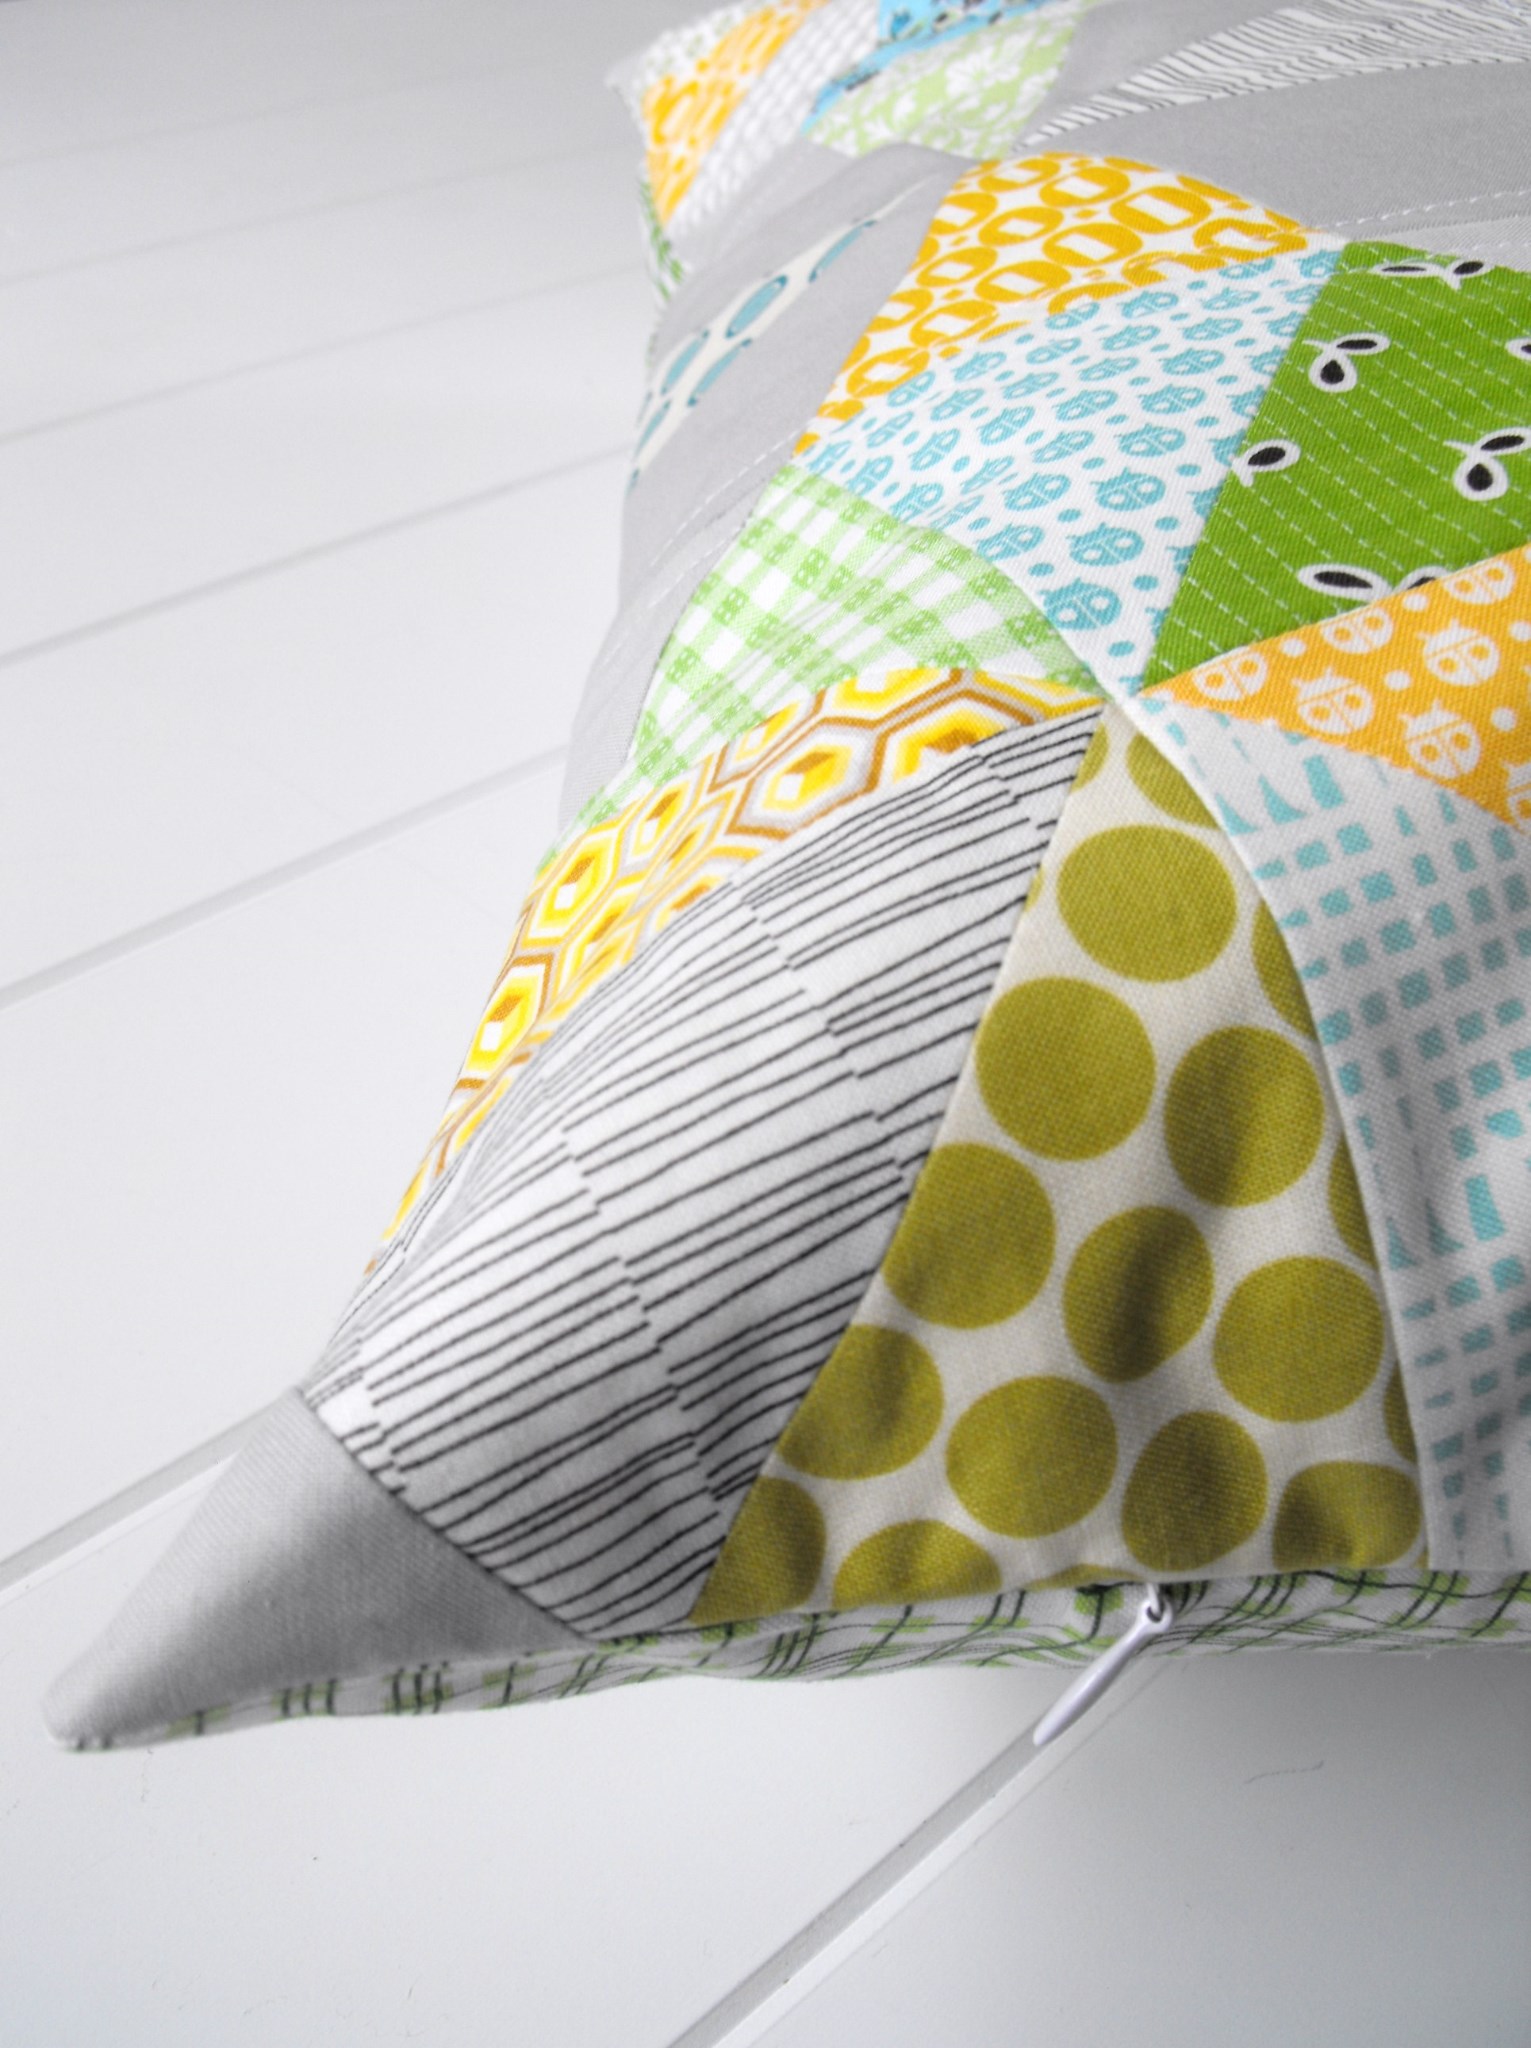
Finish your pillow this way if you want it to look professionally done. This is how removable pillow covers sold in stores are made. An invisible zipper is used and sewn between the pillow top and backing on one of the ends. When installed correctly, the closed zipper is nearly invisible. The only thing that can be seen is the zipper pull.

Photo via Fussy Cut
While this type of zipper closure may appear intimidating, it really isn’t as hard as it seems. Be sure to use careful pinning, precise marking and a zipper foot. Try this tutorial by Sew Katie Did.
Exposed zipper closure
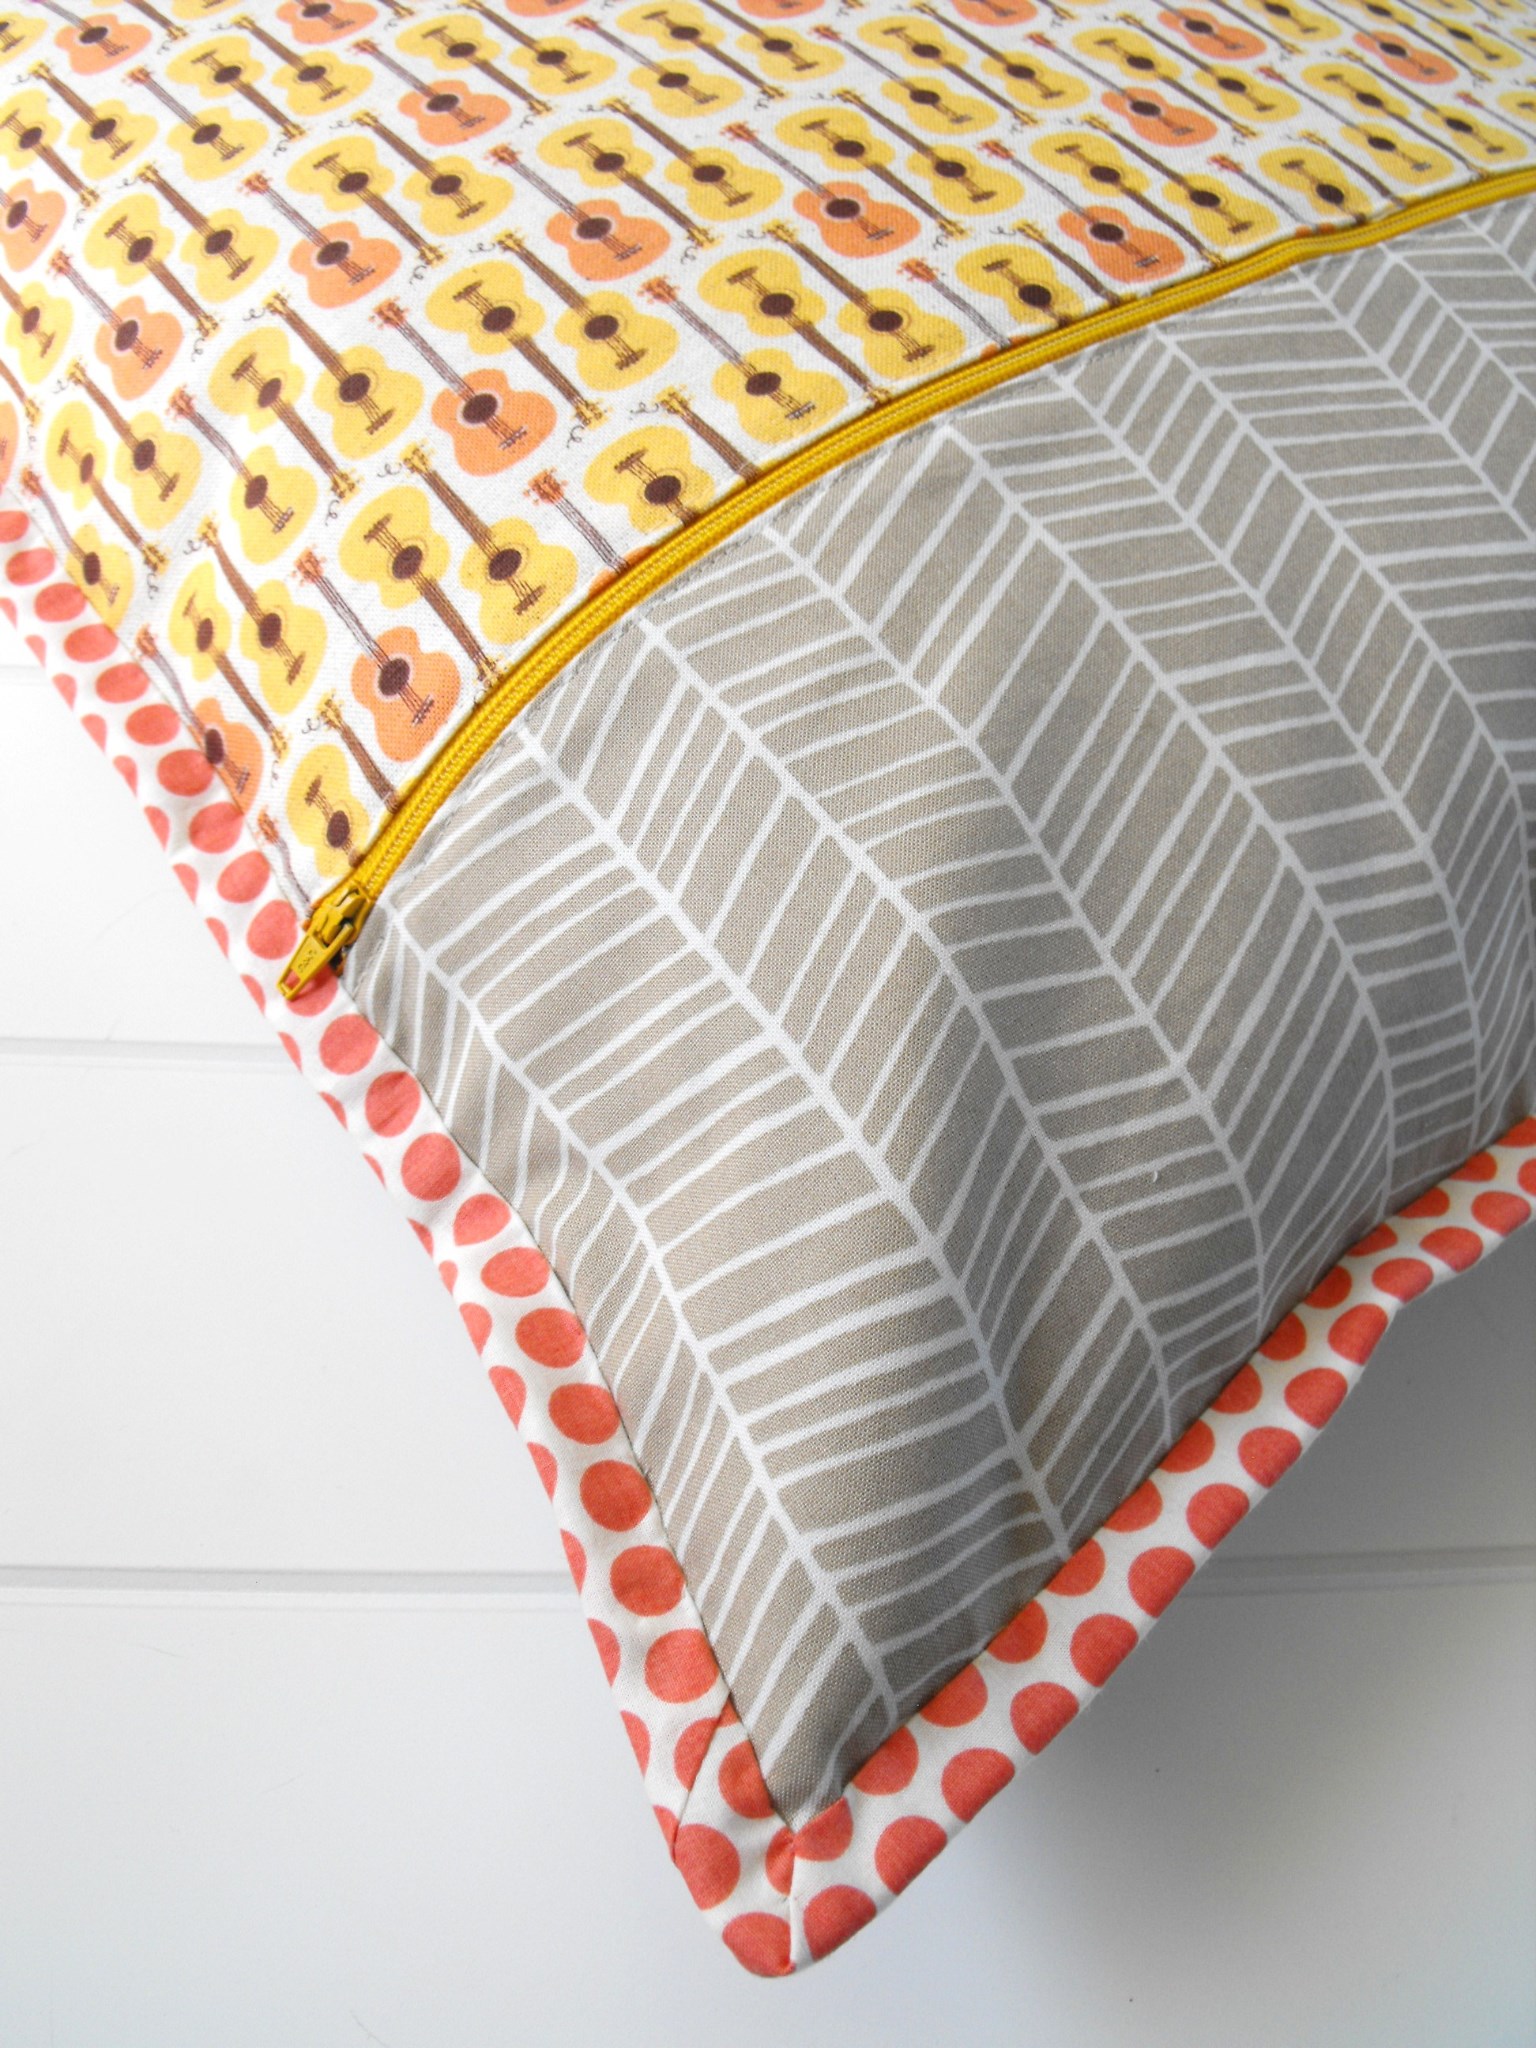
Pull out your pretty colored zippers for this one! This is another way to neatly finish your pillow and add some extra pizzazz. If you are new to zippers, pull out your zipper foot attachment and give this type of backing a try. Here is an excellent tutorial by Freshly Picked.

Photo via Fussy Cut
You may also enjoy the FREE Craftsy class Mastering Zipper Techniques with Sunni Standing. Ready to practice your skills? Download some quilted pillow patterns and get started!

BUT, I ended up cutting too much. Now, I will come up with a 28" pillow case instead of 30". Are there even 28" pillow cases. These are not mine. They are for a neighbor of mine. What can I do?
I need help. I'm sewing a pair of pillow cases/covers with a flap. But, One of them came out 2 inches bigger than the other. Then I cut the bigger one tried to make it the same size (30") as the smaller one and I messed up again. I unsewed the 32" and cut it to make it a 30", BUT,