
In today’s world of quilting, rotary cutters reign supreme. Along with a ruler and cutting mat, they are among the basic quiltmaking tools, in this case most commonly used to cut fabric. Despite this, quilt templates are still used often. Sometimes they are the most effective way to create blocks with odd sizes and irregular shapes.
Photo via Bijou Lovely

What exactly is a template?
It’s a shaped piece of material that’s used as an outline for tracing. Specific templates are traced and cut out to form quilt blocks. Templates are made out of many different types of materials. Paper can be used, but it is not very strong and cannot endure multiple tracings. Heavier weight materials are much more practical. Poster board, cardboard, plastic, and acrylic are commonly used items.
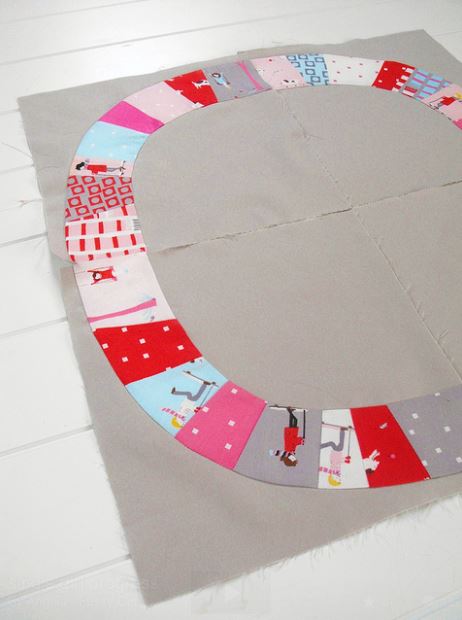
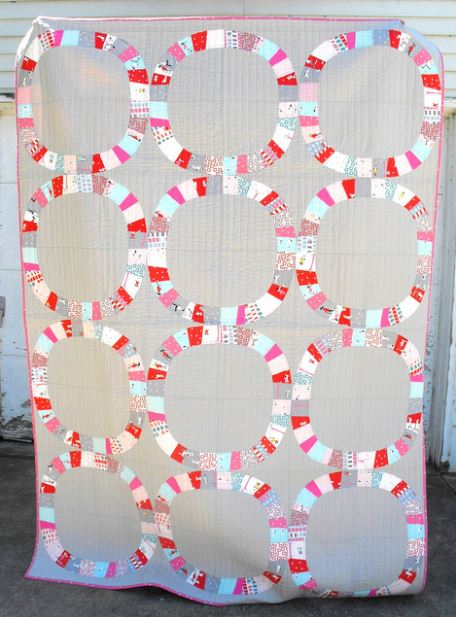
Photo via Fussy Cut
Templates are a tool that you can easily make yourself!
Whether you need to make them right now for a project that you are beginning, currently working on, or planning for the future, it’s a good idea to know how to create your own.
Let’s take a look today at two different and popular ways to make your own set of templates.
Cardboard:
Step 1: Gathers supplies: pattern, cardboard (boxes from cereal, rice, pasta, etc.), marker, small scissors.
Step 2: Cut out pattern pieces. Most quilters would rather not cut up an actual pattern from a magazine or book, so photocopy the pattern pages and cut out all of those pieces.
Step 3: Tear open cardboard boxes. The best kind to use are the single layer type that hold food rather than the large, heavy duty boxes. Those that have a blank interior are perfect for templates.
Step 4: Trace pattern shapes onto the cardboard. Transfer any pattern markings and label each piece.
Step 5: Cut out templates using a small pair of sharp scissors.
Plastic:
Step 1: Gather supplies: pattern, template plastic, marker, small scissors. Plastic generally comes in rectangular or square sheets and can be purchased at your local quilt shop or craft store.
Step 2: Lay the template plastic directly over the pattern. Tape sheet down if desired.
Step 3: Trace the pattern pieces onto the plastic with a marker. Transfer any markings from the pattern pieces and label each piece.
Step 4: Cut out the pieces with a pair of small, sharp scissors.
Photo via Fussy Cut
Once your templates are cut out, they are ready for use! It really is as simple as it sounds.
Here are just a few tips to remember when making templates:
- Carefully read the pattern directions before making templates. Since there’s not a lot of space in magazines or books, some patterns require you to enlarge and print the pattern before using in order to achieve the correct dimensions.
- Not all templates include seam allowances. Read the pattern carefully to see if you need to add your own.
- Permanent markers with a fine point work perfectly for tracing.
- Use a ruler when tracing pieces with long, straight edges.
- Always store the pattern templates together in a labeled bag.
- Write the pattern name on each individual template piece. This will help if a piece happens to be misplaced.
- Remember to transfer any markings from the pattern pieces onto the templates.
- When using template plastic, it’s helpful to mark the right side of the template to ensure that it is used correctly.
I can make for a designer, clear 1/8" or 1/4" (long arm rulers) and also can laser cut fabrics for kits. I am looking into assistance to make my own quilt patterns for my own designs.