
The mouth is one of the most expressive features of the face, but it doesn’t have to be difficult to draw. First, you want to keep a few things in mind when placing the mouth on the head:
From there, follow this basic formula and keep your reference photo or subject on-hand to crush your portrait every time.Drawing Realistic Lips
Level: Easy
What You Need
Instructions
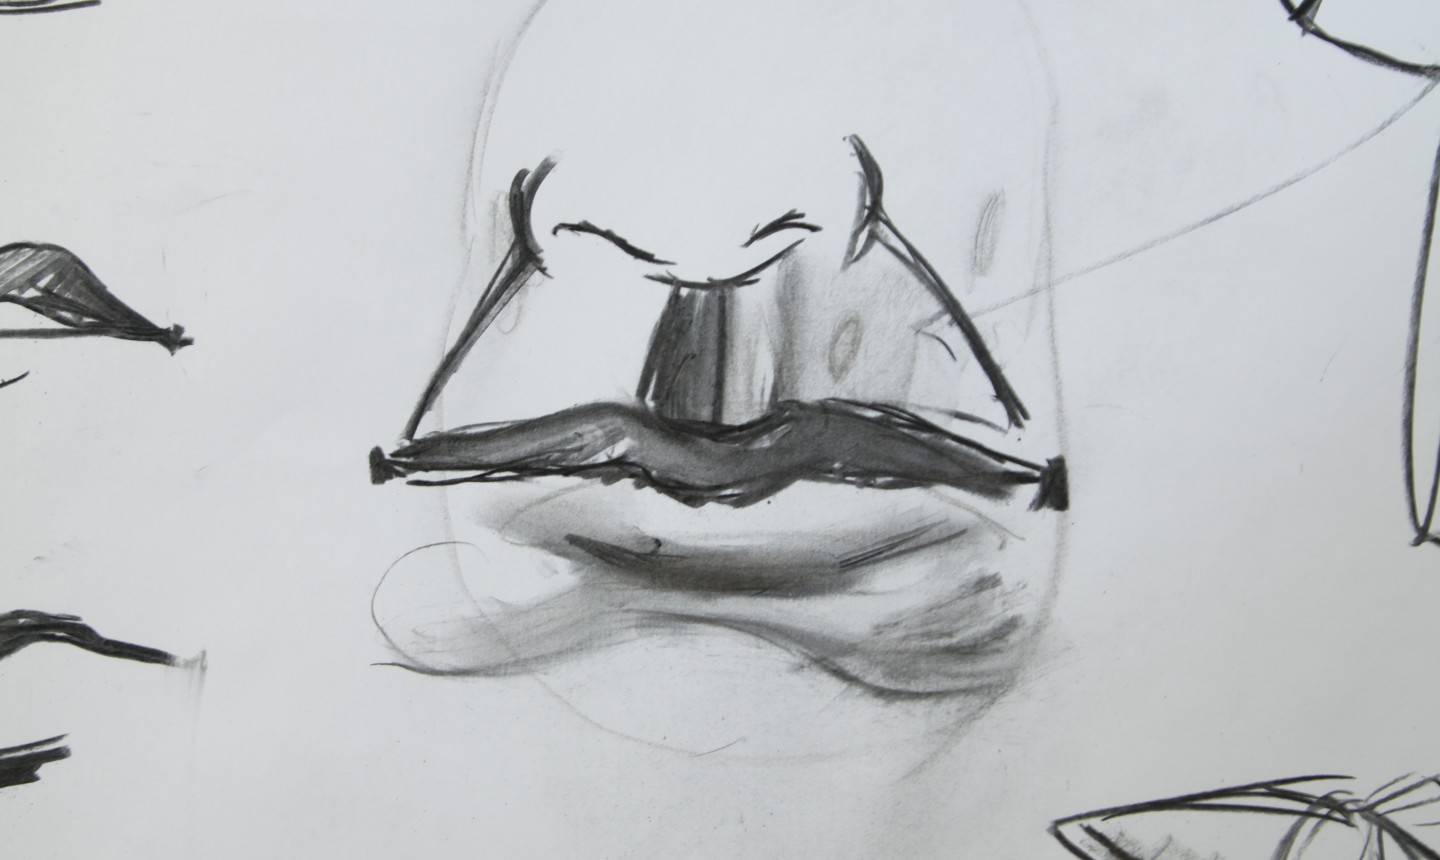
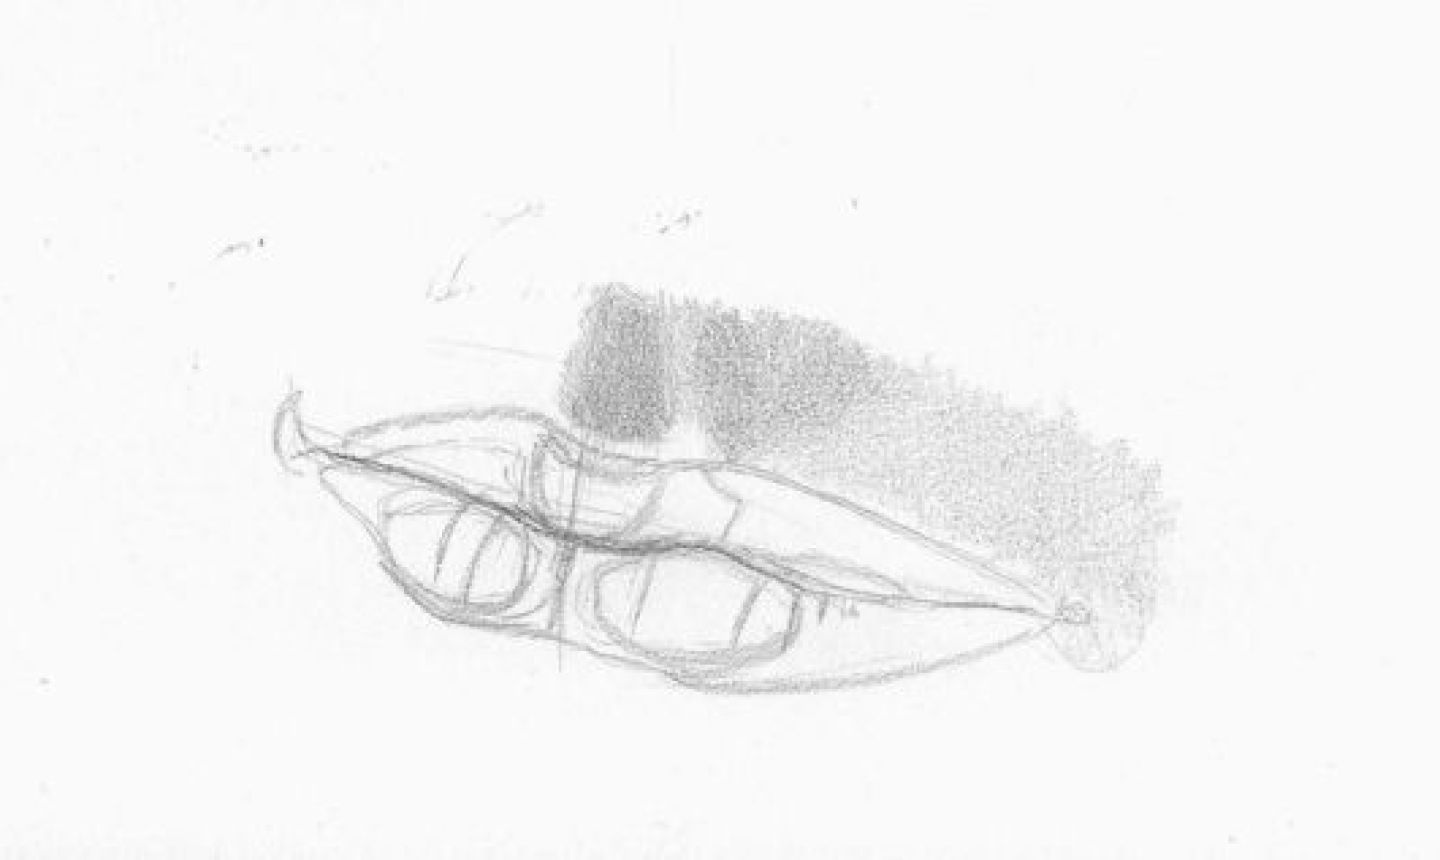
1. Draw the Aperture Line
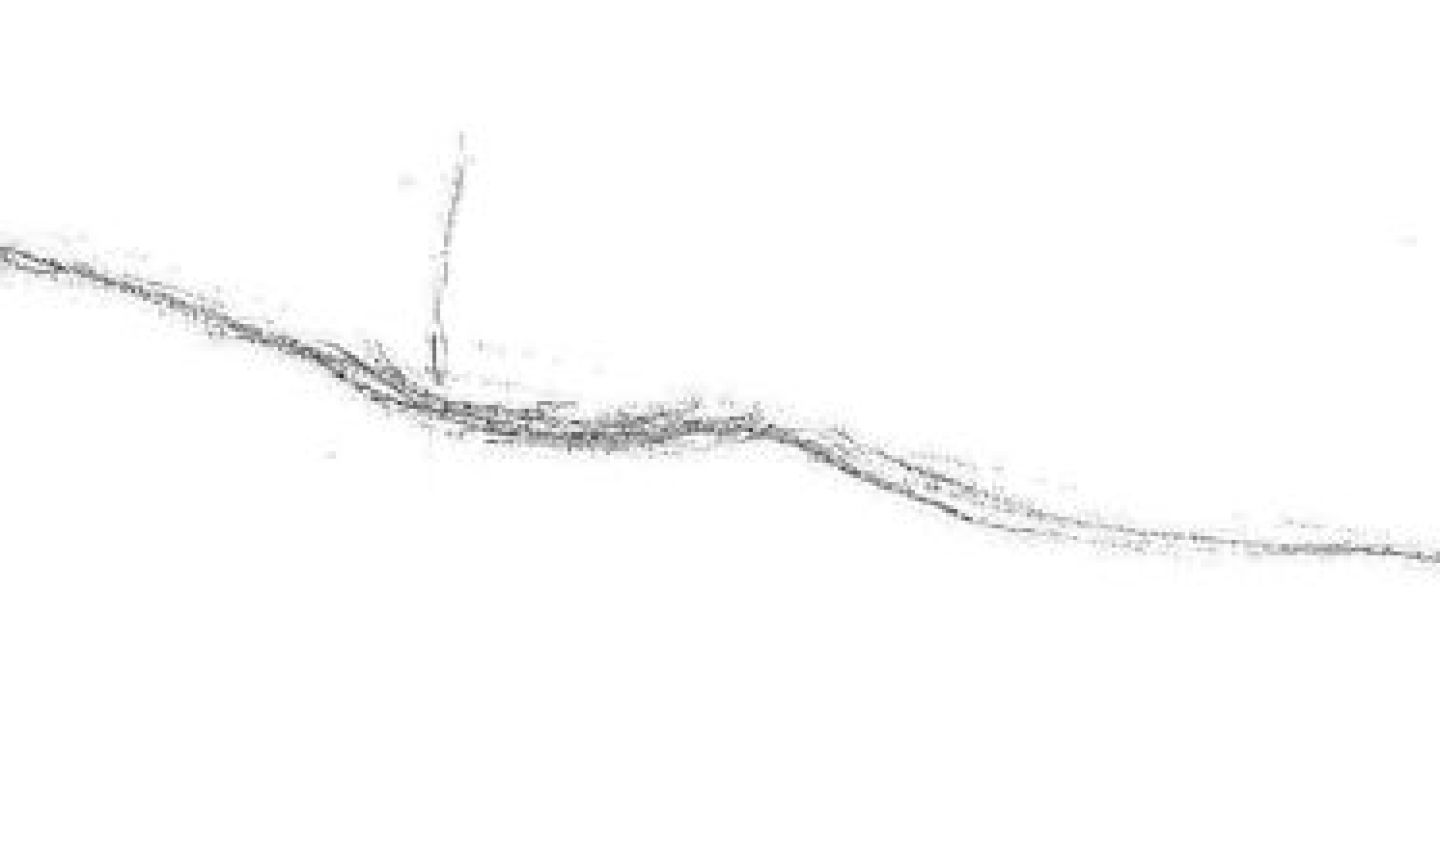
The first thing to keep in mind when drawing the aperture: it’s not a straight line. Pay close attention to your subject’s specific curve.
Draw three vertical lines with an HB pencil: two for the width of the lips at each outside corner and one at the center line. As the head is tilted in this example, the center line is not in the middle, but about ⅓ of the way along the width.
Good to Know: We’re drawing female lips, so this aperture line will be the darkest part of the mouth. It’s often more defined on women’s lips than men’s — male lips tend to be thinner with less of a defined outline.
2. Place the Main Masses
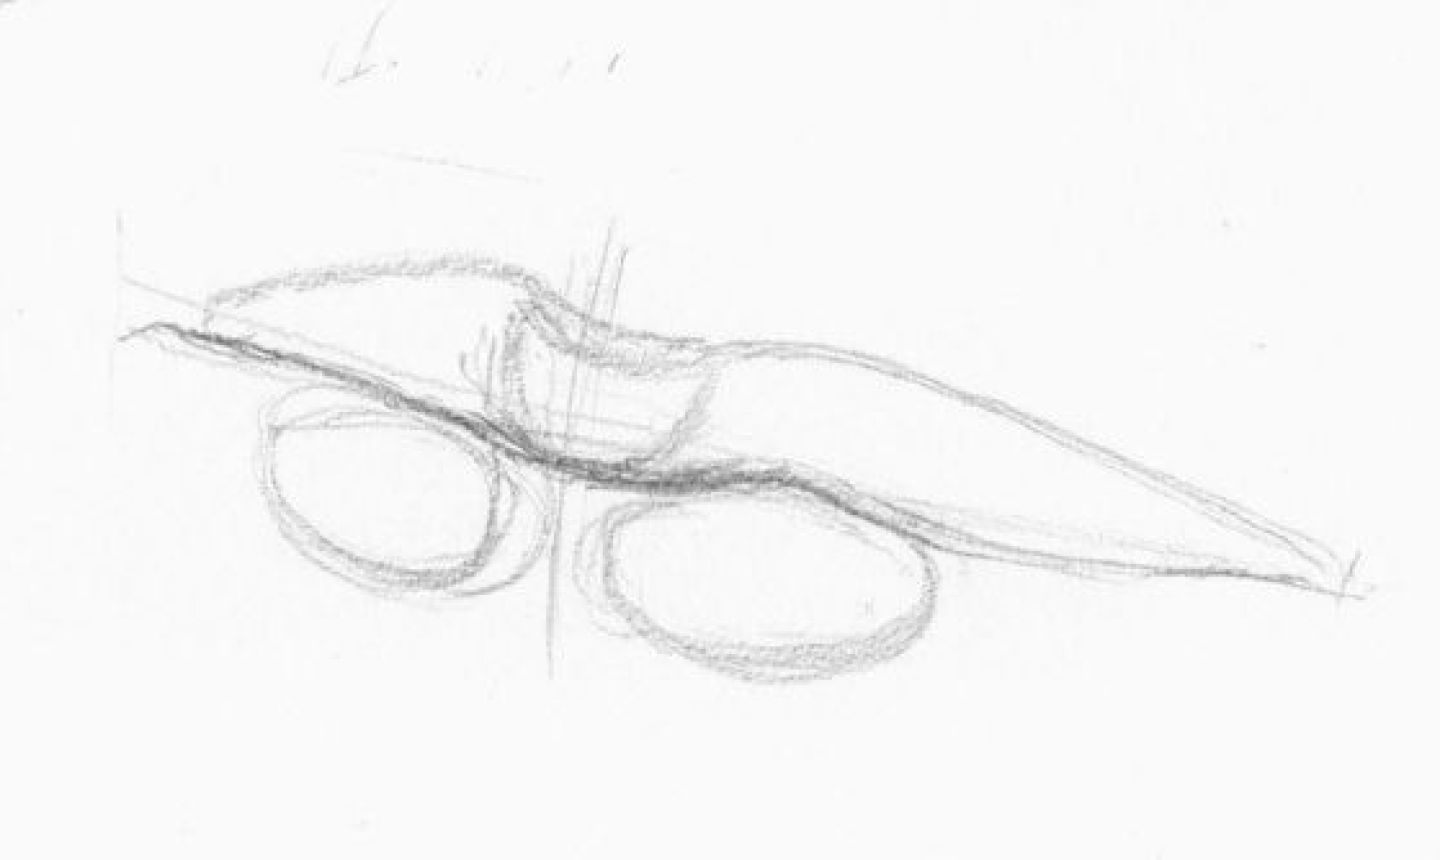
The upper lips can be divided into three masses and the lower lips into two masses. Make a rough sketch of each.
Good to Know: The depression above the mouth (at the center line) is called the cupid bow.
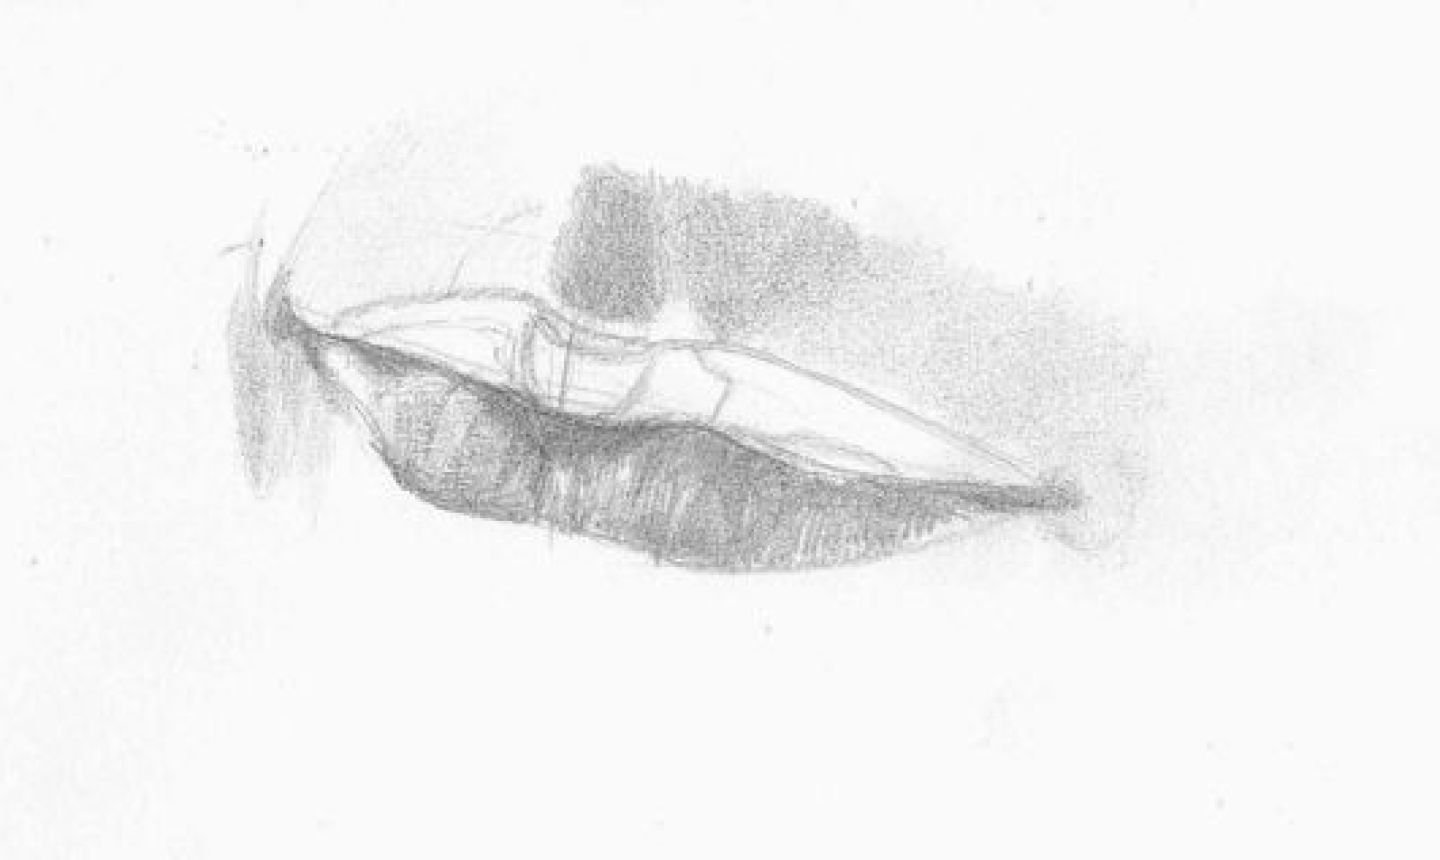
3. Add the Philtrum
Lightly draw the philtrum (the crease between the upper lips and nose) and outline the cast shadow.
Start adding more details, such as the small depressions at the outside corners of the mouth (the nodes).
Pro Tip: The best way to think about nodes is to picture the shape of a donut. Because this mouth is at an angled view, the node on the left side is in perspective.
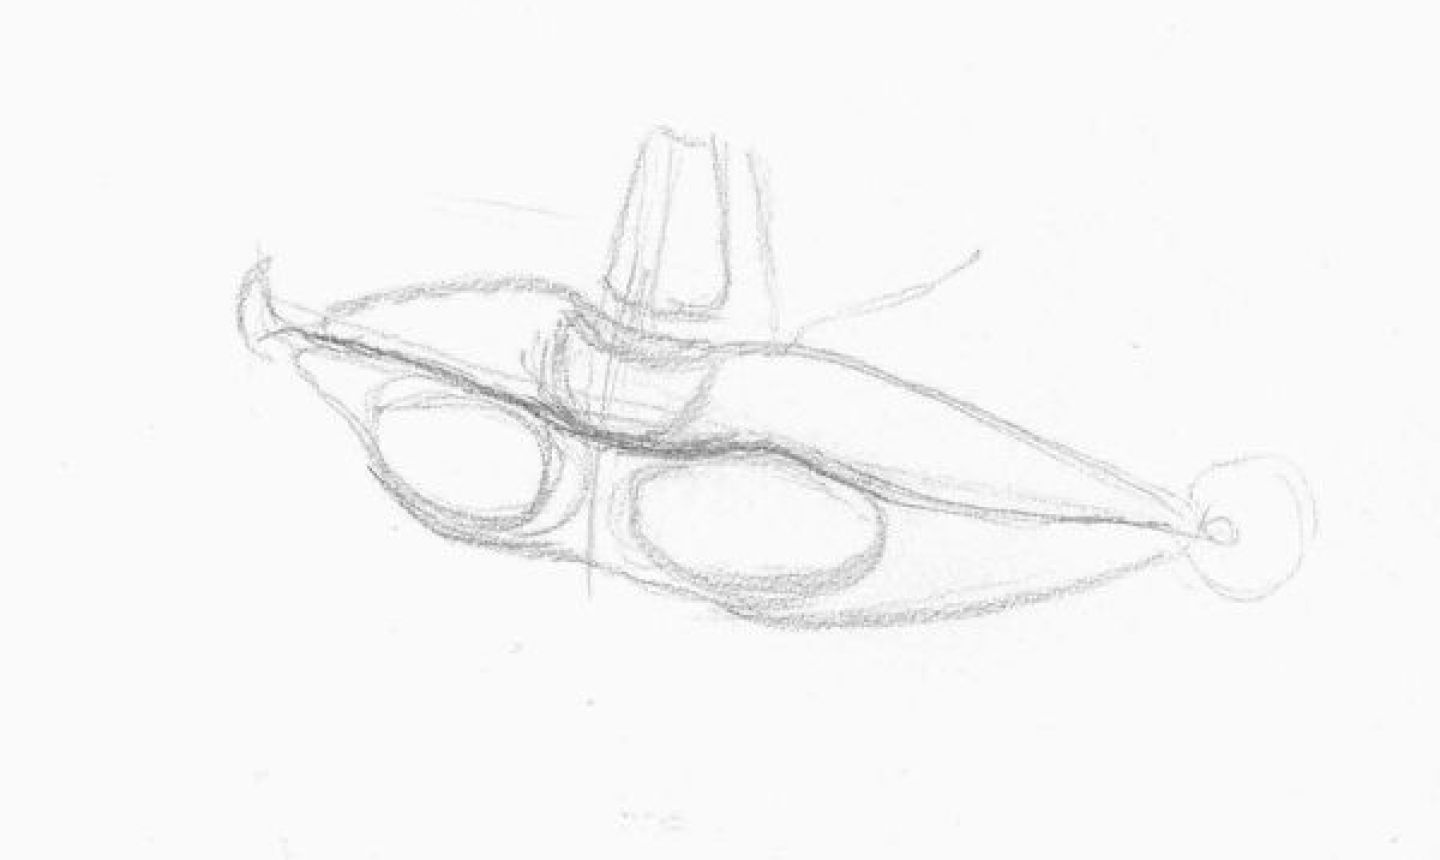
4. Detail the Lip Creases
Place some skin creases on the lower lip. Each lip has a bit more than 20 creases, but most of the time only a few are visible. Begin shading around the lips, still using the HB pencil.
Shade the lower lip. Many times the lower lips will have a cast shadow from the upper lip.
5. Shade the Upper Lip
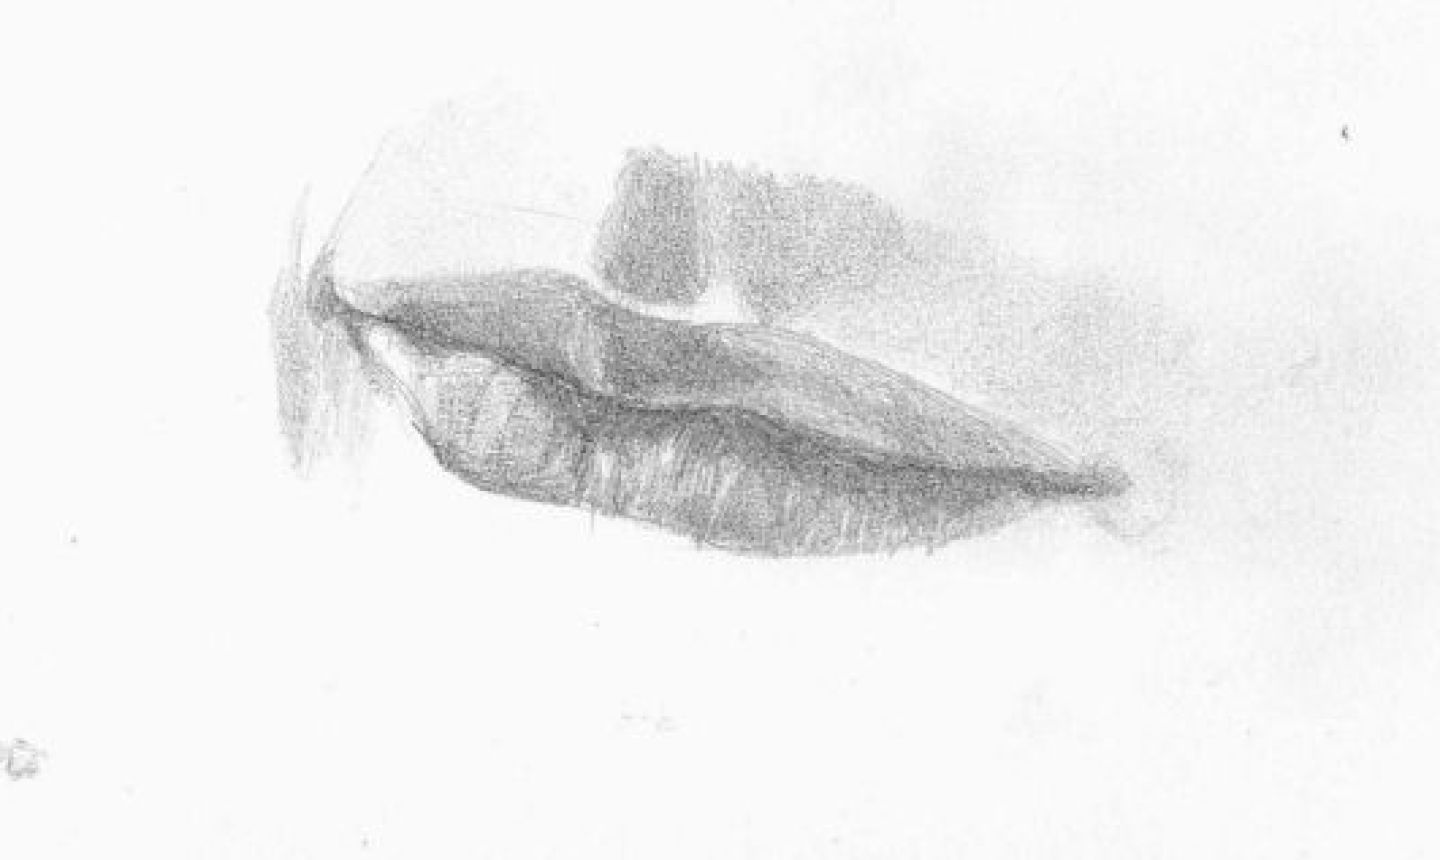
The top lip is usually a bit darker if the light source comes from the top, because of the cast shadow from the nose. In this photo, the light source is from the left.
The edge of the upper lip is a flat area that will often catch the light, as seen on the right side here.
6. Add Shadows Under the Lip
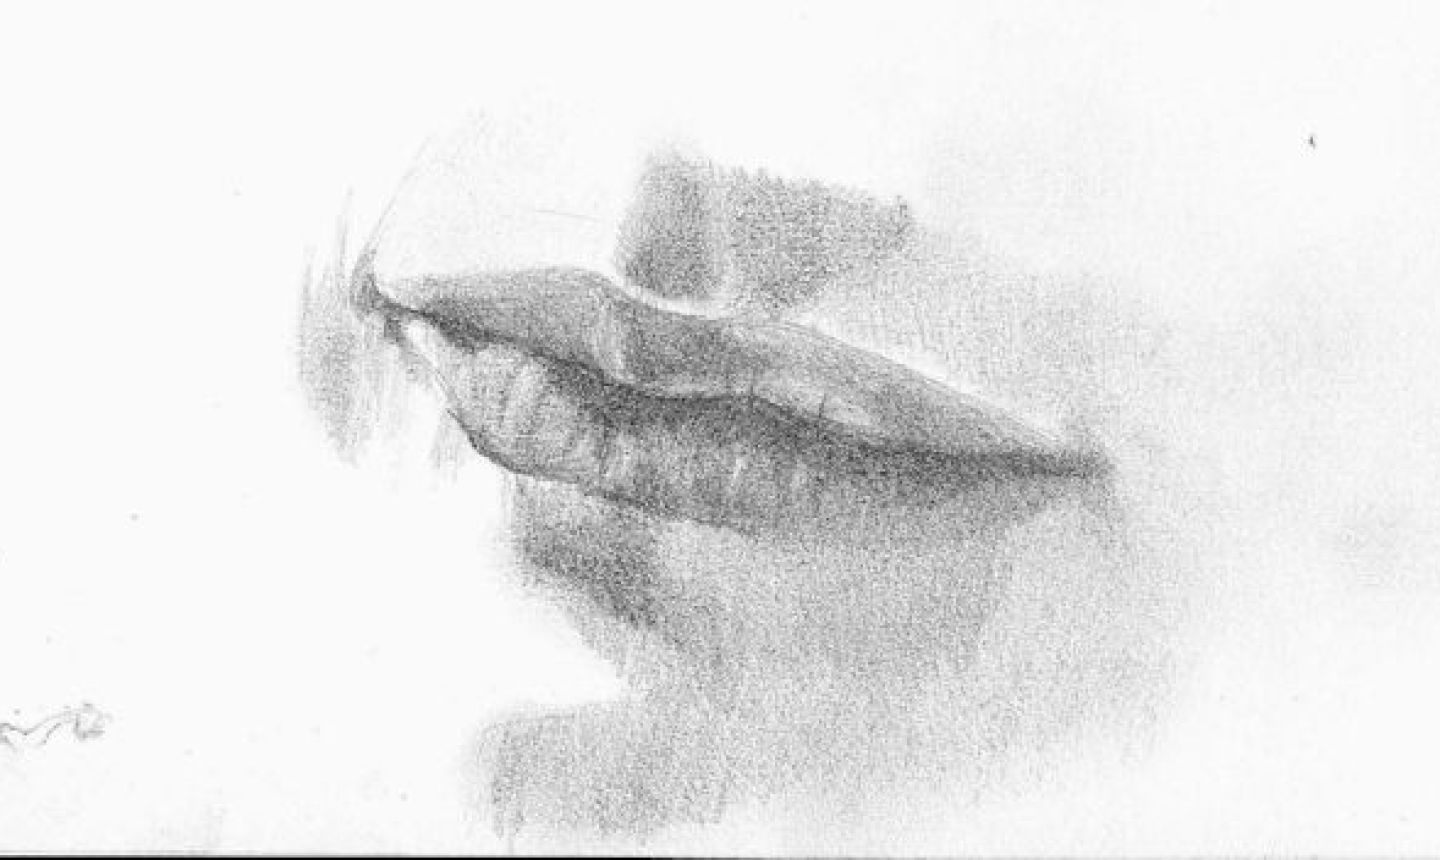
Switch to your 4B pencil, as this will make the dark areas darker and provide more contrast. Define the volume of the mouth by adding a shadow underneath the lower lip. This shadow is usually darkest in the center. Often the upper lip is overlapping the bottom lip, and you can see that in the central part.
Once you finish shading, you’re ready to move onto the other facial features.
I dint like it