
With Easter arriving tomorrow, it’s time to bring out the scissors and get working on a few favorite Easter paper crafts. We make these simple paper egg holders every year and they are always a hit! With little kids running at my feet, I often look for holiday crafts that don’t involve dye, paint and other horrible messes just waiting to happen.
These egg holders are a perfect family activity and can transition to place markers at a formal Easter dinner in a cinch. You’ll be utterly surprised how simple they are to make!
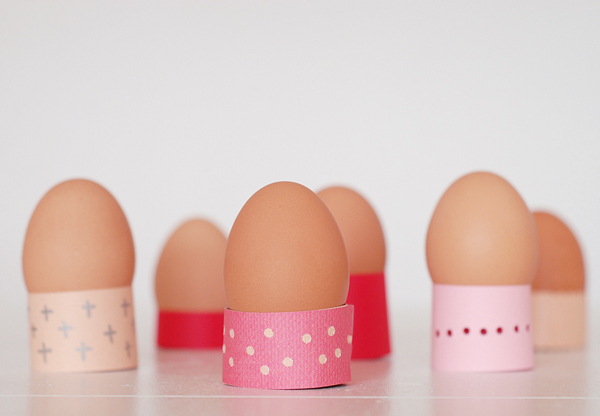
Easter paper crafts project: Paper Easter egg holders
Materials you will need:
- Bright colored card stock paper
- Scissors and glue
- Various hole punches and decorative elements
- Thick pens for writing
- A paper cutter (Optional: makes cutting strips very easy, but not totally necessary)
- A selection of hard boiled eggs ready for a bit of decoration.
Step 1:
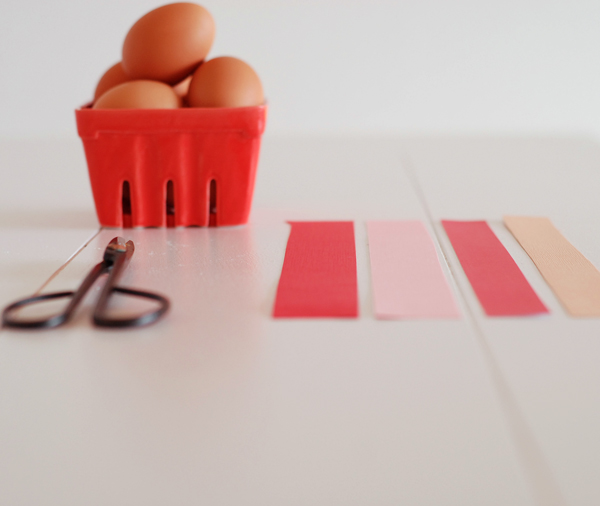
To make the paper egg holders cut strips of paper about 1 inch wide. Using a paper cutter will make this step very easy. If you do not have a paper cutter, use a ruler to measure the strips 1 inch wide on both sides of the paper and draw lines in pencil to ensure a straight cut.
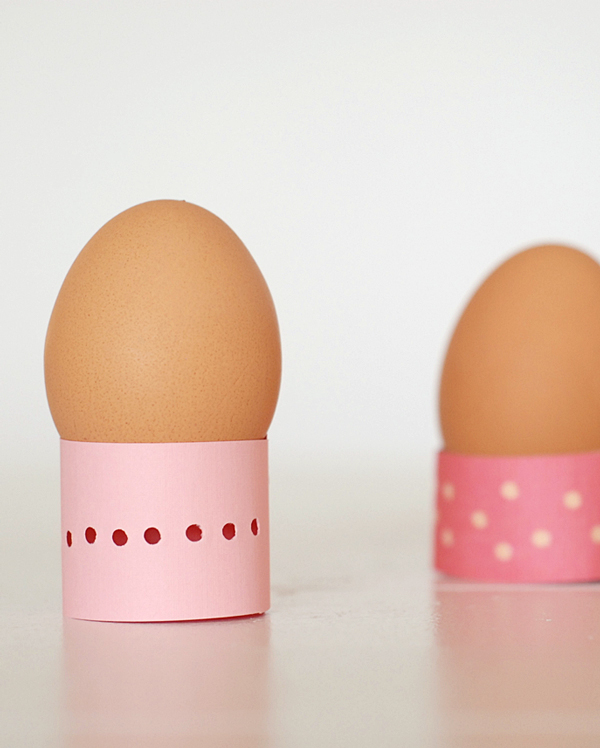
I love the look of brightly colored paper with more natural eggs. Dyed eggs will look nice with more subtle colored holders, anything bright and pretty for spring will be perfect for displaying these beauties. Layering the paper also produces a pretty result. We layered the polka dot paper below, you could even layer different heights of the paper to create a bright rainbow effect.
Step 2:
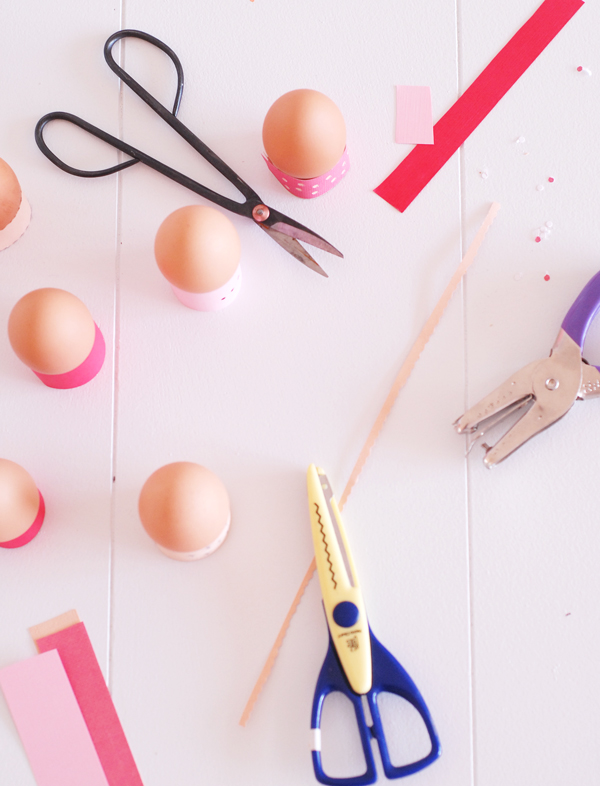
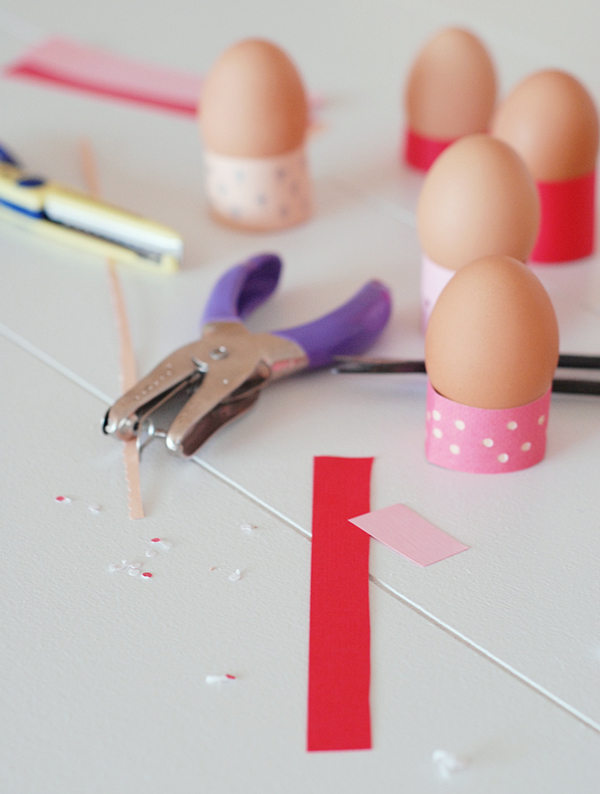
Once the strips are cut into shape. Punch holes with a hole puncher or other paper punch to add detail to the strips. You can also draw simple patterns on the strips, or use crafty scissors like zigzag scrapbook scissors. Let each guest or child design their own, or make a selection of your favorite to set out on the Easter table. Layer the papers and experiment with colors for a fun no-dye Easter paper craft project.
Step 3:
Once the holders are designed, measure and cut each strip to about 5 inches long. Wrap around and glue into place to hold the egg upright and ready for display.

If the eggs are going to be dyed, make sure they are completely cooled and dried before placing them inside the paper Easter egg holders. I plan to set these bright ones right by the front window for our annual Easter egg hunt.
My favorite thing about this project is how versatile it is. You could basically use any craft supplies you have to create you own unique take on this project. Use shimmer and glitter for a more formal look. My family will love to do the batch of these I am dreaming up for this week using watercolors and dyes for creating unique paper egg holders. Even doing a stash of pink holders with simple bunny ears and white eggs inside — they would be sure to make the kid’s Easter table a raving success.
Share tips, start a discussion or ask one of our experts or other students a question.
No Responses to “An Easy Easter Paper Crafts Project the Kids Will Love”