
Start celebrating spring with this simple step-by-step tutorial for a gum paste daisy!
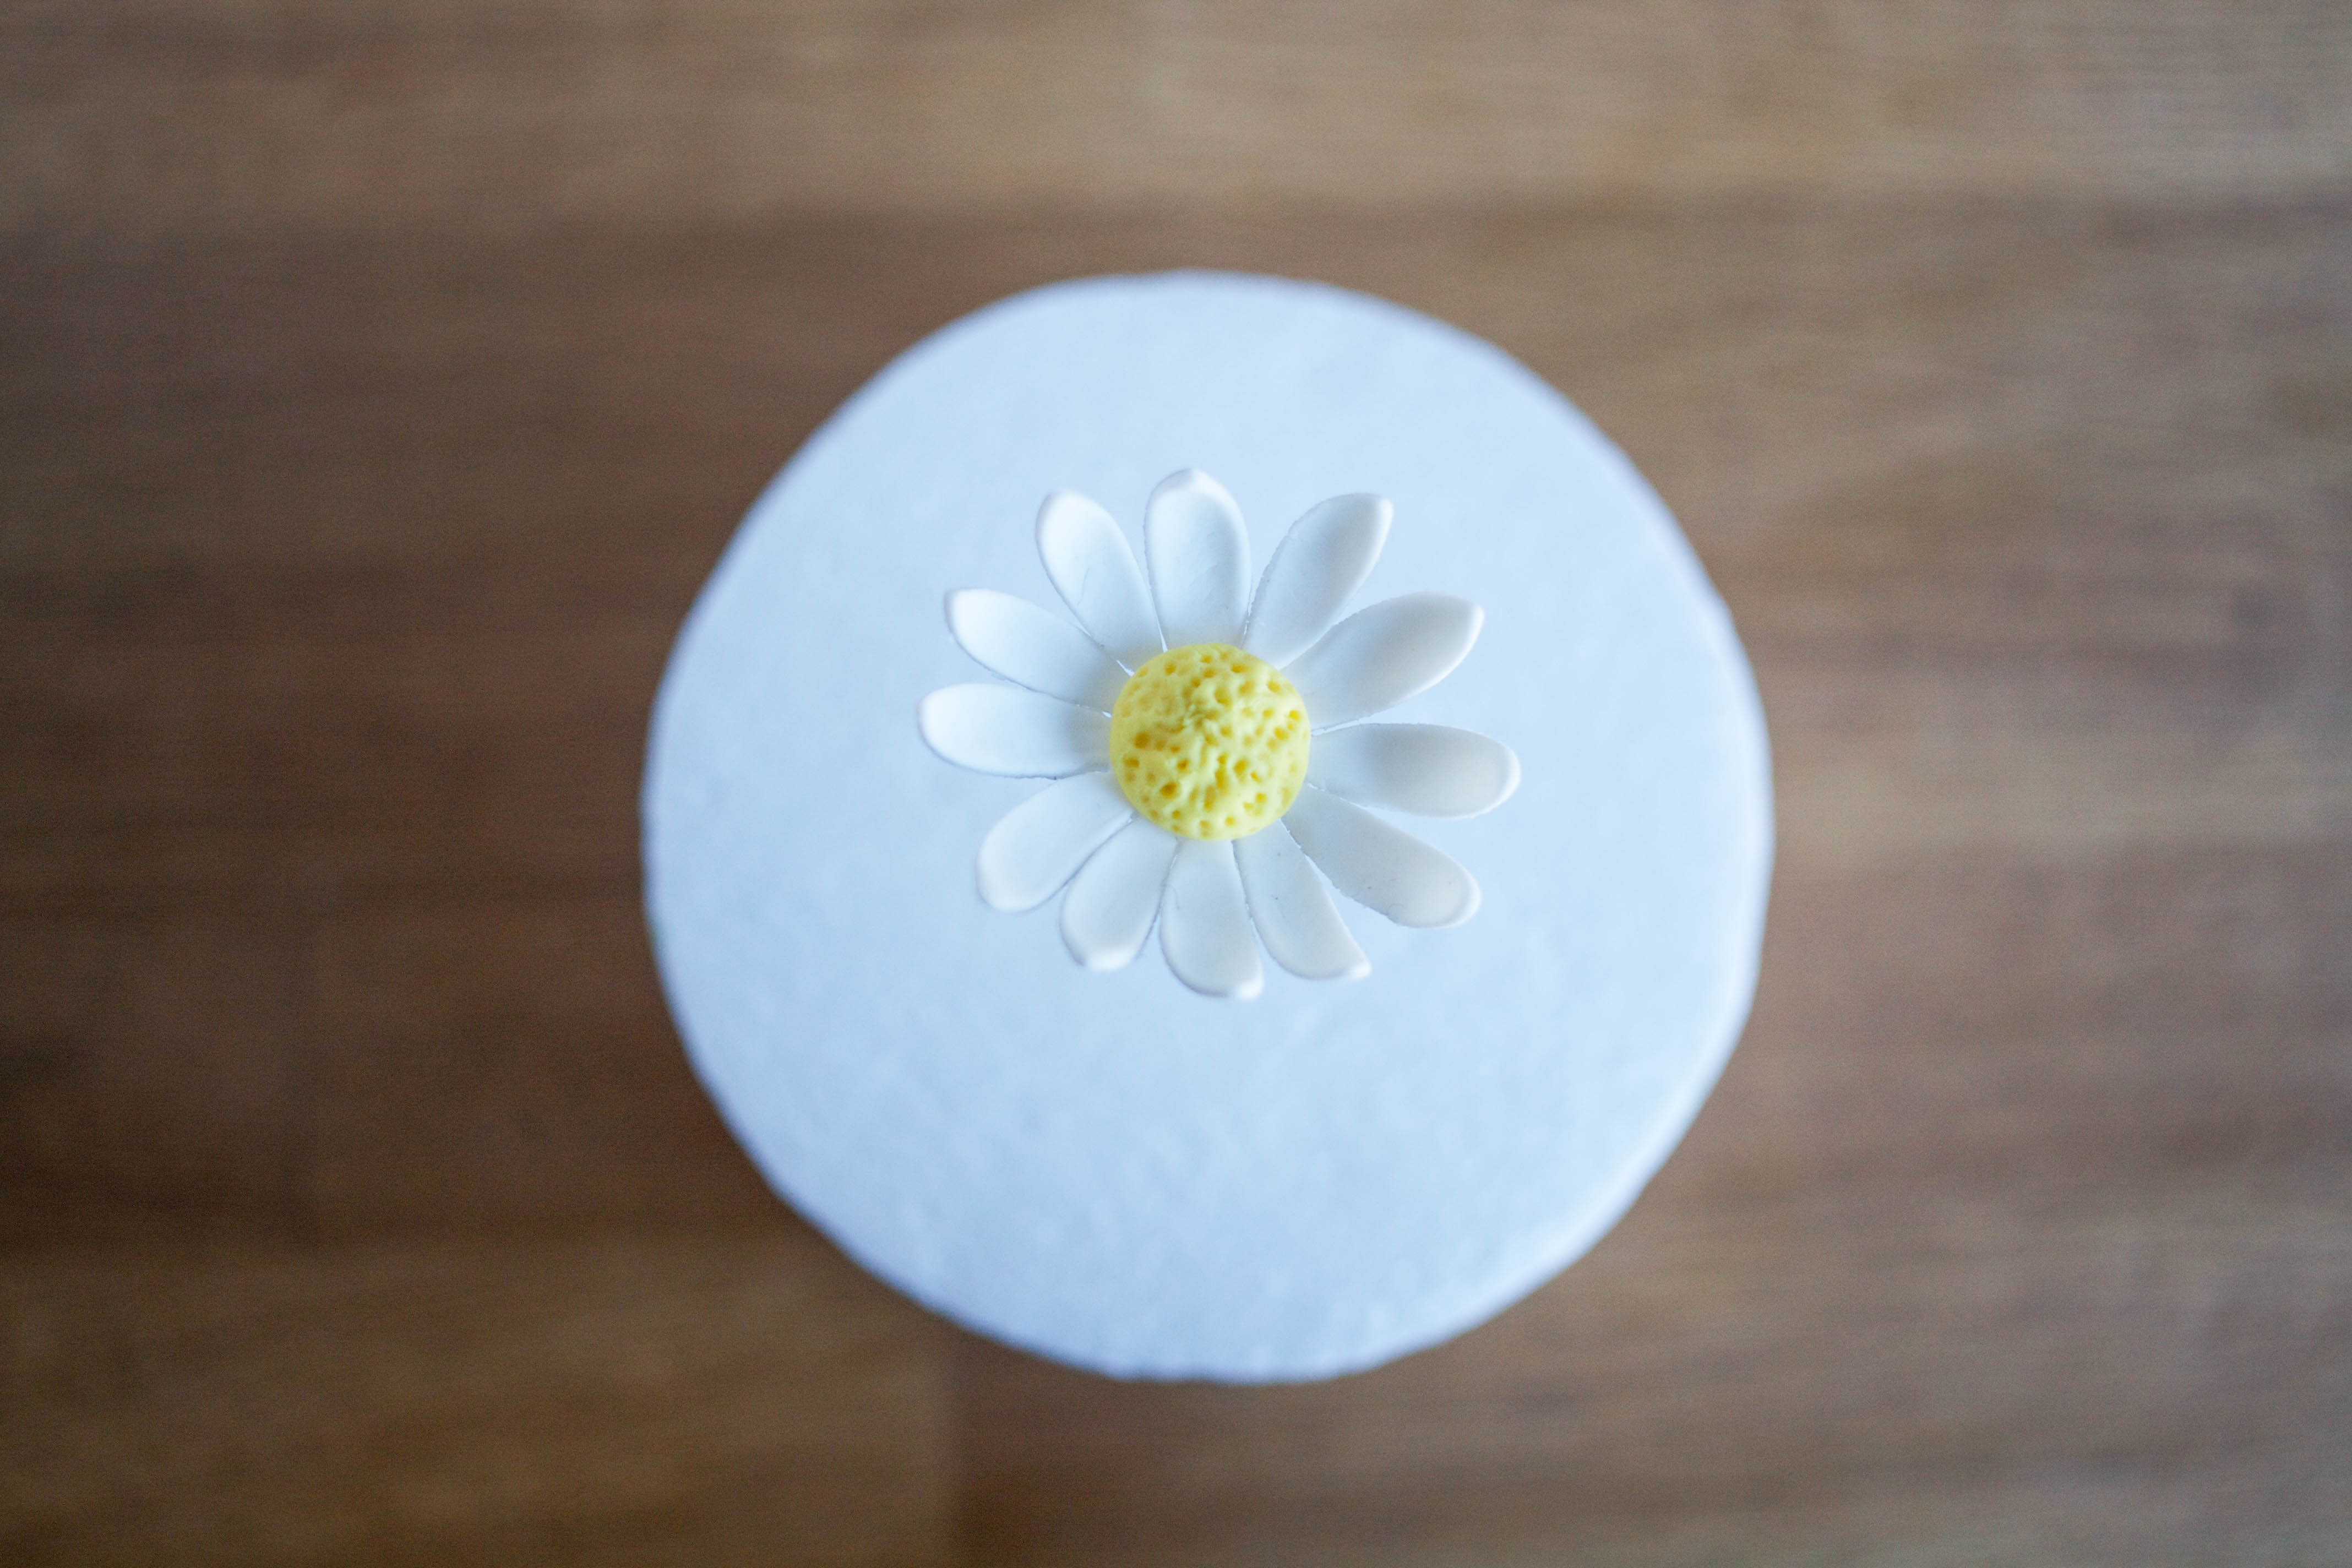
Here’s one of my favorite daisy cake designs, inspired by the childhood game of “loves me, loves me not.” I hope it inspires you to create your own bright and cheery daisy cake!
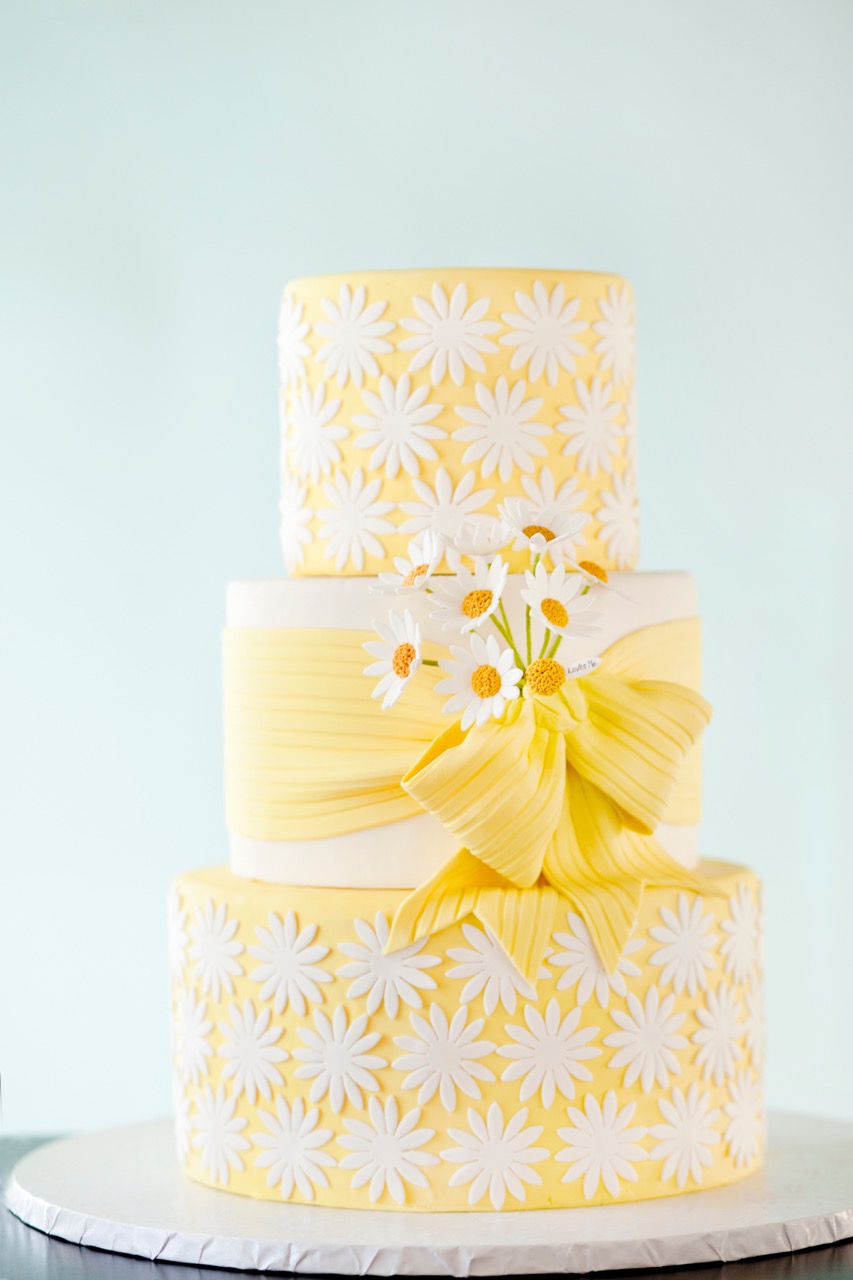
Photo via Erin Gardner
Most cake designers who have been making cakes for any good length of time will have a variety of go-to sugar flowers that they use frequently in their cake designs. These include intricate, highly detailed flowers for fancy cakes to simpler, more stylized flowers for everyday occasions.
This quick and easy gum paste daisy is a terrific staple to have in your cake design tool box. It’s a great first flower for a less experienced decorator to try, but also makes a perfect filler flower or production level flower for a more experienced decorator.
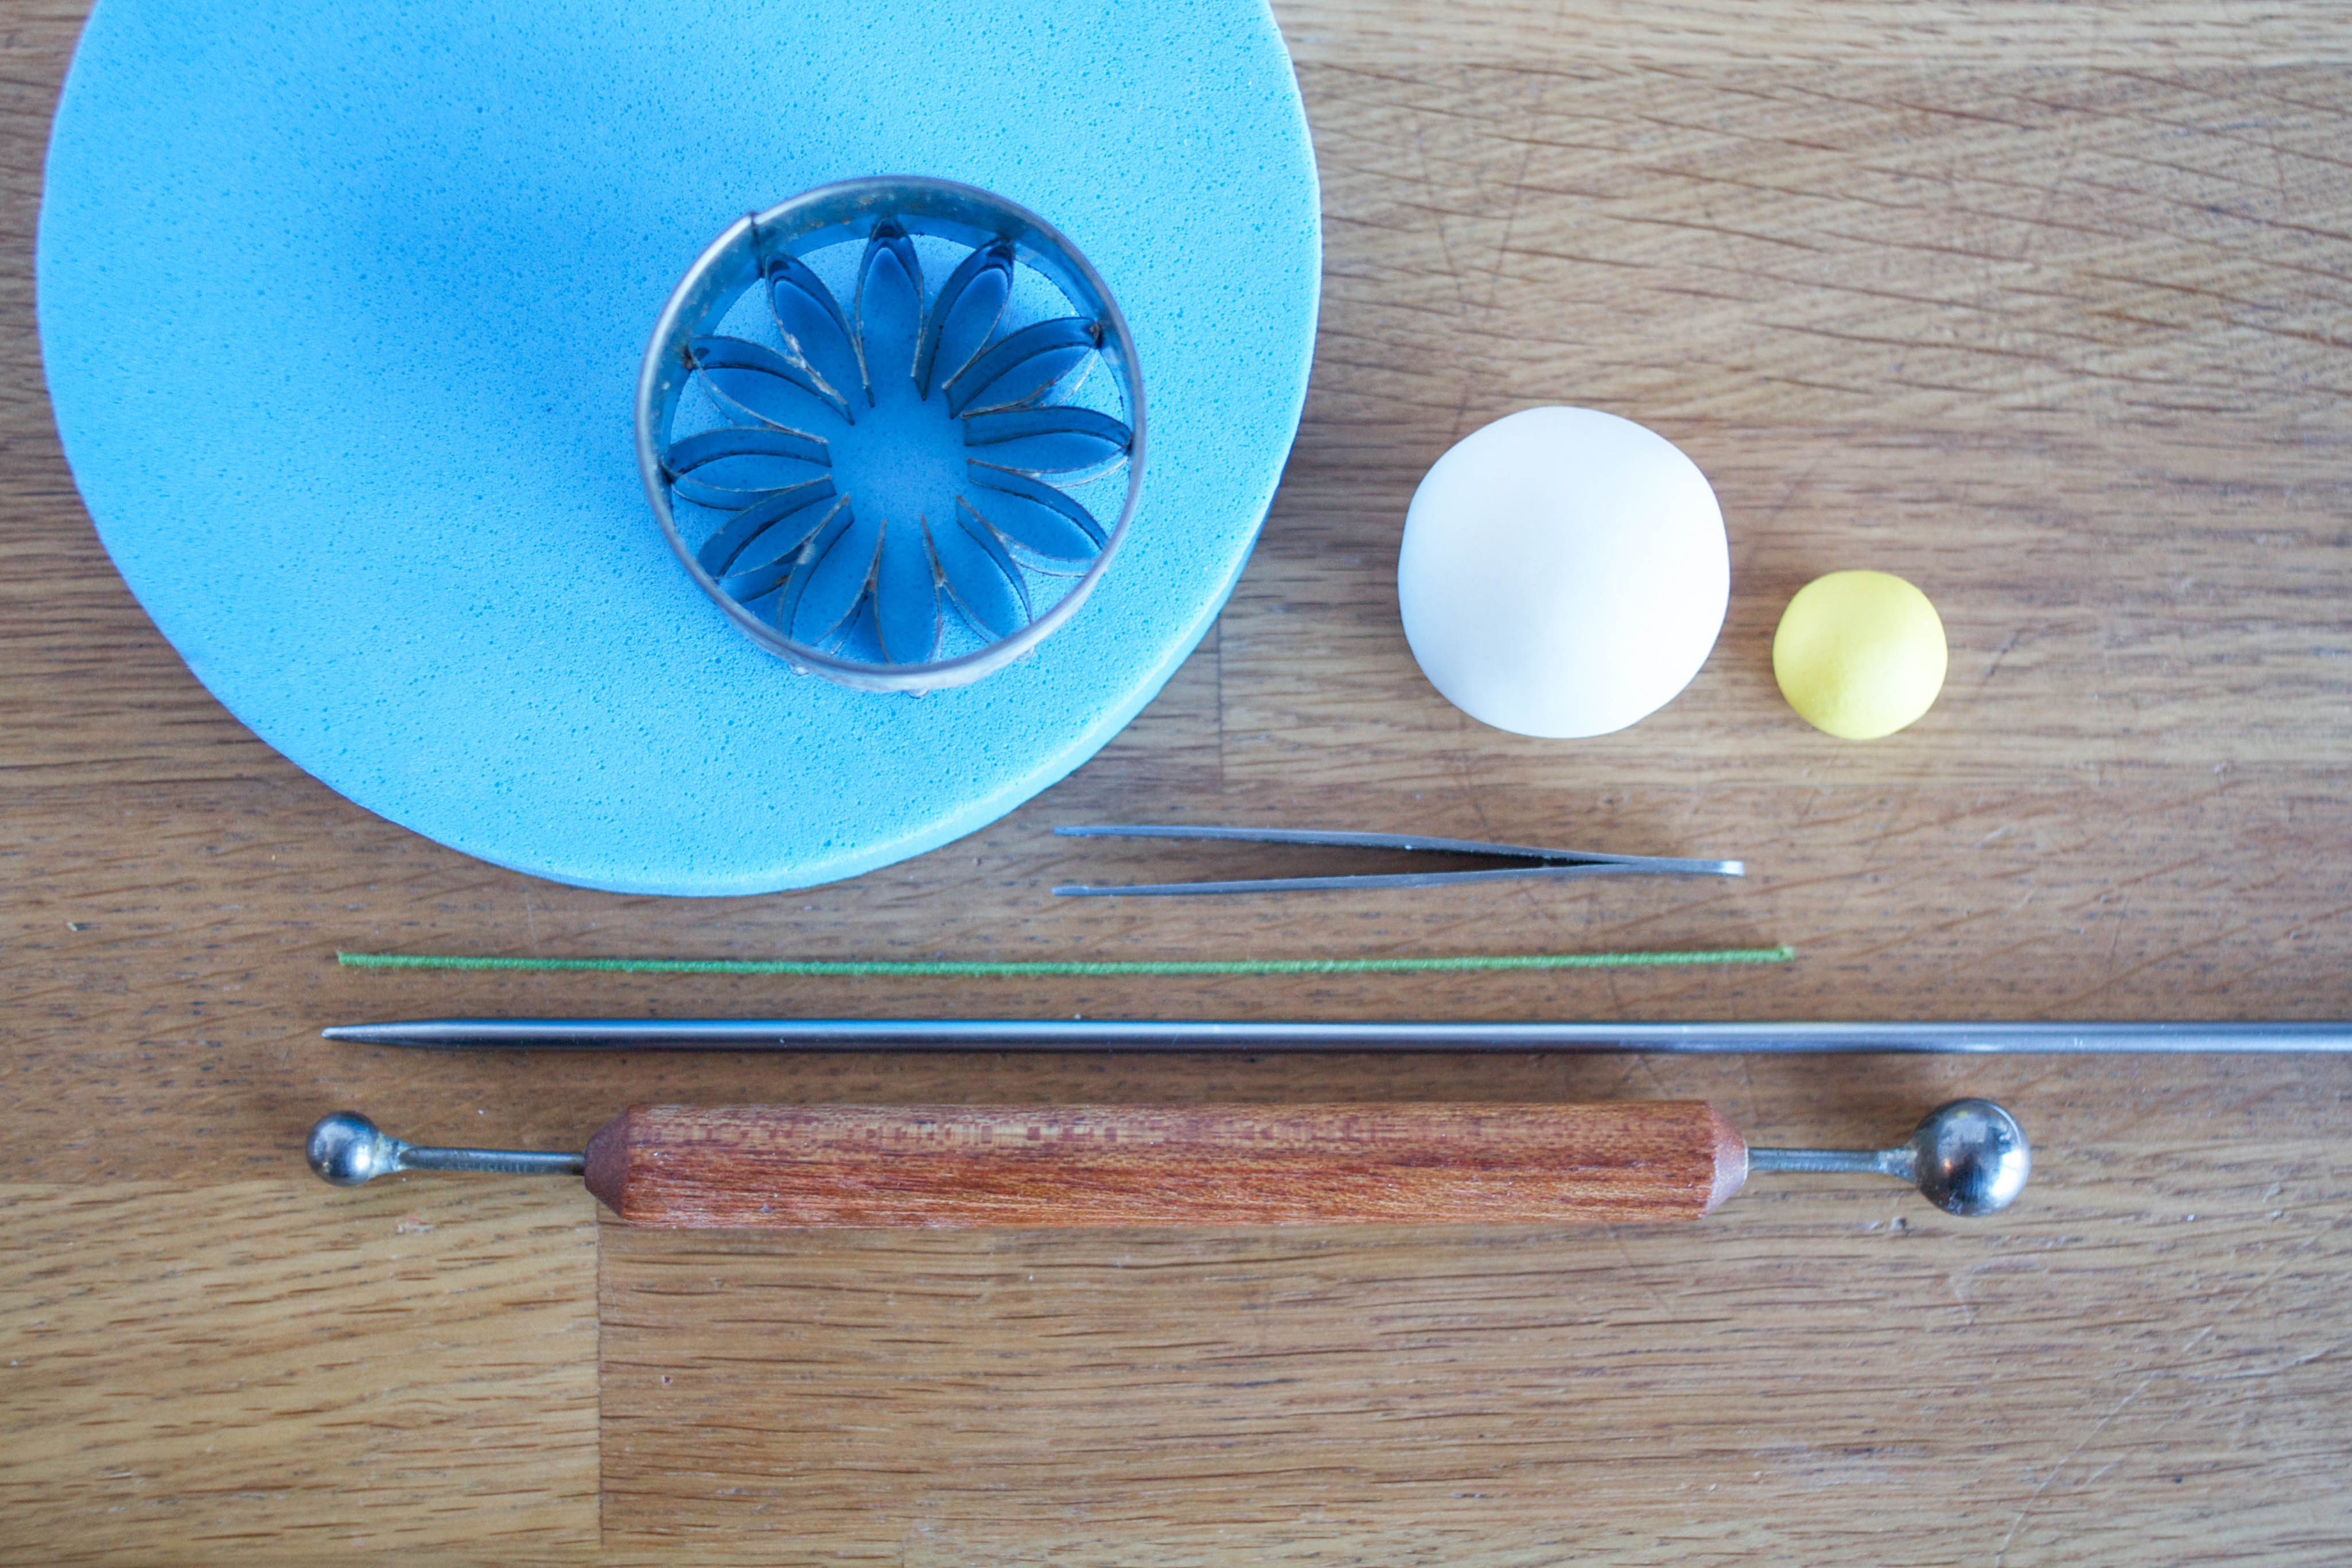
Supplies:
- Rolling pin
- Foam pad
- Daisy cutter
- Tweezers
- Knitting needle
- Ball tool
- Drying cup (I used an egg mold, but you could use any small bowl or other small container)
- Small paintbrush
- 22 gauge green cloth-covered wire
- White gum paste
- Yellow gum paste
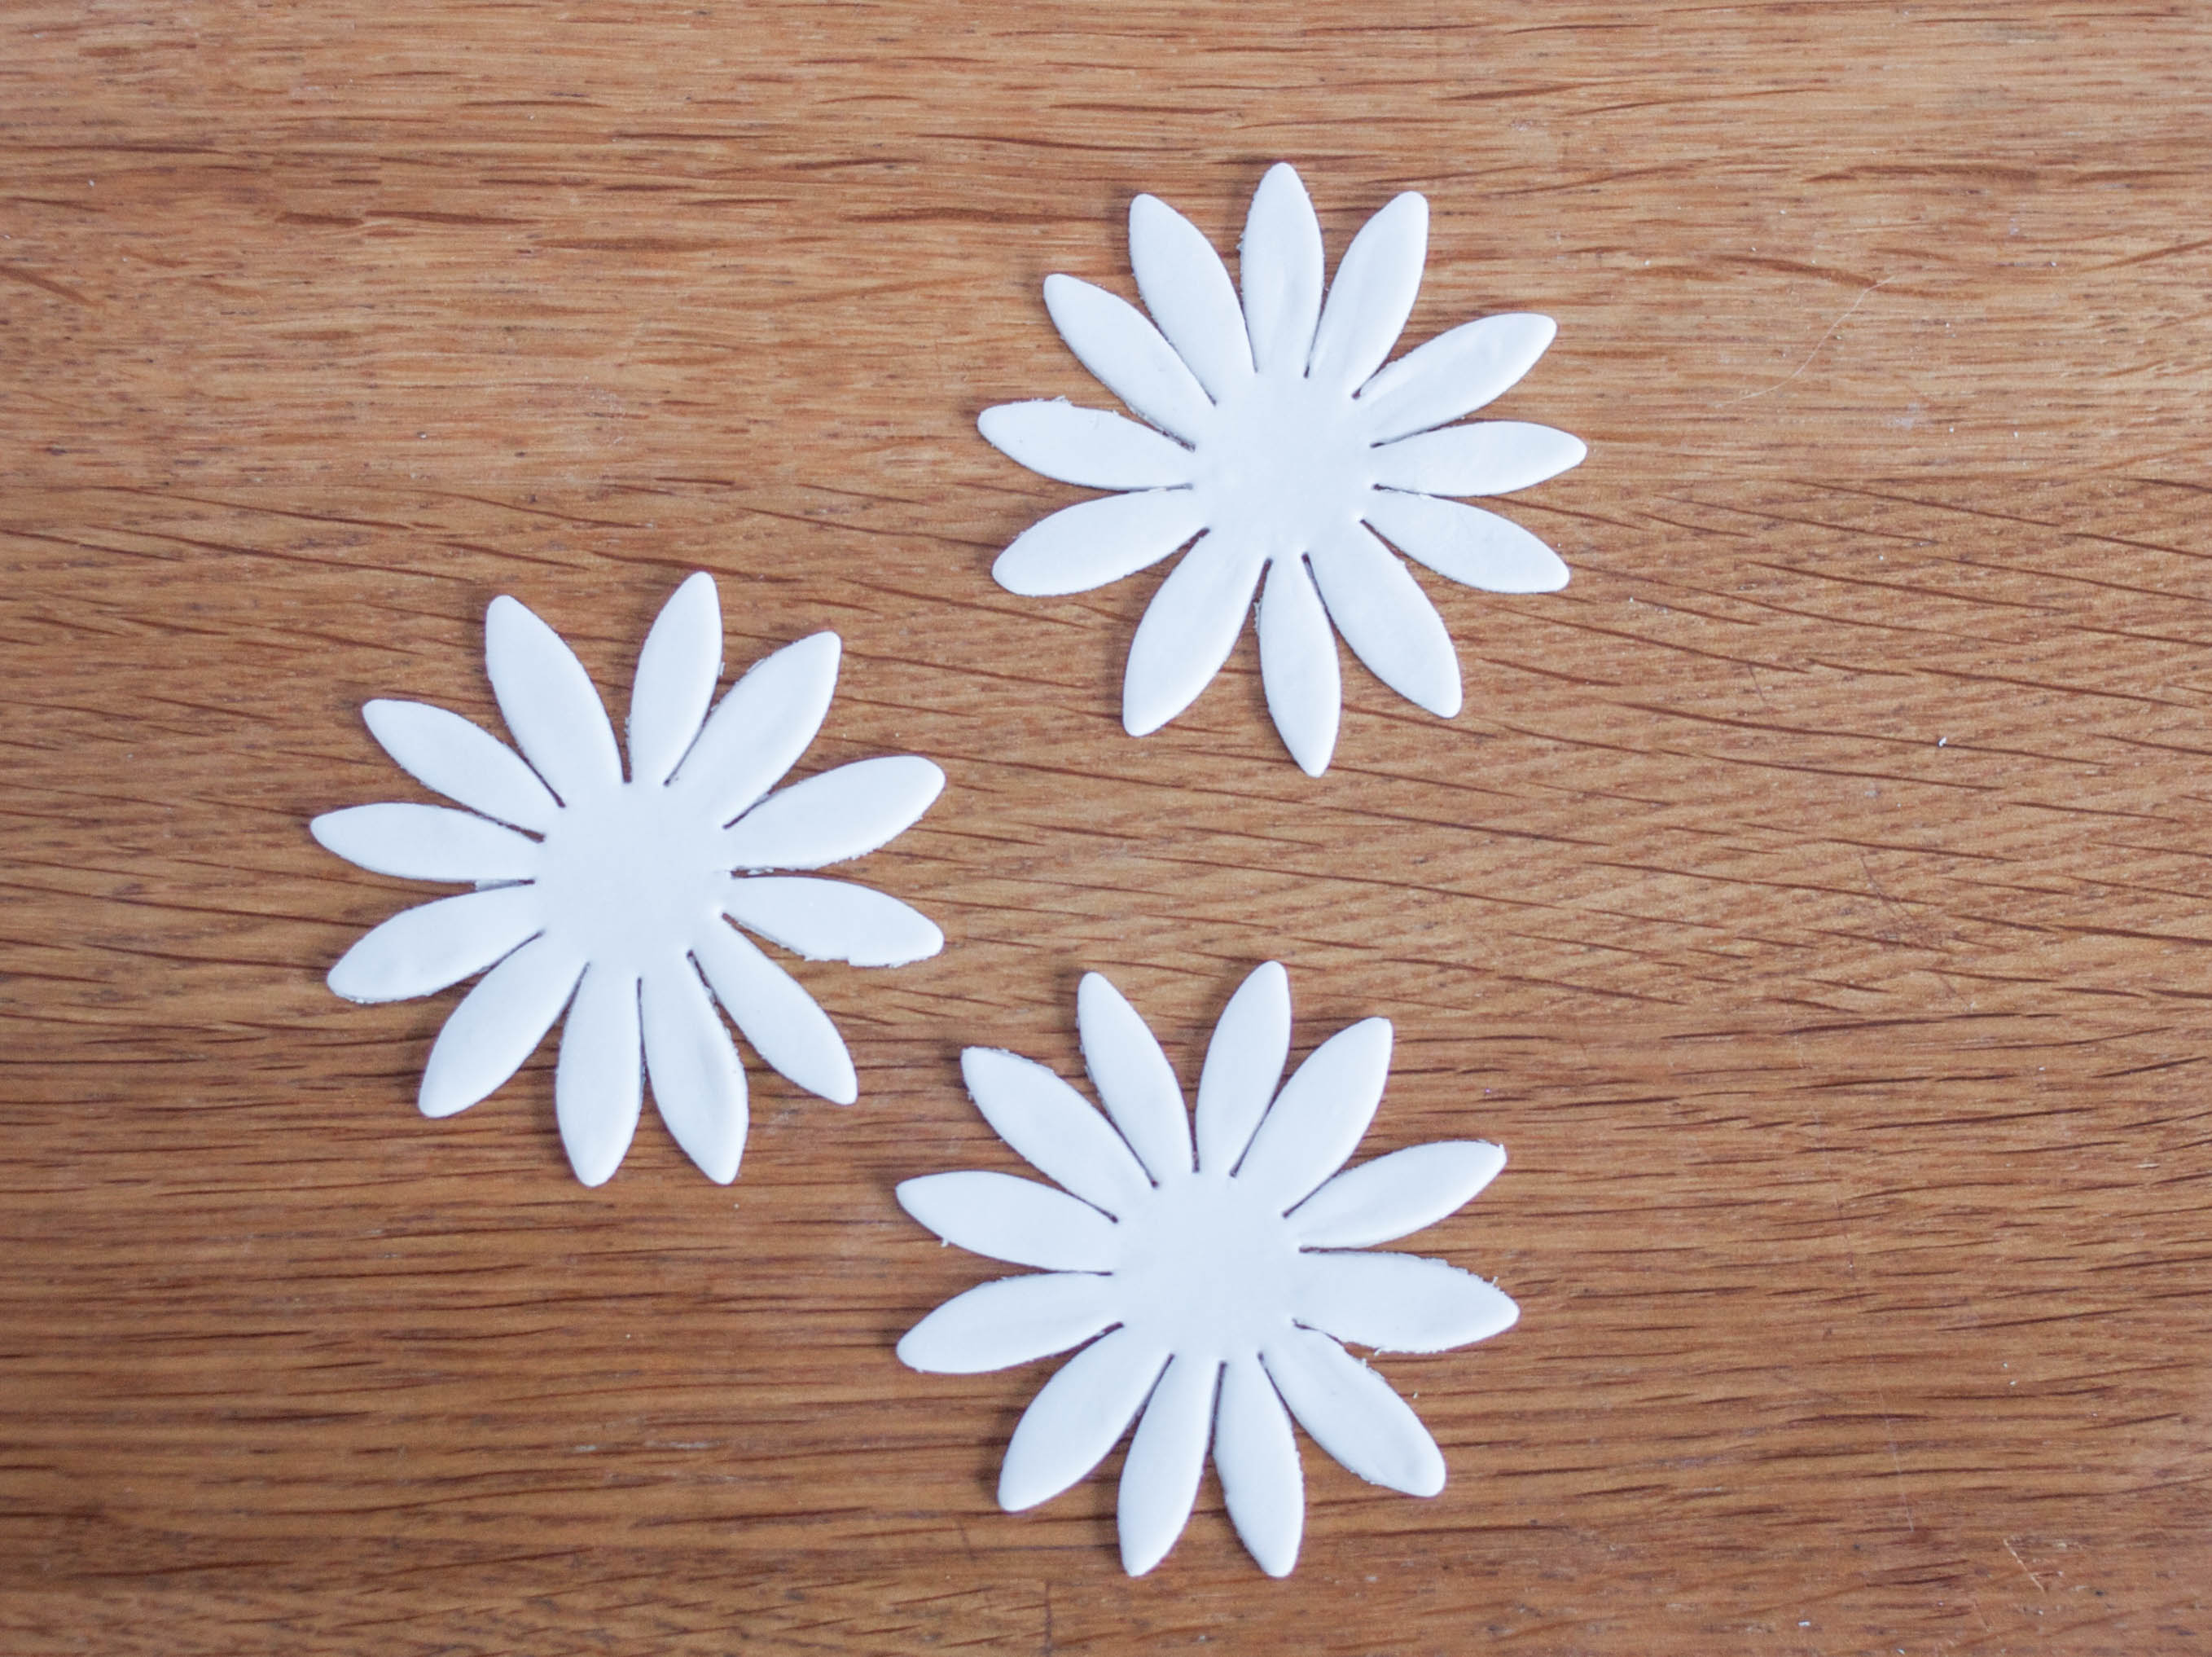
Step 1:
Roll the white gum paste until it’s very thin, less than an 1/8-inch thick. Cut out your daisy shapes and remove the excess gum paste.
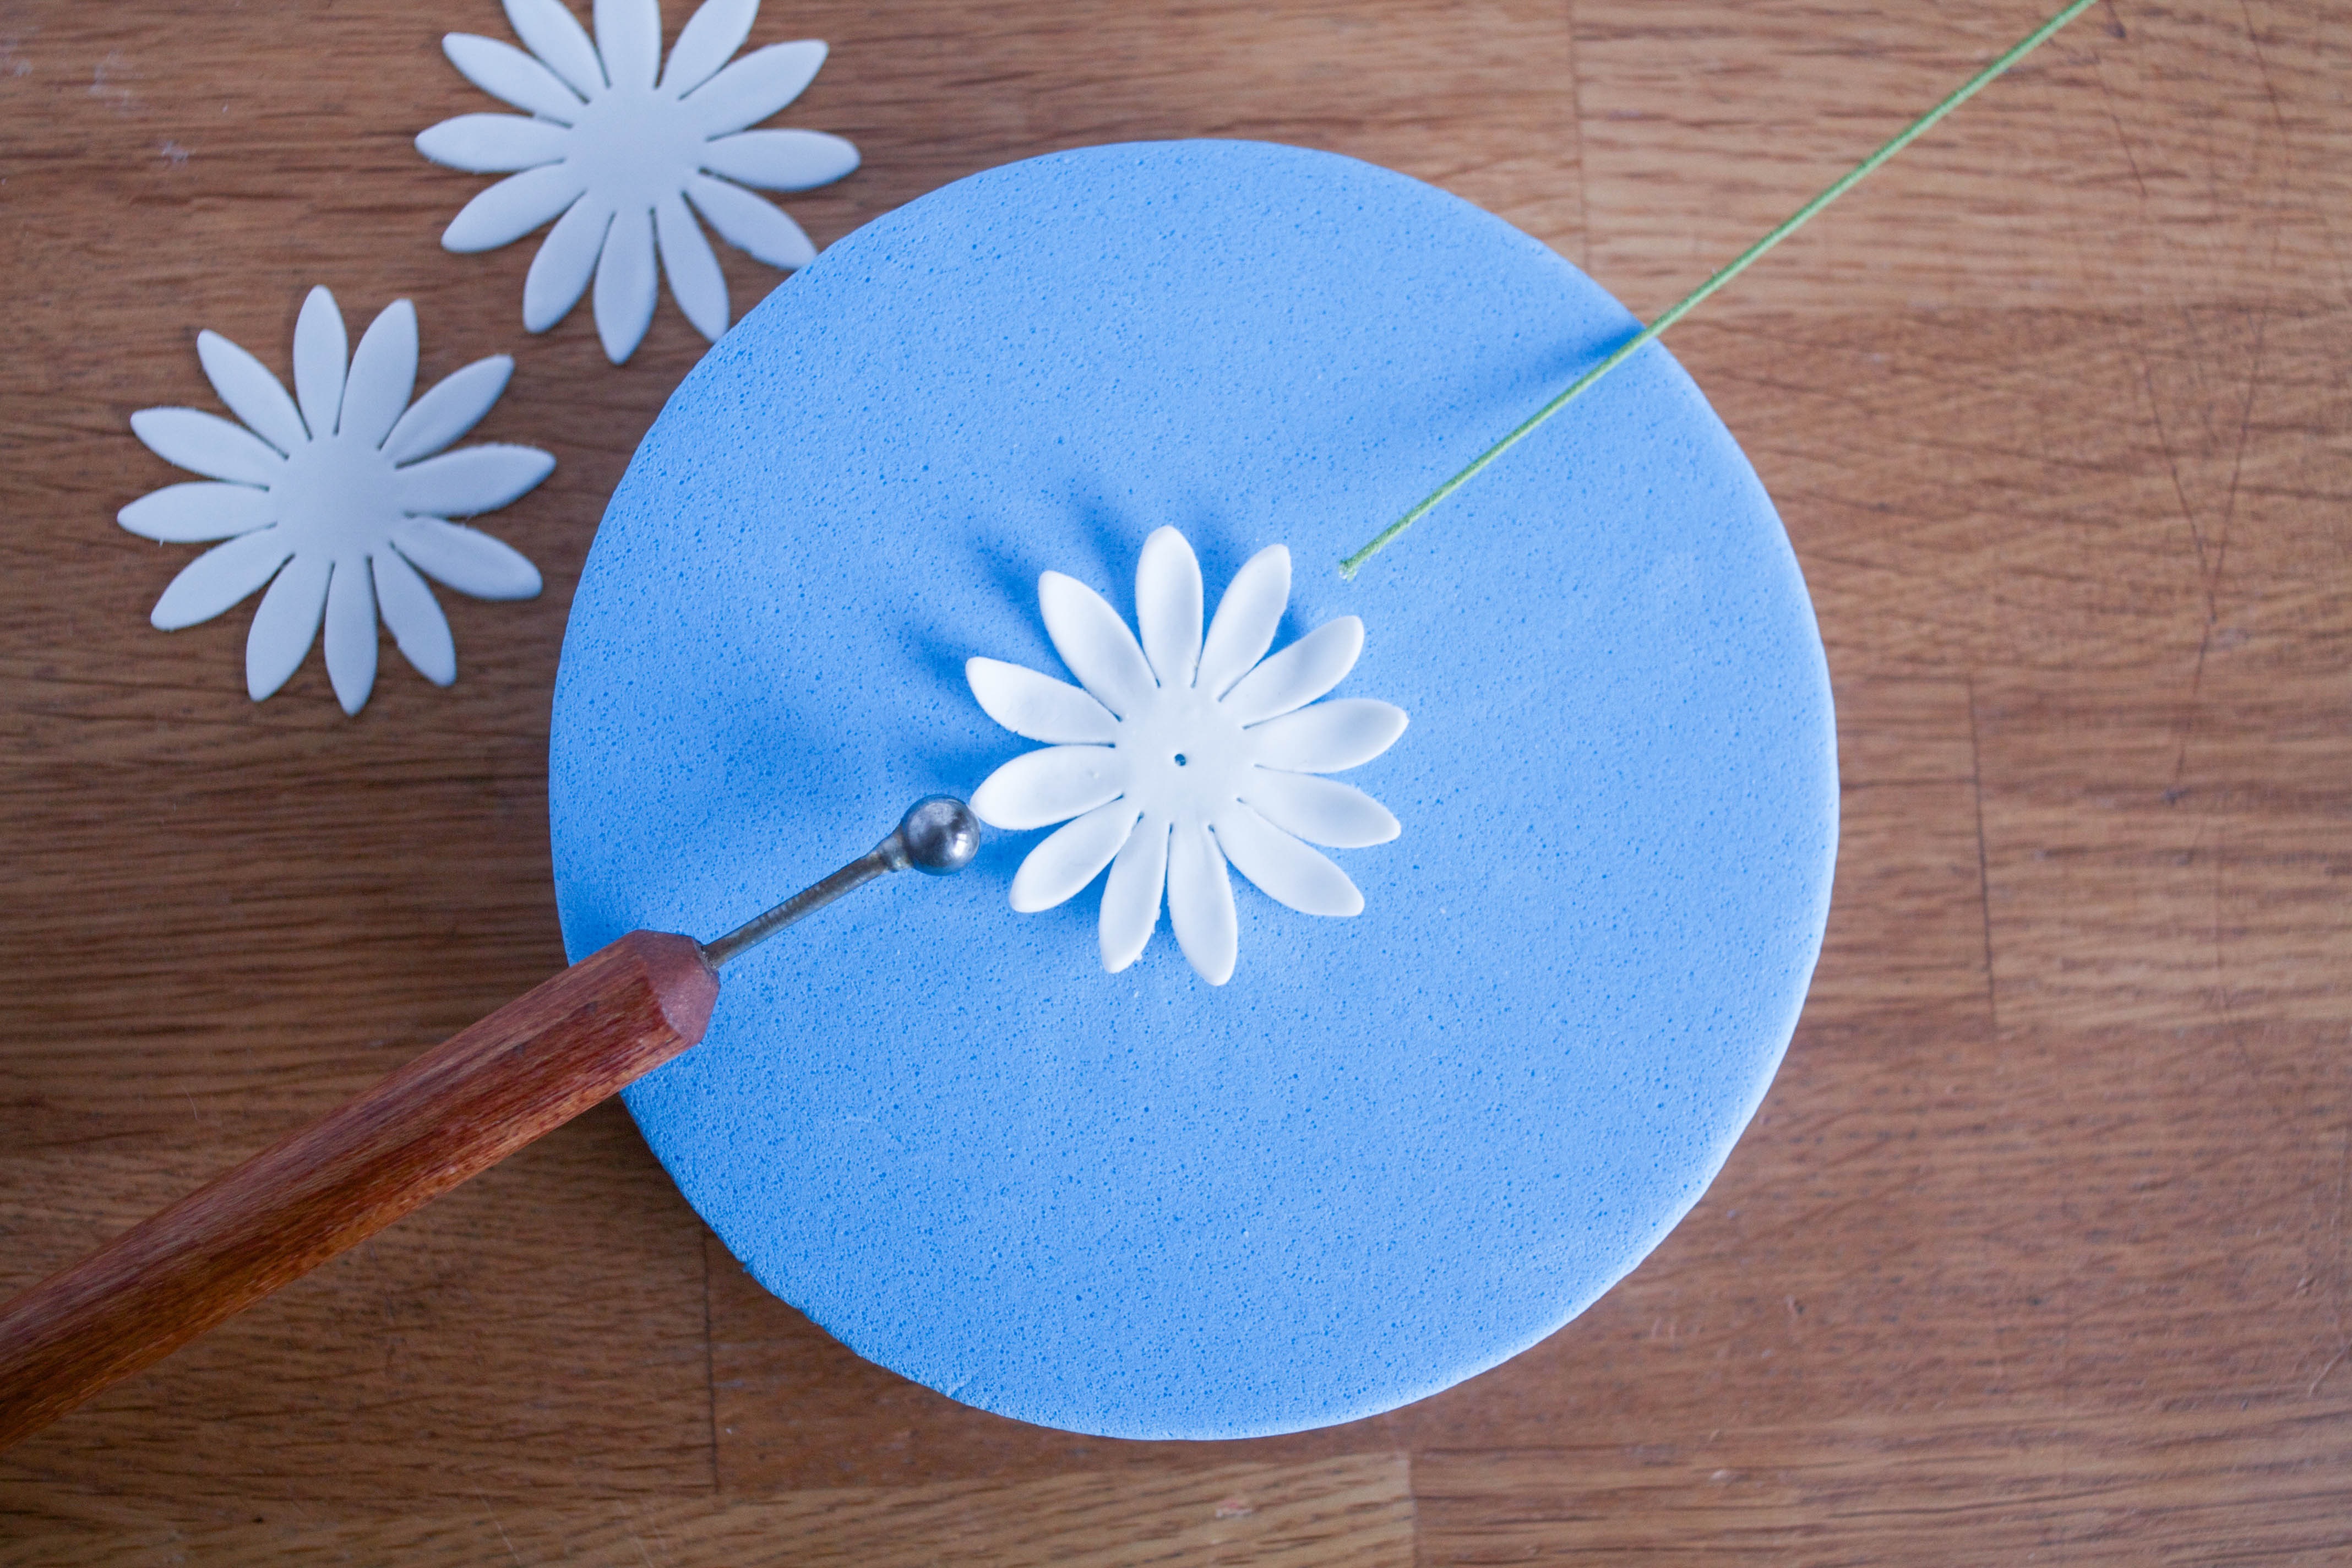
Step 2:
Place one of your daisies onto the foam pad. Roll the small end of your ball toll back and forth across the middle of each petal while applying gentle pressure. Poke a hole in the center of your daisy using one of the green wires.
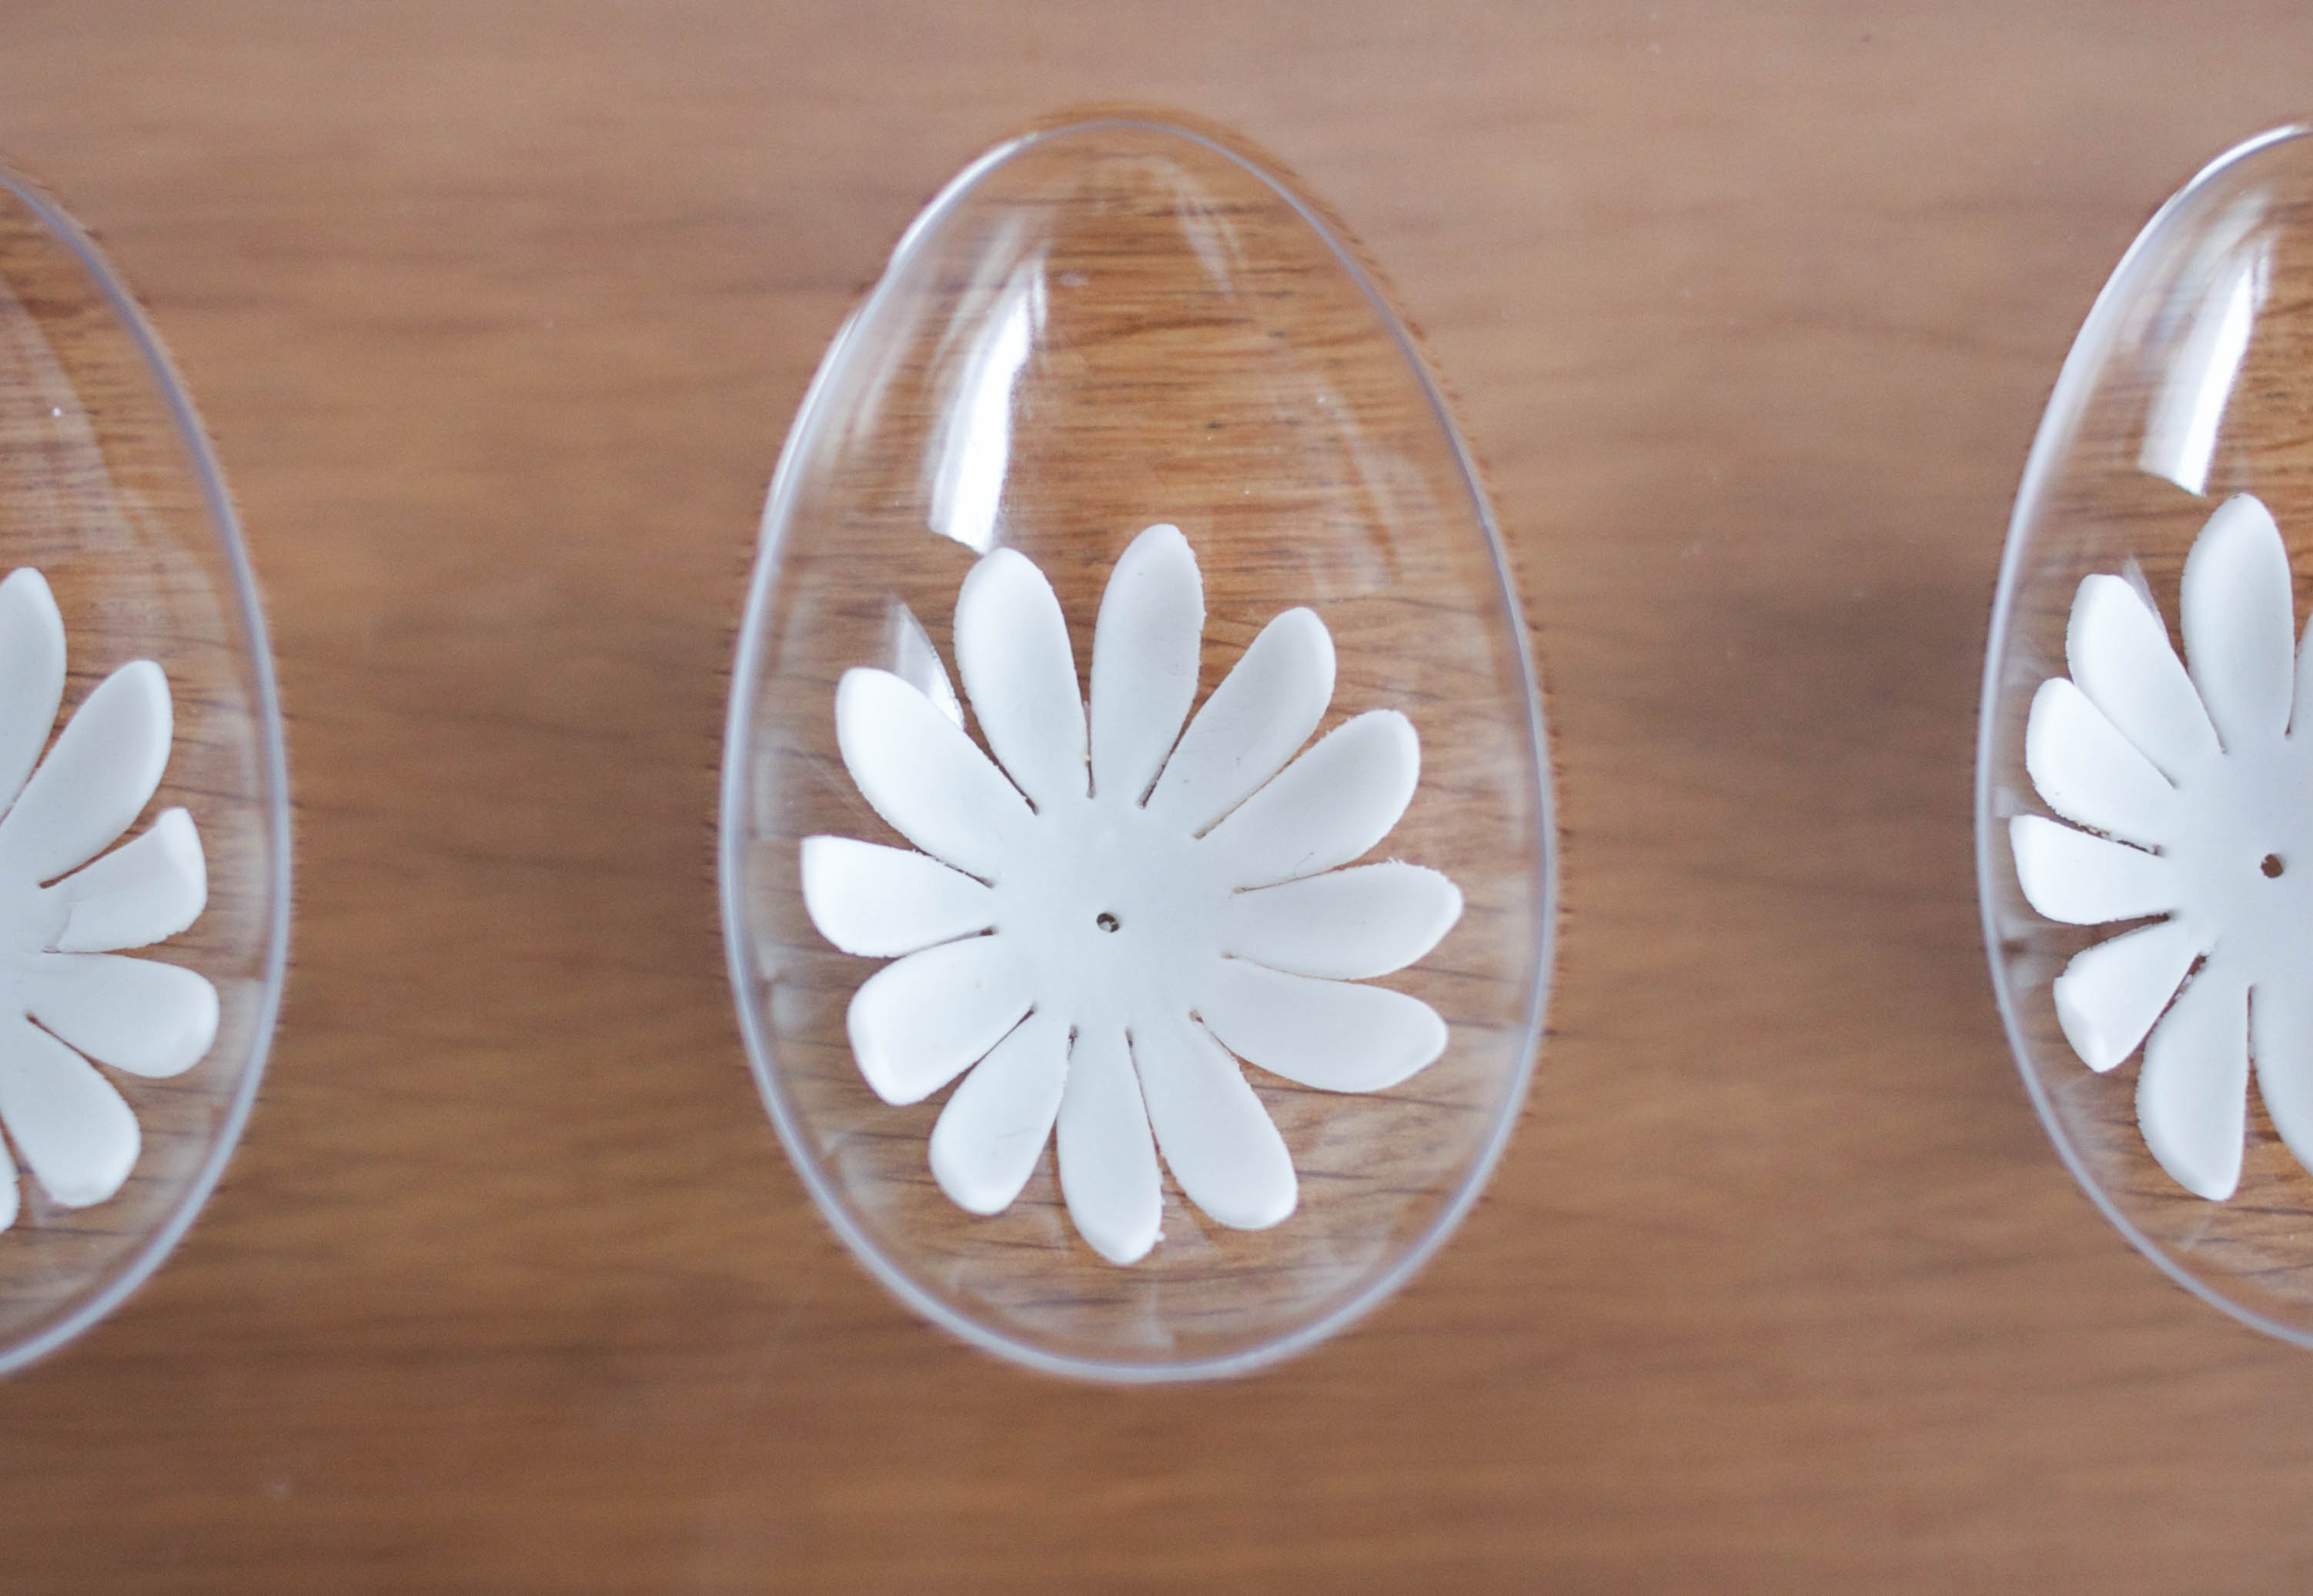
Place the daisy into a drying cup and repeat with the other flowers. Allow the daisies to dry completely before moving onto the next step. This could take a few hours, up to overnight, depending on how humid it is where you live.
Step 3:
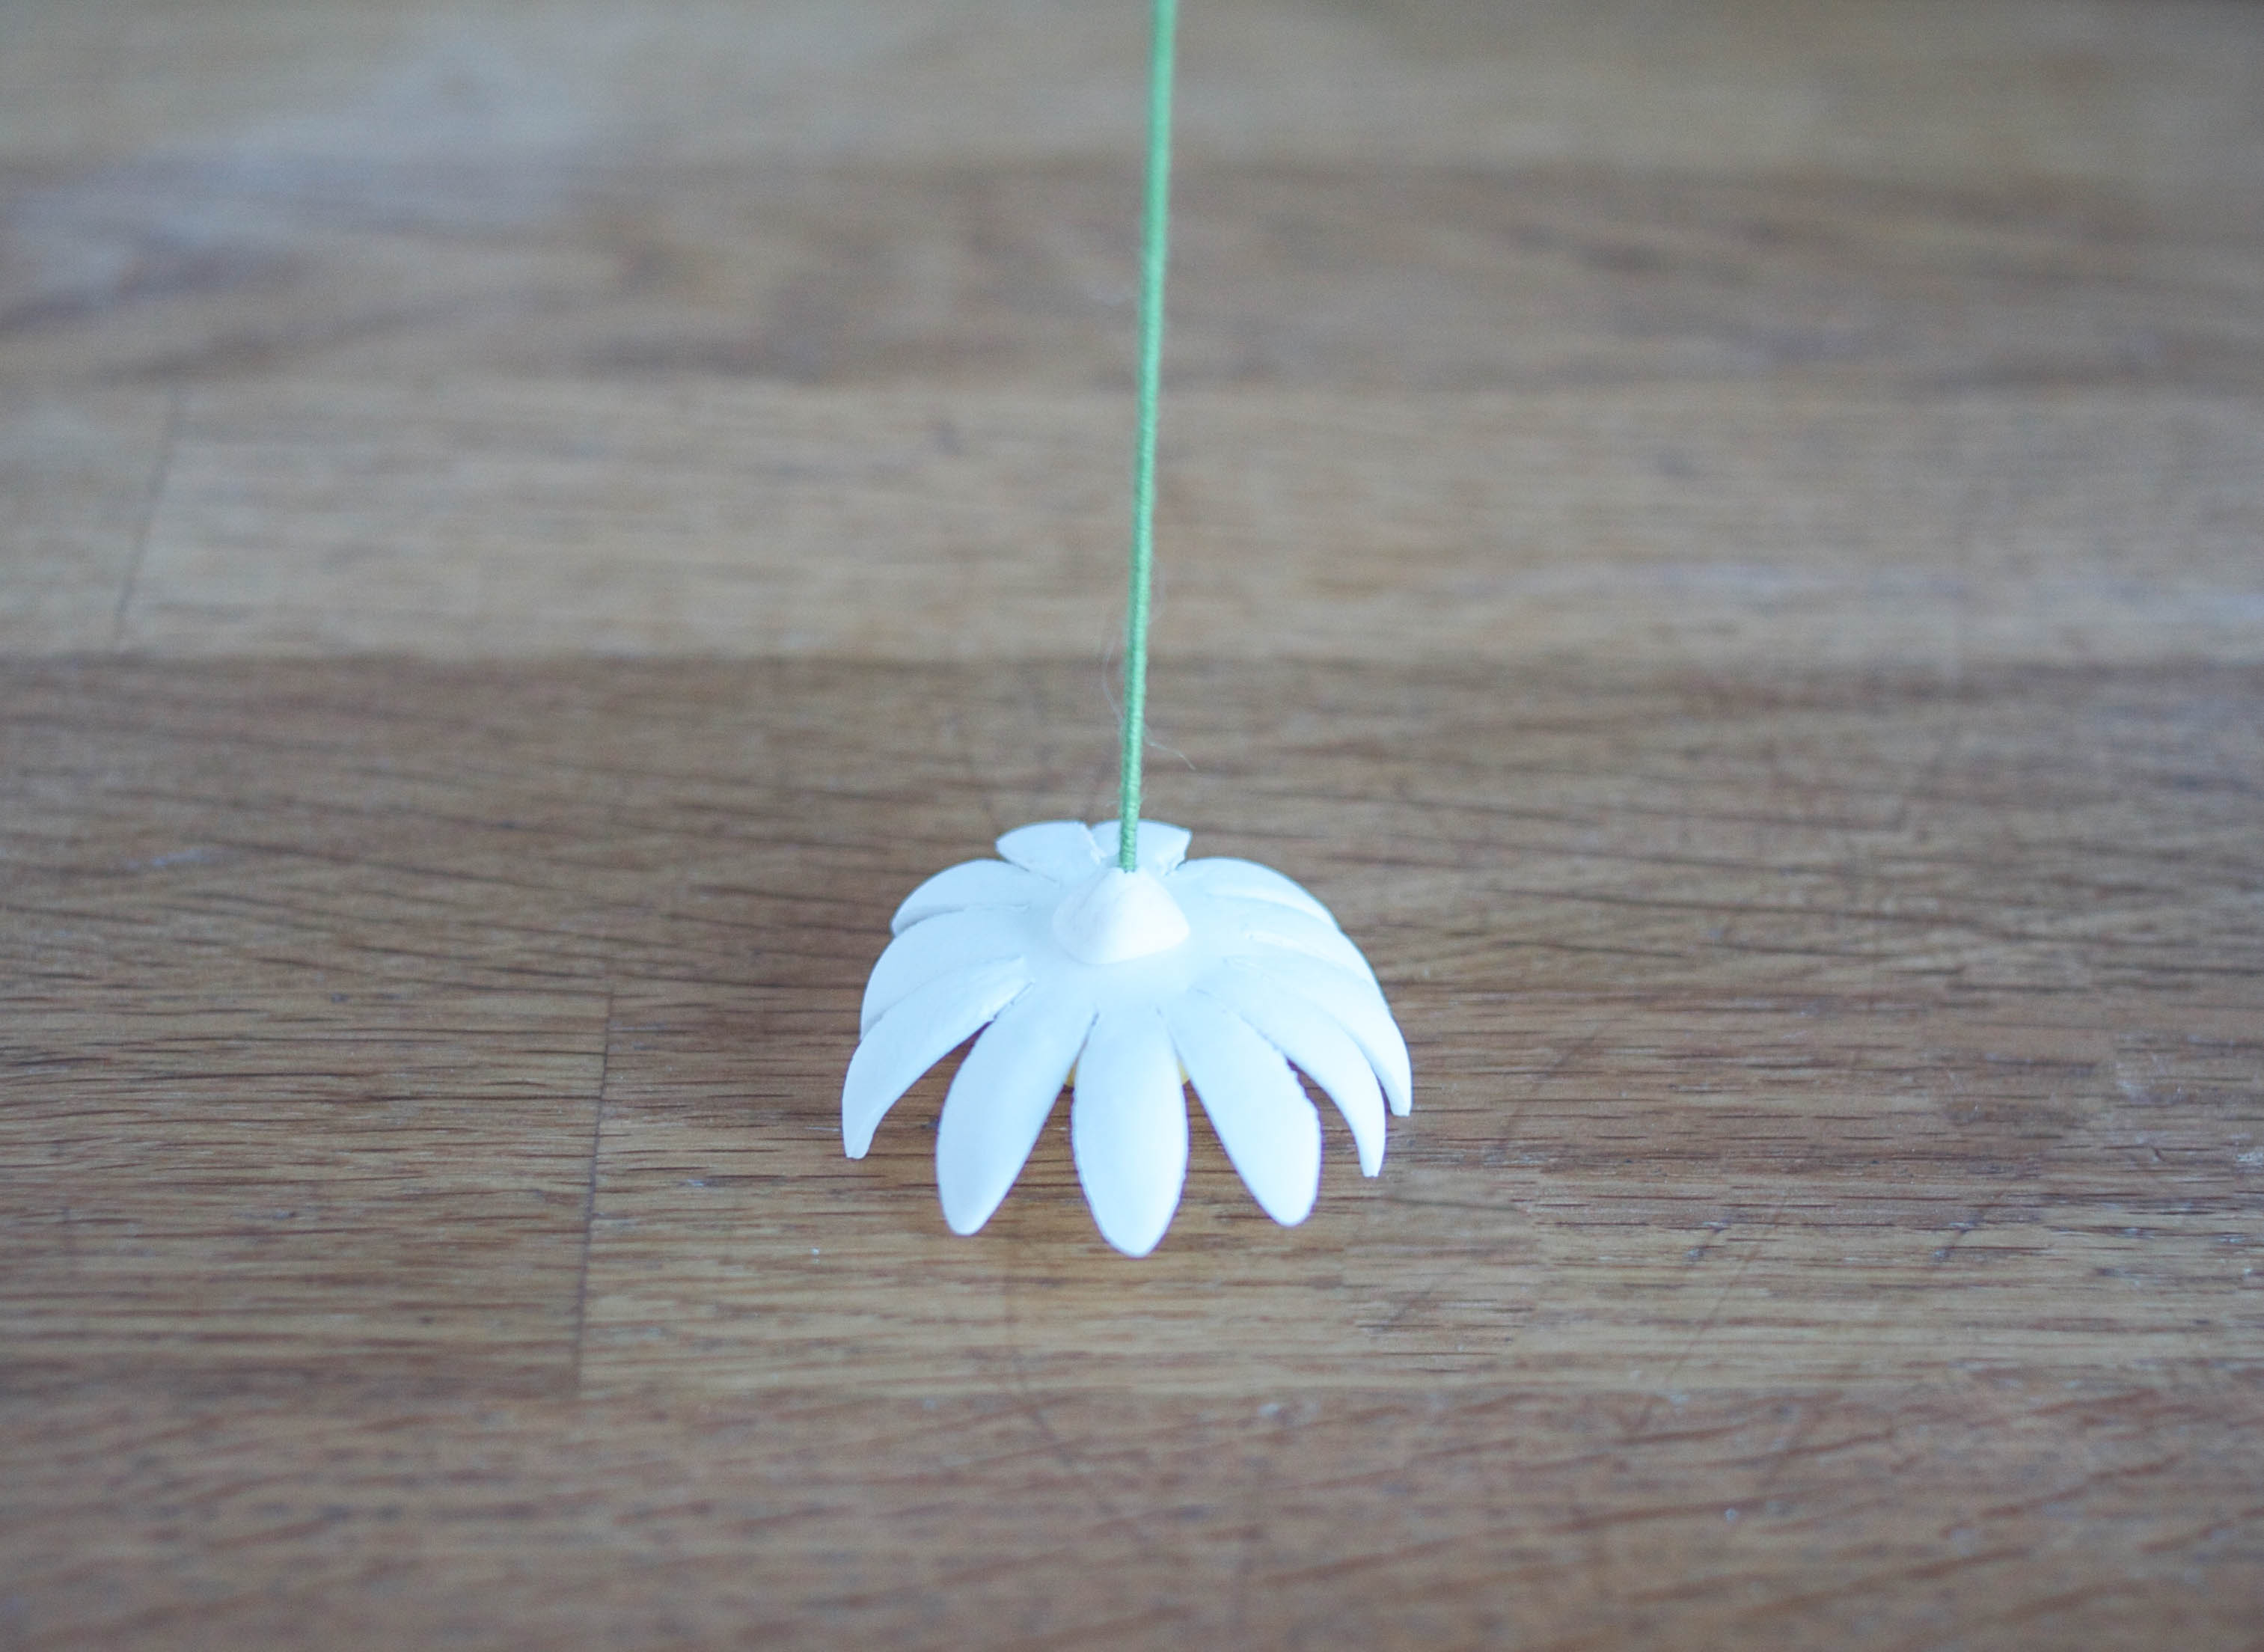
Use the tweezers to bend a small hook at the end of a green wire. Pick up one of your dried daisies and insert the wire into the hole in the center of the flower. The little hook you created will help anchor the wire to the flower once you add your center.
Flip the flower over and add a tiny, pea-sized amount of white gum paste to the back of the daisy. This will help keep the wire in place while you add your center. Brush on a tiny amount of water or gum paste glue to help the gum paste adhere. Repeat with the rest of your daisies.
If you’re new to flower making, gum paste glue might be a new term for you. It can be made a variety of different ways. The easiest way is to just add a pea-sized amount of gum paste to about a 1/4-cup of water. Stir to dissolve the gum paste and viola!
You have gum paste glue. I store mine in a small nail polish bottle that I purchased from a beauty supply company. It’s airtight seal and built-in brush make it the perfect container for the job.
Step 4:
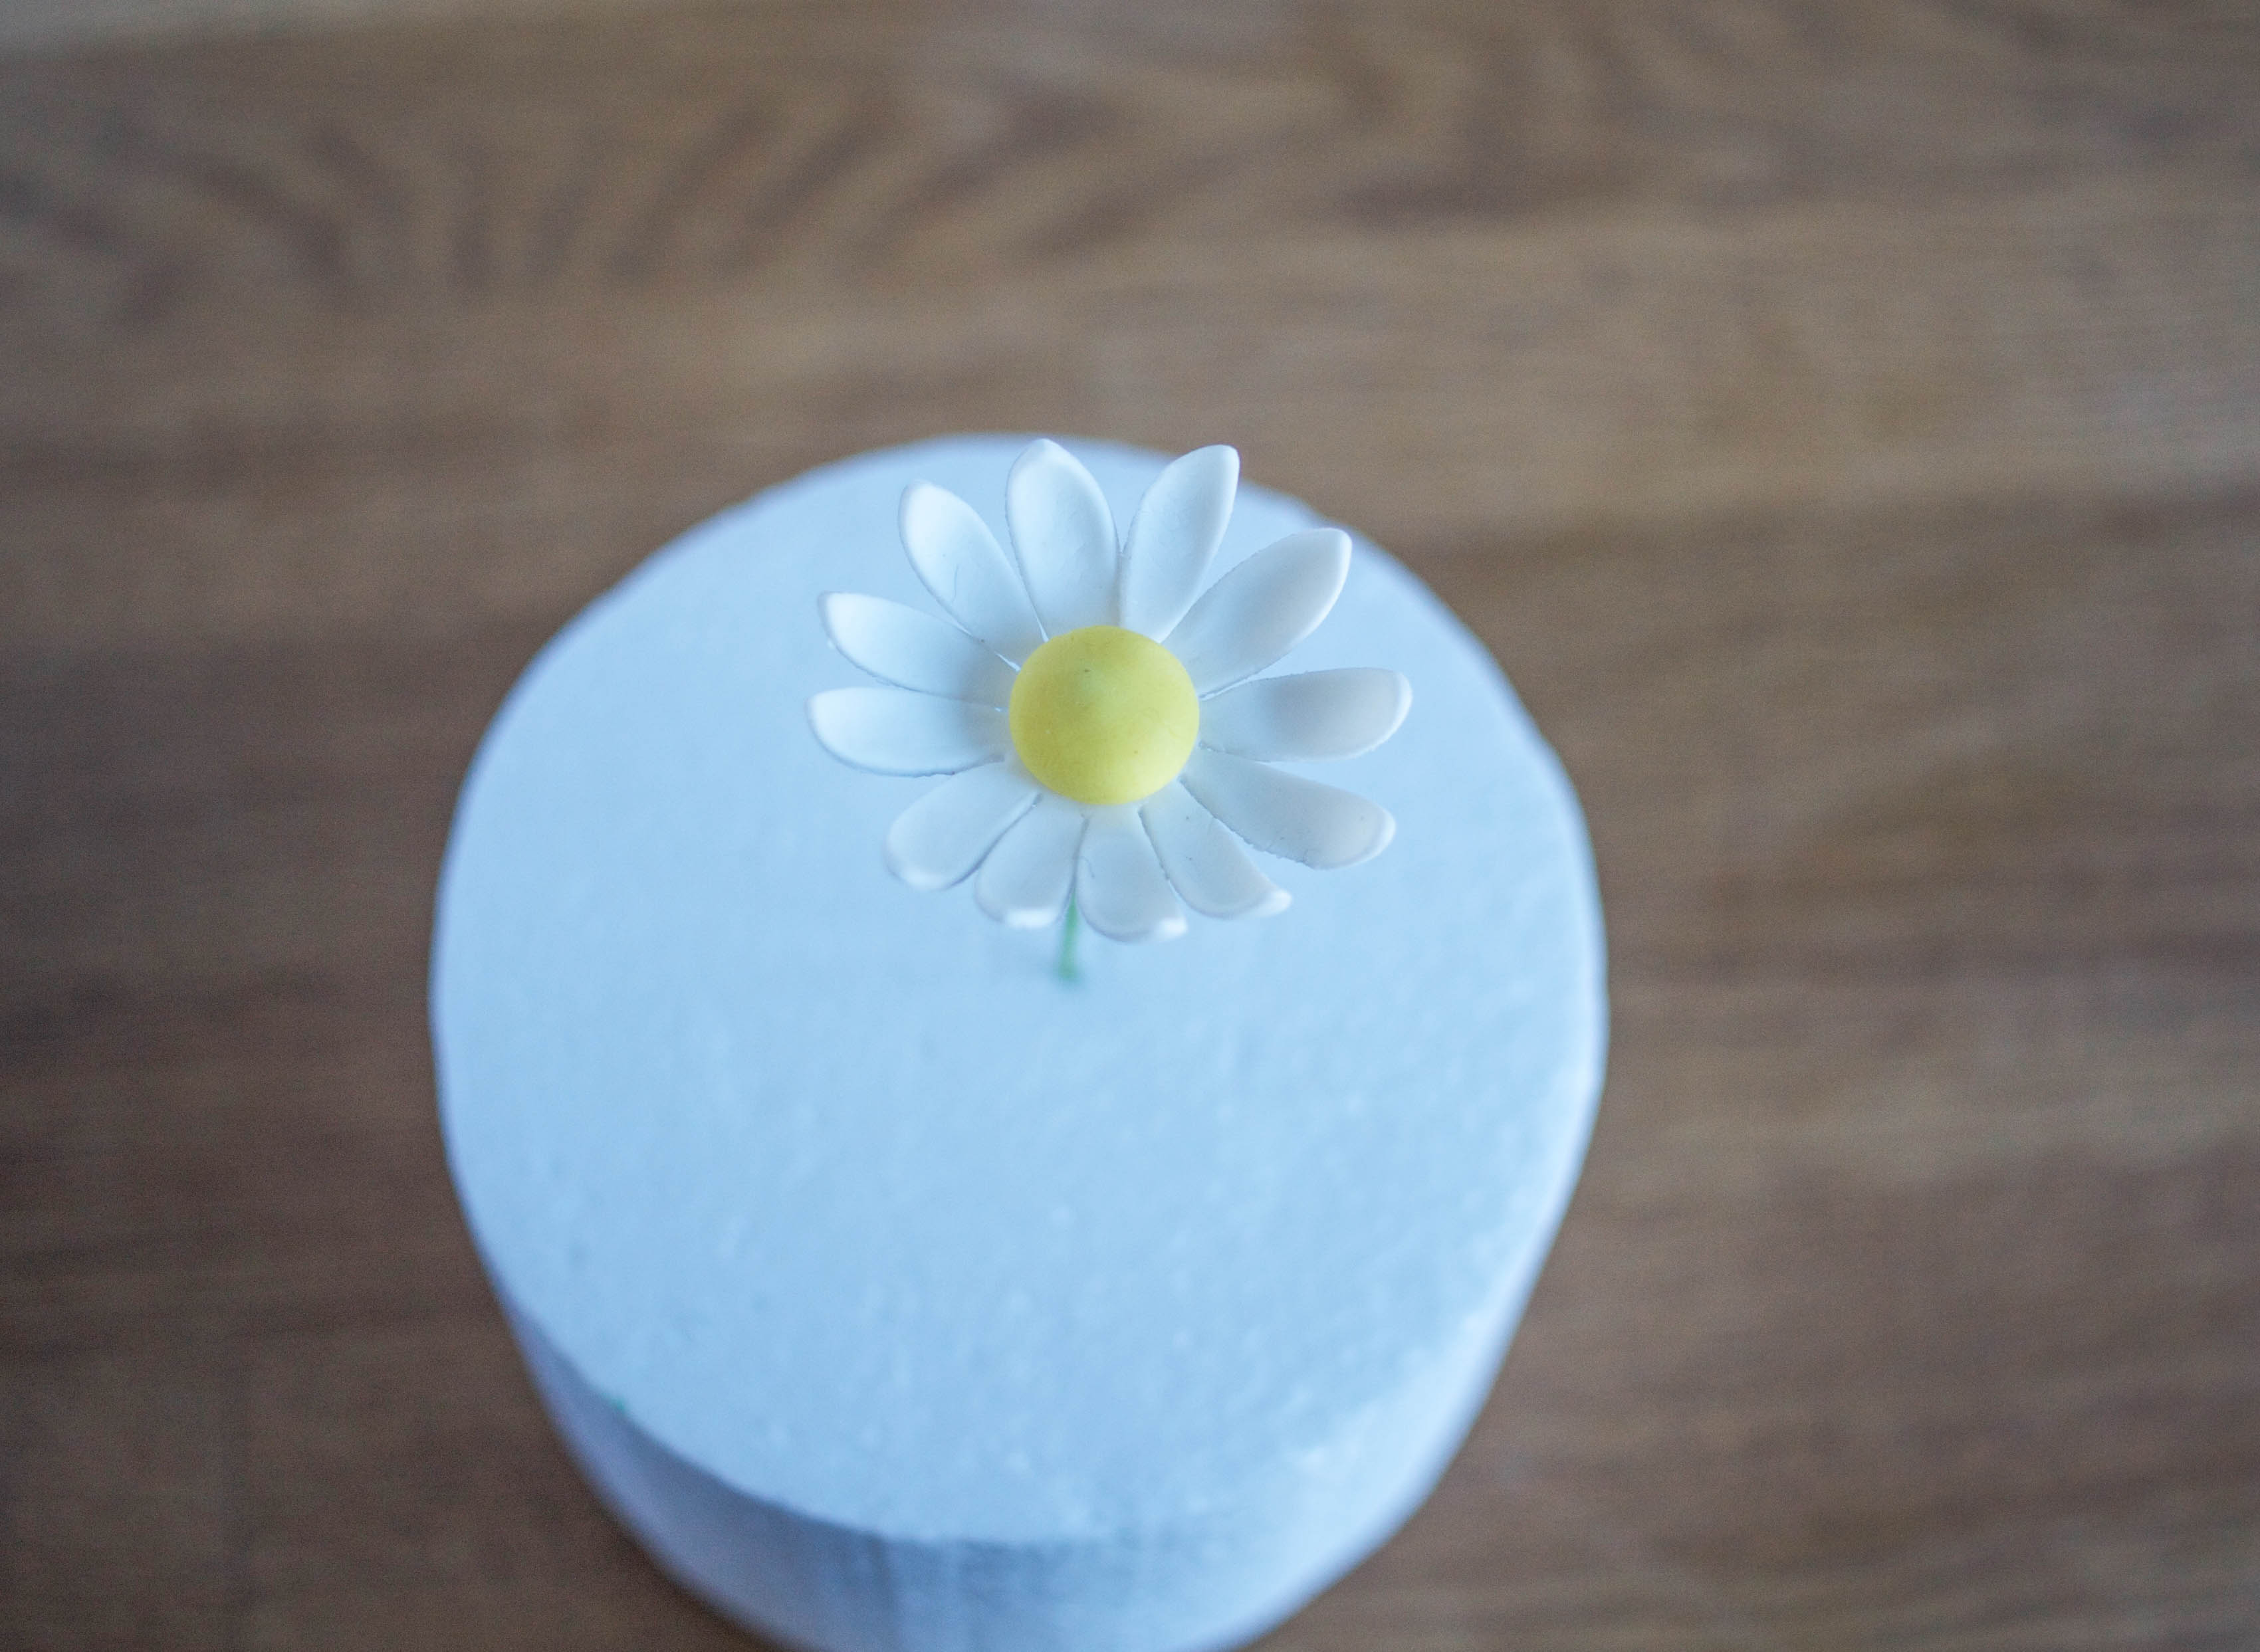
Roll a pea-sized piece of yellow gum paste into a ball. Brush the center of the daisy with a small amount of water or gum paste glue. Place the ball of yellow gum paste over the hooked end of the wire. Press and flatten the ball so that it sticks to the daisy. Flatten the edges of the ball until the center looks right to you. Repeat with the rest of your daisies.
You could stop at this point and have a perfectly pretty flower, but one more simple step adds a lovely extra level of detail.
Step 5:
Use your knitting needle to poke lots of tiny holes into the yellow gum paste center. Set aside to dry. Repeat with the rest of your daisies.
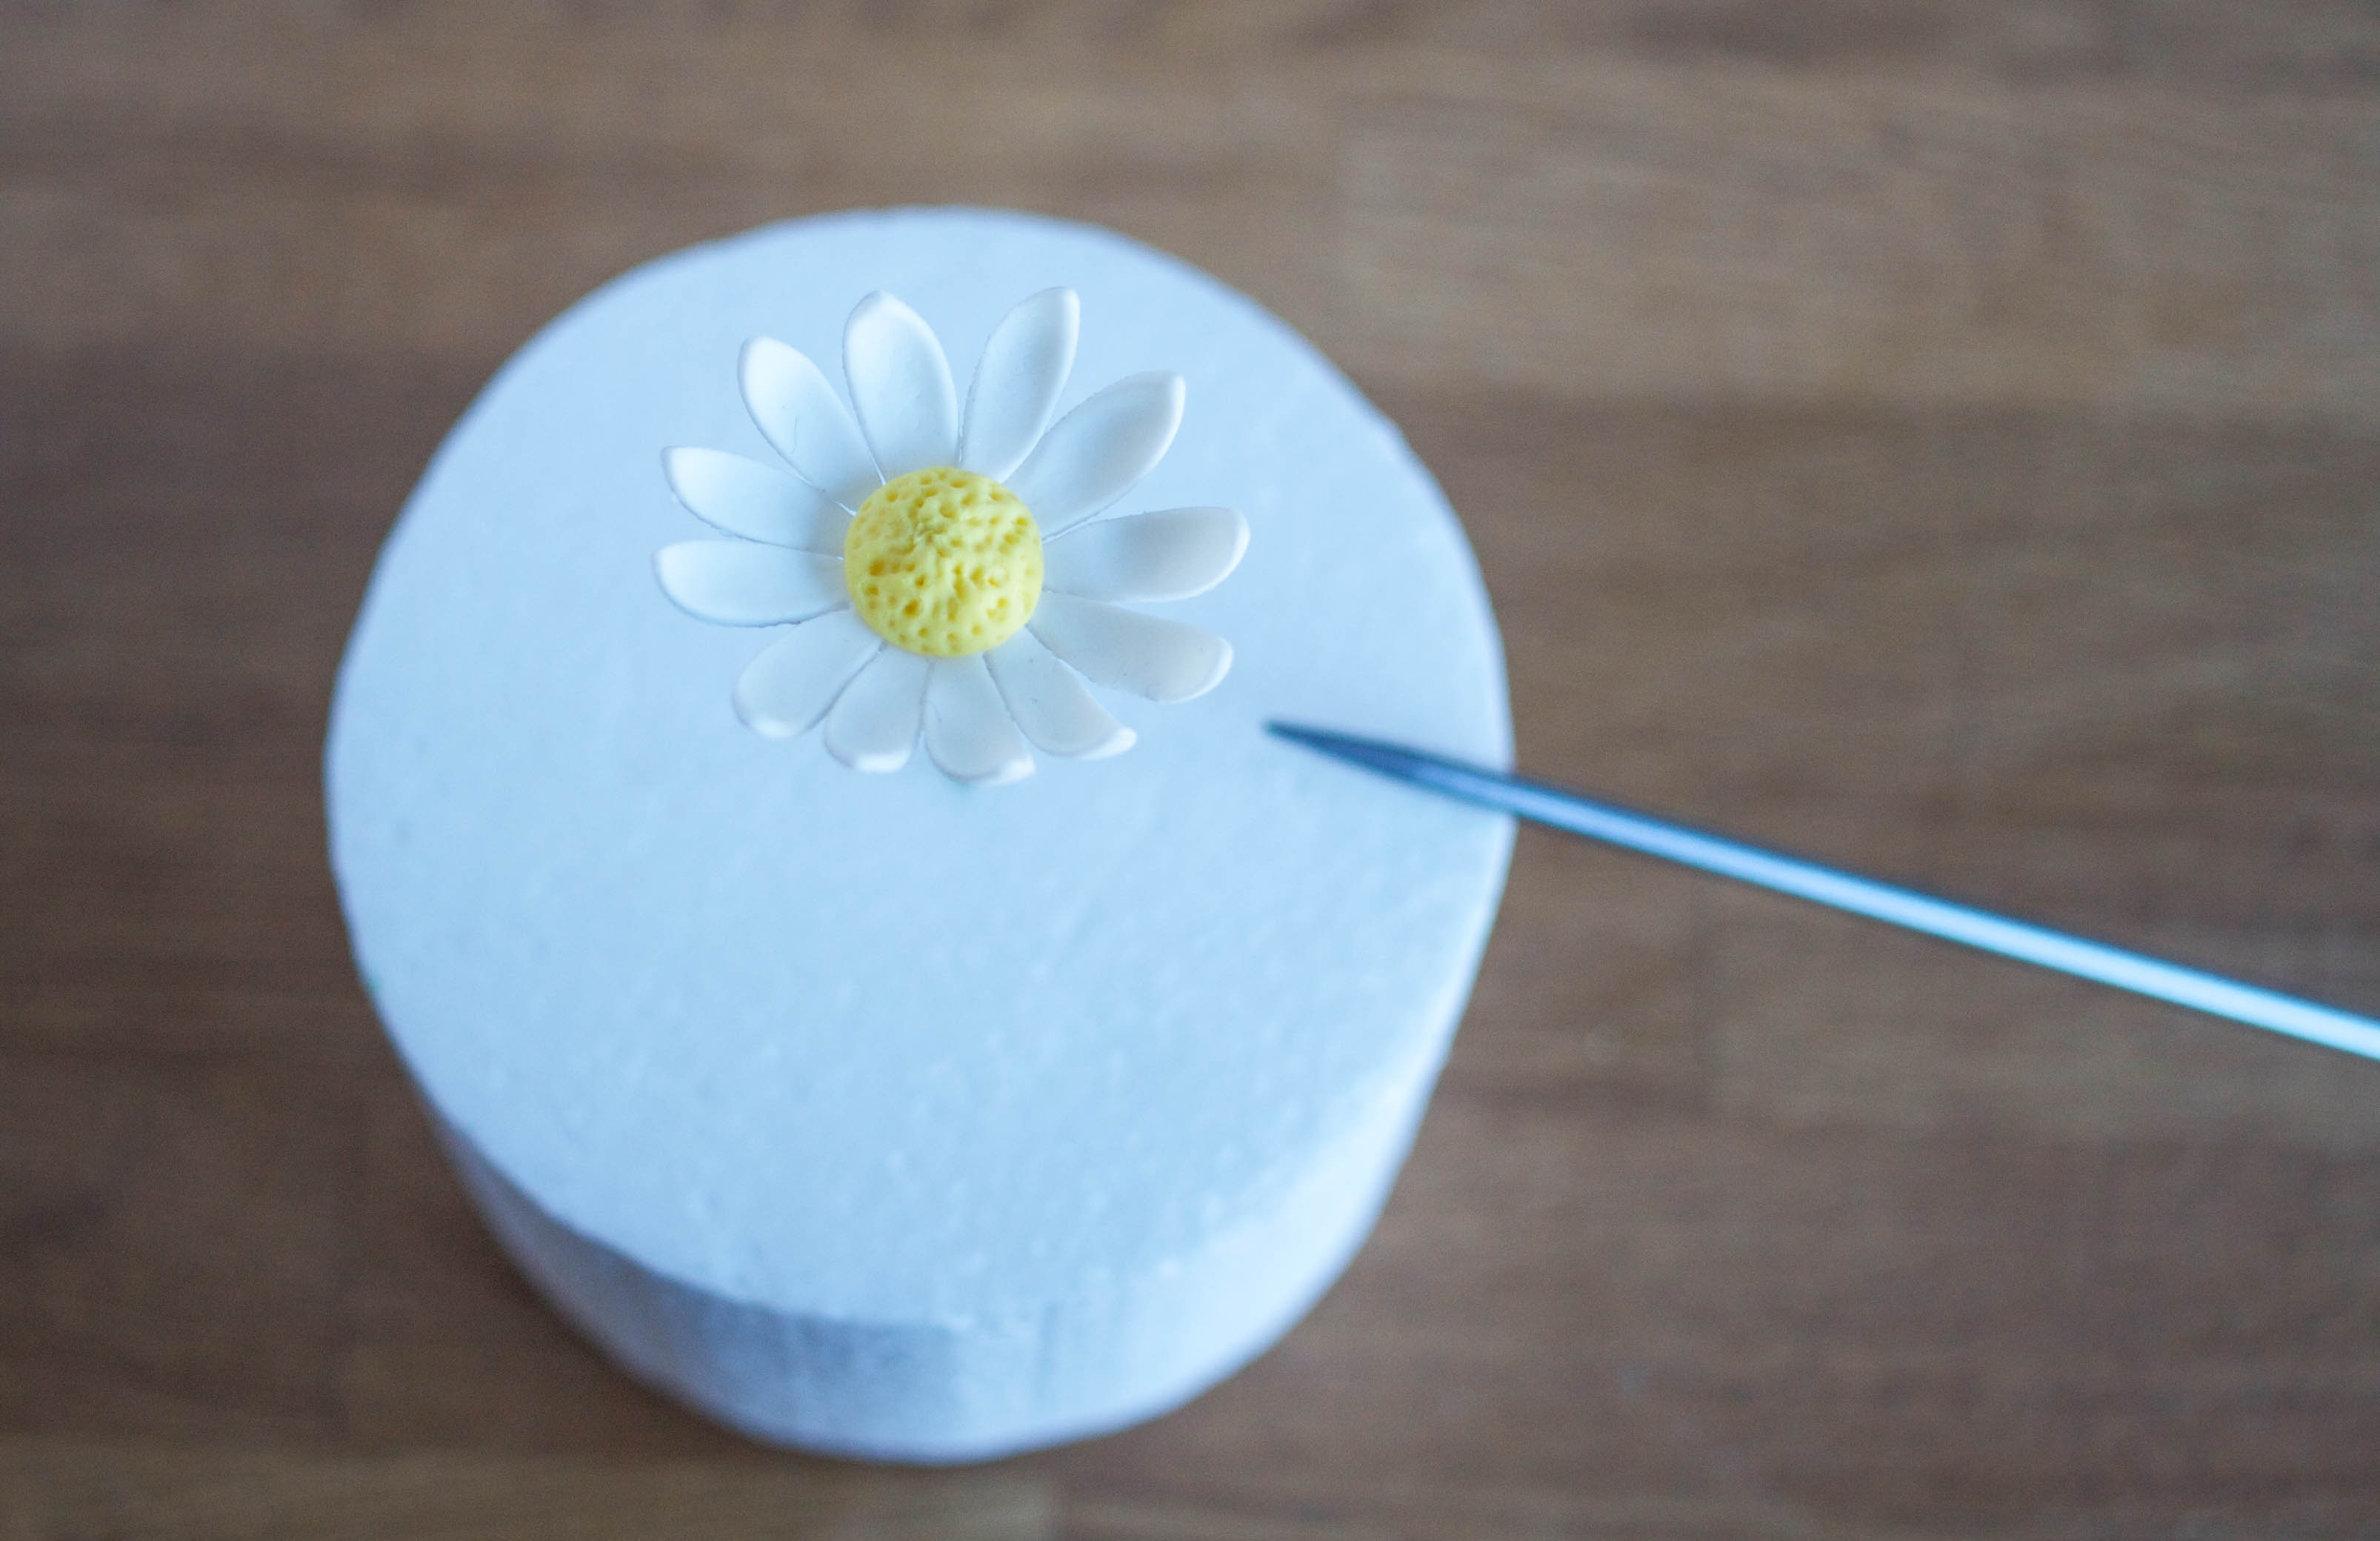
There you have your completed flower. So simple and so sweet. A sure sign of spring!
Share tips, start a discussion or ask one of our experts or other students a question.
No Responses to “Fun With Florals: You'll Go Crazy for This Easy Gum Paste Daisy Tutorial”