
Using embossing paste is a fun way to add texture and dimension to you paper crafts projects. Card makers often use them with stencils to add textured backgrounds, borders, focal images and more.
Embossing pastes are available in a wide array of colors. However, with basic white you can create your own shades and hues by adding paint, ink, gelatos, mica, etc. These elements can be mixed into the paste or applied over the paste once dried. The possibilities really are endless.
I’ve created two samples for this embossing paste tutorial. One uses ink to tint the paste while the other uses white paste over an ink sponged background, giving the illusion of partially altered paste.
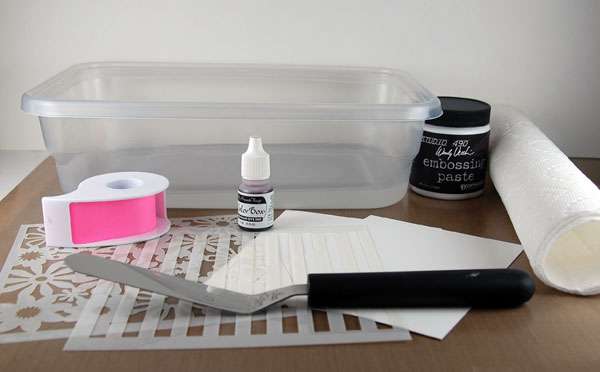
Supplies you’ll need:
- Embossing or modeling paste
- Dye ink pad or re-inker
- Palette knife, chipboard or gift/credit card
- Stencil
- Protective craft sheet or waterproof covering for work surface
- Masking tape or paper
- Card stock
- Shallow dish of water
- Paper towels
Embossing paste tutorial #1: How to create a tinted clean and simple background
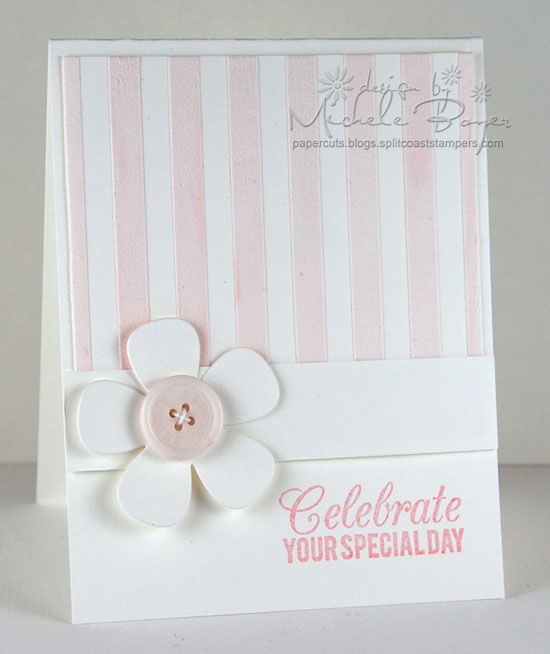
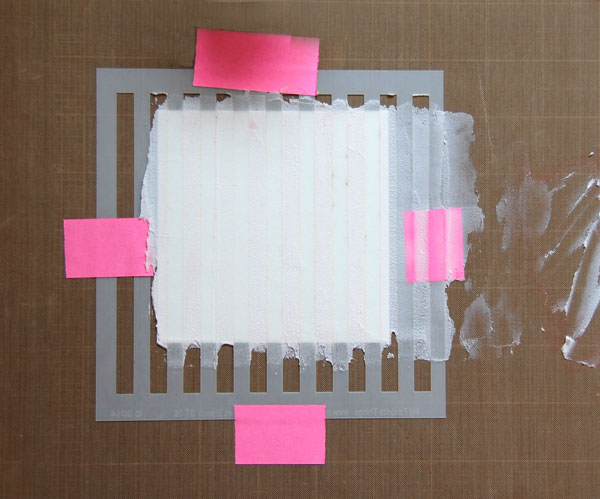
On the sample above, I’ve lightly tinted the paste with a pale pink dye ink.

Step 1:
Adhere your card stock securely to a craft sheet using removable tape. I used Post-it tape but masking tape, washi tape or removable Scotch tape all work well. Another option is to apply removable adhesive to the back of the card stock.
Securely adhere stencil over card stock using removable tape.
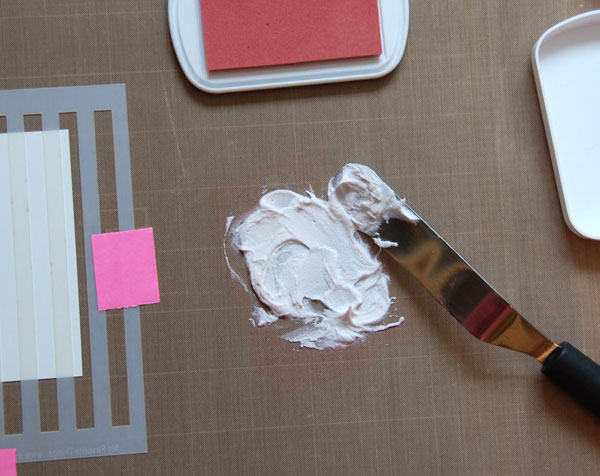
Step 2:
Gently press ink pad onto craft surface to transfer ink. Using palette knife, add embossing paste and mix with color. Quickly recap paste as it dries very fast.
Step 3:
Using the back side of the palette knife, pick up paste and spread over stencil. I find I get better results if paste is applied in the direction of the pattern. I applied a thin coating, evening out the paste as much as possible.
Once paste is applied, clean palette knife immediately with a baby wipe or wet paper towel, or place knife into a dish of water for later cleanup.
Step 4:
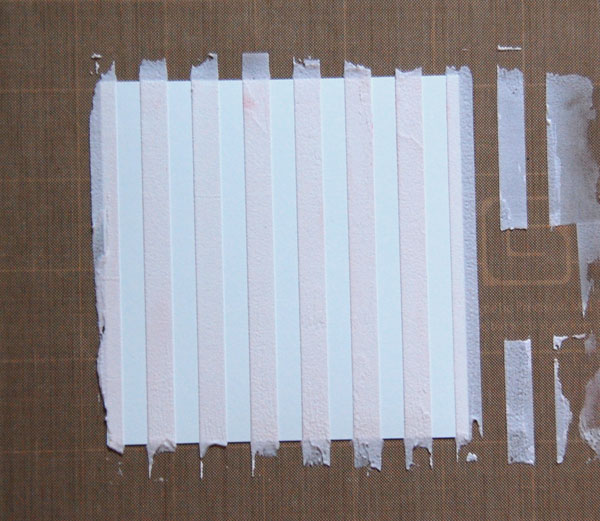
Carefully remove tape and lift stencil straight up to retain clean lines. Rinse stencil with water right away or place in bowl of water for later cleaning. Allow paste to dry on card stock for approximately 20 to 30 minutes. Once dry, trim each side with a paper trimmer for nice clean edges and use as desired.
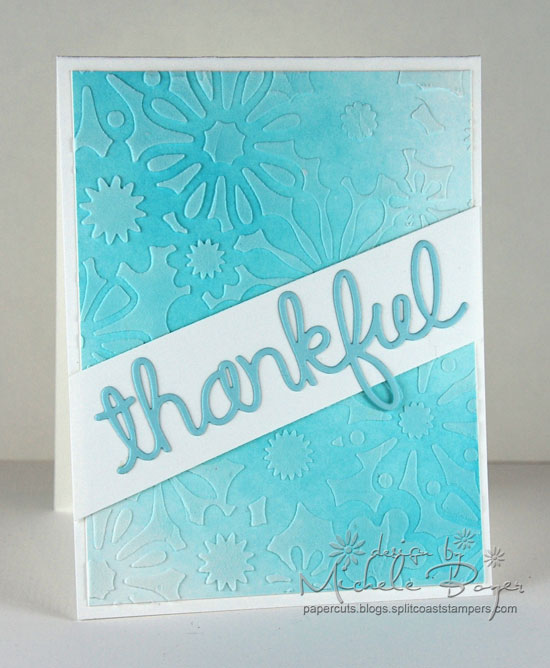
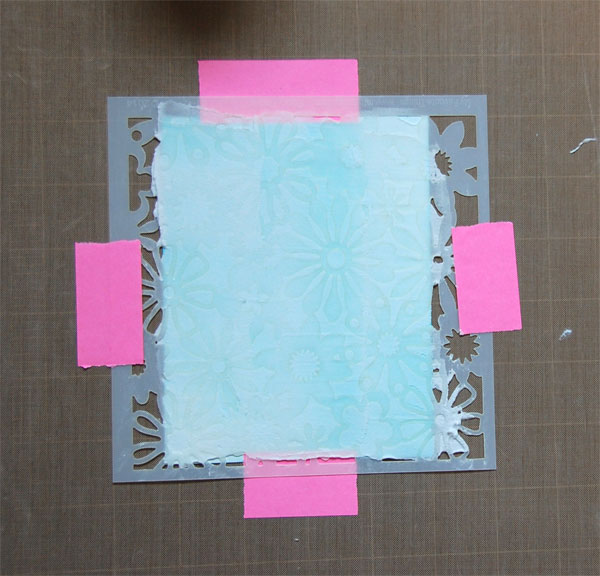
Embossing paste tutorial #2: How to create a paste background with the illusion of color
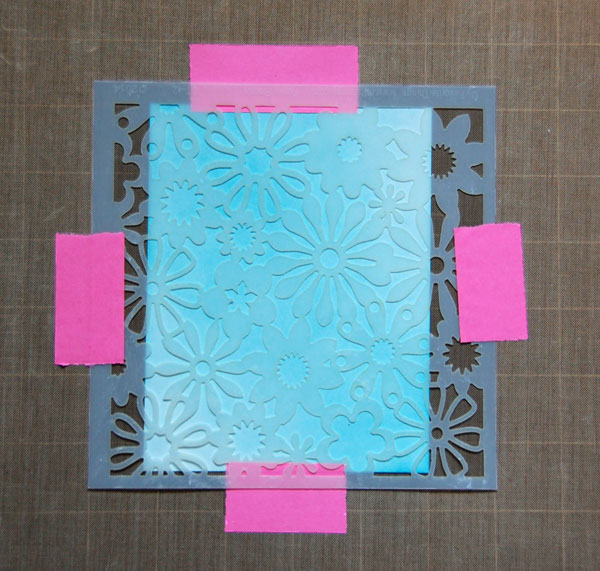
By applying the embossing paste thinly, the blue tones are softened, leaving the pretty floral pattern to shine.
Step 1:
Secure sponged card stock to craft sheet using removable tape. Secure stencil over.
Step 2:
Apply white paste, smoothing and covering evenly.
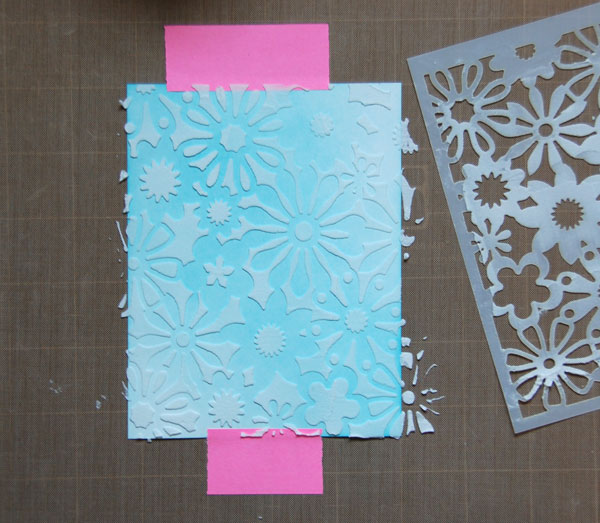
Step 3:
Remove tape and lift stencil from card stock. Remember to place knife and stencil in a bowl of water if there is no time to clean immediately.
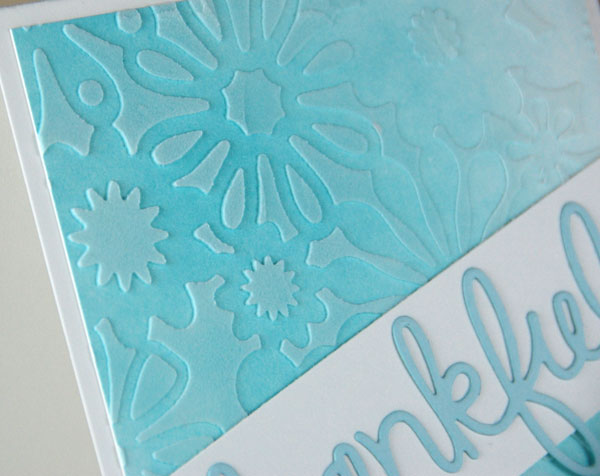
Step 4:
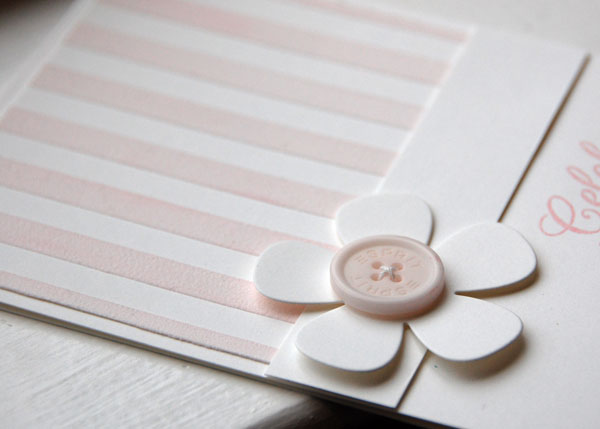
Once dried, trim ends and finish card as desired. I wanted as much of the pasted design to show as possible so I simply added a strip of white card stock cut to the width of my die-cut sentiment.
Additional ideas for using embossing paste
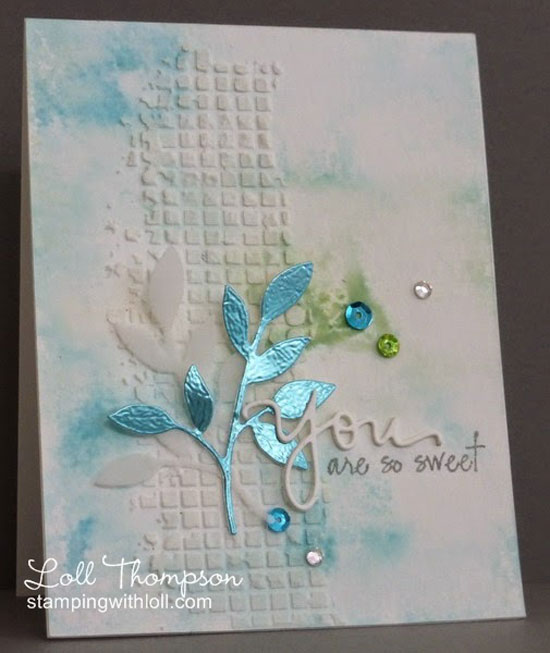
Photo via Stamping With Loll
A partial application of paste adds just a bit of texture and perfect balance to a clean and simple design. The white on white is elegant and the blues showing through in small areas add interesting detail.
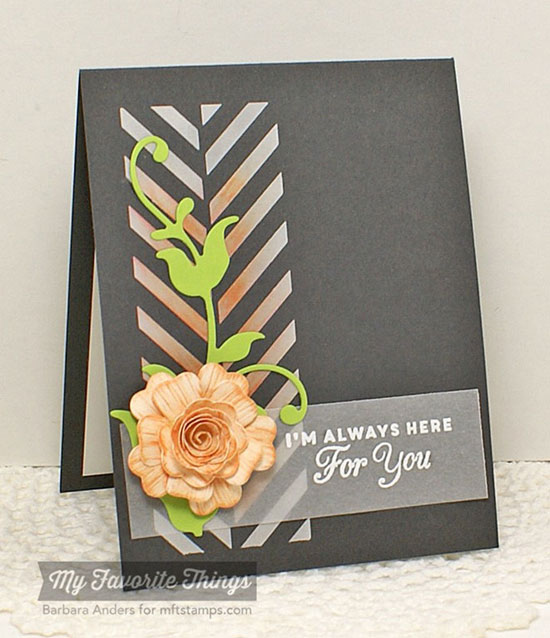
Photo via Paper Pursuits
Color sponged over a portion of the dried paste adds interest, pulling all elements together beautifully. The heat embossed vellum is a nice addition as it allows more of the pasted design to show.
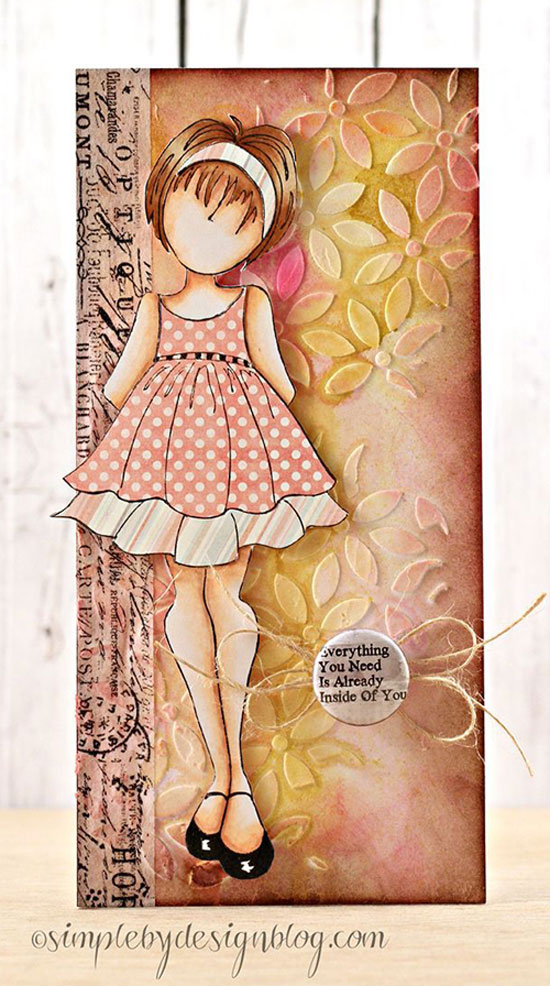
Photo via simple by design
Tissue tape, distress paint and distress ink over dried embossing paste creates a plethora of gorgeous detail. The embossed design remains visible beneath the tape while the various shades of ink and paint create a subtle but colorful backdrop to the focal image.
Share tips, start a discussion or ask one of our experts or other students a question.
No Responses to “Using Embossing Paste: 2 Creative Techniques to Try”