
Not fond of hooping? Neither am I but, unfortunately, you cannot embroider designs by machine without one. I have, however, found a bit of a shortcut to make hooping much easier and faster for me by using a stabilizer window.
Photos via Debbie Henry
Most of the time, I do not hoop fabrics I embroider and this technique works quite well with hoopless embroidery.
How do you use a stabilizer window?
Think of a stabilizer window as a “soft hoop.” Hooped stabilizer forms a “frame” inside which embroidery can be stitched and easily removed without compromising the “frame.” The benefit is that you hoop once and stitch two or three designs before having to hoop again.
Good stabilizers are the basis of successful embroidery. Get a refresher in Craftsy’s class Stabilizer Savvy with Terri Hanson.
Best stabilizer types for embroidery windows
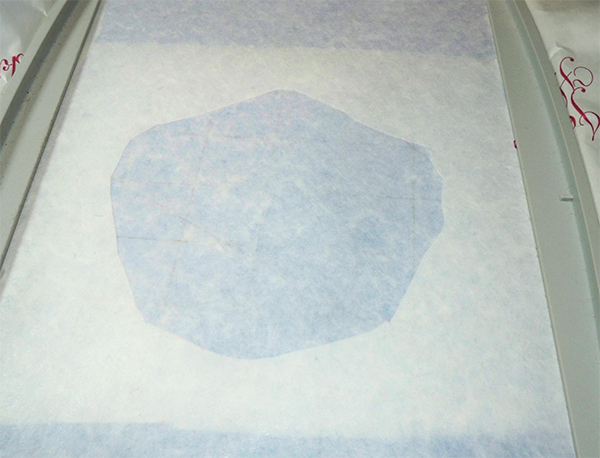
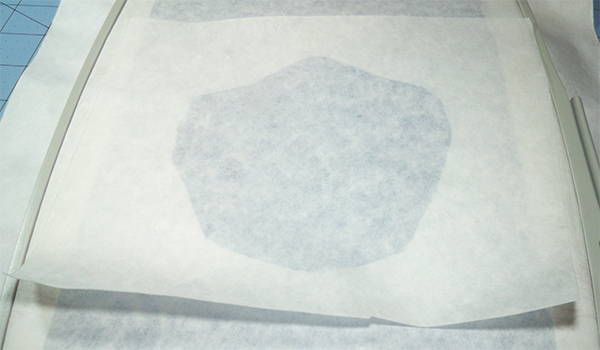
Heavy adhesive tear-away and adhesive cut-away stabilizers work best when making stabilizer windows. Start by hooping the stabilizer. Score the paper liner inside the hoop and tear it away. Finger-press the fabric in place. For this example, I used felted wool. Stitch the design as directed.
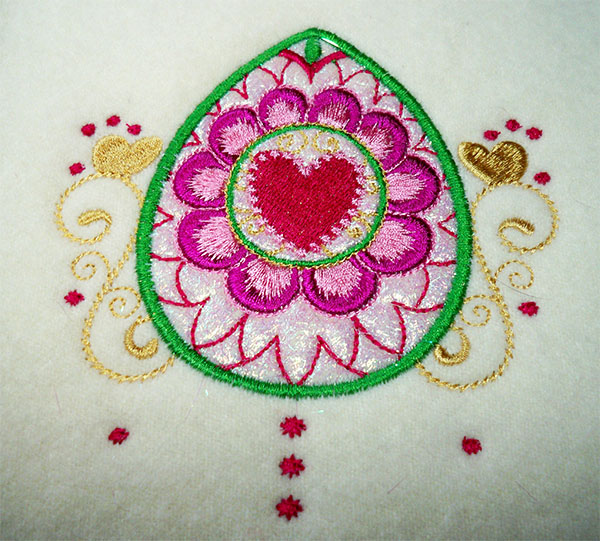
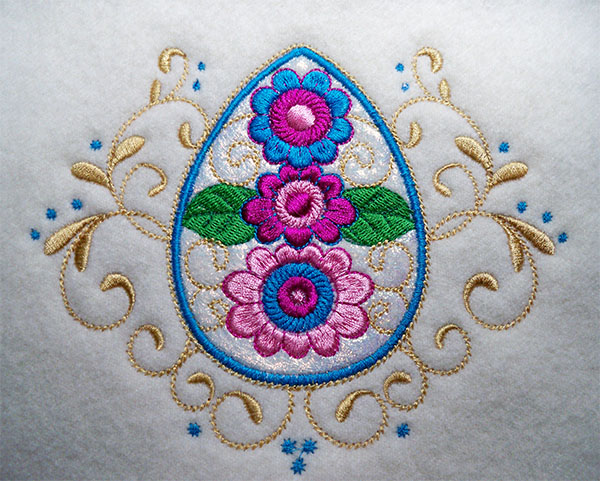
Get the “Eggsquisite Embroidery: Easter Appliqué Designs” tutorial here.
Cutting the stabilizer window
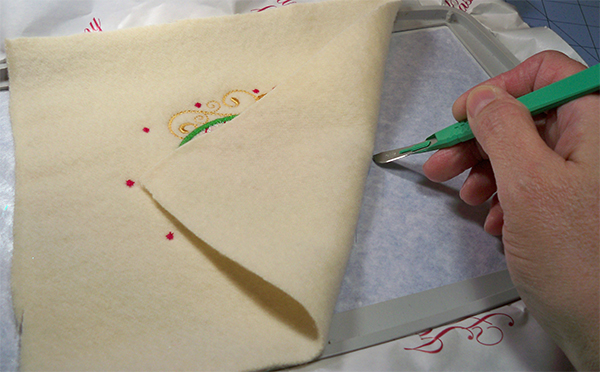
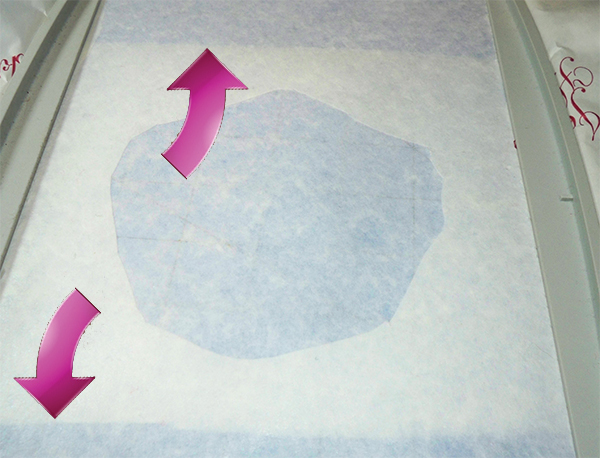
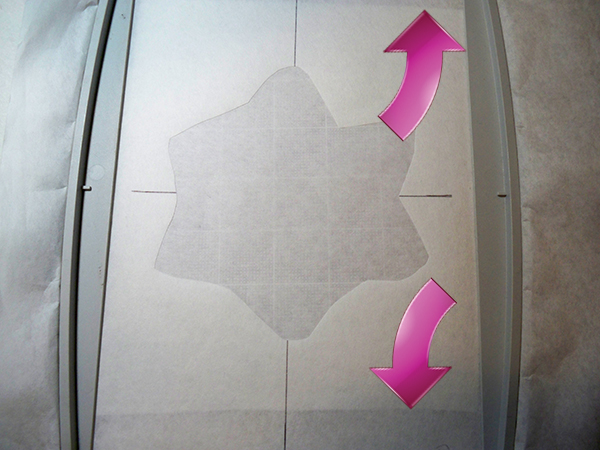
When embroidery is complete, remove the hoop and place it on a cutting mat. Carefully lift the fabric away from the adhesive and fold it back out of the way. Cut a “window” in the stabilizer close to the stitching, being careful to not pull the stabilizer loose or cut into the design or fabric.
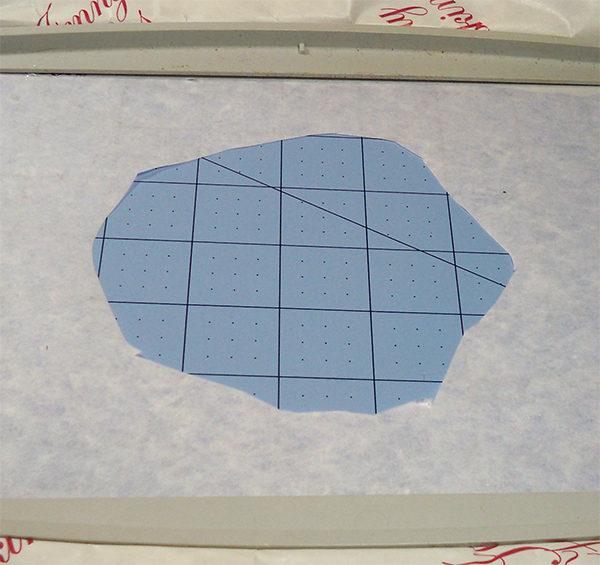
The design will lift away leaving the stabilizer window frame.
Patching the window
Cut another piece of adhesive stabilizer and peel back the paper lining. Turn the hoop over and lightly tack the patch in place. Do not press on it as it will stretch the stabilizer out of shape and may affect proper alignment of embroidery stitches.
Make sure the stabilizer patch extends well past the cut-out area. Scrap pieces of stabilizer are ideal for this use. With the hoop right-side up on a flat surface, press from the front to be sure the patch adheres in place.
Put the hoop back on the machine and stitch out the next embroidery. This sequence can be repeated several times until the hooped “frame” stabilizer is unusable. Subsequent designs should be the same size or similar in size and shape to the first.
Making stabilizer windows with tear-aways
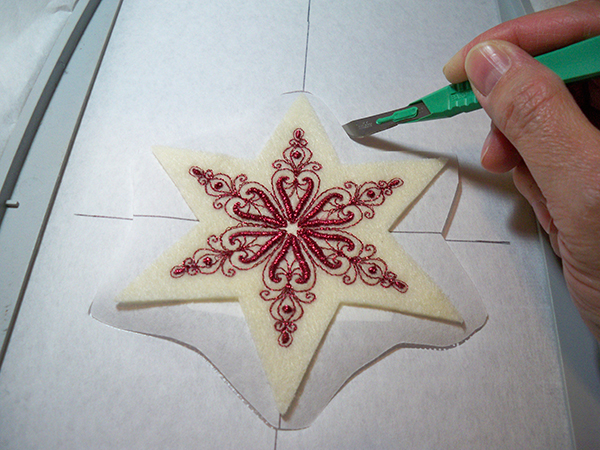
The same technique can be used with tear-away stabilizers.
Get the “Embroidered Ornaments are a Cut Above With AccuQuilt GO! Dies” tutorial here.
The patch should extend well past the cut-out window and can be made with scraps of adhesive stabilizer or by using a glue stick around the edges of the non-adhesive stabilizer.
This can be a good way to use up tear-away stabilizers that are not substantial enough for embroidery but are too good to discard. Hoop a light tear-away as your “frame” and float a piece of cut-away stabilizer under the hoop if more support is needed.
Do you have a stabilizer window technique you would like to share?
Awesome! Thanks!!