
As a fan of embroidery, I mostly limit my designs to stitching on fabric. But sometimes, it’s fun to mix it up and work with paper — we’ll trade cotton for embroidery on photos!
Follow these steps to combine embroidery with vintage imagery.
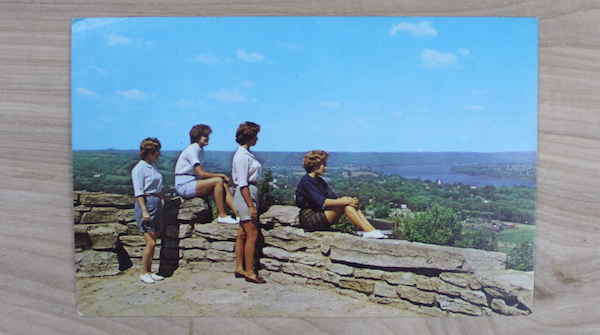
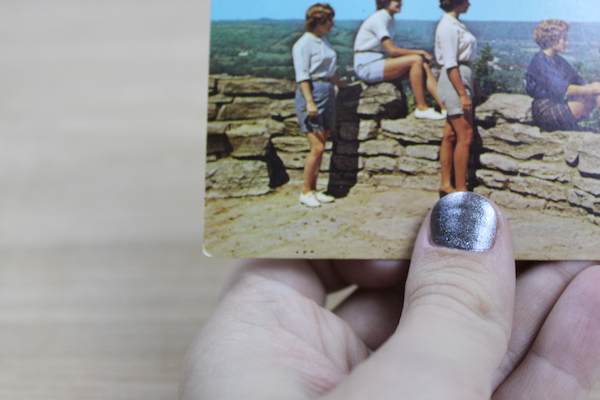
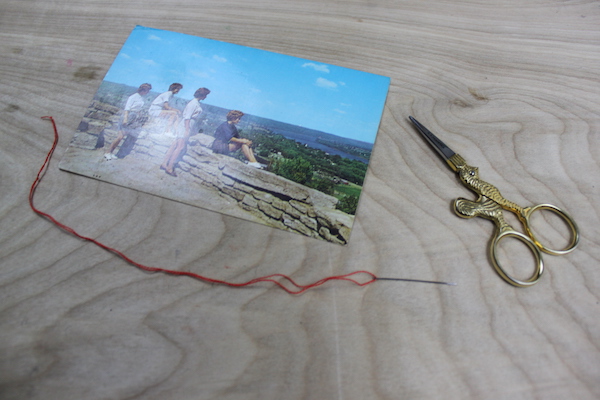
Since I’ve embroidered for years, I had many of the required materials on hand. I imagine that if you are too an embroiderer, you’ll be the same way. I didn’t have any vintage photographs though, so I visited my local antique mall and found some old postcards for .50 cents a piece!
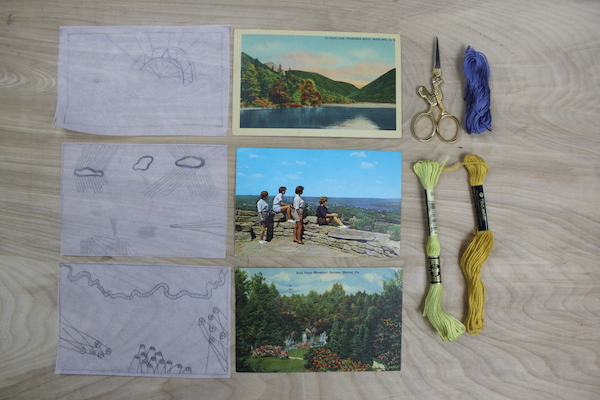
Above you’ll see some other images with possible designs.
I chose a lot of nature scenes, but of course, you can use whatever you like. Maybe you have some funny black and white portraits or an urban landscape that you’d rather use. Go for it. In addition to the images, I’m also using cotton embroidery thread in various colors and my favorite pair of scissors. And small sewing needles, of course.
1. Use tracing paper to create a design
I’m a big proponent of sketching beforehand — when it comes to almost anything! Just check out any of my other tutorials and you’ll notice the trend. In this case, I put a piece of tracing paper over each of these images and drew designs with pencil.
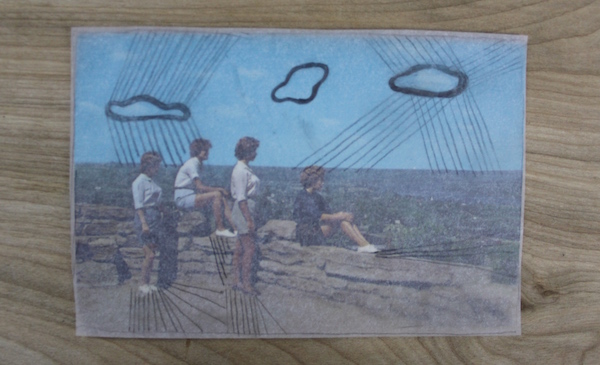
All in all, these are pretty simple drawings. You aren’t going to be able to create something extremely detailed given the limitations of paper. So, I’d go for simple now, especially on your first piece. I would normally transfer the drawing to my work surface, but I don’t think that’s necessary here. I’m just going to use these as a map.
2. Don’t thread your needle yet
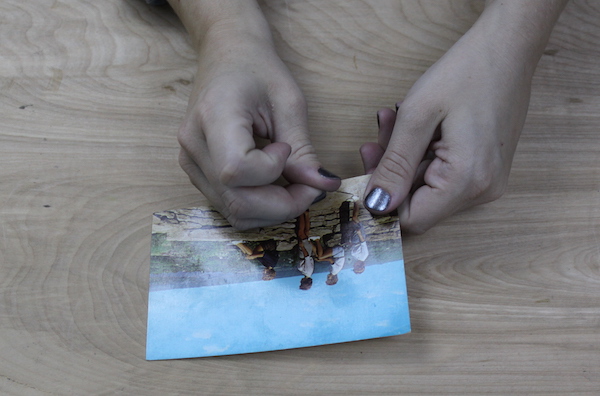
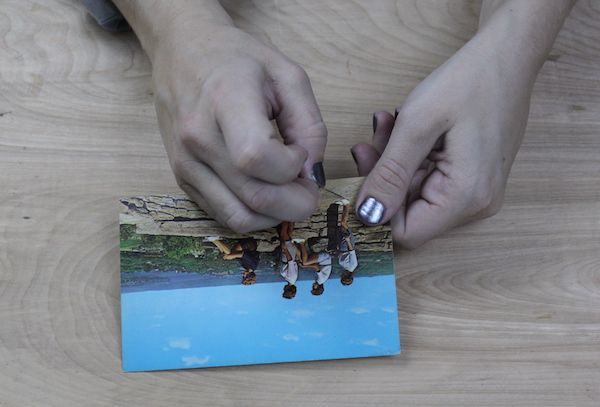
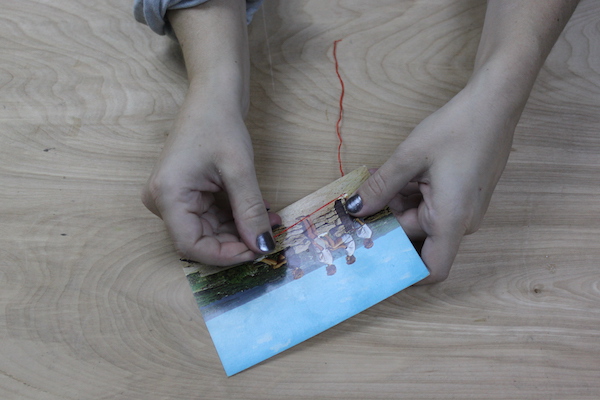
So we have an idea of how our embroidery is going to look, and it’s time for the fun to start. But, before we thread the needle, we’re going to poke holes where the thread will go. Paper is less forgiving than fabric and you can’t put it in an embroidery hoop or bend it without it showing creases.
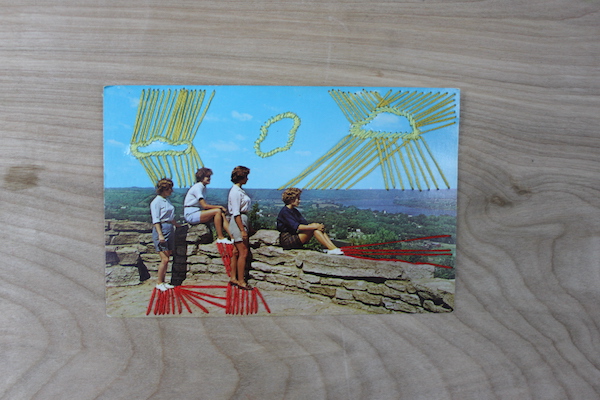
I started by poking a few holes with my needle directly underneath the woman’s foot and at the bottom of postcard. You can go ahead and poke holes all around the photo, but I like to do mine in sections. That way, I can assess the design as I go and make changes if necessary.
3. Thread the holes
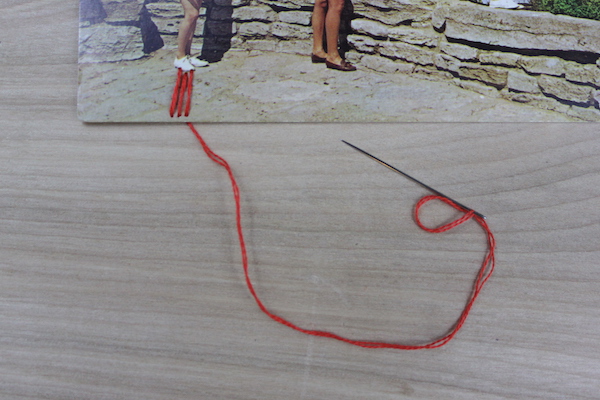
Now that we’ve got some needle-sized holes made, it’s time to thread up your tool. A lot of embroidery floss will come with six small threads that make up one larger strand. I like to separate each piece and use them individually. Otherwise, I find the floss too thick.
I cut a piece of thread to a length that’s long, but not too long, then I fed it through the eye of the needle. I folded the strand over on itself so it created a giant loop. In total, the thread is “2-ply,” meaning that two strands will go through the hole each time.
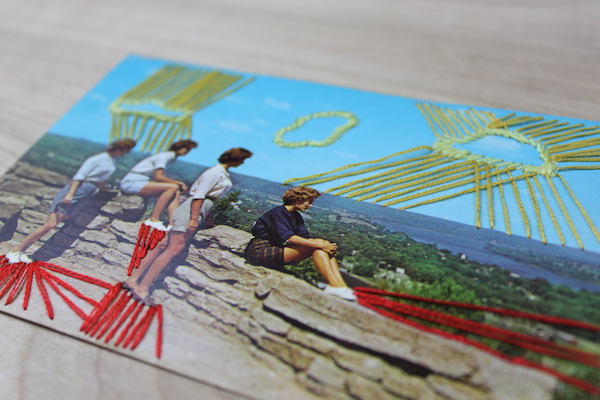
Think of these images like connect-the-dots puzzles. Starting at one end, work your way towards the opposite end. In my piece, I sewed from the foot to the bottom edge of the image, went to the next hole over, then back up to the foot again. I did this so the back will look clean.
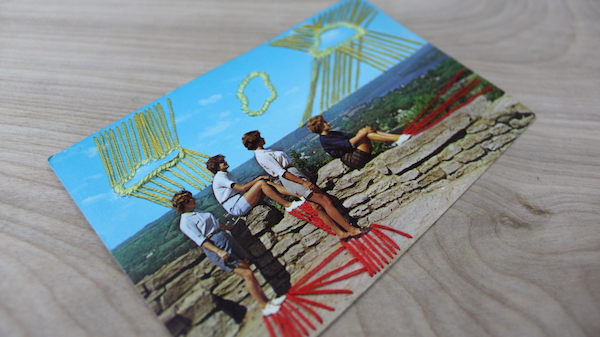
This is a process that you’ll repeat until your embroidery is done. Doesn’t it have a neat effect?
Tips for embroidery on photos:
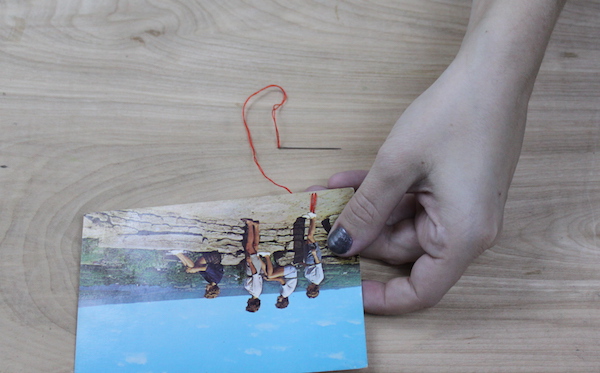
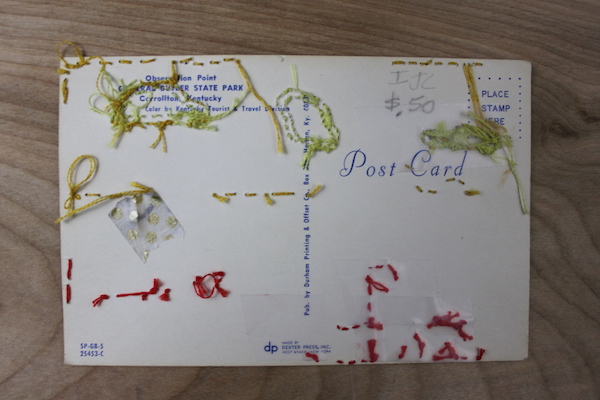
- When you are poking the holes, make sure they aren’t too close together. Otherwise, you’ll have one giant hole with all your thread in it!
- There are some embroidery stitches that just won’t translate onto paper. I recommend starting out and creating singular lines. If you want more thread (so you can’t see the photo beneath your lines), layer the strands on top of each other.
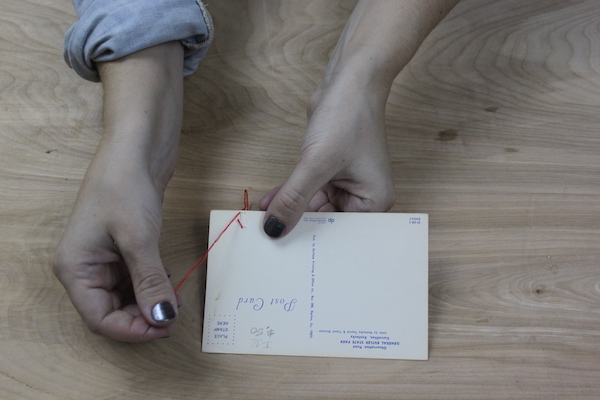
- There were times that the holes weren’t far enough apart, so the thread became unwieldy and a bit of a mess. To secure it, tape over your thread on the backside of the photo.
Share tips, start a discussion or ask one of our experts or other students a question.
No Responses to “Fuse Vintage and Contemporary With Embroidery on Photos”