
We’ve received even more commonly asked questions on free-motion quilting on a regular machine to answer via our Ask an Expert questionnaire! Our resident expert quilter, Christa Watson, is here to give you some tips to help you conquer using your machine to FMQ.
[box type=”shadow”]
Join in on the fun by submitting your questions here– no matter what you’re interested in, from knitting, quilting and cake decorating to photography, cooking or art– and tune in every week to see if your question has been selected to be answered.
[/box]
Even more answers for your most common troubles.
Question: “For straight line quilting, do you always sew each line from top to bottom? Or, when you get to the bottom, do you turn and go back the other direction?”
Convergence quilt via My Sewcial Hour
Answer: As long as your quilt is well basted, you can use either method. However, it is quicker to quilt them all in one direction rather than rotating the quilt after each line of quilting.
Cindy Needham has a very thorough basting tutorial in her Bluprint class Design It, Quilt It. She uses a combination of safety pin basting and stitching in the ditch along major seam lines to secure the quilt first. Once the quilt is structurally secure, you can quilt in any direction with no problems.
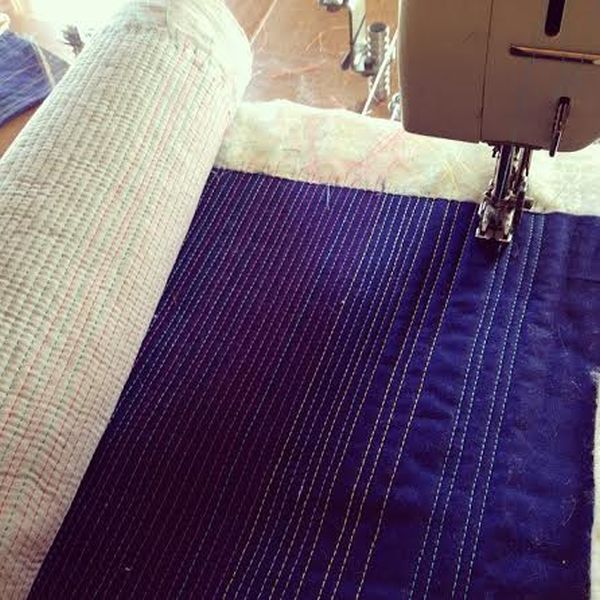
I find it easier to fill in straight lines of quilting by starting on one edge of the quilt and quilting straight lines all in the same direction, rolling up the bulk of the quilt under the arm as I go. When I reach the middle of the quilt, I rotate it 180 degrees, and then finish quilting all the straight lines in the opposite direction.
Question: “How do you handle tying off your thread when quilting?”
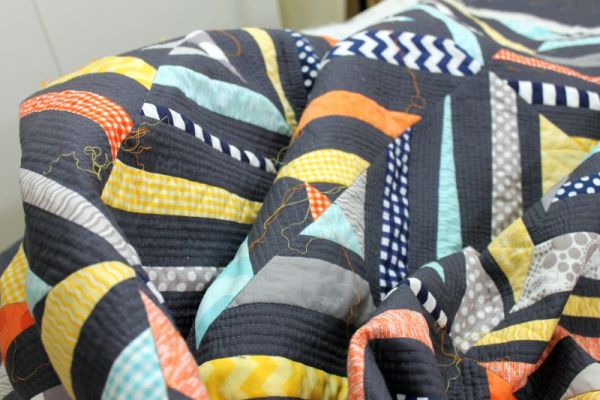
Tying off your loose quilting threads creates a nice clean finish.
Answer: It depends on how the quilt is being used. If it’s a show quilt, I will hand tie off every loose end. If it is a utility quilt, I will secure the threads more quickly.
If you like the clean look of quilting, with no stops and starts, you will want to begin and end every line of quilting with a quilter’s knot. Bring the bobbin thread up to the top of your quilt and make a small knot with both threads by hand. Use a needle to pull the thread through the quilt to the batting layer and pop the knot into the middle layer to secure. Then clip off the loose ends. For faster knot tying, leave all of your thread tails loose and tie them off at the end.
[box type=”shadow”]
Check out this blog video tutorial demonstrating the quilter’s knot method from Bluprint instructor Leah Day.
[/box]
For a faster way to secure your threads, begin by bringing your bobbin thread up to the top. Stitch a series of 6-8 very tiny stitches, gradually increasing the stitch length as you go. When you get to the end of a line of stitching, do the opposite by ending with a series of 6-8 very tiny stitches. Pull your bobbin thread to the top again and clip both threads close to the surface.
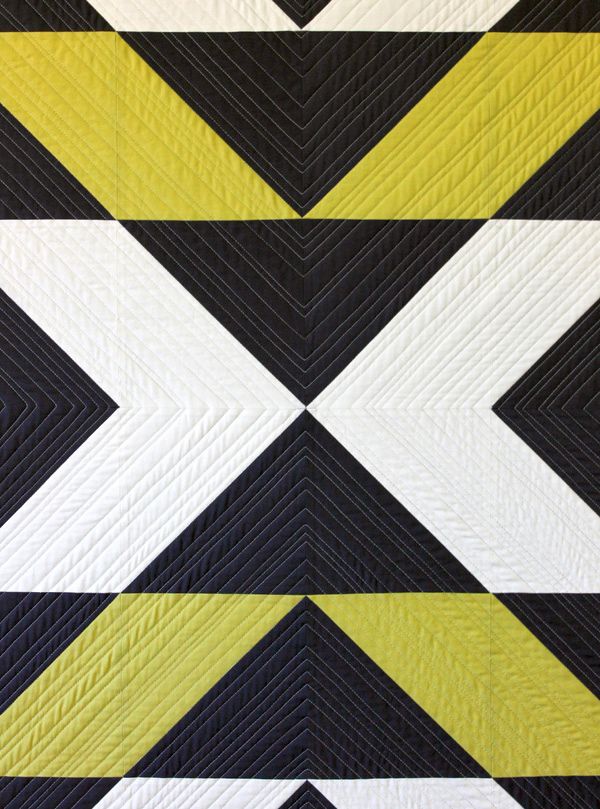
Photo via Bluprint blogger ChristaQuilts
To eliminate the need to start and stop, try a continuous quilting design that goes from one edge of the quilt to the other. For the Modern X quilt, shown above, I quilted a series of straight lines from one edge of the quilt to the other, thereby eliminating the need to tie off or hide my thread ends. They were simply trimmed off when squaring up the quilt; the loose ends were secured in the binding.
Question: “When free-motion quilting, why does the needle break?”
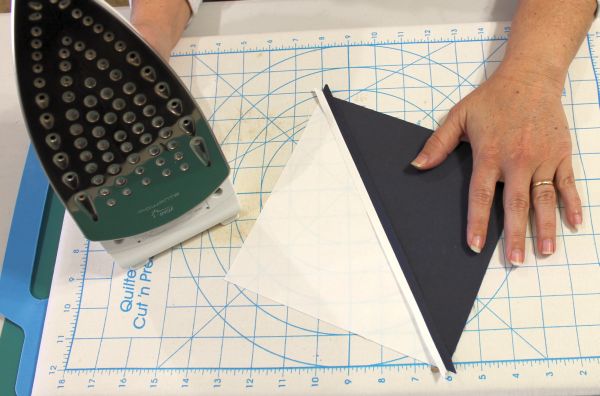
Press your seams open to reduce bulk. Dense machine quilting will help secure the seams.
Answer: This is usually caused by too much tension on the upper thread, thick seams or too much bulk under the needle.
If your thread does not run smoothly through the machine, it can pull the needle out of alignment, causing it to break. When threading your machine, be sure to lift the foot up and bring the needle to the highest position. This will disengage the upper thread tension, allowing the thread to pass through the tension discs correctly. Using a separate thread stand rather than the built-in spool pin also creates smoother thread delivery.
To reduce bulk under the machine, use the thinnest loft batting you can. A natural fiber batting, such as cotton or wool, will provide the best results and help reduce slippage. The best way to reduce bulk at the seams is to press them open. Contrary to popular myth, this will not weaken the seams or cause the batting to poke through, and it makes for a much more pleasant quilting experience.
I hope this has answered many of your questions! For a detailed tutorial, check out my post on free-motion quilting with a regular machine!
[box type=”shadow”]
Submit any question for our experts to answer!
 [/box]
Share tips, start a discussion or ask one of our experts or other students a question.
No Responses to “Ask an Expert: Even More Tips for Free-Motion Quilting With a Regular Machine”