
Autumn is a magnificent time of year when we can experience the phenomenon of foliage change into bright, vibrant and colorful fall hues. Today I’ll teach you how to take a little bit of the outdoors indoors, with my tutorial for cake pop trees with multi fall-colored leaves.
Why jump in leaves when you can eat them?
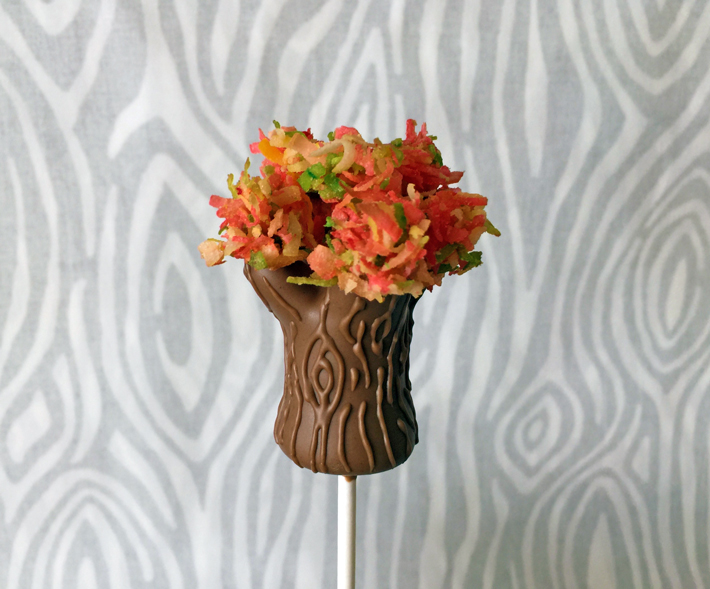
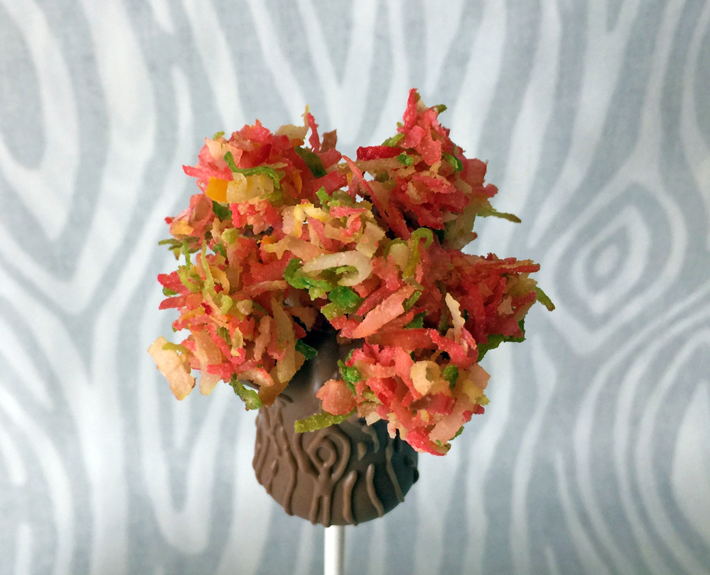
Enjoy a cake pop tree with multi fall-colored leaves indoors!
Fall cake pops tutorial
You’ll need:
- Cake pop dough ready for shaping
- Light brown candy wafers
- Sweetened shredded/flake coconut
- Food coloring in red, yellow and green
- Powdered sugar
- Lollipop sticks
- Wax paper
- Ziplock bags
- Toothpicks
- Cake pop stand
Part 1: Shaping
Step 1:
Line your work surface with wax paper. Use a cookie scoop to portion cake pop dough. Use our cake pop dough tutorial to create perfect textured dough.
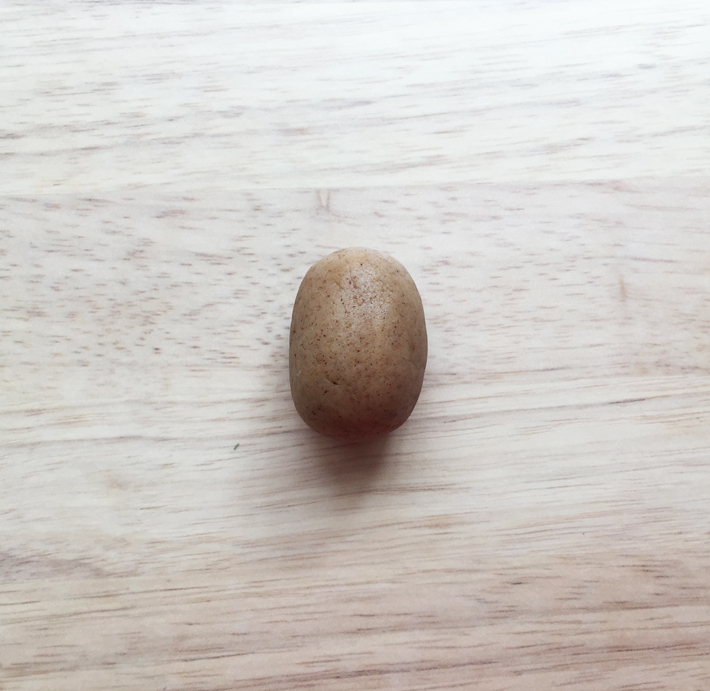 Step 2:
Roll portions into ovals.
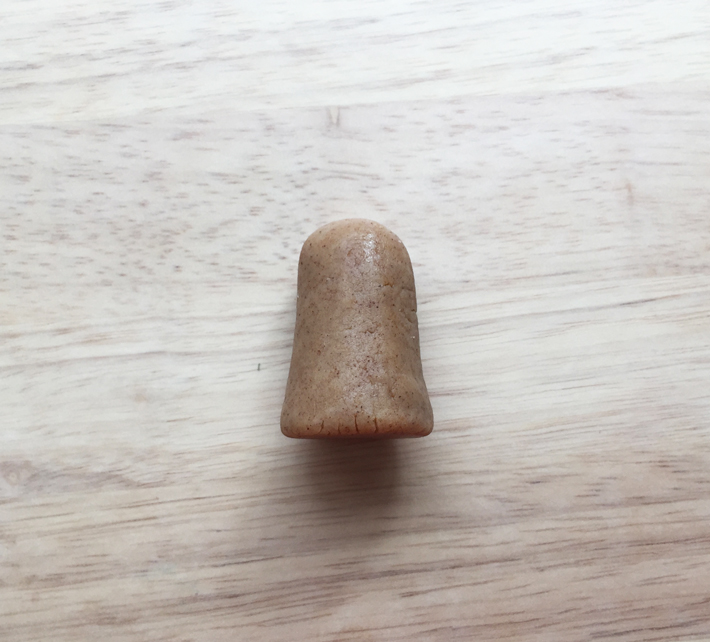 Step 3:
Use your work surface to flatten one end, this will be the base of the tree.
 Step 4:
Use a knife to cut the other end cross-wise vertically, then horizontally about ⅓ of the way down the trunk to create branches. Carefully spread apart branches and smooth the four divided ends by gently pressing around each one with your fingers. Refrigerate all pieces.
Part 2: Making the foliage
Depending on how many cake pops you’d like to make, you’ll need about 1 packed cup of shredded coconut for each dozen cake pop trees.
Step 1:
Divide the shredded coconut into four ziplock bags. We will dye a bag each, of lime green, yellow, orange and red. I used just regular food coloring that you can buy at any grocery store in red, yellow and green; we will then combine some of these colors to create new ones. We’re going to toast this so we’ll have tones of brown throughout the coconut through that process.
 Step 2:
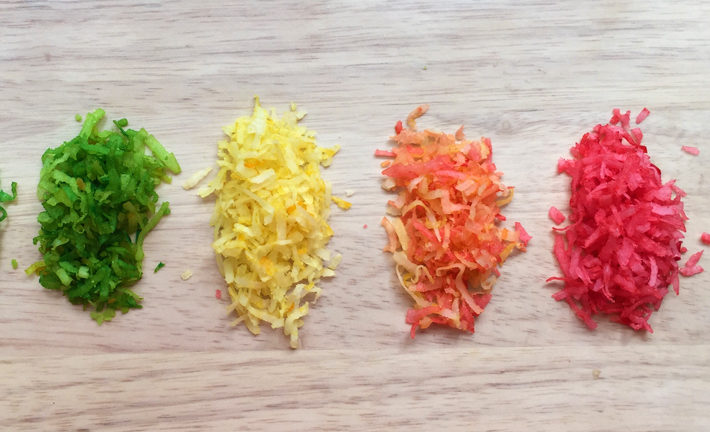
Next we will add food coloring to each bag of coconut.
Add a few drops of red food coloring into one bag and add yellow into the second bag. In the third bag, add 3:1 ratio of yellow to red (3 drops yellow and 1 drop red) to make orange. In the fourth bag, add 3:1 ratio of yellow to green (3 drops yellow and 1 drop green) to make lime green.
Seal the bag and shake them to distribute the color. This is a fun job for little ones who are eager to help in the kitchen! Make these as vibrant as you like. If you’re not satisfied with the intensity of the color, add more food coloring and give it another good shake.
Step 3:
You can keep the colors separate or combine the colors all together to make your trees. I chose to combine them all, but you don’t have to. You can also control the amount of colors you put in; for example, I wanted to use more orange, red and yellow than green.
Mix them in a bowl and sprinkle the bowl with 1 tablespoon of powdered sugar for every cup of shredded coconut. This will help them stick together for the next step.
Step 4:
Preheat the oven to 350 degrees F. Line a cookie sheet with parchment paper.
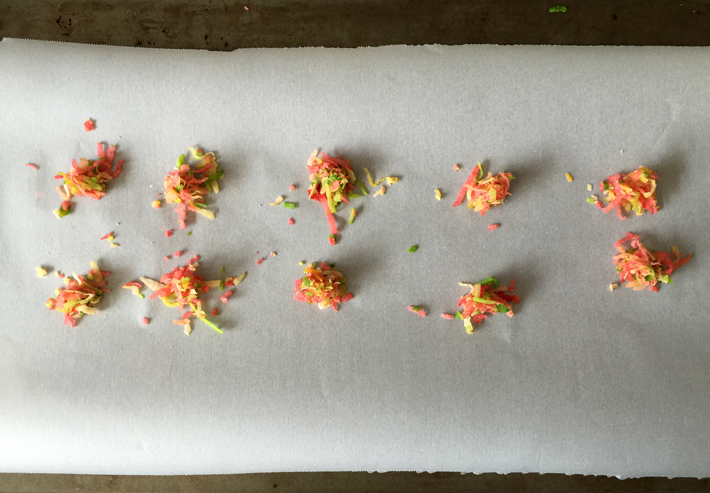 We will shape the coconut into little pods with the help of a measuring spoon (I made pods using a ½ teaspoon spoon) by pressing some coconut into the spoon, as tightly as you can, and placing it onto the parchment lined cookie sheet. Feel free to make smaller or larger pods. You’ll need about 5-8 pods per tree depending on how big you want them.
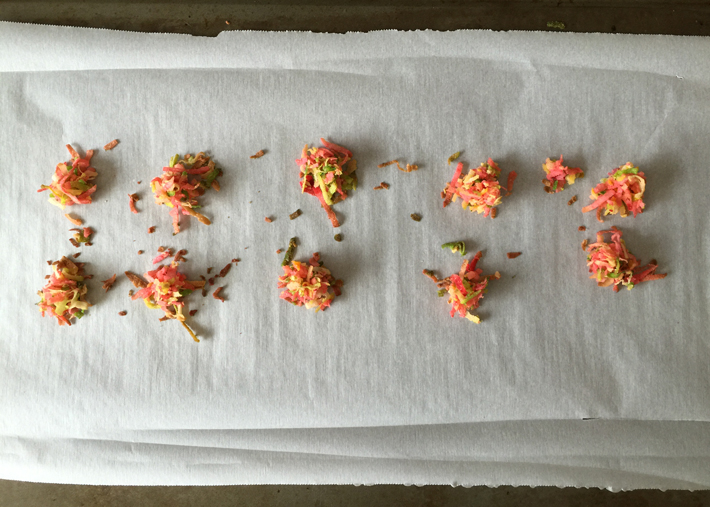 Once you’ve done this step, place the pods into the oven for 3-4 minutes. Check them after 3 minutes to see of the edges have started to brown. Be extra cautious as these will burn fast! Remove from the oven and let cool completely.
Part 3: Decorating
Step 1:
Melt light brown candy wafers in a microwave-safe bowl. For tips on melting candy coating and dipping cake pops, please refer to our dipping cake pops tutorial. Put aside some light brown candy in a ziplock bag to pipe the finishing faux bois touches later.
Step 2:
Remove tree trunks from the refrigerator. Let stand in room temperature for at least 5 minutes to take the chill off. Dip a lollipop stick, about ⅓” into the melted coating, then carefully push it in until it’s about halfway into each tree.
Step 3:
Dip each tree into the candy coating. Gently shake off the excess and use a toothpick to pierce any air bubbles. Place on a cake pop stand and let dry completely.
 Step 4:
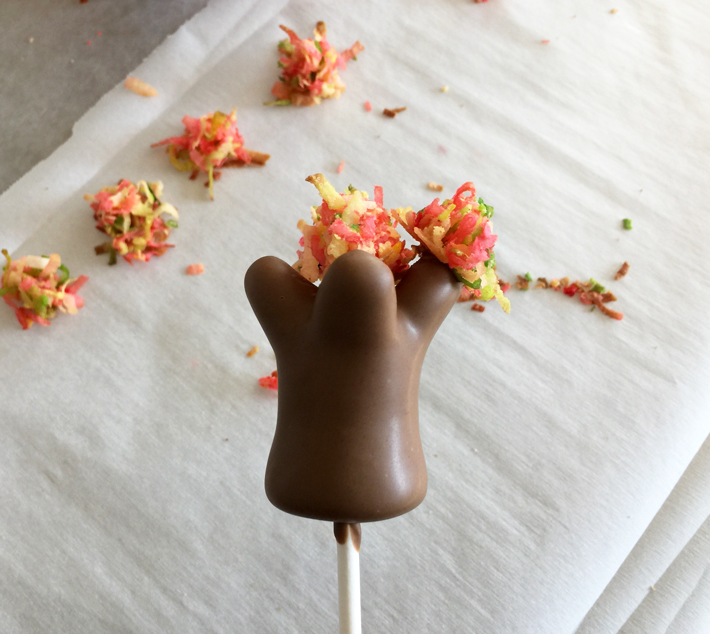
Once dry, use a toothpick to dab candy coating in the middle cavity and on the tops of each branch. Carefully affix a coconut pod on each area, making sure to handle the pods carefully as they are fragile.
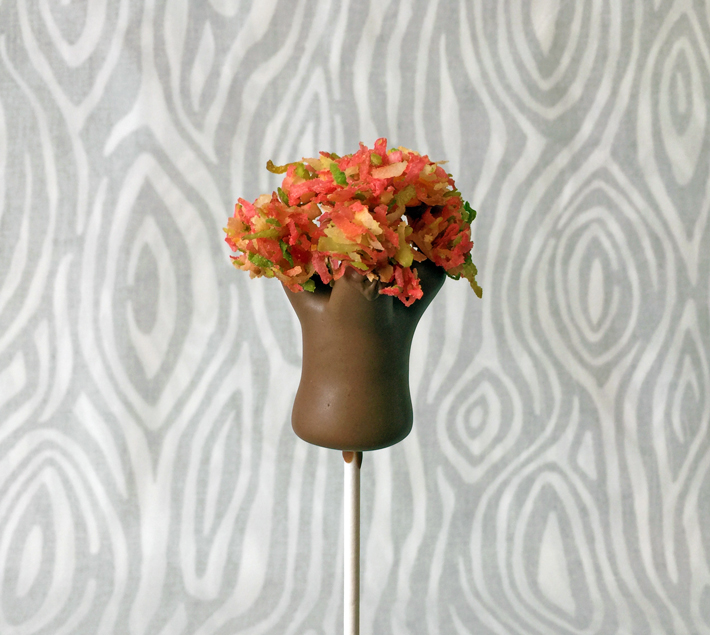
Let dry completely before affixing/layering more pods on top of the five original pods. Let dry completely.
 Step 5:
Use the candy coating you put aside in Step 1 to create faux bois (tree lines) along the length of the trunk.
Happy autumn!
Share tips, start a discussion or ask one of our experts or other students a question.
No Responses to “Bring the Outdoors In With Spectacular Autumn Cake Pop Trees”