
This post is the second part of a blog series about fashion drawing, where I introduce you to some of the basics of sketching and illustration, specifically aimed at fashion design.
Build on basic form
Last time, we covered the proportions of the fashion figure and I walked you through the steps for drawing a nine-head figure in a static pose. Today I will expand more on that subject, and we will delve into the topic of drawing different fashion figure poses while applying the steps we learned previously, as well as how to draw movement.
Observe poses
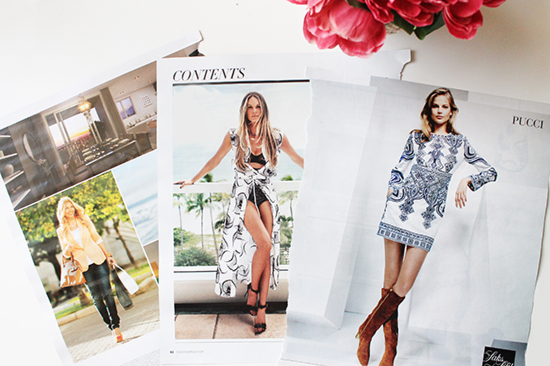
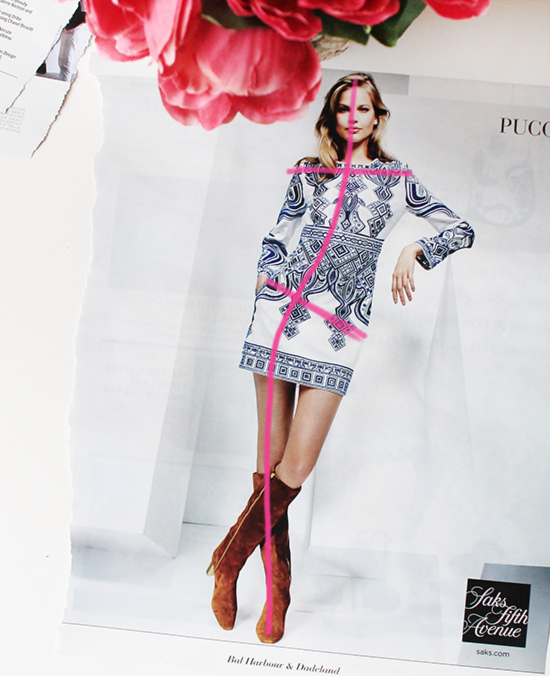
When you set out to draw your own fashion figures, it is very helpful to look for different poses online or in magazines, and compile a folder or sketchbook with them as a reference. Look at them to analyze things like how the shoulders dip to one side when the hips sway towards the opposite side. Observe the angle that is created by the arm when the model places her hand on her waist.
Use them as a reference when drawing, but don’t do it mindlessly. While you draw the pose, think about the angles and proportions of the body in each pose. If you do this, you will start to learn the technical aspects of each pose and you will soon be able to draw them with no reference.
Locate movement
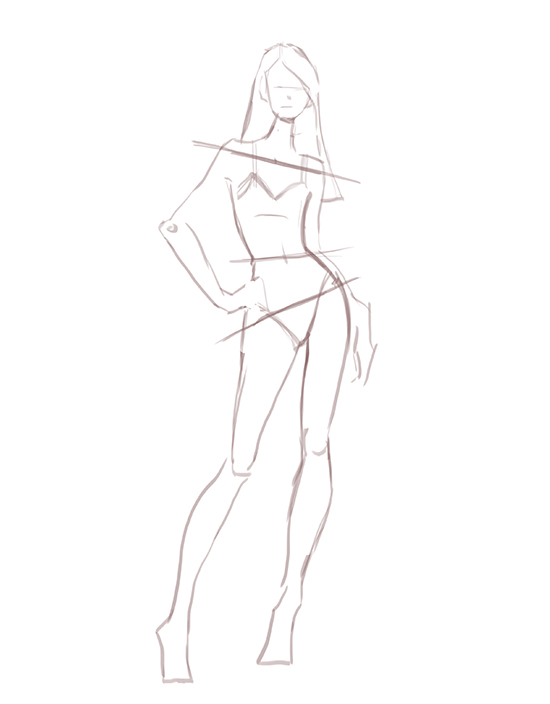
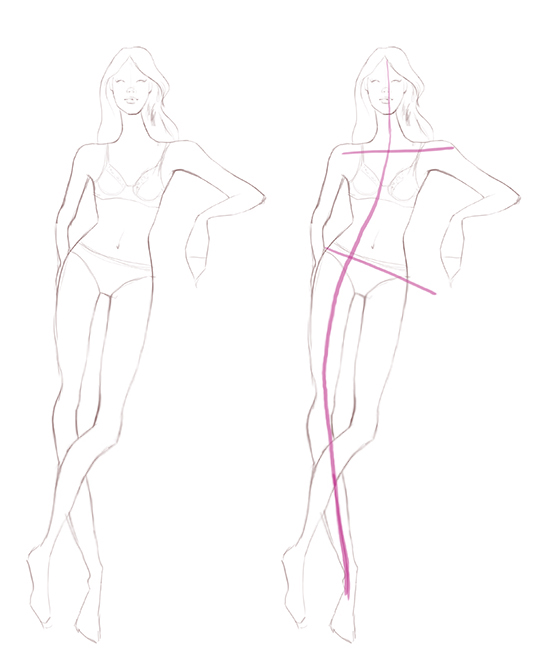
To add some movement to the static pose we have drawn, we need to first locate three important components of the figure. The vertical balance line, the shoulder axis and the hip axis.
Tilting the shoulder and hip axis is the first and most important way to add movement. The secret here is to always tilt these axes in opposite ways to maintain realism in the pose and have it look natural.
The movement of the arms is defined by the shoulder axis and the movement of the legs by the hip axis. Let the angle of these lines show you what to do next. The way in which you tilt these two lines will determine how the rest of the body needs to be drawn.
Another important thing to remember when coming up with your own poses is that the leg that is supporting the weight of the body needs to remain straight. This leg cannot be bent, otherwise, the pose will not look natural.
Use movement lines
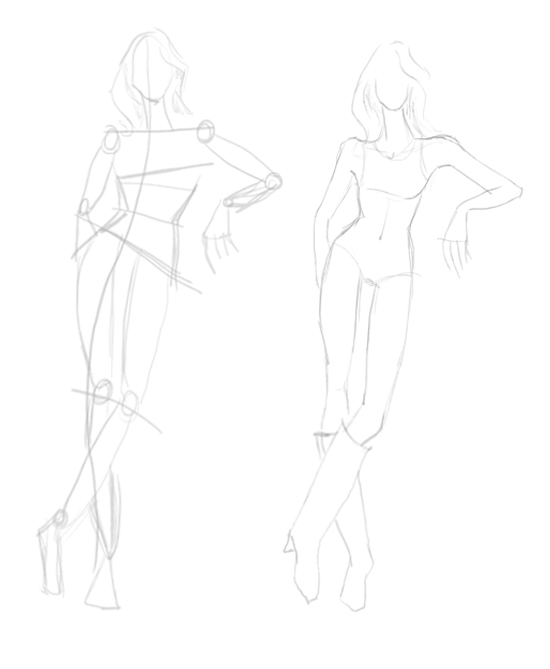
Follow the guidelines from this post to draw your figure. Begin by drawing the body’s vertical balance line and dividing it using the nine heads method. Then place the shoulder and hip axis to define the pose and the movement within it.
These lines will guide you through how to draw the extremities. Use circles to indicate the location of things like the shoulders, elbows hips knees and ankles, as you can see in the first image above. Connect this points through lines to complete the basic structure.
Stemming off from this basic structure, you want to start giving the body some shape and defining its outline in a more detailed manner. As you move along, erase the initial guidelines and basic shapes to clean up the sketch.
Doing so will leave you with the undressed figure. In the next post of this series, I will be showing you
Learn the essential skills to render the human form realistically.
Draw Realistic Human Bodies
Share tips, start a discussion or ask one of our experts or other students a question.
No Responses to “The Fashion Figure: Drawing Movement and Poses”