
Is it time to see if all your work has paid off in a set of tails and pins that actually fit together? Almost! But adding a few critical nuances can make the difference between struggling toward a disappointing joint and delighting in a sweet fit.
Getting ready to meet
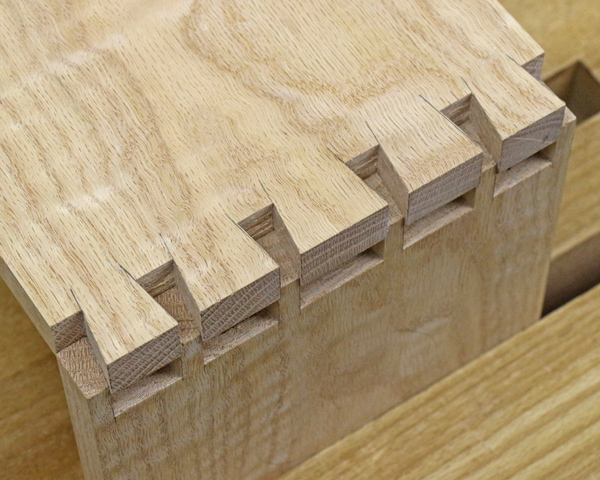
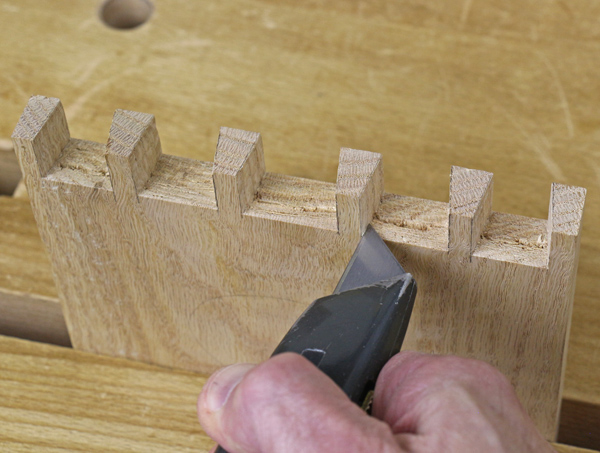
First, clean up the pins to prevent small bits of wood from thwarting a tight fit. A utility knife with a fresh blade works well to get at the corners at the bases of the pins where there are inevitably leftovers from saw cuts that did not quite make it to the baseline or chisel cuts that did not reach the corner. Also, remove any chunks of wood remaining in the end grain undercut areas between the pins.
The tail board should be clean and true from your earlier efforts, but there is one more thing to add that will greatly aid in fitting the parts together. Use a chisel to chamfer the edges of the tails on their inner faces. Note that this small chamfer is only cut on about the lower two-thirds of each tail; it should not extend to the end of the tail.
Saying hello and making adjustments
Check the orientation of the parts, referring to the triangle mark. Clamp the pin board in the front vise and position the tail board. Aided by the chamfers, start the entry of the tails into the sockets with light taps from a soft-face mallet, keeping the boards approximately square to each other. Bring the tails in only about 1/8″.
At this stage, you’re just trying to assess what you’re dealing with. It is highly unlikely that everything fits hunky dory at this point. Actually, it’s more like never, but don’t worry, it’s going to be fine.
Look around the perimeter of each pin. Are there gaps? Use a flashlight if necessary. Are there any tails that were sawn too fat and thus do not enter at all? You may want to mark major problem areas.
Carefully wiggle out the tail board and turn your attention to the pins because, from here on, that is where all the alterations will be made.
First, pare pins that you determined to be too fat. Do almost all of your work across the grain, for better control. Working vertically along the grain is possible if you pay careful attention to the grain direction, but otherwise the chisel can dive in and remove more wood than you intended.
Understanding
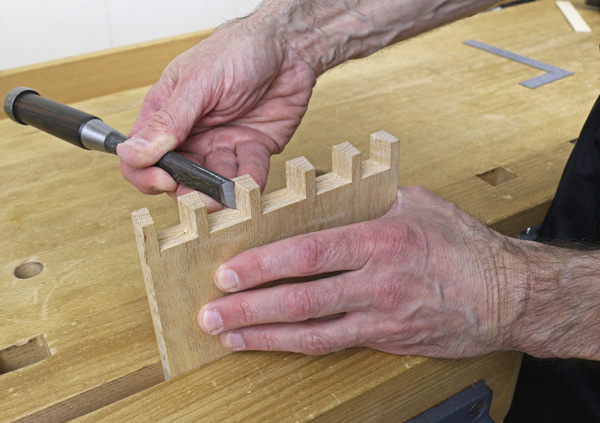
Now, here is a subtle issue that it pays to appreciate. The walls of the pins should, in theory, be flat, but there may be slight rounding if your sawing strokes were not quite true. In fact, it is often desirable for the walls of the pins to have a trace of concavity across their widths. This is very slight at most, and depends on the compressibility of the wood species. Think of it as – here we go again – a one-sided tolerance: a hint of hollow may be OK, but never a bump.
In the photo below, I am using a very sharp chisel, working across the grain, to remove any convexity. The particularly dense curly red oak that I am using for this project is imperiously unyielding, so any but a whisper of a hollow on the pin walls will show up as a gap. Thus I am working conservatively, especially near outer ends where errors will be visible.
If, for example, I was joining hard maple tails to softer walnut pins, hollow paring the pins a bit more (but still, just a trace!) would work well because the maple would compress the corners of the walnut pins to produce a nice fit.
With experience, you will get a sense of how to manage different wood species. As general rules though, flat surfaces will usually be adequate, don’t overdo any paring, and, of course, if something is fitting without alteration, leave well enough alone.
Getting closer
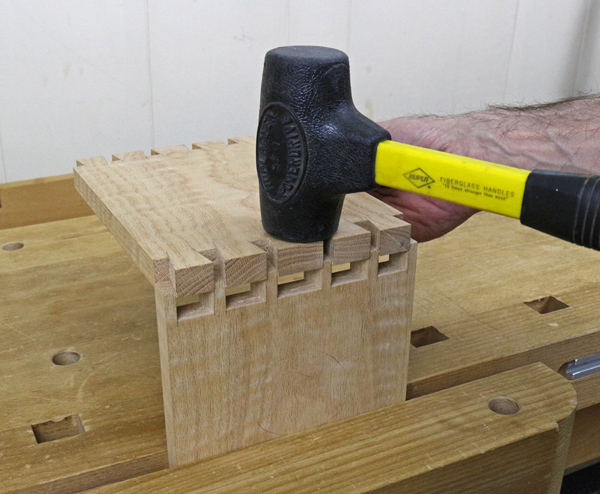
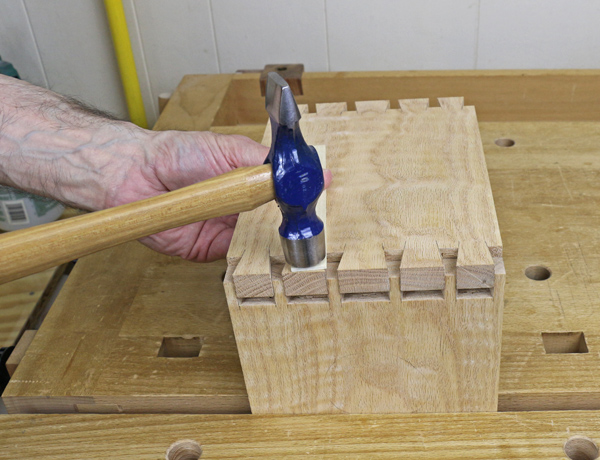
Now bring the parts back together. This time, I suggest using a 12-ounce steel hammer to tap on each tail via a thin piece of scrap wood, incrementally advancing each in succession.
Feel each tail advancing. When it is binding too tightly, the hammer will bounce back to you more. Listen to the hammer. Low thuds are a sign of proper advancement; higher pitched yelps are a sign of too much resistance. Sense the amount of resistance, and look for gap areas that should be left unaltered.
Pay particular attention to the outer pins, which are in danger of splitting if the fit is too tight.
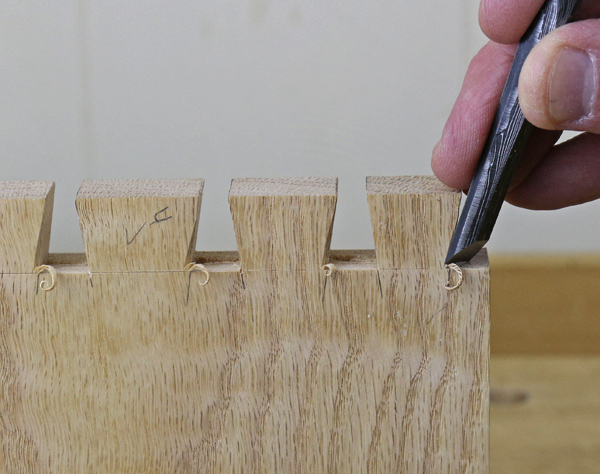
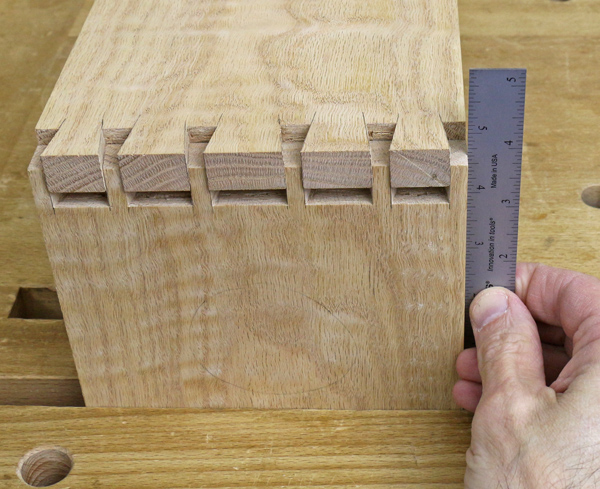
Here’s a tip: When the tails have advanced about half way in, use a small rule to check for any bowing outward of the edge of the pin, as I am doing in the photo below. If present, the pin needs paring.
Continue to test, separate the parts, paring and repeating. This is craft; be patient. Be cautious wiggling the pieces apart, especially in compressible woods. It may be more effective to use a dead blow soft-faced mallet on the inside face of the tail board.
When the joint is two-thirds to three-quarters together, stop testing and use your sense of how it feels to determine if it will seat fully. It is remarkably difficult to separate a fully seated dovetail joint, even unglued, and the process may damage the joint by over-compressing key areas.
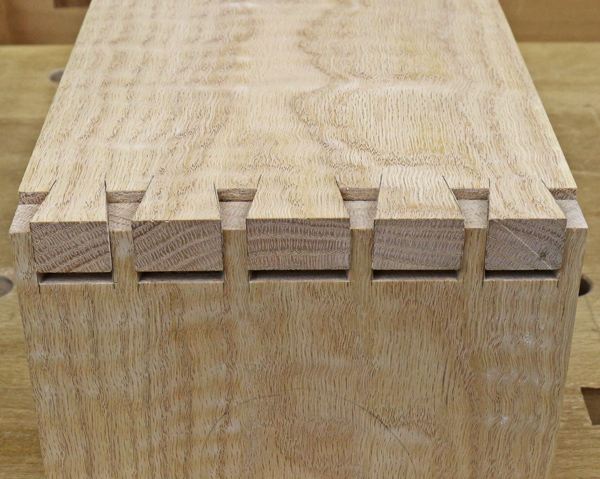
It’s going to work out
This set of dovetails is almost ready to fly!
Next week, we’ll cover assembling, gluing, and clamping the joint.
Is this worth all the trouble? (Hint: Yes!)
Share tips, start a discussion or ask one of our experts or other students a question.
No Responses to “Dovetail Joinery: Fitting the Joints Together”