
Even if you have lots of fancy tools in your sewing studio, knowing some key hand sewing stitches can elevate your next project from machine sewn to one with couture details. In this series of posts, I will guide you through the main hand sewing stitches that you might encounter while sewing garments.
In today’s post I will teach you how to handsew a flat catch stitch. This is one of many hemming stitches that you might come across, especially if you like to sew with heavy or thick fabrics. This hemming style is great for garments made from heavyweight wools, as the stitches help flatten the heaviness of the fibers, and because the threads go over the hem on the front of the hem fold as opposed to just hidden on the inside of the fold, it is a stronger stitch for the thicker fabrics.
Want to use these hand sewing skills in a real way? Check out the Couture Finishing Techniques or the Couture Dressmaking Techniques Craftsy classes by Alison Smith and you will master hand sewing in no time!
Follow along to learn how to handsew with a flat catch stitch!
Step 1:
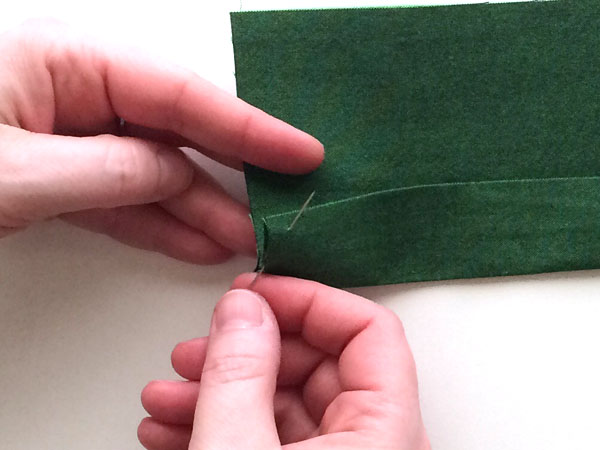
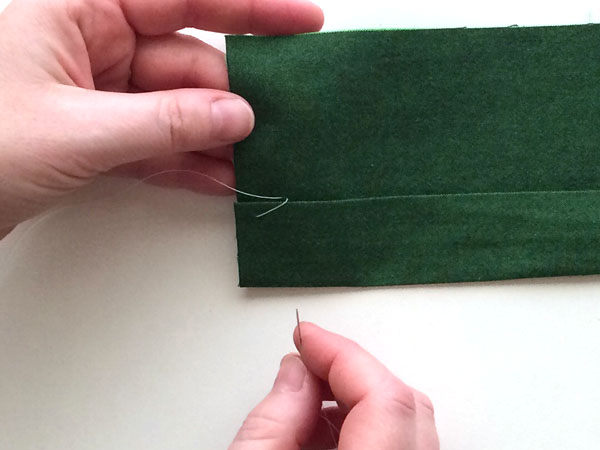
Choose a needle size and type for the fabric you are sewing with. Cut a thread to match your fabric and thread the needle. Form a knot at the end of the thread. Working from left to right, insert the needle into the fold of the hem, between the layers so the knot is trapped inside the fold. Come out with the needle a little bit below the fold of the hem. For this example I folded the hem a 1/2″ and then another 1 1/2″.
Step 2:
Pull the thread out of the hole so the knot is firmly placed on the inside of the hem and the thread is pulled taut.
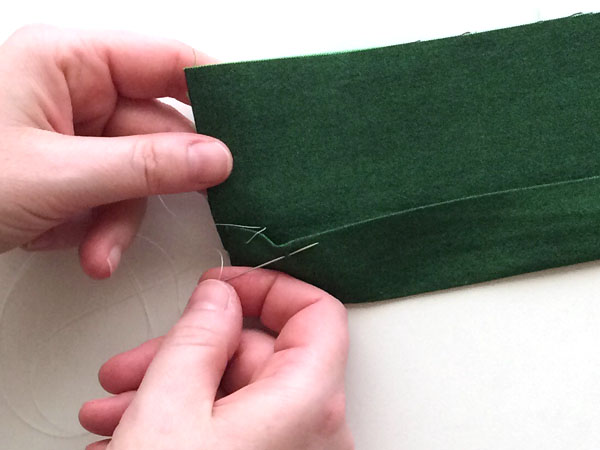
Step 3:
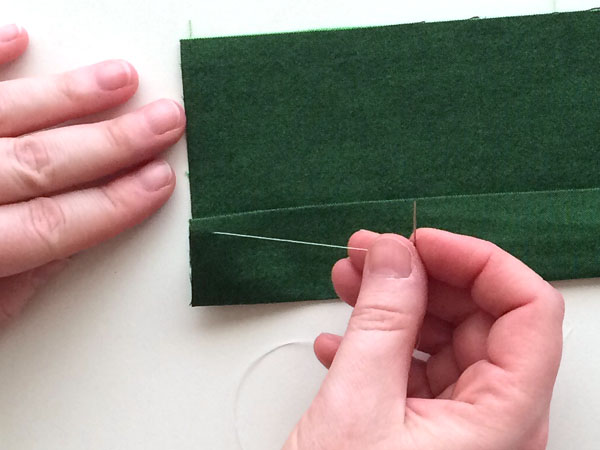
Insert the needle just above the fold of the hem to the right of the thread on the hem, moving from right to left. Only catch a little bit of the fabric so a very tiny dot of thread is left on the right side of the garment.
Step 4:
Pull the needle through so the threads are going from the hem to the fabric at an angle to the right.
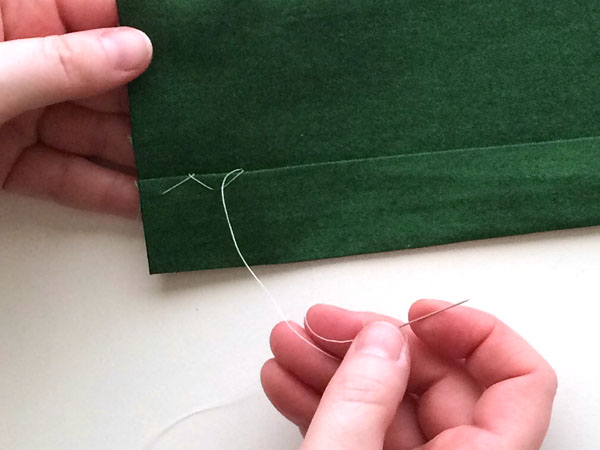
Step 5:
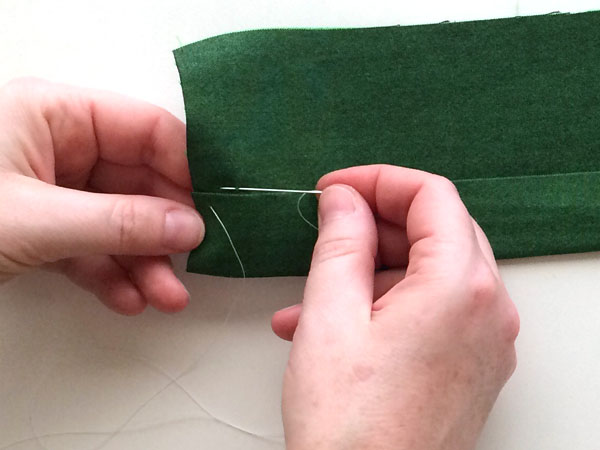
Reinsert the needle into the hem, parallel to the first stitch on the hem, catching only the hem and not going through the garment fabric.

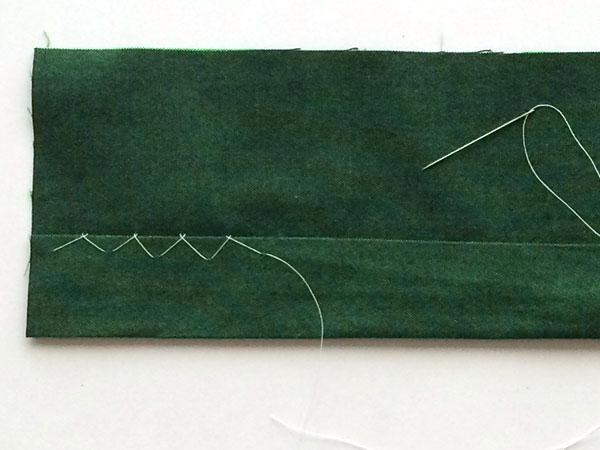
Step 6:
Pull the needle and thread through the stitch from step 5 and pull firm. This is the first stitch, as you can see the X shape just above the fold of the hem.
Step 7:
Repeat by inserting the needle and thread to the right of the last stitch, on the garment fabric, forming a very small dot from right to left.
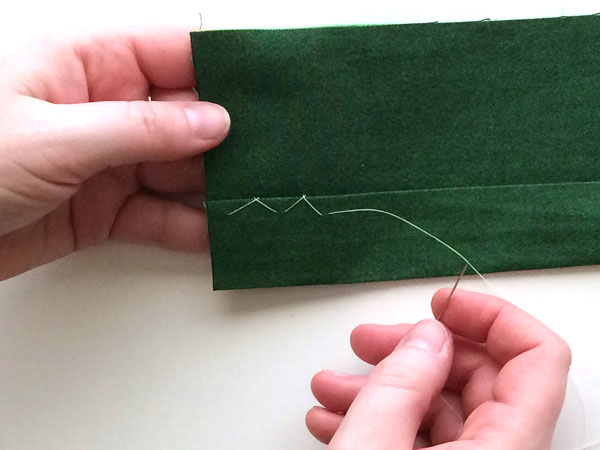
Step 8:
Return to the right of the stitch and finish the stitch on the fold of the hem. Repeat this until you have gone all the way around the hem.
And that’s it! Click on my writer profile to see the other entries in this series of hand stitches to further expand your skills!
Dear Christine, Thank you very much! Rgds Claudia