
Fondant baby figures can really add a wow factor to baby shower cakes, 1st birthday cakes, christenings cakes, and Communion cakes, too. This fondant baby faces tutorial demonstrates how to create the right shape, position the features and give three different expressions to your fondant baby figure. It’s certainly not the only way to model a baby’s face, but it is simple and will give you scope to elaborate once you learn the basics. 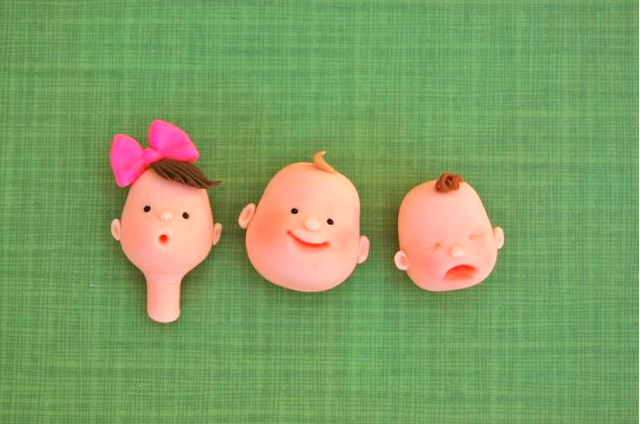
Here are instructions on how to model cute baby faces in fondant…
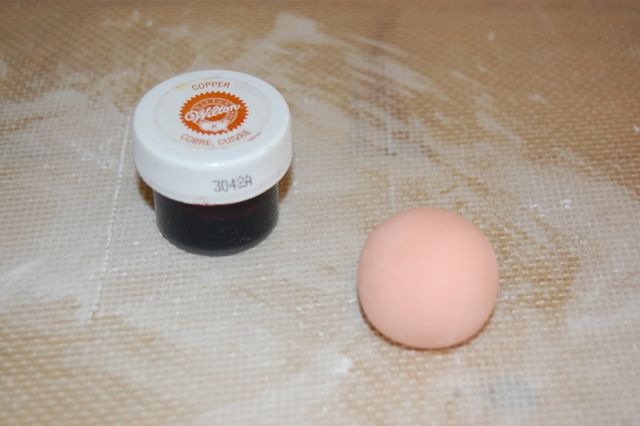
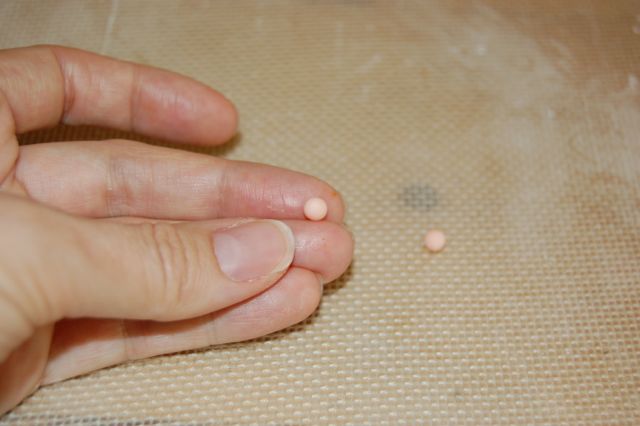
Step 1:
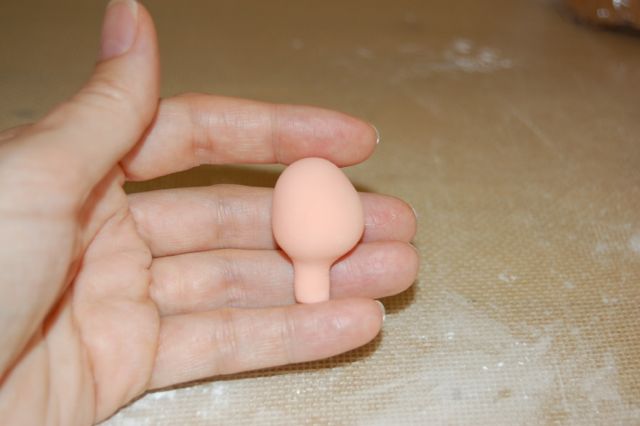
Begin by tinting some fondant to a flesh tone and rolling a ball. The size of the ball will depend on the size of the baby you are modeling. I prefer using Wilton fondant without Tylose added, and I color it with Wilton copper. If you are using a softer fondant, you may prefer to add Tylose.
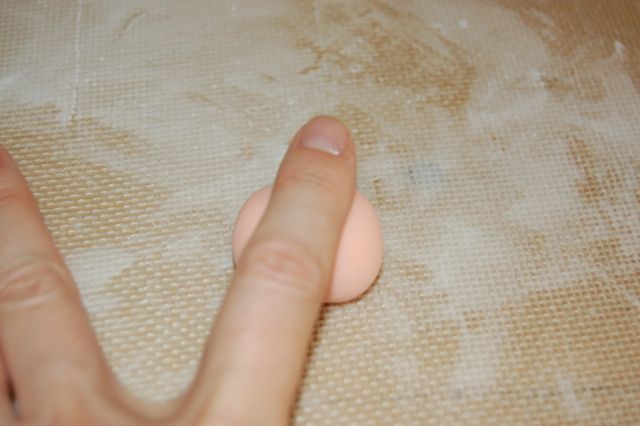
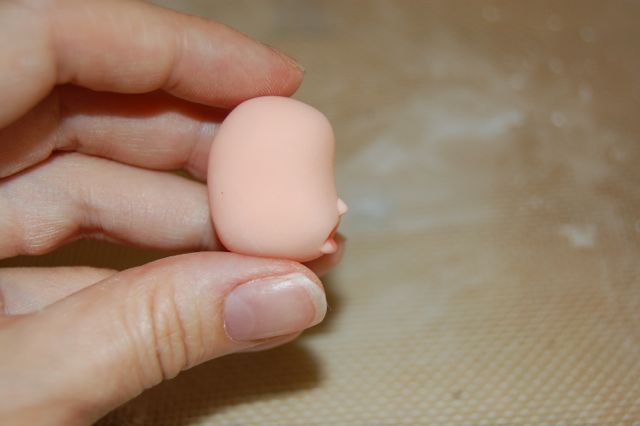
Step 2:
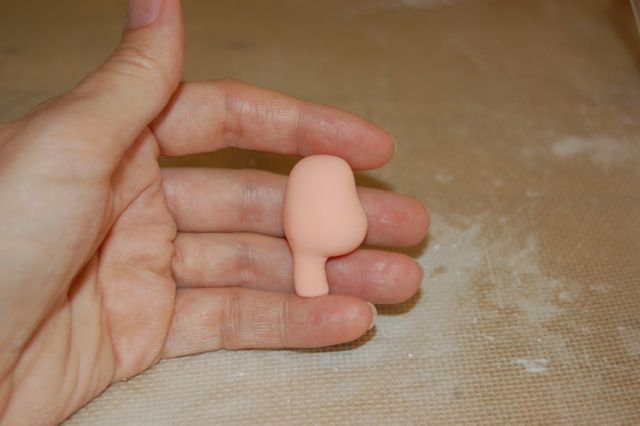
Place your finger just slightly off-center and roll gently from side to side. You are aiming to flatten the top half of the ball and narrow it slightly. 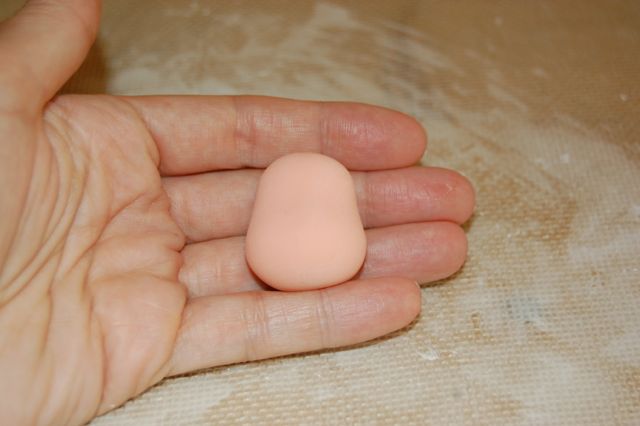
View from the front. 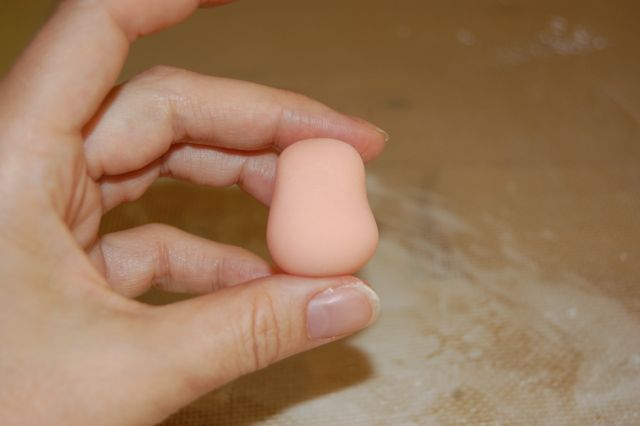
View from the side.
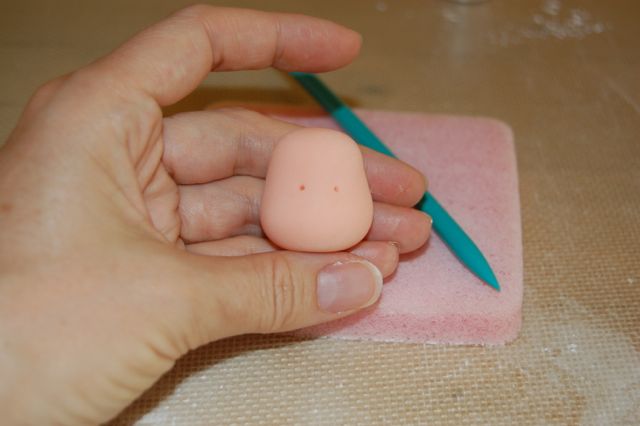
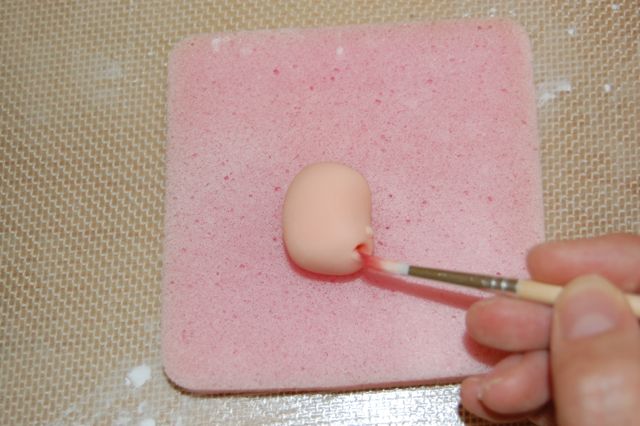
Step 3:
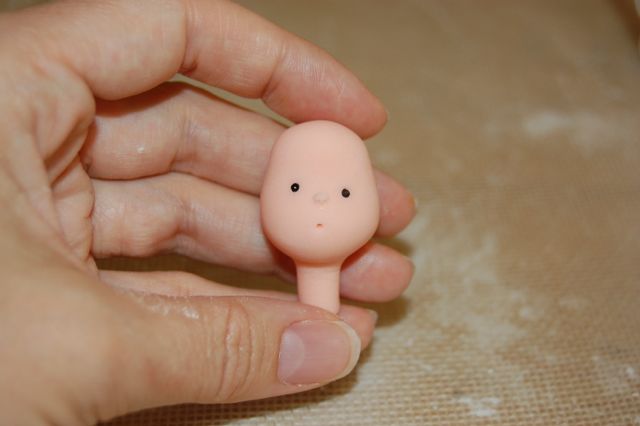
Make tiny holes for eyes using a CelStick or toothpick halfway down the face. This should be at the point where the head starts to widen. The distance between the eyes is up to personal taste, but I like there to be as much distance between the eyes as there is between the eye and the side of the head. Slightly moisten a very fine paintbrush and add a little water to each hole. 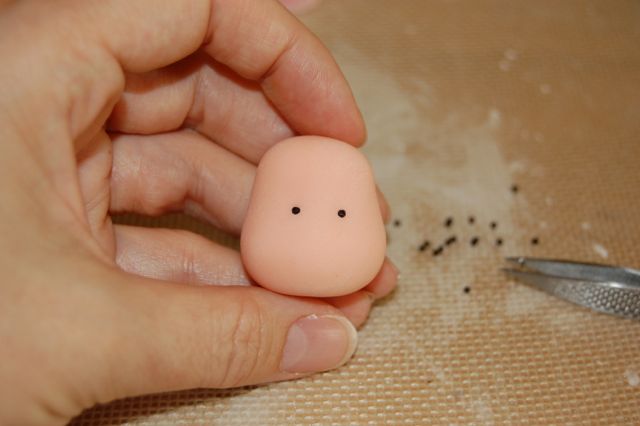
Step 4:
Use tweezers to place a tiny black sprinkle in each hole. If you can’t get find black sprinkles, tiny dots of fondant will work, or you can forgo the holes altogether and use an edible black pen to draw on the dots.
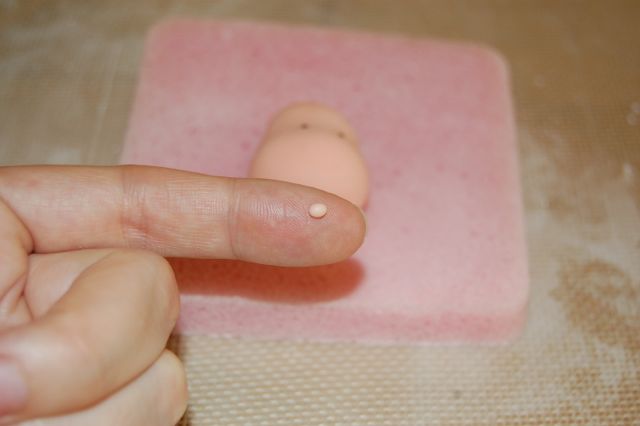
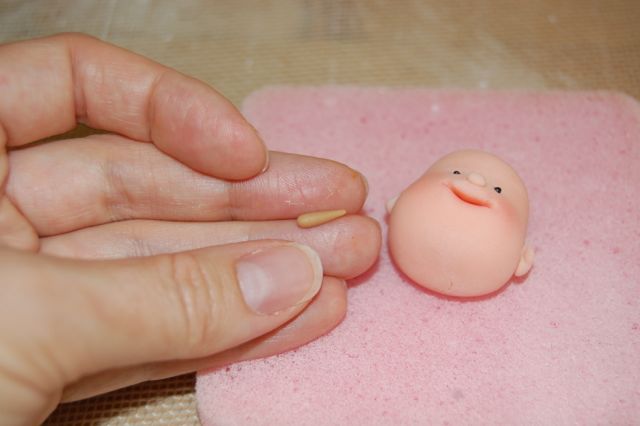
Step 5:
Roll a tiny oval of fondant. Babies have cute button noses, so keep the oval very small.
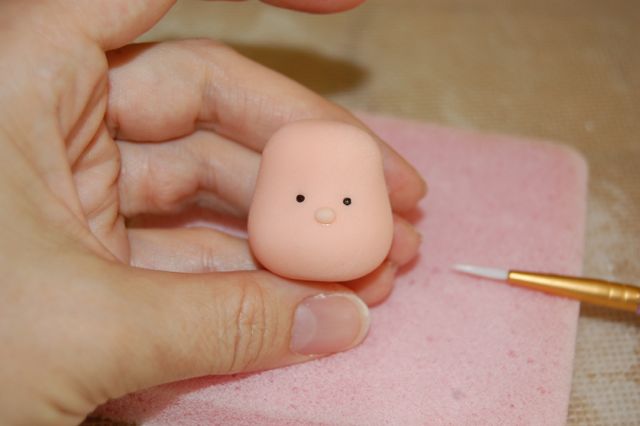
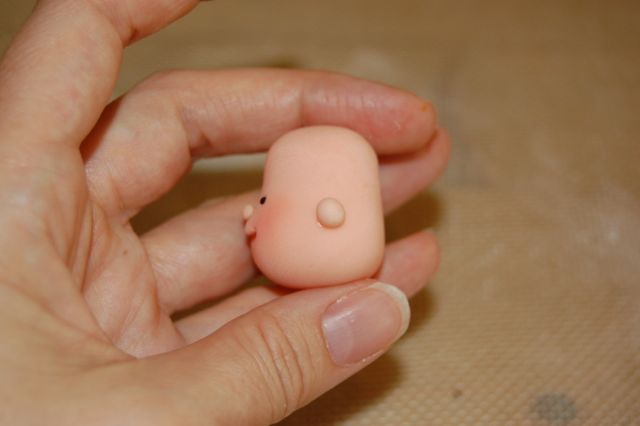
Step 6:
Paint a tiny dab of water or edible glue on the face just below the eyes. Attach the nose. If water seeps out from underneath as in the photo, wait a minute for the nose to stick, then use a soft, small paintbrush to brush cornstarch onto the wet area to absorb the water.
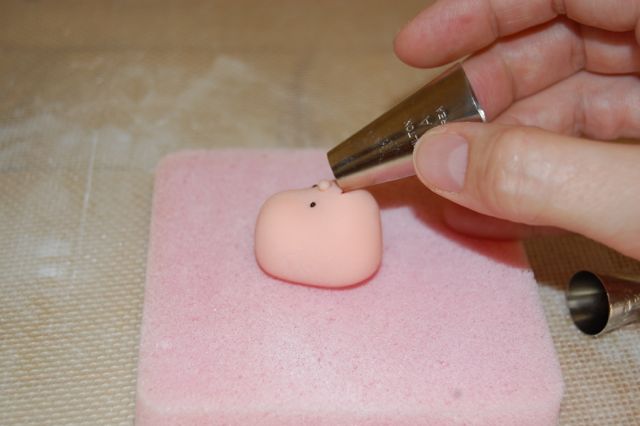
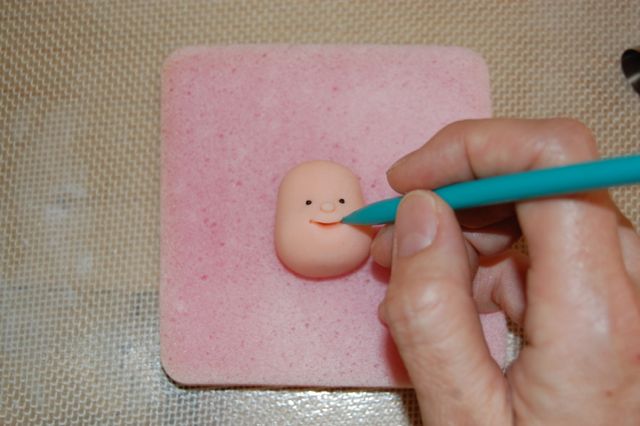
Step 7:
Use a piping tip to create an indentation for the smile. It’s important that the smile is positioned halfway between the nose and the chin. 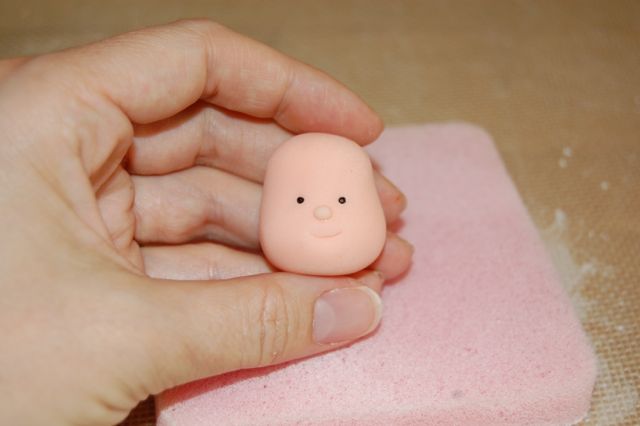
Step 8:
Once the smile shape is indented, you can leave it like this, or refine it with a few extra steps.
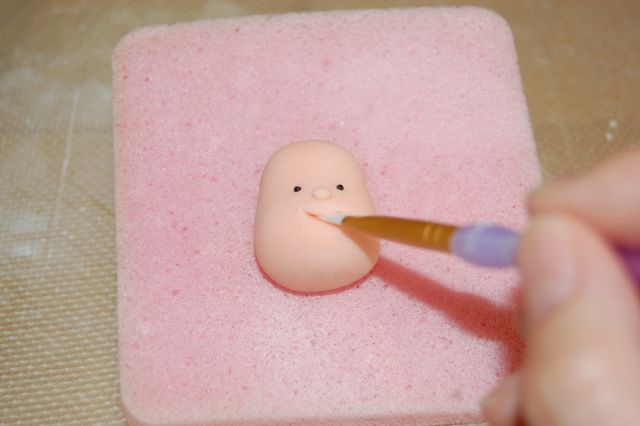
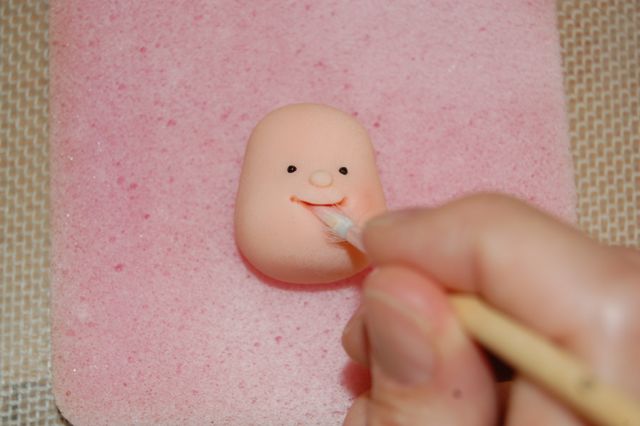
Step 9:
Use a small, flat paint brush and insert it into the mouth. Gently slide it from side to side to widen and define the shape and also smooth the edges. Do this slowly and carefully. By pushing the brush further into the indentation and pulling it out and down at the same time, you can open up the mouth and pull the bottom lip out slightly.
Step 10:
Use a toothpick or CelStick to make little indentations at the corners of the smile.
Step 11:
Use a second small paintbrush to shade the inside of the mouth with a little petal dust. I use a combination of red, orange and white.
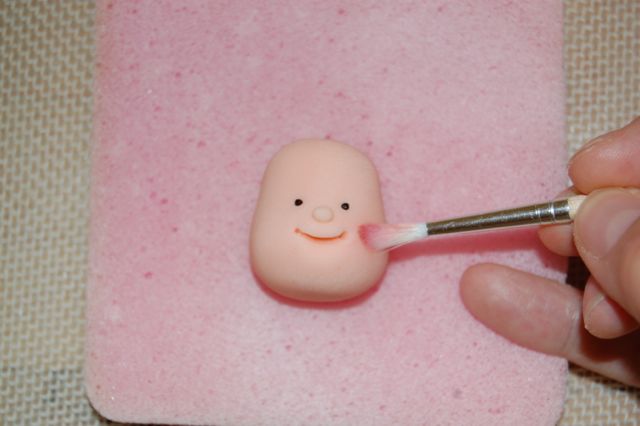
Step 12:
Use the same paintbrush and color combination to dust the cheeks. Tap most of the color or the brush before you begin dusting. Dust a large area from under the eyes to the corners of the mouth to the side of the head, so as not to concentrate the color too strongly in one area. If you find you’ve used too much color, put some cornstarch on a Q-tip or tissue and rub it over the cheeks to disperse the color.
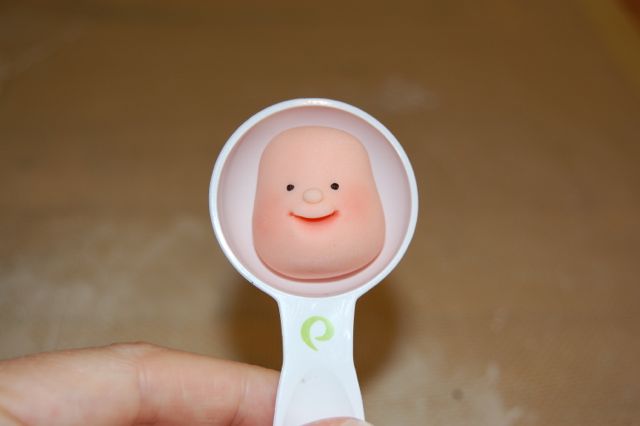
Step 13:
It’s good to work on your model on soft foam, but another idea for stopping the back of the head from becoming flat is to occasionally put it in a spoon. Measuring spoons work really well, as they are usually completely spherical.
Step 14:
Roll two small balls for the baby’s ears.
Step 15:
Paint a tiny dab of water or edible glue on the side of the head. The ear should be centered horizontally on the side of the head and be positioned between the nose and mouth vertically.
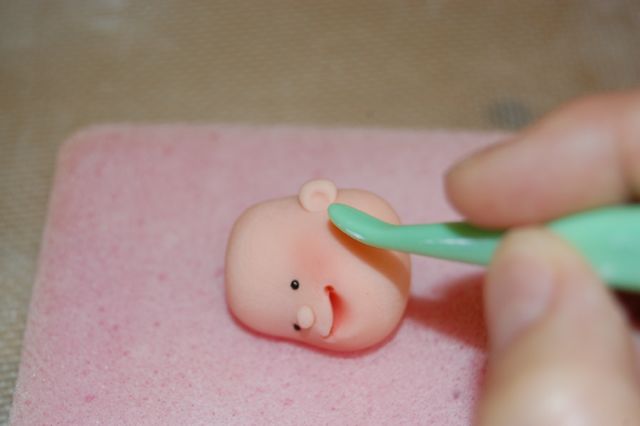
Step 16:
Use a flat blunt tool or end of a paintbrush to squash the front of the ear flat against the side of the head. 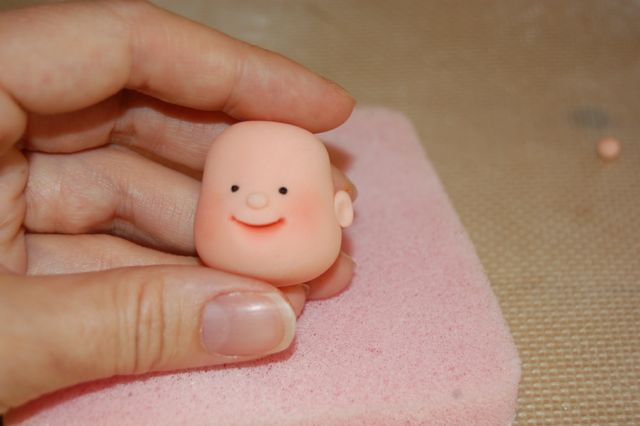
Step 17:
Gently press the ear a little flatter against the side of the head. Repeat on the other side.
Step 18:
Add a little tuft of hair by rolling a long thin teardrop shape. 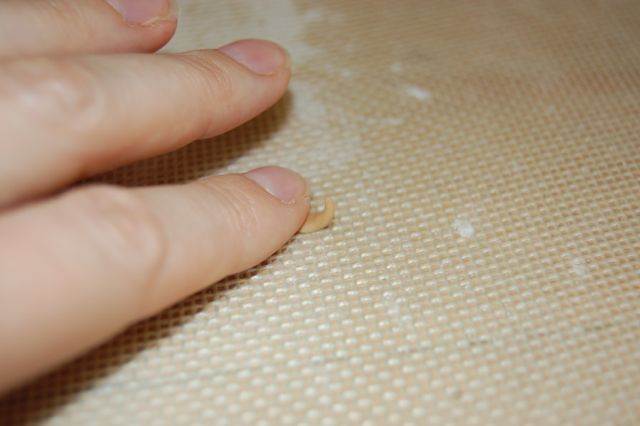
Step 19:
Squash the fatter end of the teardrop and curl the pointed end back on itself.
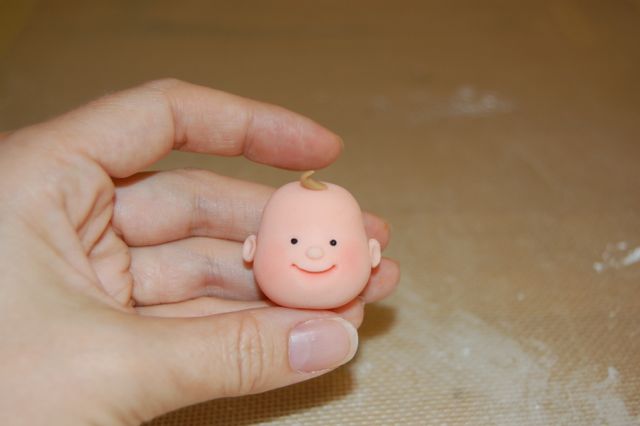
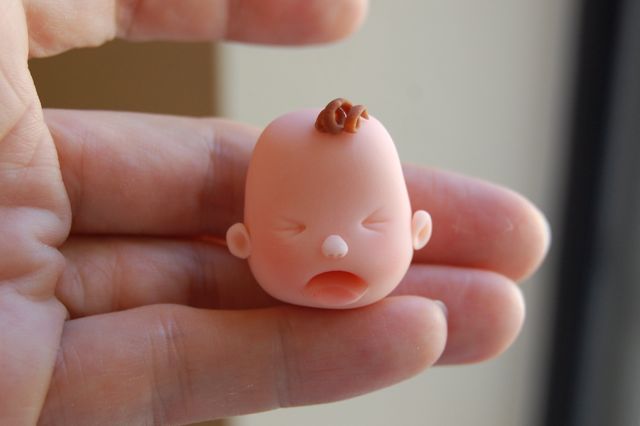
Step 20:
Attach the hair high on the baby’s forehead. And there you have it, a happy, smiling baby!
Babies aren’t always happy! Make changes for a baby that’s not happy.
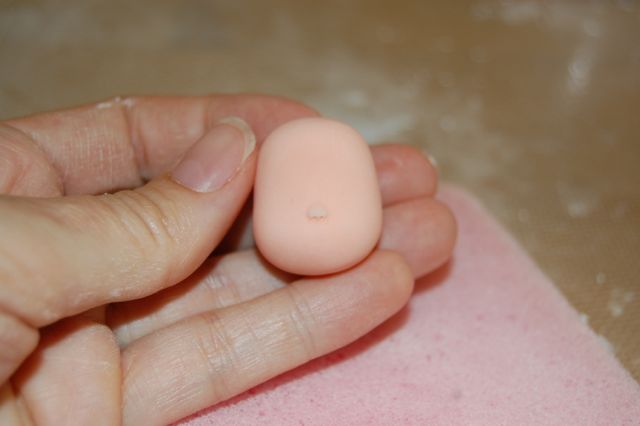
Step 1:
Start as normal, but this time add the nose first. The nose is positioned lower than halfway down the face, where the head starts to widen. For a more realistic nose, add a couple of tiny nostrils by indenting holes right at the bottom. Flatten the top of the nose just slightly against the face.
Step 2:
To make an unhappy face, insert the piping tip the other way around. Dust inside the mouth as before.
Step 3:
Use the flat paintbrush again to pull out a pouty bottom lip.
Step 4:
Using a Dresden tool, the tip of a knife or a toothpick, make three indentations for each eye. The first is horizontal, the second and third form a “V,” meeting at the inside corner of the eye. The positioning is the same as before — halfway down the face and with as much space between the eyes as there is to the side of the face. Add ears using the same method before, and maybe try a little ringlet!
Some babies have a perpetually surprised face! Try these steps to achieve that look. This method also shows you how to form a neck at the same time as the head.
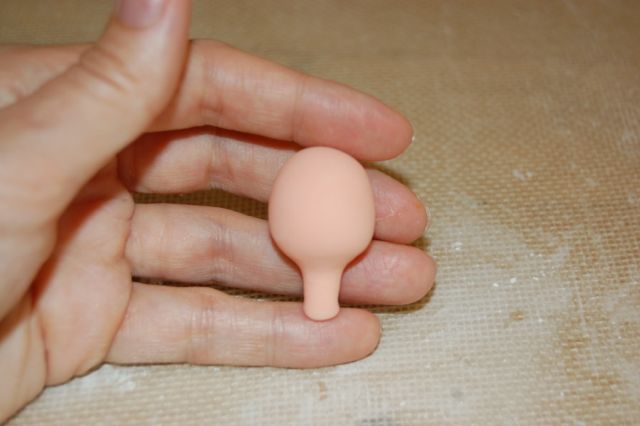
Step 1:
Start with a fondant ball as before, but this time, place your finger on the bottom of the ball and start rolling back and forth. Gently pinch, pull and roll the fondant until you have rolled a neck. This takes a while, so take your time. The length doesn’t matter too much; you can cut off any excess later.
Step 2:
Side view. Try to catch a glimpse of your own profile in the mirror. Your head is not a ball on top of your neck, but sits forward with the back of your head and neck forming quite a smooth line. Try to emulate that with your model if possible.
Step 3:
Side view. Shape the head as before, so that it’s narrower and flatter at the top.
Step 4:
Add the nose and eyes as before. Use a CelStick or toothpick to make a hole for the mouth. Remember to position the mouth halfway between the nose and bottom of the chin. 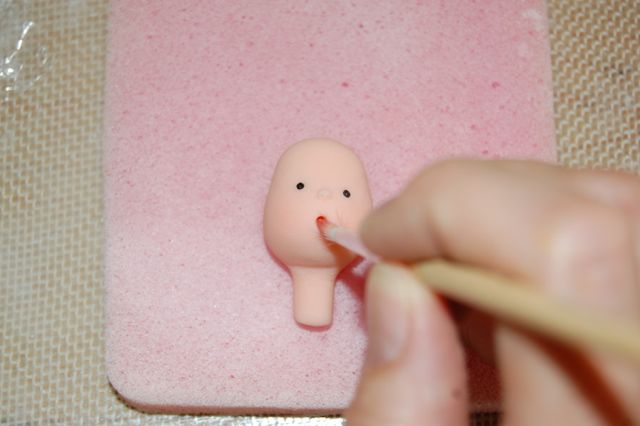
Step 5:
Use a fine pointed paintbrush to widen the hole a little and gently pull down the bottom lip slightly. 
Step 6:
Shade inside the mouth and dust the cheeks as before.
Step 7:
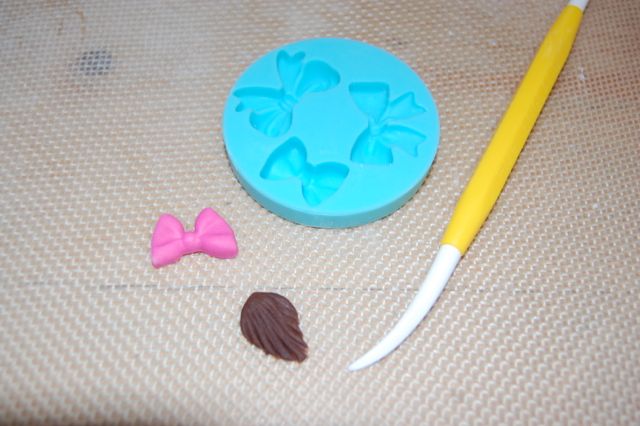
Roll a small teardrop and flatten it with your finger. Use a Dresden or other veining tool to indent some lines in the shape to make a tuft of hair. Use a mold to make a tiny bow, or create one using your favorite bow method.
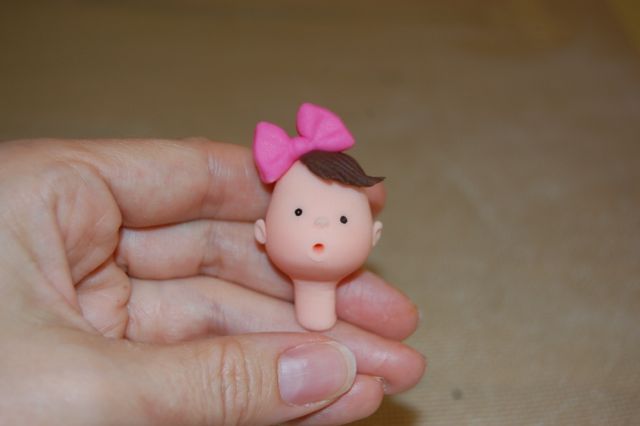
Step 8:
Add the bangs and bow to the head.
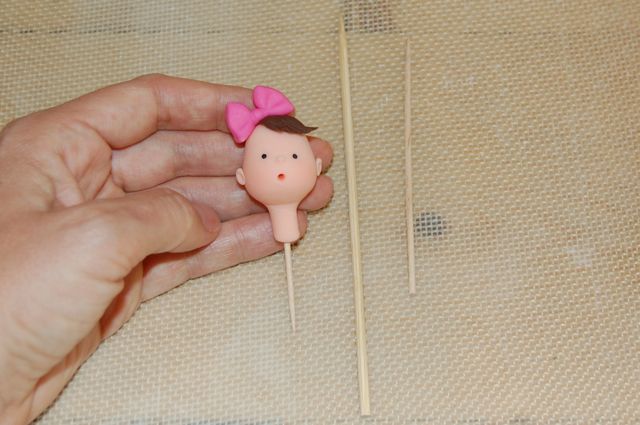
Step 9:
It’s best to always wait for the elements of your figure to dry and firm up before assembling them. Usually, long toothpicks or bamboo skewers run up each leg, into the body and then the head is held on with a toothpick. You can insert a toothpick into the neck now, as it might be difficult to do it later when the fondant is dry.

Step 10:
If you like, use a brown edible pen to add small eyebrows high up on the forehead to add to the surprised expression. A trio of babies – an expression for every occasion! 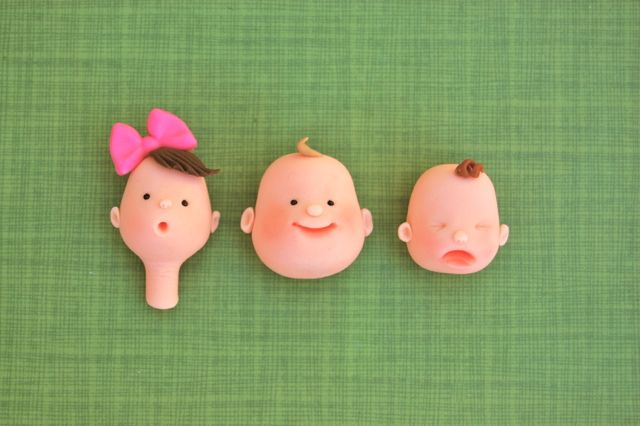
Share tips, start a discussion or ask one of our experts or other students a question.
No Responses to “Oh, Baby! Cute Little Fondant Faces Tutorial”