
Foundation paper piecing is like the paint-by-numbers of quilting. You use a paper template to outline which fabric goes where, then stitch both the paper and the fabric together along dotted lines. Remove the paper, and voilà — you have a perfectly pieced block!
That perfectly pieced block is the reason seasoned quilters and beginners alike love this technique — it enables you to achieve a level of precision that’s pretty tough to pull off with traditional piecing. Here’s how to use it on your next quilt.
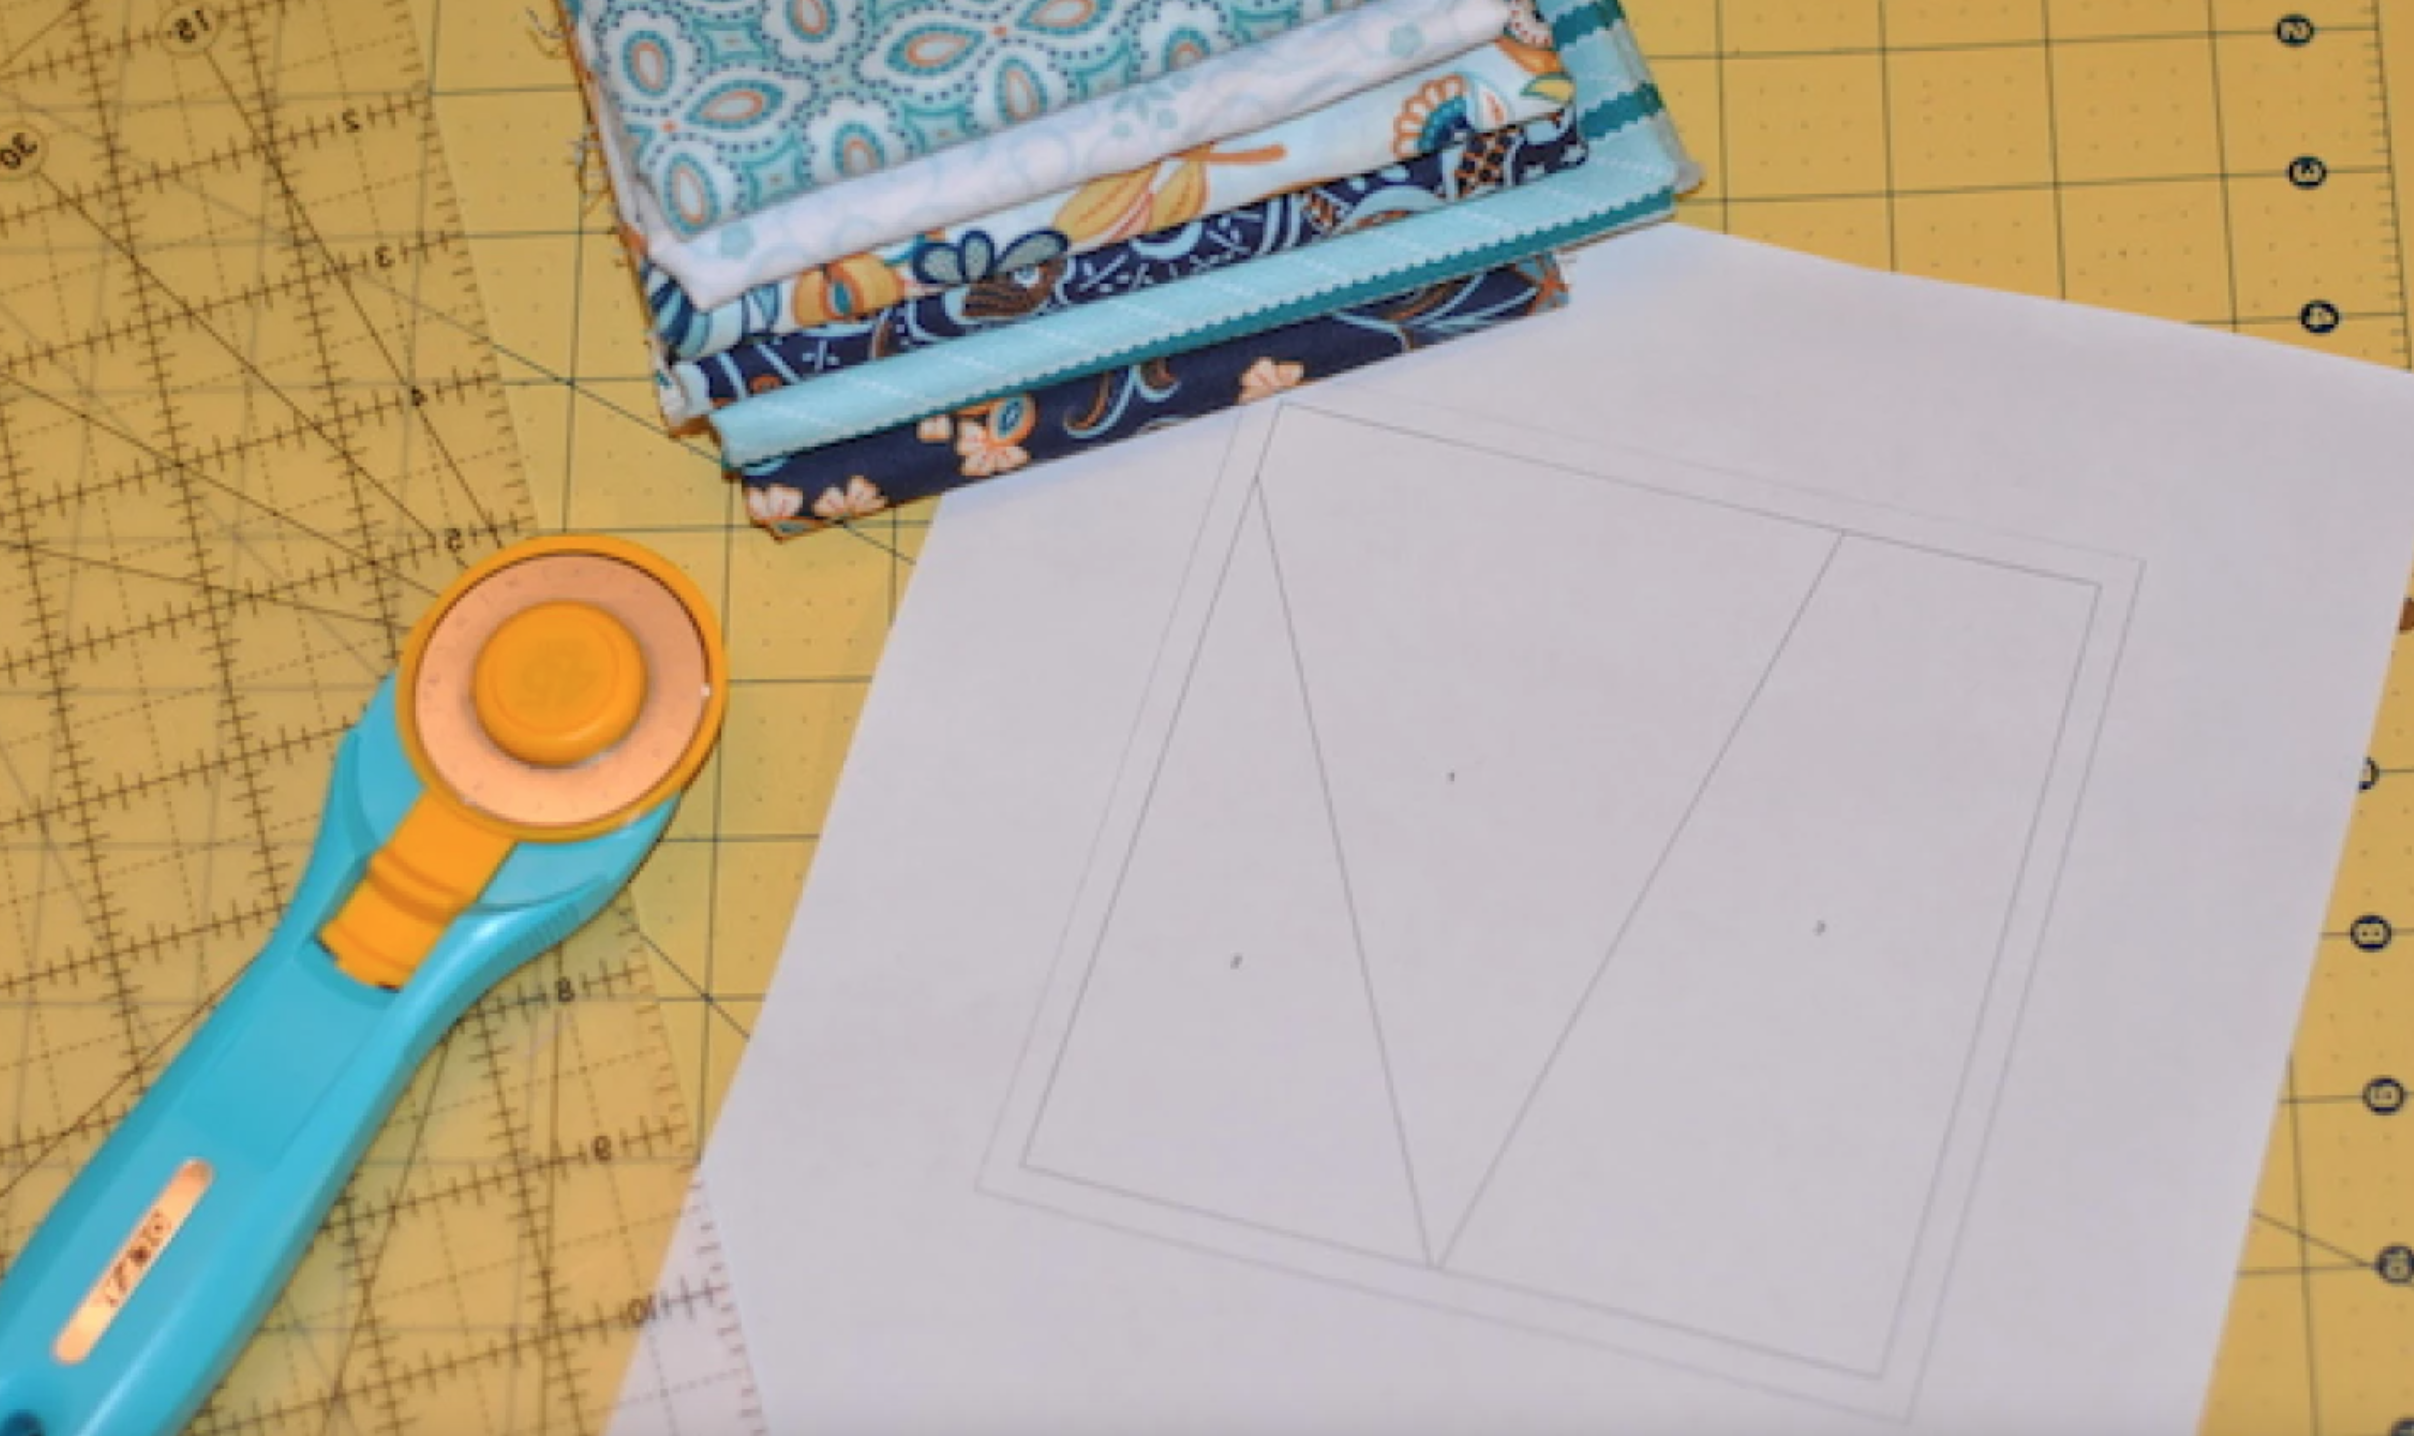
What You Need
Instructions
1. Prep Your Materials
Print your template onto standard computer paper or thin foundation paper. Cut roughly around the template, leaving about 1″ around each edge.
Cut your fabric into pieces large enough to cover their numbered sections. You can also cut the fabric to the size of the entire block, leaving a 1″ buffer on all edges.
2. Place Section 1
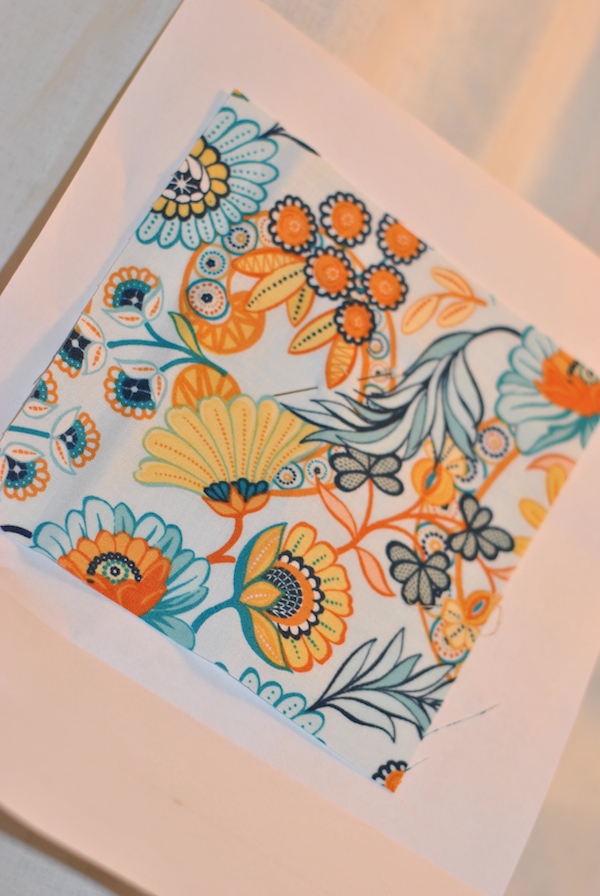
Place the fabric for section 1 over section 1 of the template, so the wrong side of the fabric touches the wrong side of the template (back of paper). Make sure your fabric is larger than the section 1 outlines. Pin or secure the fabric using a dab of glue.
Pro Tip: Hold the paper up to a light source to make sure the fabric more than overlaps the outline for section 1.
3. Place Fabric 2

With the fabric side of your template facing you, place fabric 2 on top of section 2, right side down (the right sides of both fabrics should face each other). Check on the paper side of your template to make sure one straight edge of the new fabric overlaps the line that separates sections 1 and 2, and that the fabric for section 2 covers the section entirely.
4. Stitch the First Line
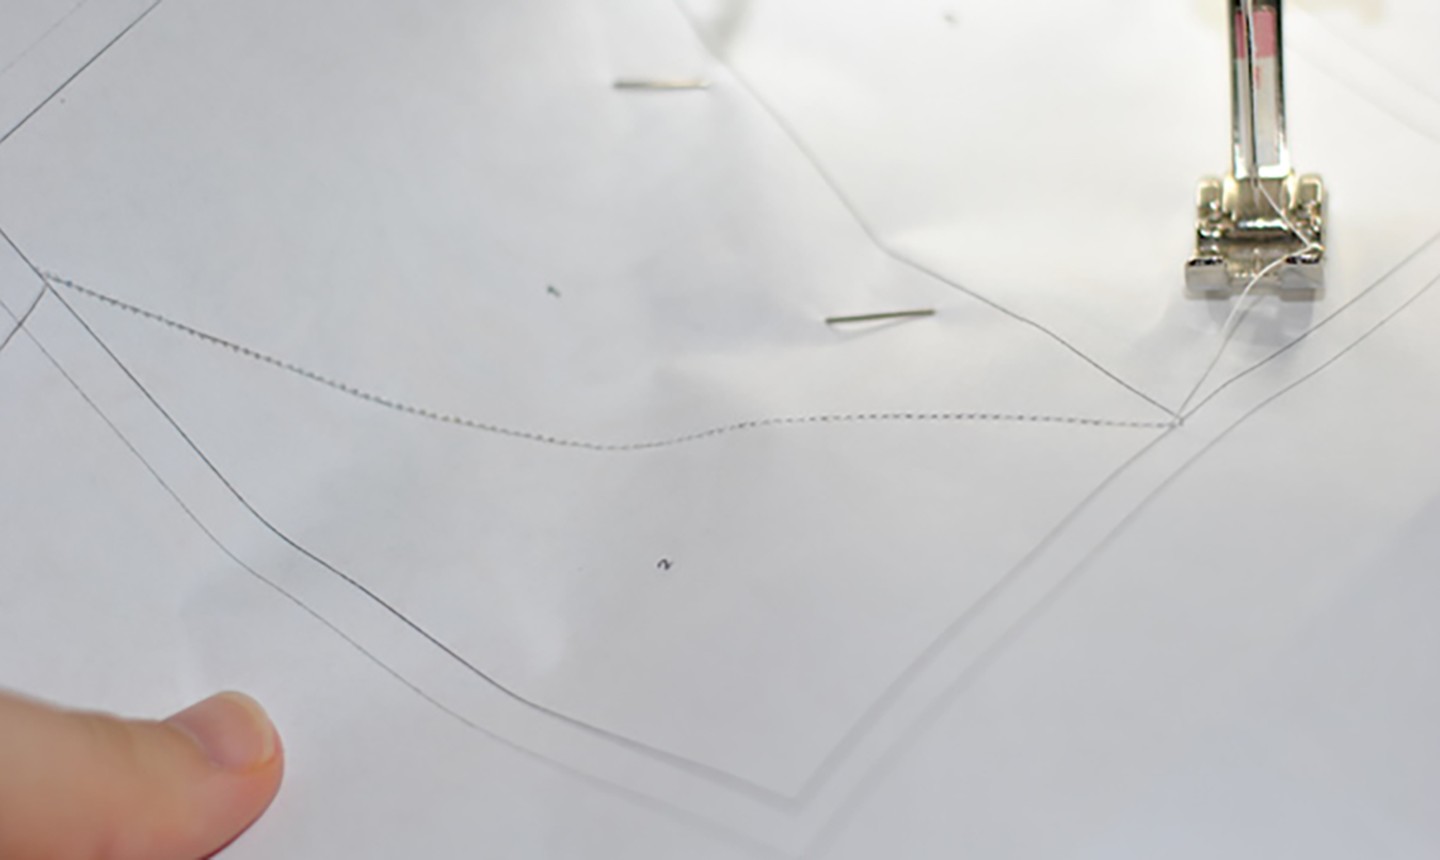
Shorten your stitch length to 1.0. (This will make it easier to pull the paper off of your block later.) Stitch along the line between sections 1 and 2, beginning and ending a few stitches beyond the line.
5. Trim the Seam
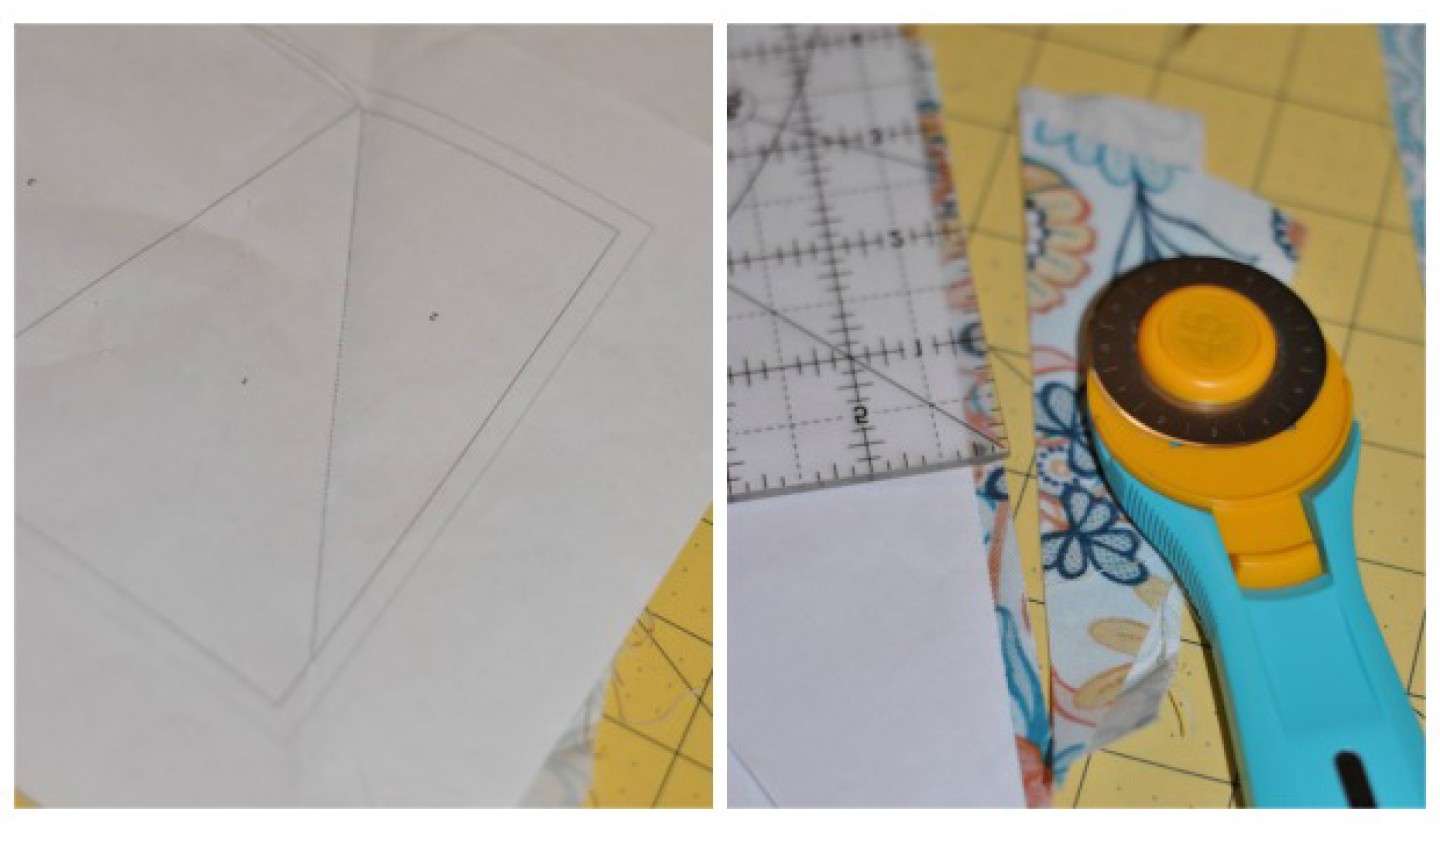
Fold the paper along the line you just stitched (folding away from the fabric). Measure ¼” from the paper and trim the excess fabric.
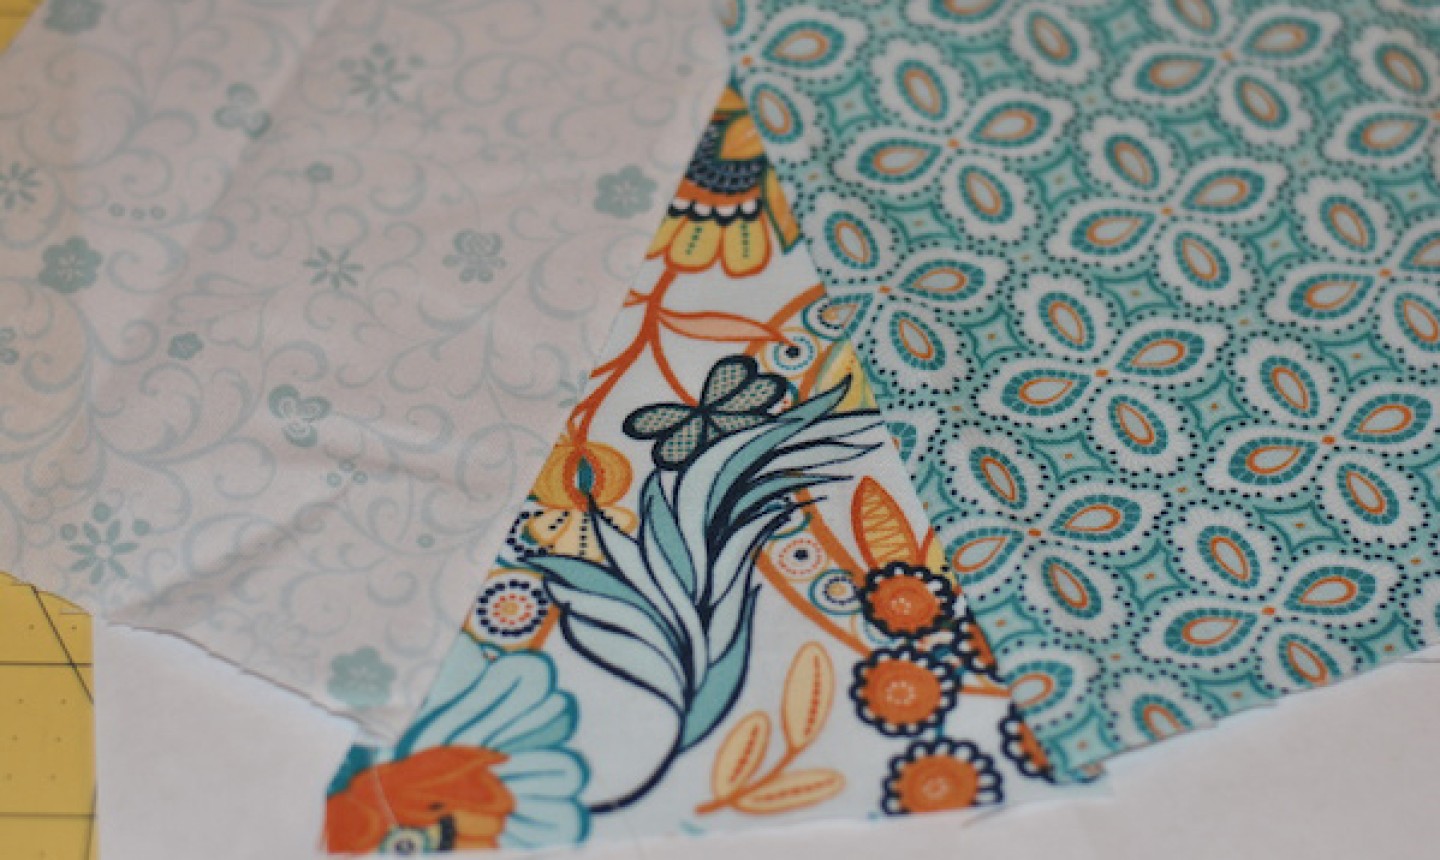
Flip the block over so the fabric is on top. With a dry, hot iron, press the second fabric into place. You may want to use a dab of glue to hold fabric 2 in place — as you work on section 3, you don’t want this fabric flapping around.
6. Place Fabric 3
Place your fabric for section 3 on top of your block so that the right sides of fabrics 1 and 3 are facing each other (and the wrong side of the new fabric is facing you).
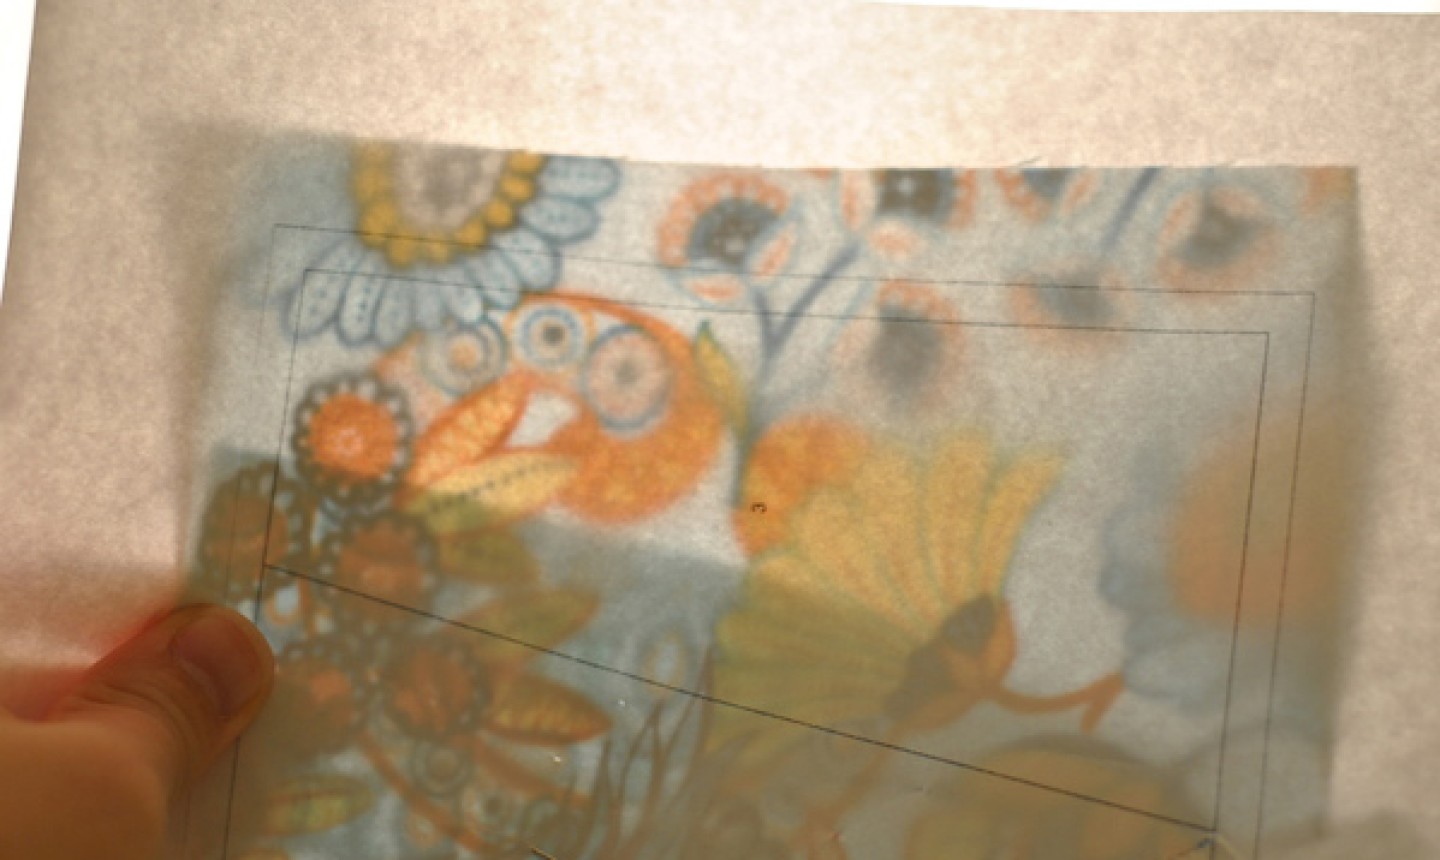
Hold the paper up to a light source and make sure that one straight edge of fabric 3 slightly overlaps the line on your pattern between sections 1 and 3. (When you stitch along this line later and fold back fabric 3, it should more than cover section 3.)
Stitch along the lines between sections 1 and 3. As you did earlier, fold back the paper and trim off the excess seam allowance, then press fabric 3 into place. (You may want to use a dab of glue to position the new fabric in place against the paper, so it doesn’t get in the way when you trim the block).
7. Trim the Block
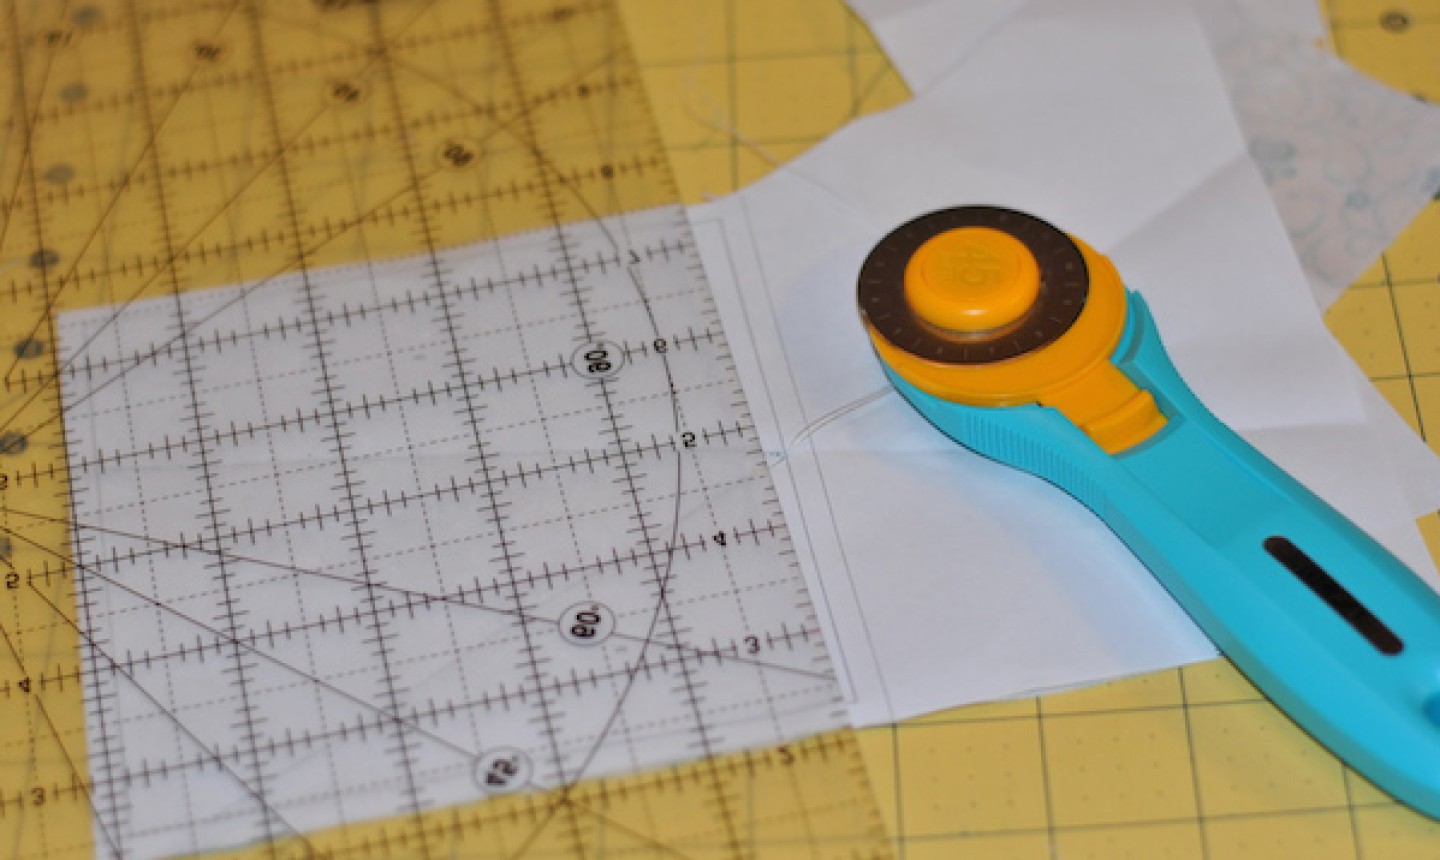
Use a rotary cutter or scissors to cut off the paper and excess fabric along the seam allowance (outer square) on the pattern. Use a blade you don’t mind using to cut paper. If your block doesn’t have a seam allowance built in, make sure to add one as you’re cutting.
8. Tear Away the Paper
Tear off the paper from the back of the block. If you’re having trouble getting the paper off, try spritzing it with water, or using a seam ripper to get at tight corners.
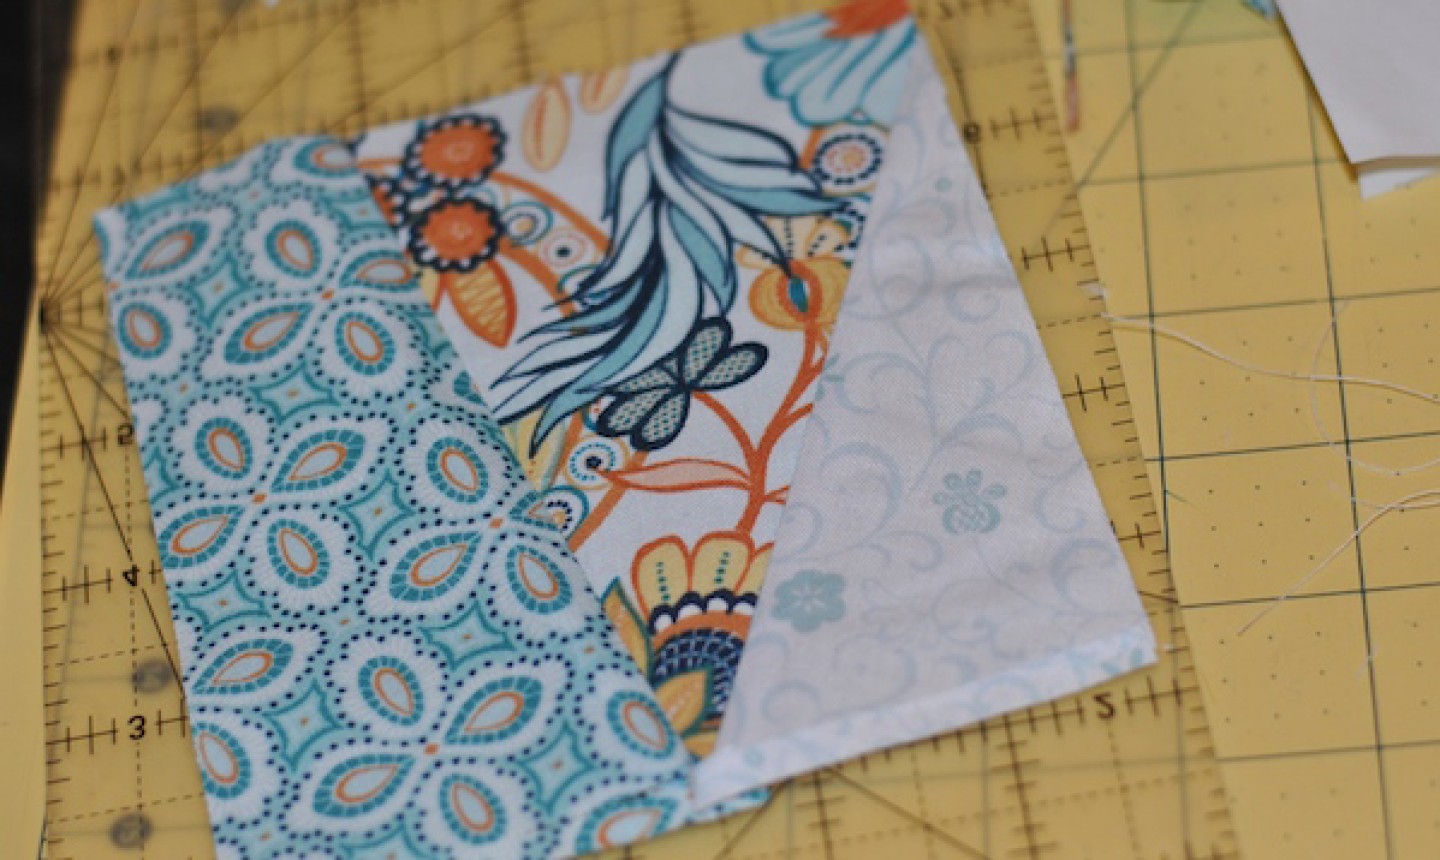
Now you have a perfectly pieced block, ready to go.
I just taught myself how to do this about 6 weeks ago using YouTube. Certainly could have used this site. Much clearer instructions!
Looks interesting.
Thank you for this lesson. Can you do a class where you dont sew the paper? I believe they use freezer paper because you can reuse it.
Is there an example of this sewn together with other blocks using this paper piecing template?
I’m looking for to the class!!!!
A great door to interesting projects
Thank you .. inspiration ☺️
Can’t tell you how much I appreciate this short tutorial on foundation paper piecing. I’ve wanted to try it for years. Now I think I can!! Thank you!
Thank you for sharing that! I work in cutting fabric for customers. Sometimes they try to tell me what they are doing by showing me their drawing which I could not understand. Now I have a better idea. Thank you!
My credit card has been compromised, waiting on new one