
The concern I hear most often when sharing any free-motion quilting tutorial is, “I don’t have a fancy machine – how can I quilt it myself?” My answer is simple: The most important piece of equipment you need to successfully start free-motion quilting is a can-do attitude! As with any tool, it’s fun to have the extra bells and whistles, but when it comes to machine quilting, where there is a will, there is a way!
I’m sharing 5 steps for free-motion quilting on your home machine.
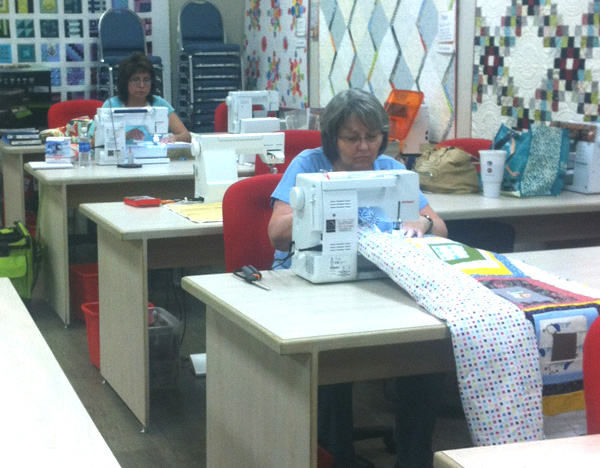
Local students learning how to machine quilt on their home sewing machines via ChristaQuilts.
Step 1: Insert a new needle and check your tension on a regular stitch setting first.
Make a couple of practice sandwiches consisting of two layers of scrap fabric with a layer of batting in between. Before you even start free-motion quilting, stitch out a few lines of straight quilting using your normal default settings. If your stitches look good, chances are, you may not need to make any adjustments other than adjusting the length of your stitches to your own personal preferences.
If your bobbin thread is pulling up through the top, that means your top tension is too tight. Lower the top tension and try again until your stitches look better. If your needle thread is being pulled through to the back, that means it is too loose and needs to be tightened. Continue quilting straight lines on a scrap piece until your stitches look balanced.
Step 2: Try quilting both with your feed dogs up and with them down to see which way your machine performs best.
The conventional wisdom for free-motion quilting has always been to lower the feed-dogs, so that they do not interfere with the movement of the fabric under the machine. You end up doing the work of the feed-dogs yourself, which gives you the ability to stitch in any direction. However, some newer machines may actually work better with the feed dogs up. If you leave them up, be sure to set your stitch length to zero and cover them with a supreme slider.
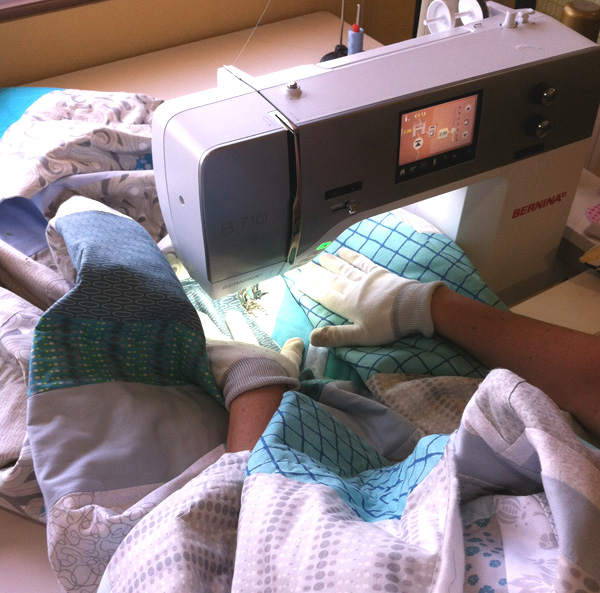
Quilting gloves and extra table space help with free-motion quilting. So does a soft grip on the quilt.
Step 3: Use a soft touch when gripping your quilt.
When machine quilting, your hands will move the quilt around under the needle, forming the stitches. You want to control the bulk of your quilt, and create a hand-hoop around the area you are stitching. However, you do not want to apply so much pressure to your quilt that it is hard to move around.
Think of yourself as gently guiding the quilt under the machine rather than forcing it. Also, don’t be afraid to stop and reposition your hands as often as needed.
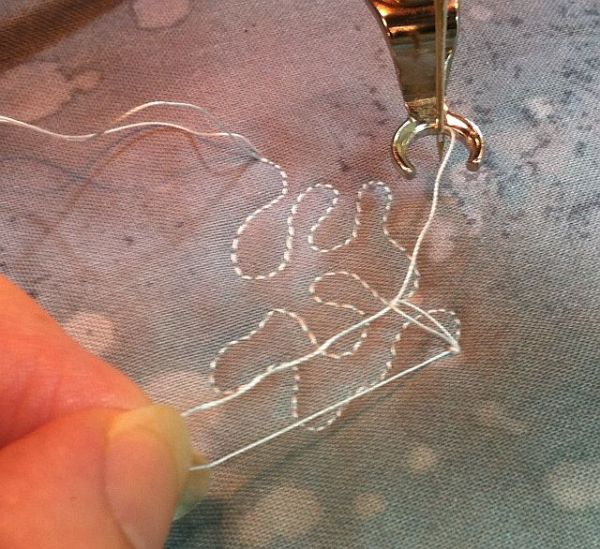
Pull the threads up when starting and stopping machine quilting
Step 4: When beginning and ending a line of stitching, be sure to pull the threads up to the top of the quilt.
This helps keep them out of the way and prevents you from getting a tangled mess on the back. You can either stitch a series of tiny stitches to start and end the session of quilting, or you can tie knots with the loose thread ends. Then, simply pop them into the batting when you’re finished (like a hand-quilter would).
Step 5: Practice! Practice! Practice!
It goes without saying that the best way to become an expert (or even a comfortable beginner) is to practice quilting everyday. If you practice quilting for 15 minutes a day on leftover pieces of scrap fabric and batting, there is no doubt you will see a noticeable improvement over time. Just like you had to learn to hold a pencil before you could write your name, free-motion quilting is your own personal quilt-writing that takes both time and practice to master.
And, just as you learned to write in cursive, you’ll get the hang of free-motion quilting if you do your homework. Instead of writing your ABC’s, try quilting shapes that look like cursive E’s, O’s and L’s. Before you know it, you’ll be free-motion quilting like a pro!
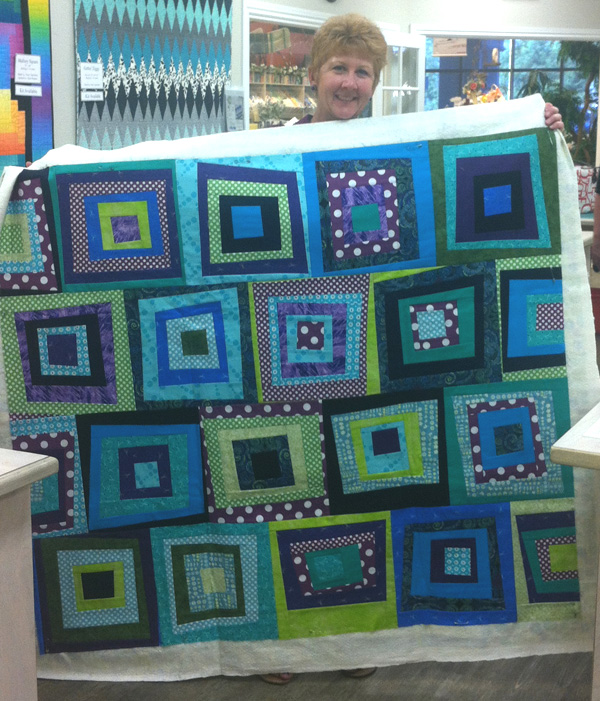
One of my students preparing to machine quilt her Modern Logs quilt. Craftsy pattern available via ChristaQuilts.
Can’t get enough free-motion quilting? Neither can we! Be sure to check out this post on tips for free-motion quilting beginners and my post on using your regular sewing machine to fmq.
Then, sign up for the Craftsy class Start Free-Motion Quilting to get step-by-step guidance — from the first stitch to finished binding — to help you master this advanced quilting technique!
Share tips, start a discussion or ask one of our experts or other students a question.
No Responses to “Free-Motion Quilting on Your Home Machine: 5 Basic Steps to Success!”