
Welcome to the last in this series on green spoon carving! Are you ready to finish your spoon? A quick recap, in the preceding weeks we have covered safety and sharpening your axe, sharpening your hook knife, and shaping your spoon. At this point, you should have sharp tool, a split log with a flat face and a creative spoon design penciled in. Now, we’re finally ready to carve our green wood spoon out of the log, and do some much-needed refining.
Note: I’ve included numerous photos in this post in order to show the many different hand positions and methods of attack as you continue to refine the shape of your spoon.
How to carve spoons from green wood
Get the first four steps here.
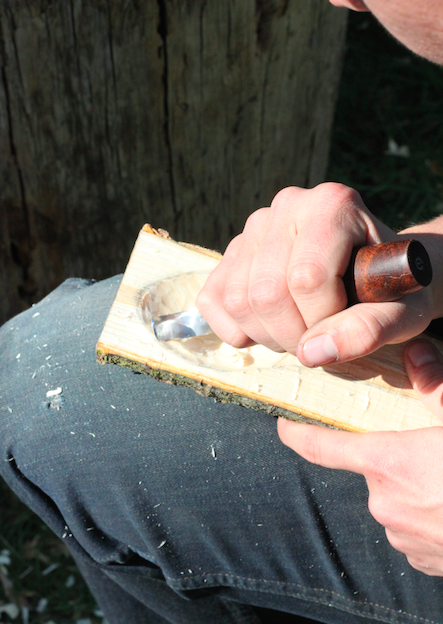
Step 5: Carve your bowl
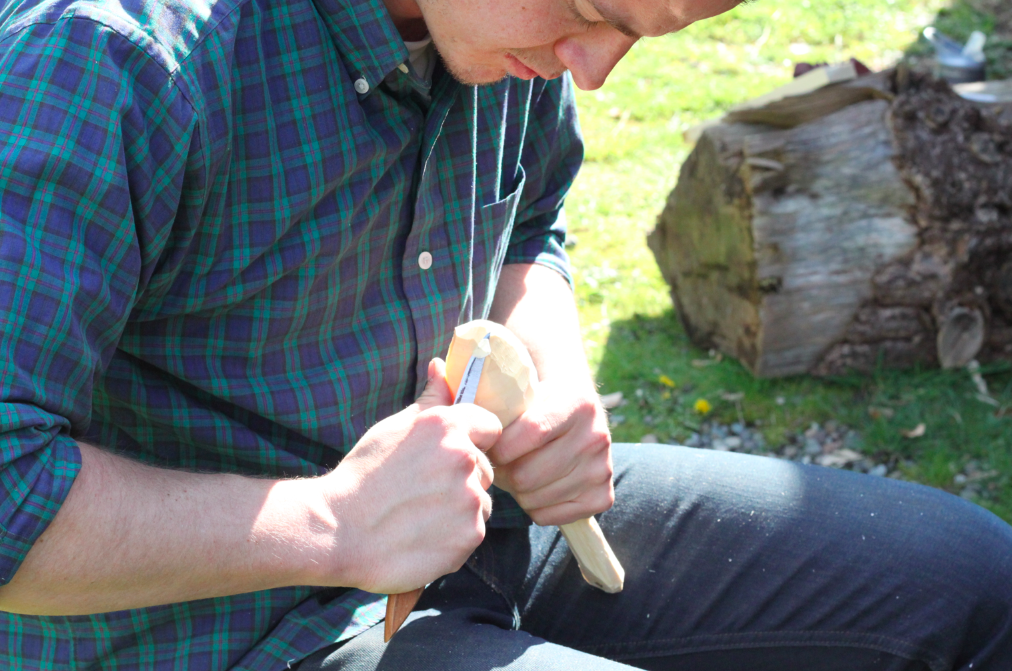
Once you’ve got your design sketched out, you can finally start carving out the bowl of your spoon. As a beginner, the more material you have to hold on to, clamp, balance against, the better. This way you can figure out how you best use your hook knife. There are several different hand positions you can use, you just need to find a few that work for you.
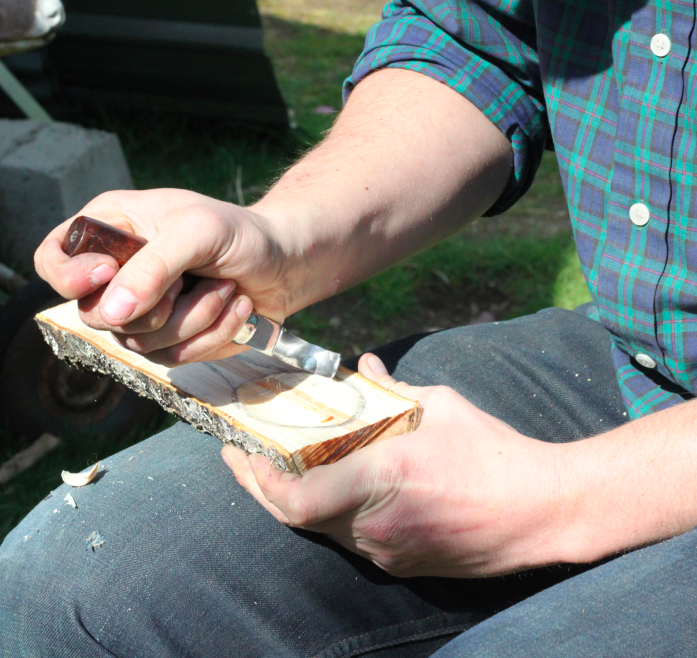
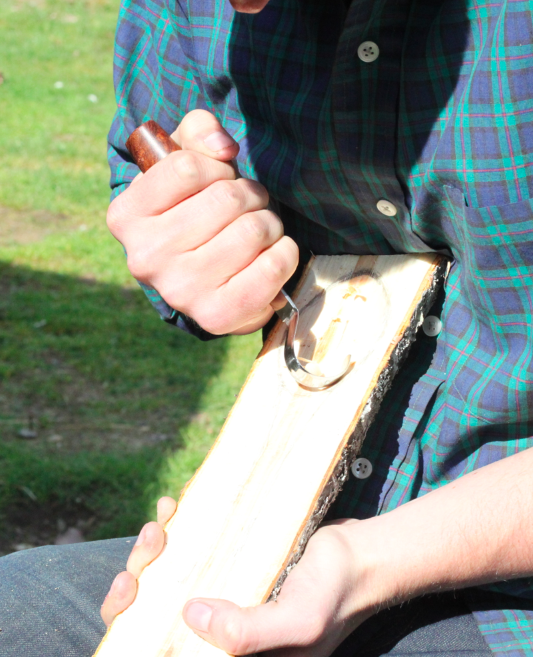
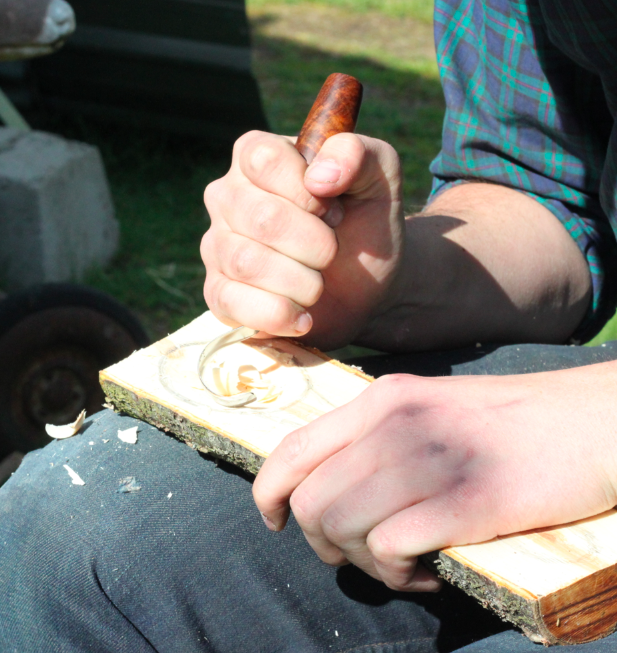
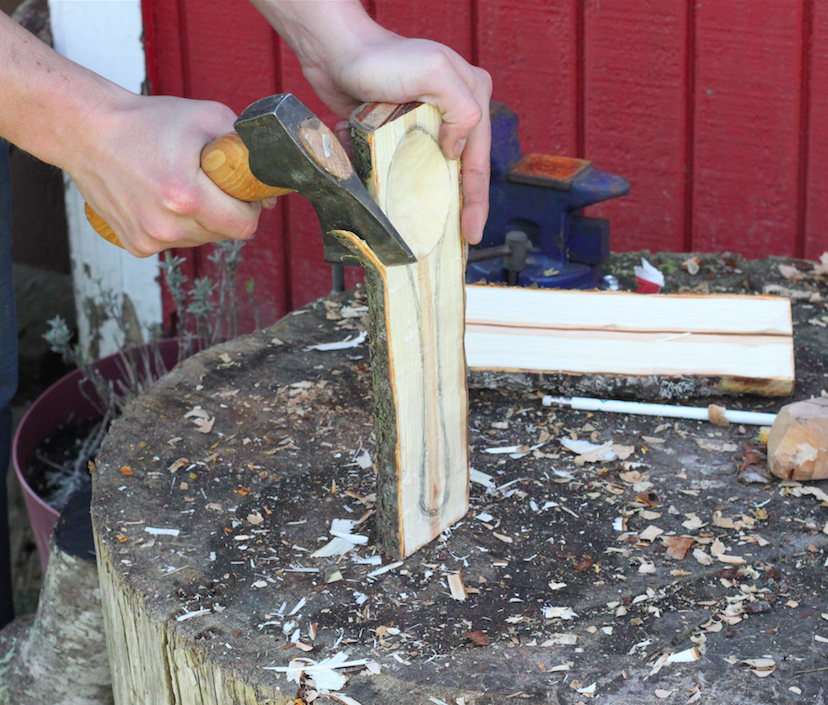
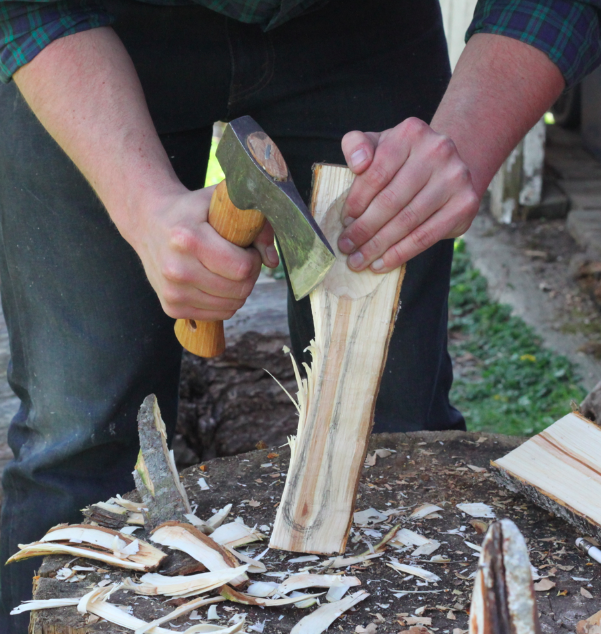
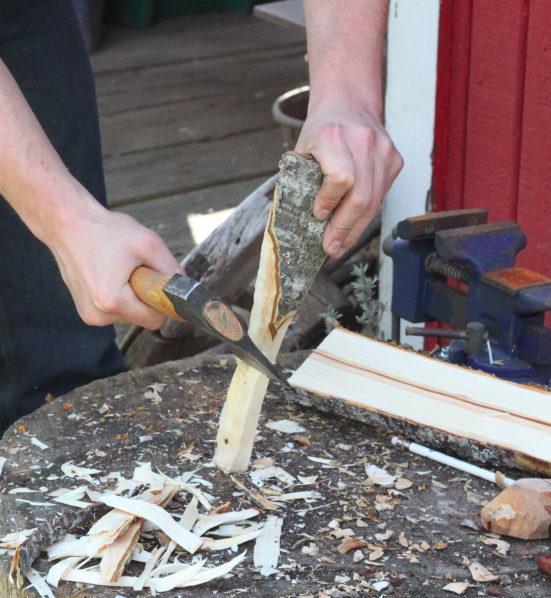
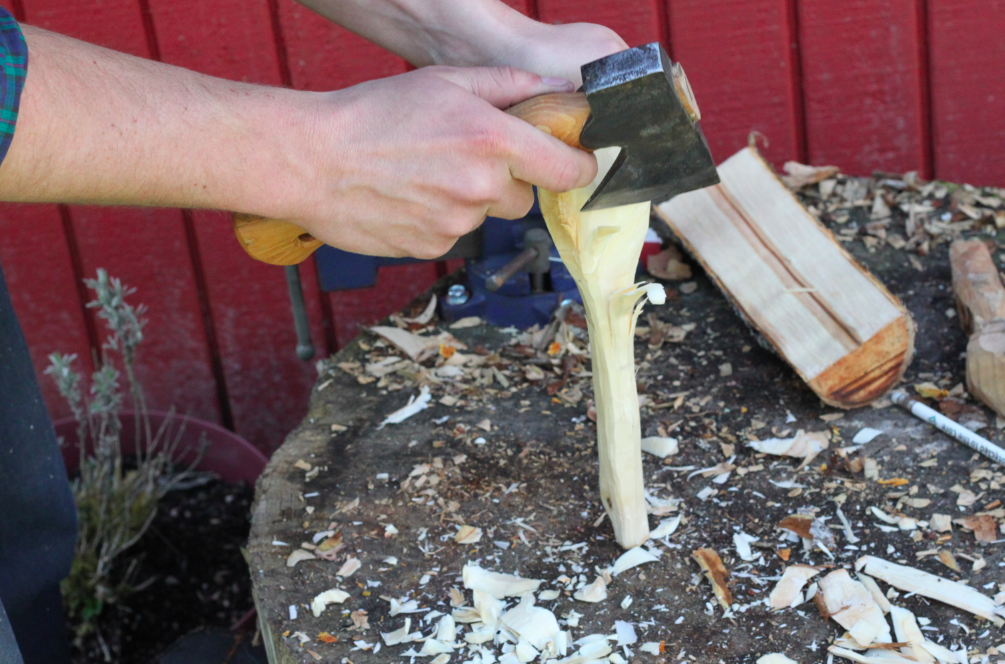
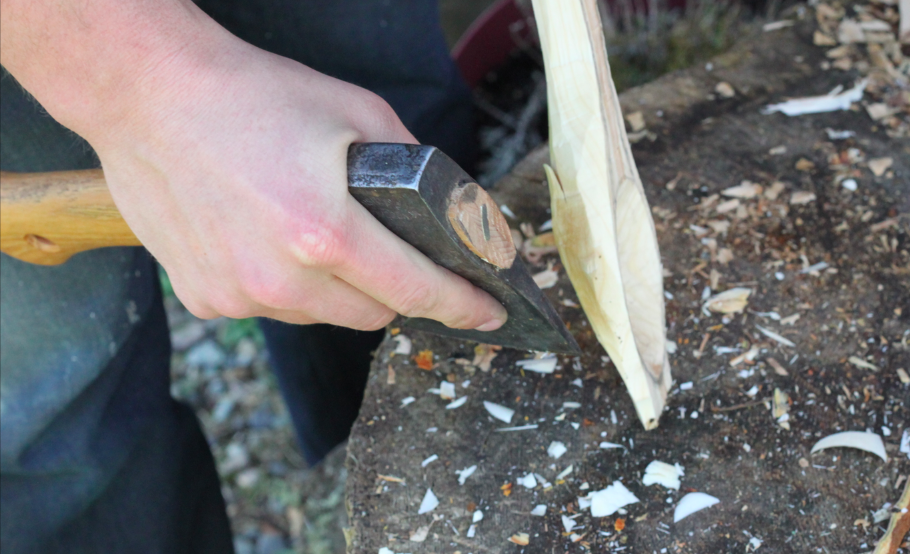
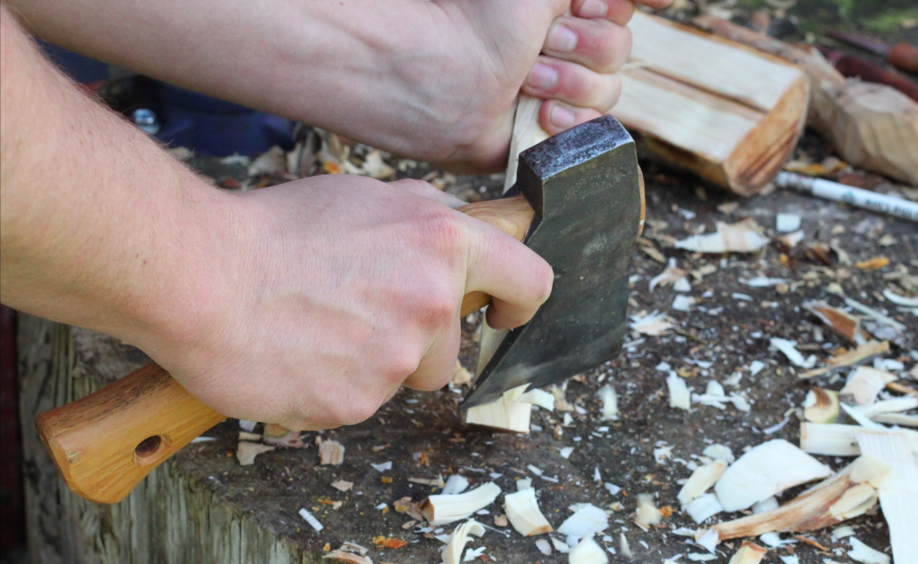
Step 6: Shape your spoon
Once you are happy with the depth and shape of your bowl, grab your axe. You will now carefully, using the same short, light chops you used to flatten the face of your workpiece, begin to roughly shape your spoon. The more work you do with your hatchet, the faster your overall project will go. With practice and skill, you will only need a few finishing strokes with your carving knife to refine the final shape.
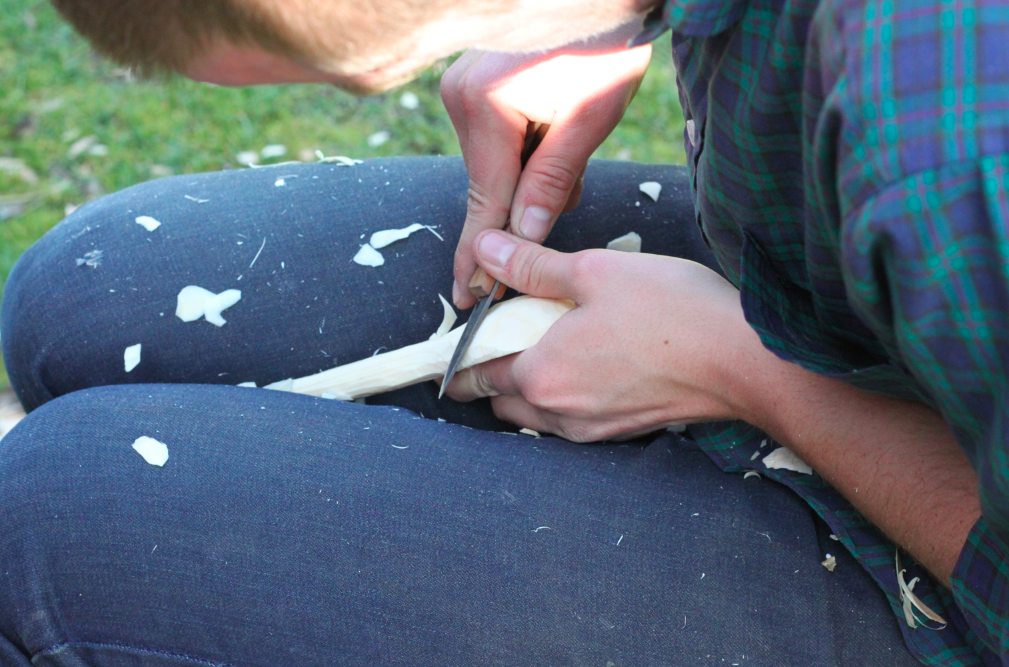
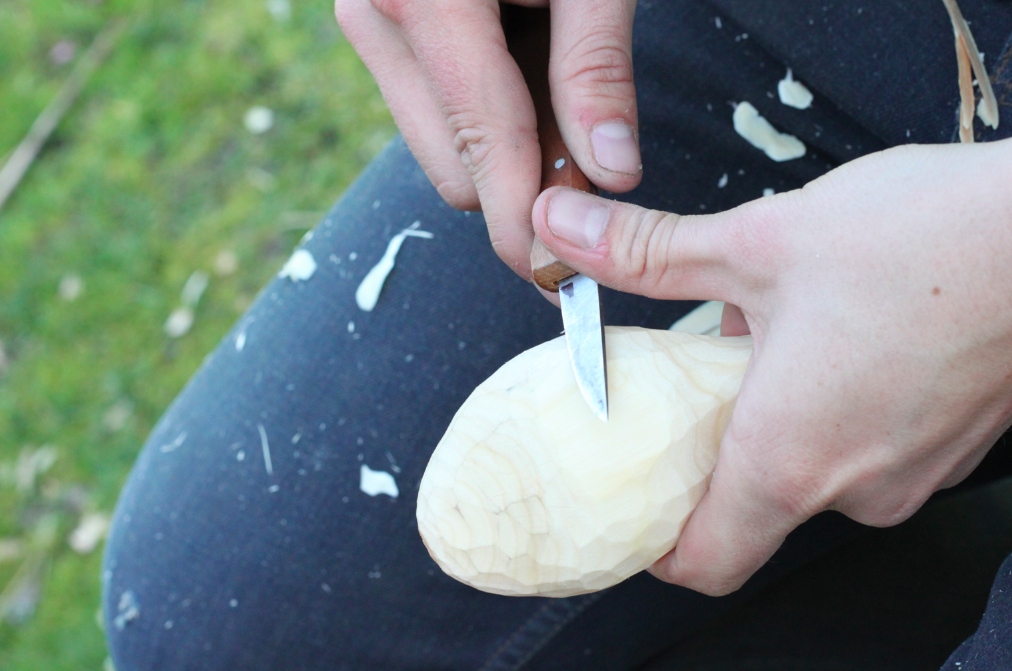
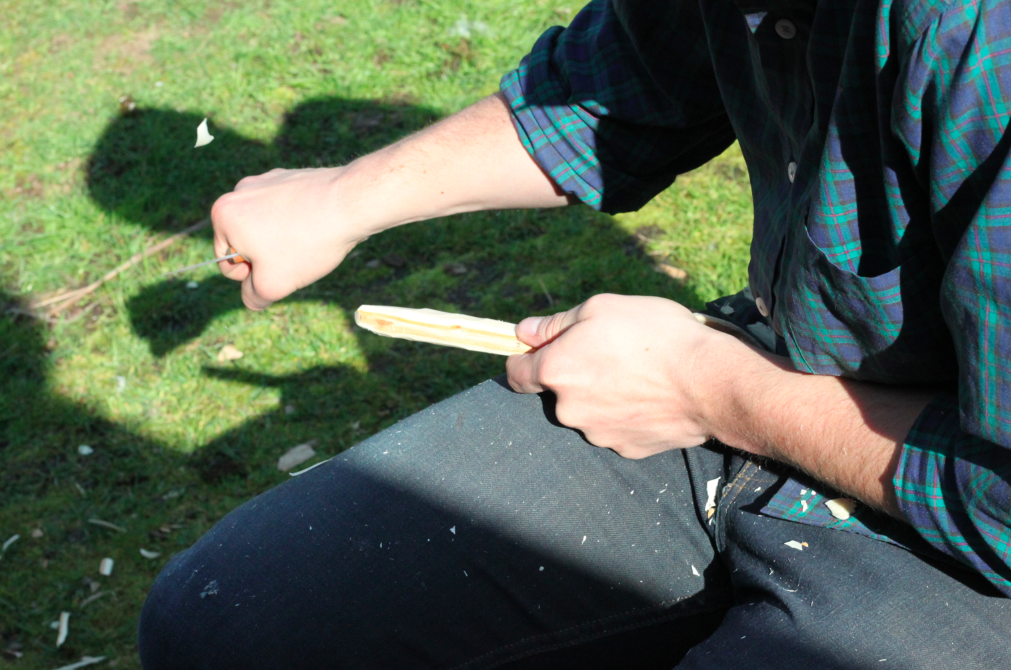
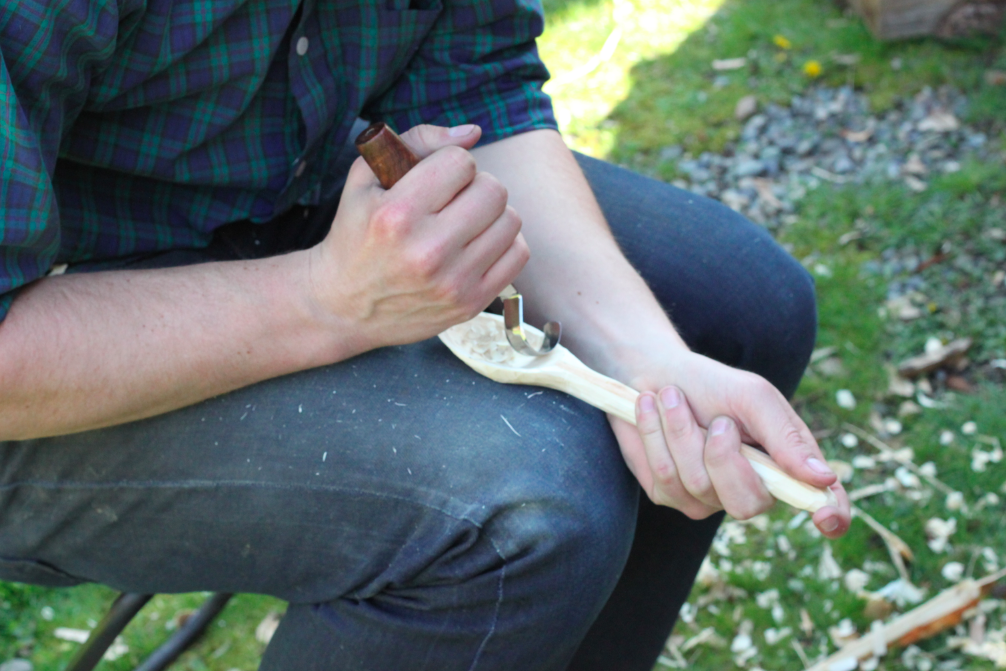
Step 7: Refine the shape
Using your straight knife, refine the shape of your spoon. Use long, intentional strokes and take as long a shaving as possible. Using long, intentional cuts rather than chips will greatly speed up your carving time and make it easier to stay true to your design. Feel free to try several hand positions, and definitely make sure to take grain direction into account.
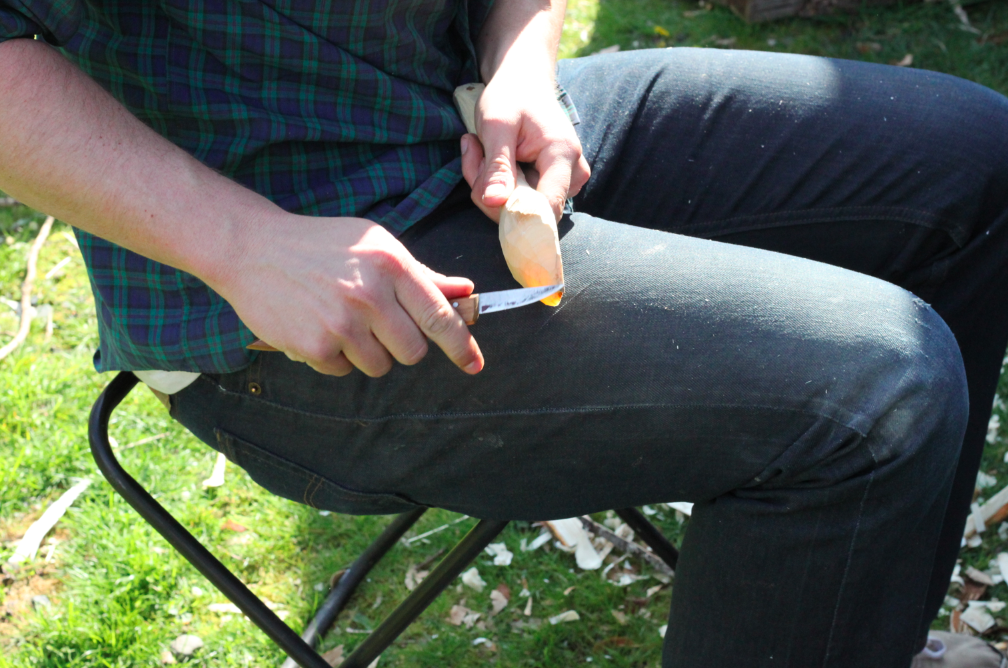
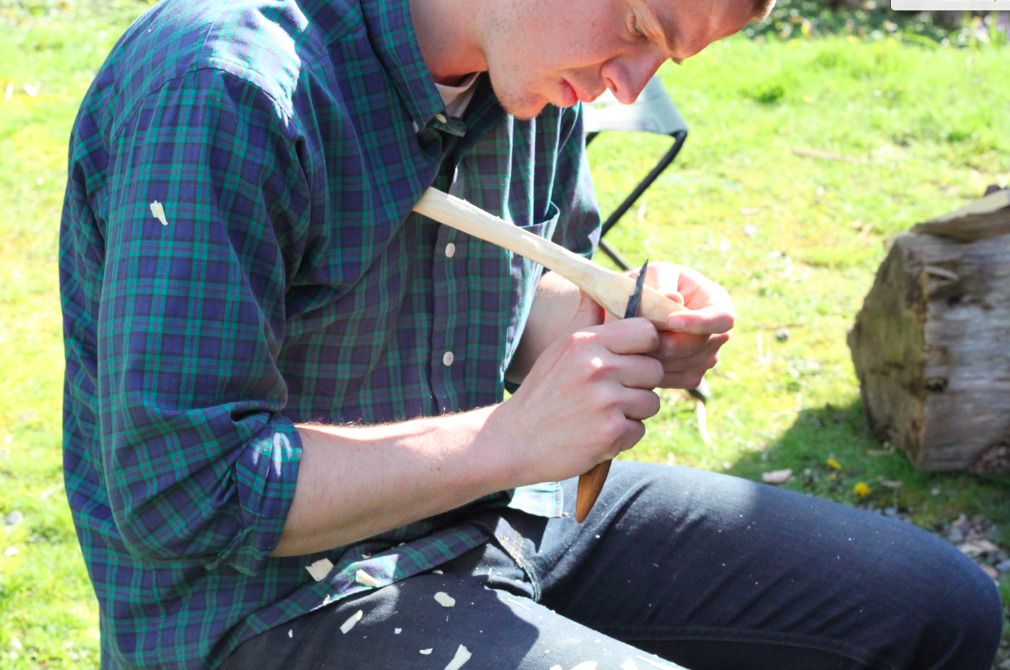
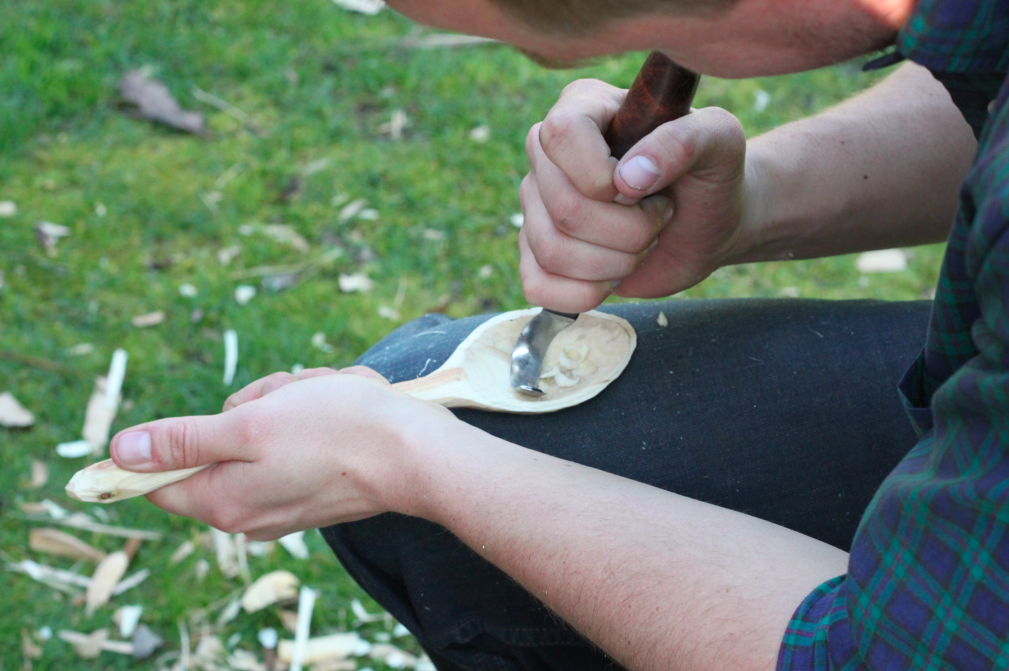
Step 8: Refine the bowl
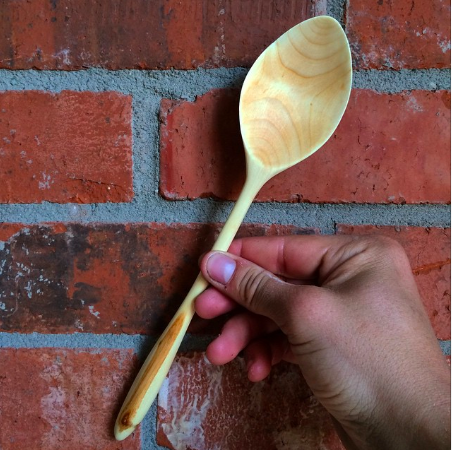
When the outer shape of your spoon has been refined, you might want to make a few last refining cuts with your hook knife to finish off the bowl of the spoon. Once you are satisfied, you are done! If you don’t like the knife marks, set the spoon aside for a week or two, then come back at it with a few rasps and/or some sandpaper to further refine your design.
 Step 9: Finish your spoon
You can finish your green wood spoon with basically any edible oil- I like to use organic flax or walnut oil rubbed on with a towel, then a quick coat of beeswax to give it a little moisture protection. As you use and wash your spoon, occasionally re-oil it. Always hand wash your spoon — you wouldn’t want it to get soaked or submerged in water for more than a few seconds.
Step 10: Practice, study, practice
After you’ve made your first attempt at spoon carving, the best thing you can do is to practice often. Spoon carving has a bit of a steep learning curve, but with diligence and repetition, you can master it. As an exercise in practice and self-discipline, a friend of mine recently finished carving 365 spoons, a spoon a day for an entire year, and he can now carve an absolute masterpiece in less than 30 minutes.
Ready to carve your own green wood spoon? Post your thoughts in the comments or show off your creations in our projects section
**A very special thanks to my friend @cascadecole for being my spoon carving model for this series**
Share tips, start a discussion or ask one of our experts or other students a question.
No Responses to “Green Wood Spoon Carving Tutorial: Finishing Your Spoon”