
Many crocheters, especially beginners, find that the edges of their crochet projects are a bit uneven. They may have small gaps or just not quite line right up. No problem! These hacks will help you to crochet perfectly straight edges every time, giving you that polished look you want from your work.
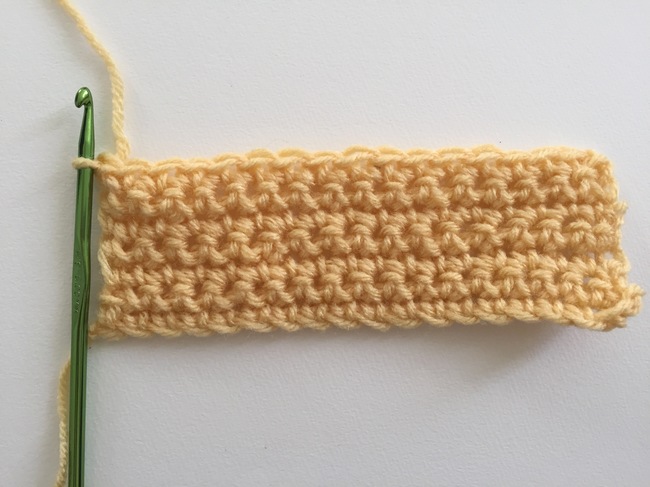
Image via Kathryn Vercillo
7 hacks for crocheting straighter edges
Tip #1: Count your stitches
The most obvious, and most common, reason that people fail to crochet straight edges is because they are putting too many or too few stitches into the row. Make sure that you count your stitches as you go and that they always add up to the correct number.
Have more stitches in the row than you should? There are three likely culprits:
- You put the first stitch in the wrong place. For example, you placed it into the base of the turning chain instead of the next stitch over.
- You put two stitches into the same place. Look back and make sure there’s only one stitch in each stitch from the previous row.
- You crocheted a stitch into a space. You should have one stitch in each stitch from the row below — with nothing in the spaces between those stitches.
- You skipped the last stitch. Stitches ‘n Scraps has a good guide to using a stitch marker to mark the right spot to end a row.
The only solution? Rip out the stitches back to where you made the mistake and re-do it.
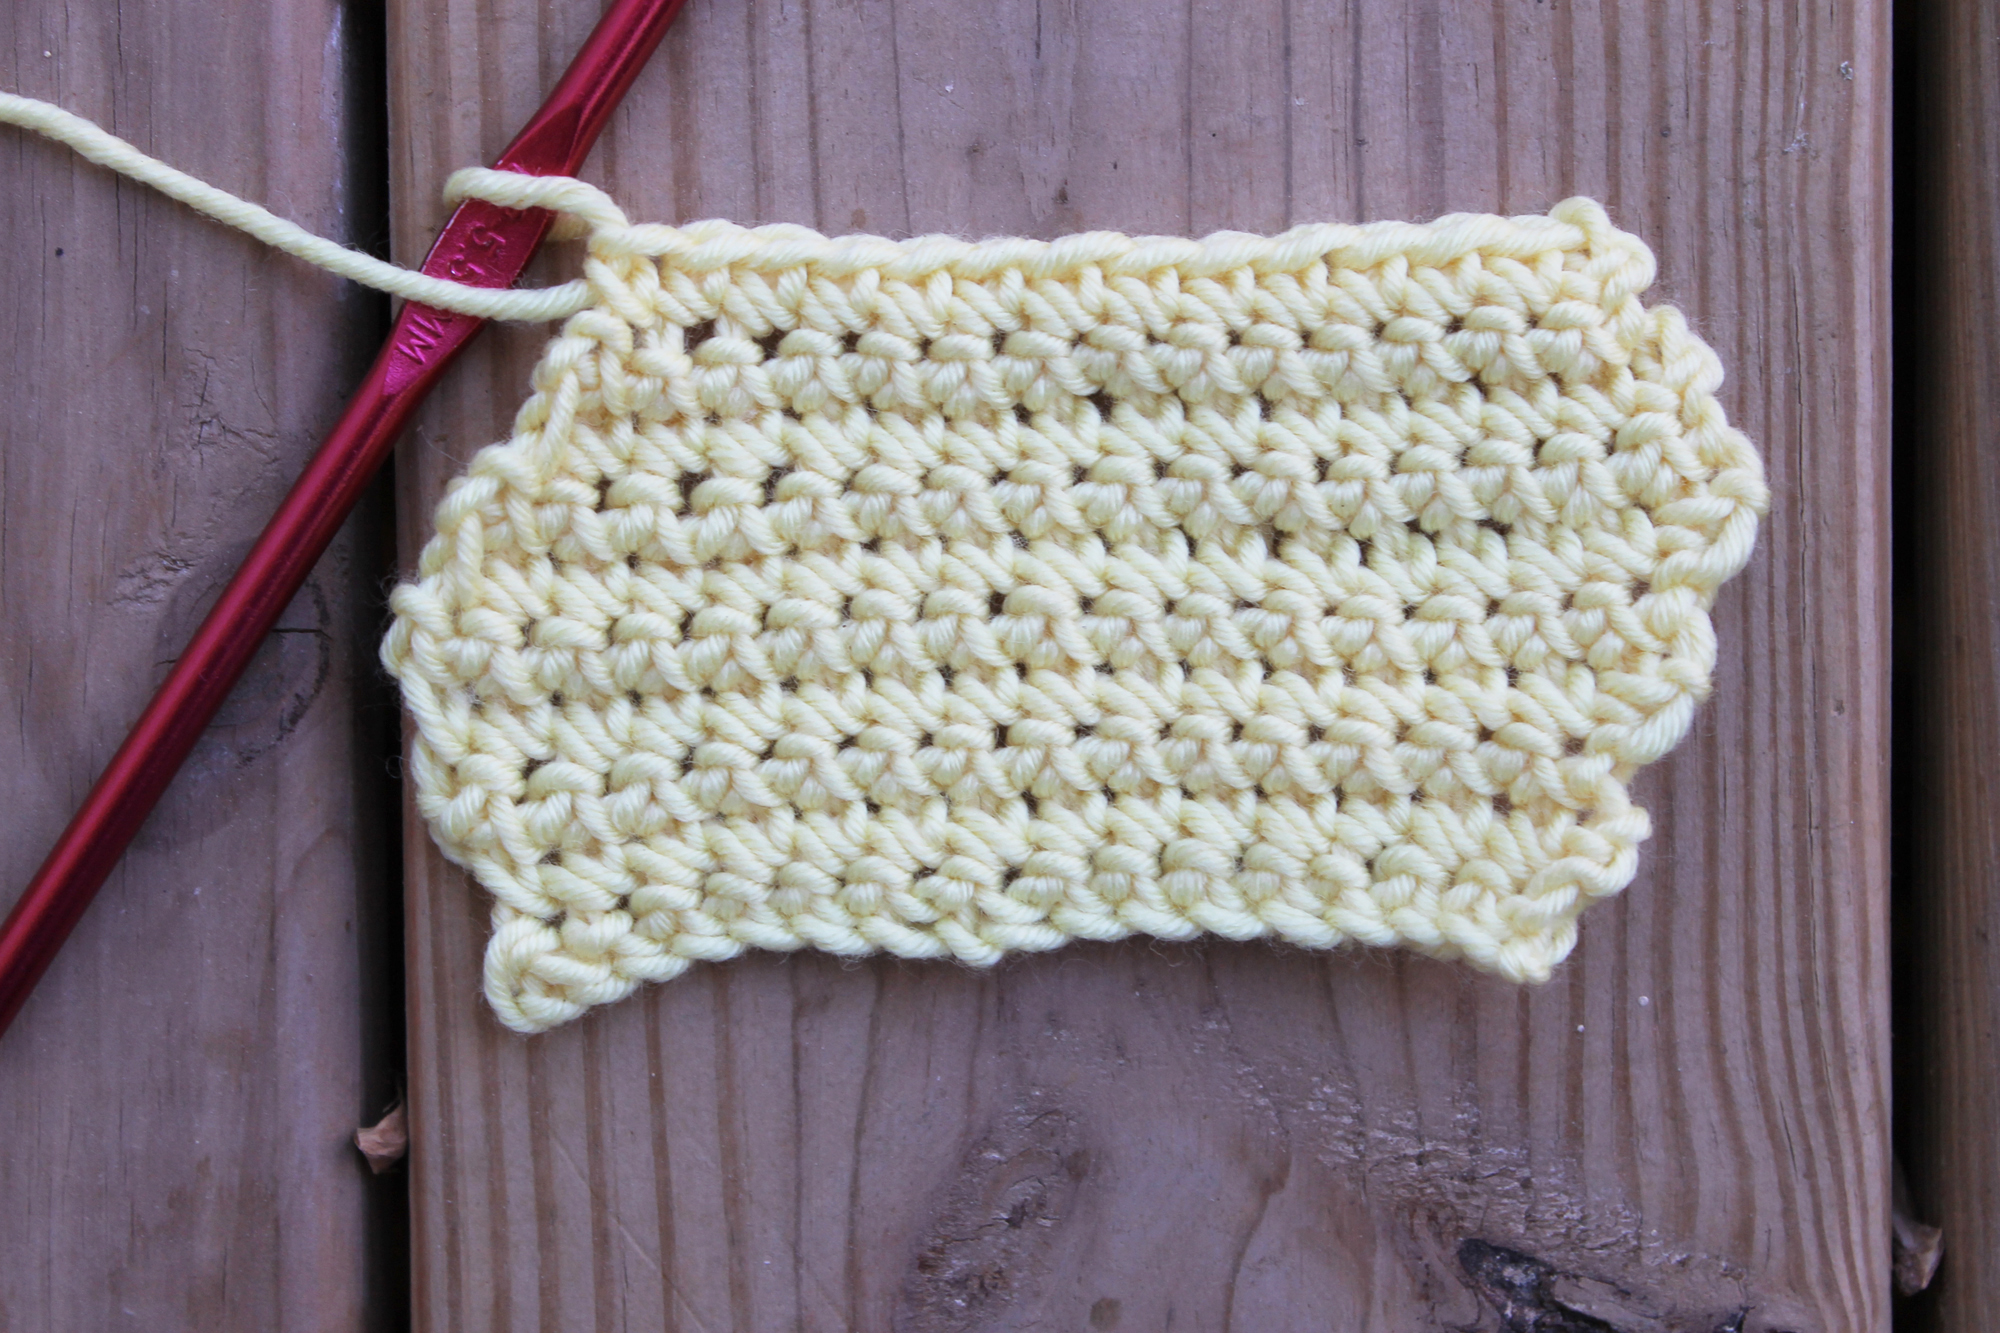
Image via Ashley Little
Have too few stitches? Here’s what happened:
If you have fewer stitches in the row, you probably skipped a stitch somewhere. Often this happens accidentally at the beginning or end of the row, so check those spots first. If those are correct, then look carefully at each stitch across the previous row to make sure that each one has a corresponding stitch in it.
Still having trouble? Try these tips.
- Use projects that have short starting chains. For example, opt for scarves that are worked from top to bottom rather than side-to-side. It’s easier to keep track of stitches this way.
- Use a stitch counter or stitch markers. Mark off every 10 or 20 stitches so you don’t lose track.
- Use taller crochet stitches. It’s easier to check double or treble crochet than single crochets.
- Use larger crochet hooks. The bigger the stitches, the easier they are to see!
- Use light colored yarn with good stitch definition. You need to be able to easily see where each stitch should go to get the count correct!
Tip #2: Get familiar with turning chains
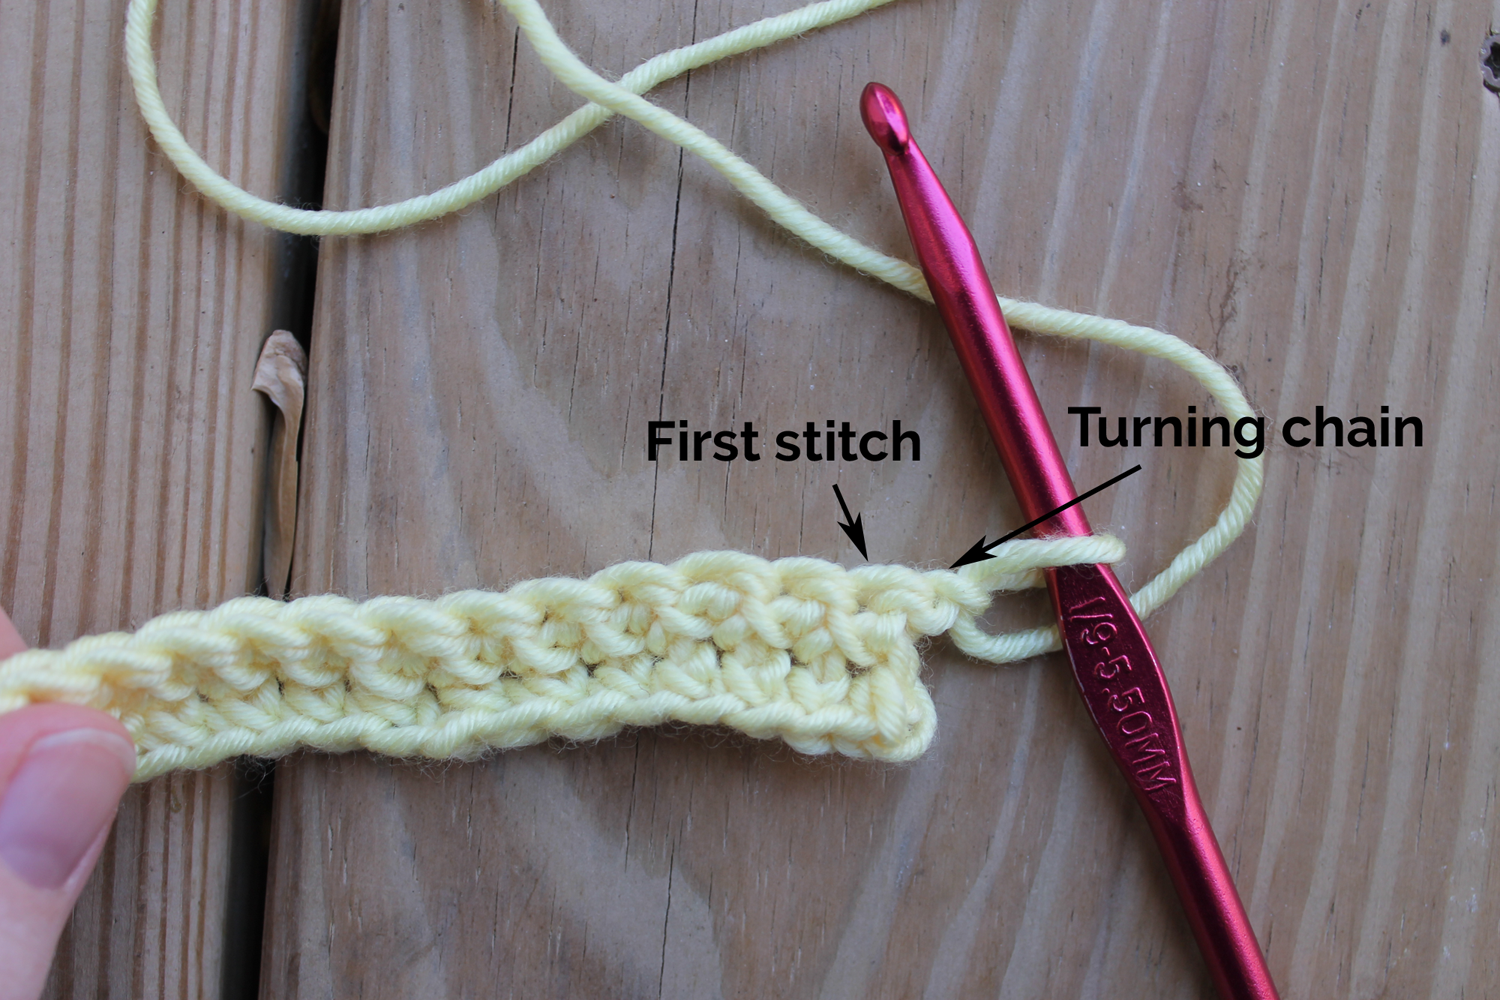
Image via Ashley Little
If you have the right stitch count but still have wobbly edges, something might be off with your turning chain:
- The chain might be the wrong length. You want a turning chain length of 1 for single crochet, 2 for half double and 3 for double crochet.
- You may be turning the work the wrong direction. The best option is always to turn your piece from right to left in a clockwise motion. You can do it the opposite way (counter-clockwise) but make sure that whatever you choose, you use the same motion every single time.
- You might be alternating turning at the beginning of one row and end of another row. Keep it consistent. The best option is to chain your turning chain before you turn your work.
- You may be unclear if the turning chain counts as the first stitch. As a general rule of thumb, your turning chain counts as the first stitch — so you should skip the first stitch after the turning chain and work into each subsequent chain, including the turning chain of the previous row. An exception is common with single crochet: Check your pattern to see what it says.
Tip #3: Mind the gap
If the turning chain is the problem, you’ll probably find that your edges are relatively even but there’s a gap on either or both sides between the edge stitch and the one next to it. This happens when you skip the first stitch because the turning chain counts as that stitch. Here’s a hack to avoid it:
- First, crochet an extended version of the stitch (for example, an extended single crochet or extended double crochet) into the first stitch.
- Crochet regular versions of the stitches (regular sc or dc, for example) into each stitch across.
- Work the last stitch of the row into the top of the extended stitch that began the previous row.
The extended stitch is not only slightly taller but is also slightly thicker and this usually eliminates the gap.
Tip #4: Keep your colors on track
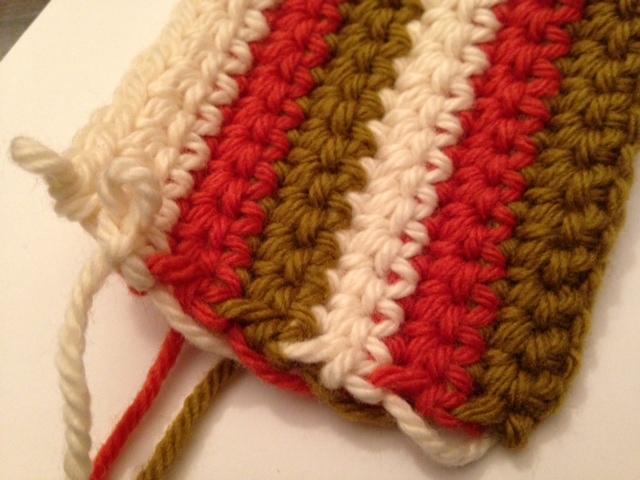
Image via Andrea Sanchez
Using different yarn from one row to the next you might give you uneven rows.
This is especially true if you inadvertently switched to yarn of a different weight. Even if you kept the same hook size, a thinner or bulkier yarn will behave differently. Subtle differences can even happen if you kept the same brand of yarn but changed color
One easy way to solve yarn-changing problems: twist your yarn when you change color, and make sure to maintain even tension when making that twist.
Tip #5: Keep even tension
So, what if you always have the right stitch count and you put your stitches into the right places — but you still get uneven edges? The answer could lie in your tension.
When you have the same tension throughout a project, your stitches will be nice and even. But most of us naturally change our tension through a project — and even in the course of a single row.
This leads to some stitches looking much looser than others, which can ultimately change the shape of your project. While this is usually subtle, it can help to practice it, noticing when your tension changes and adjusting accordingly for more even crochet.
If you notice your tension changing, here’s why:
- You’re getting tired. If you’re sleepy or have been crocheting too long, you might find your grip changes. Take regular breaks when crocheting and you may end up with straighter edges!
- Your emotions are getting the best of you. Increased stress, for example, tightens tension for many crafters.
- You changed how you hold your hook. If you’re holding your hook differently, the way you make your stitches and how tight they are will likely change, too.
- You’re working on a new technique. When you learn something new, you may begin with intense focus that tightens your tension. As the work grows, you may loosen up.
- Your stitches are too tall. You already know that it’s easier to count taller stitches. But be warned that if your stitches are too tall (like the American double treble or taller), then your tension may change a lot with each stitch.
Bonus tip! Sometimes the only problem is that your foundation row is too tight. Switch to a crochet hook one size larger than the rest of the project for the foundation row to avoid this problem, or use a chainless foundation row instead of a traditional chain.
Tip #6: Rely on blocking
If you’re certain that you’re doing everything right and your piece is still wonky, your project may just be one that requires blocking for a final even finish. When you block your finished work, you help set the stitches in the right place.
Learn more about your blocking options here.
Tip #7: Practice, practice, practice!
The No. 1 way to crochet straight edges is to practice. Crochet using different materials and working with different patterns. By crocheting more frequently, you’ll soon learn to spot, correct and avoid mistakes.
Very helpful Thanks!
Thank you. I have been crocheting for years, but sometimes I just can't seem to get my edges neat. There are a couple of new to me ideas here.
I’m looking forward to trying all your suggestions. Thanks
Haven’t crocheted in years but hope to start again. Your tips are so great
Even using the same Brand and product (also dye lot) from this line, if you're choosing to use different colours in rows or within rows, make a 10 x 10 sample, for example, to learn what changes could be made—thinner/thicker needle(s)/number of stitches… to overcome the problem. This applies to knitting as well. You might love the sweater you made in yellow and want to make one in green. Without making a sample, it may be larger or smaller than the original just from the effects of the colour of the yarn/thread.
The main reason for uneven edges is confusion over turning at the end of a row, esp. in rows of DC. A technique known as "turning single crochet" or "stacked single crochet" is used when doing a double crochet project. Instead of a Ch 2 or Ch 3 on turning, you SC in the first stitch. Insert your hook under the vertical bar and work a second SC on top of the first SC to bring it to DC height. You could call this "stacking". Here's a video showing you what to do: https://www.youtube.com/watch?v=ahkJ3J2KDZE
i just cant keep straight edges it looks great until about the middle of the project an downhill from there
Thanks for your help
Oh, thank you, thank you, THANK YOU! I've been crocheting for 10 years, but my sides are nearly always wonky. These tips are exactly what I need to learn!
Thank you so much! This will really help me