
Quilting is a process that has existed for centuries, but with modern terms like “jelly roll” and “layer cake” in the quilting lingo, I felt inclined to add another: cake pop! When sweets and the art of sewing collide, the result are these beautiful “hand-stitched” cake pops that are sure to make any Crafter swoon! This is the kind of project you’ll constantly crave!
Learn how to make quilt cake pops in a few steps, plus there’s a bonus step for those that want an added challenge.
You’ll need:
- Wax paper
- Cake pop dough
- White candy coating
- Candy coating in color(s) of your choice for stitching
- Lollipop sticks
- Styrofoam block or cake pop stand
- Angel hair pasta noodles
- A spaghetti noodle
- Corn syrup
- Silver luster dust
- Small paintbrush
- ziplock bags
Before you begin:
Line your work surface with wax paper.
Step 1:
Portion cake pop dough using a cookie scoop and roll into a ball. Place on a wax paper-lined cookie sheet and refrigerate while doing Step 2.
Step 2:
Melt the white candy coating in a microwave-safe bowl. Do this by microwaving the wafers for 1 minute at 50% power. Stir. Then microwave at 30-second (50% power) intervals, stirring after every interval, until completely melted and smooth. Set aside and let rest in room temperature for a couple of minutes. Use paramount crystals to thin out the candy coating if needed.
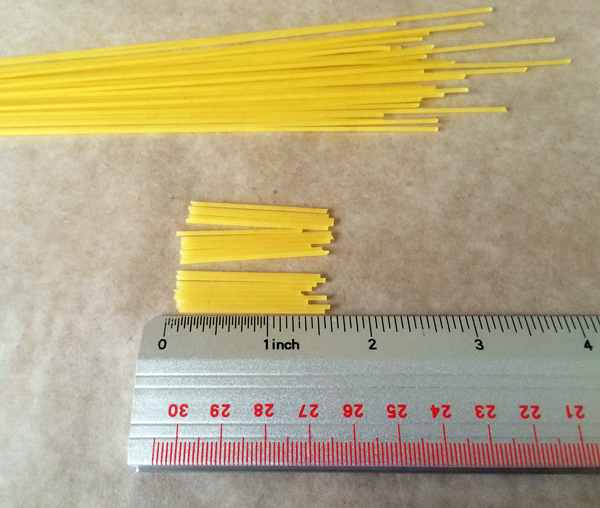
Snap angel hair pasta into pieces about 1 1/2 inches long.
Step 3:
Remove cake balls from the fridge. Let rest in room temperature for at least 5 minutes to slightly take the chill off. Gather your sticks and make sure your cake pop stand or styrofoam block is nearby.
Dip ⅓ inch of a cake pop stick into candy coating and push into the cake ball until it’s about halfway through the ball. Do this for all the cake balls.
Step 4:
This step may seem odd, but trust me on this double noodle method.
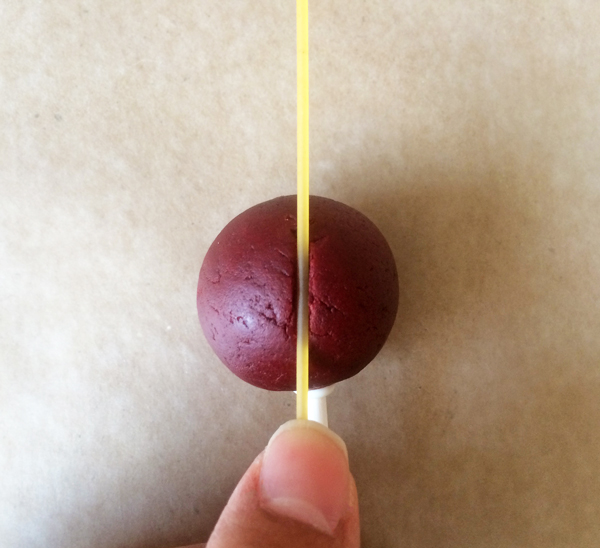
You’ll need a spaghetti noodle. We will use the spaghetti noodle to make a deep vertical indentation on one side of the cake pop carefully push it in until the center of the noodle becomes flush with the cake.
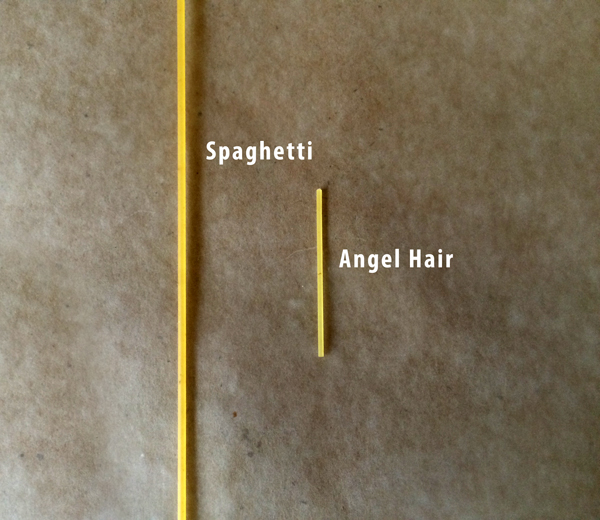
The reason why we use a spaghetti noodle for the indentation is because it will be the perfect snug fit for a thinner piece of angel hair “needle” after the cake pop is dipped and the coating fills the crevice.
Step 5:
Dip each cake ball into the candy coating by submerging it completely until the coating meets the stick and pulling it out in one motion. While still upside down, gently shake the cake pop side to side to allow the excess to drip off.
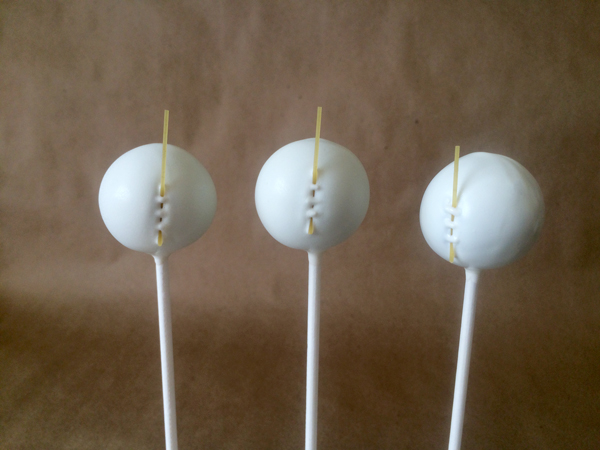
Carefully add a piece of angel hair pasta in the groove. Use a toothpick to place three evenly spaced, horizontal lines of candy coating across the angel hair.
Place on cake pop stand and let dry completely.
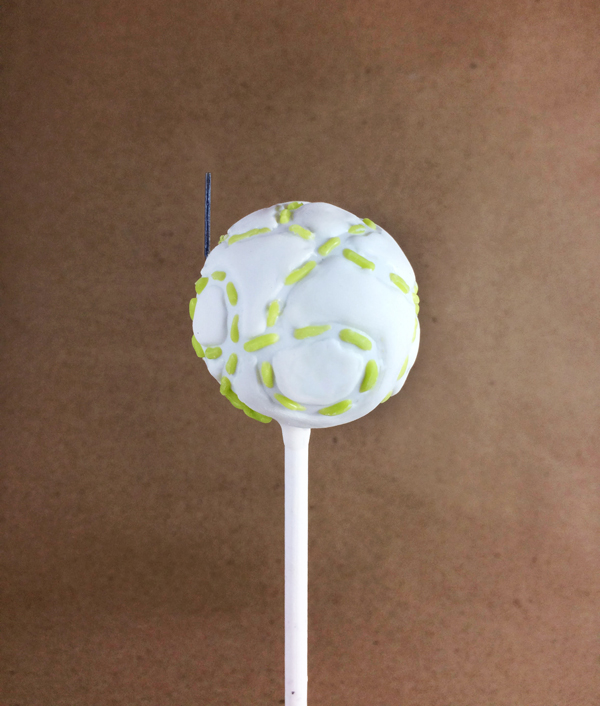
Step 6:
Pour remaining candy coating into a ziplock bag. You’ll be piping stitching over the cake pops by snipping the tip of the corner of the bag.
Microwave the coating (in the bag) for 5-10 seconds at 50% power to soften as needed. Place on cake pop stand and let dry completely.
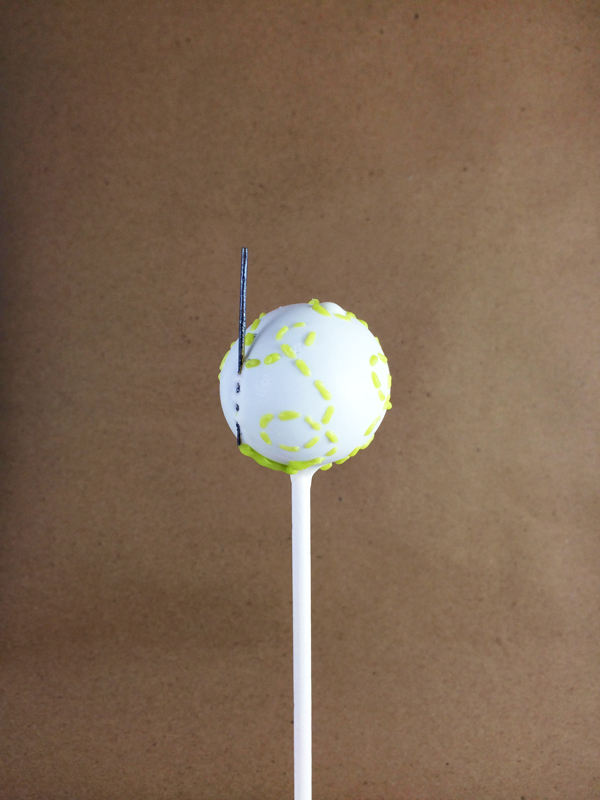
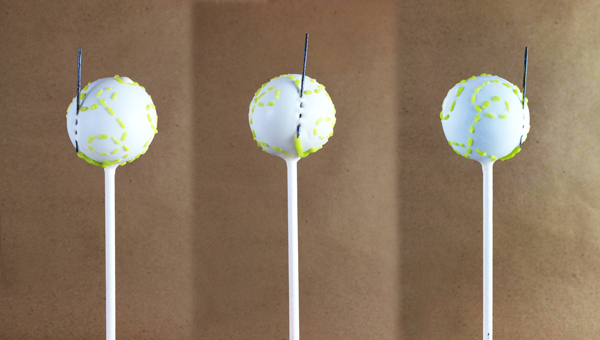
Pipe short dashes in a pattern to look like stitching. Don’t forget to add a solid line from the bottom of the “needle” into the stitches.
Please note: although edible, the angel hair pieces are for decoration only. You may recommend your guests to remove it before eating the cake pop.
Step 7:
We will be painting the ‘needle’ (angel hair) silver.
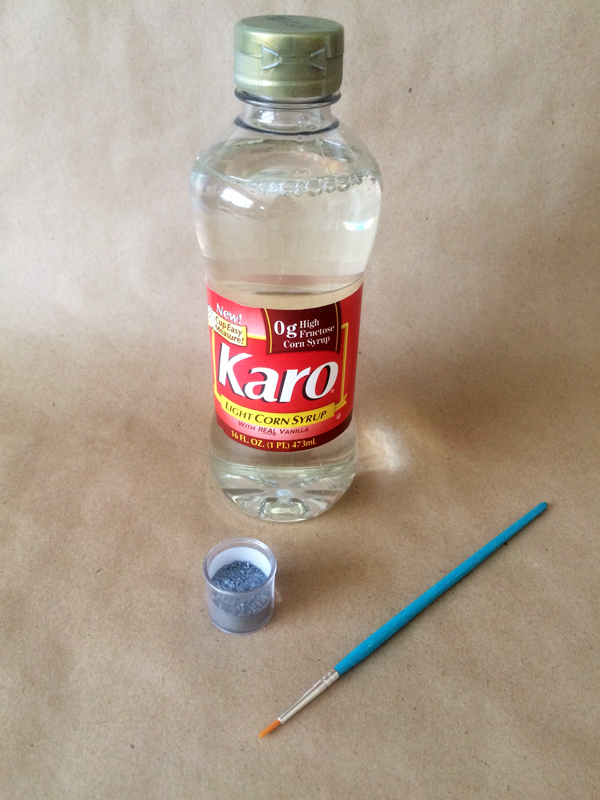
You’ll need a really fine thin brush, a couple of drops of corn syrup and use the tip of a knife to scoop out the silver luster dust. The luster dust to corn syrup ratio should be about even.
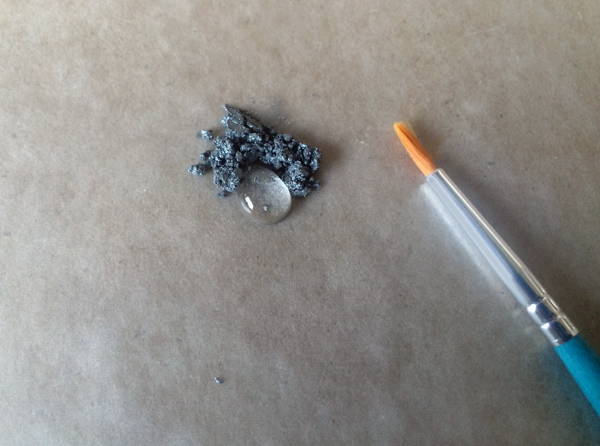
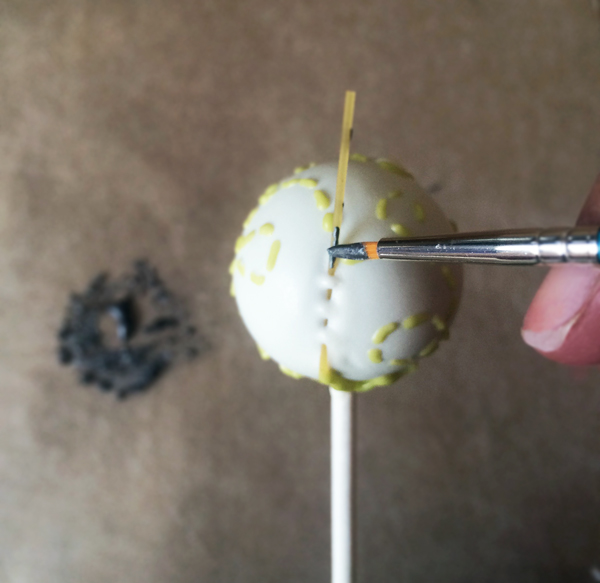
Mix a couple of drops of corn syrup with a little bit of silver luster dust, a little goes a long way. Mix together using your paintbrush and paint the pieces to look like knitting needles and let dry completely. Make sure to paint the exposed ends, the areas between the stitching might be too small for your brush, and that’s okay, don’t attempt to paint the areas if you’re in doubt.
Step 8 (optional):
This step is completely optional, it is for the more advanced, but it definitely adds more realism to this cake pop. Pipe to elevate the areas in between the stitching to give it a “puffed up” quilted look.

Pour remaining white coating into a corner of a ziplock bag. Snip the tip and carefully squeeze a dollop onto the cake pop.
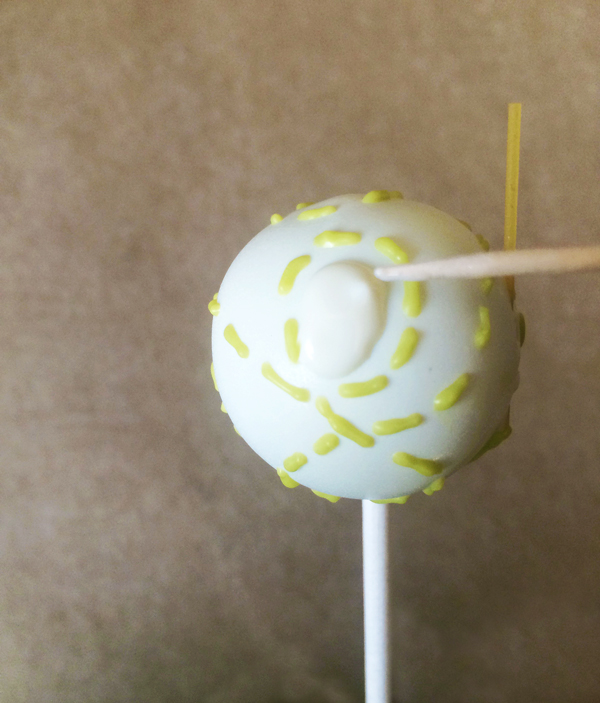
Use a toothpick to spread out the coating.
Share tips, start a discussion or ask one of our experts or other students a question.
No Responses to “Make Hand-Stitched Quilted Cake Pops With This Easy Tutorial!”