
Paper crafts are always a blast to do, but heat embossing adds a magic touch. This technique lets you add textured elements to your card stock or paper, using stamps, ink and special powders. (It’s all about the melt!) You won’t need too many supplies to get started, and the results are gorgeous. Get ready to see just what you can do.
How to Heat Emboss
Level: Easy
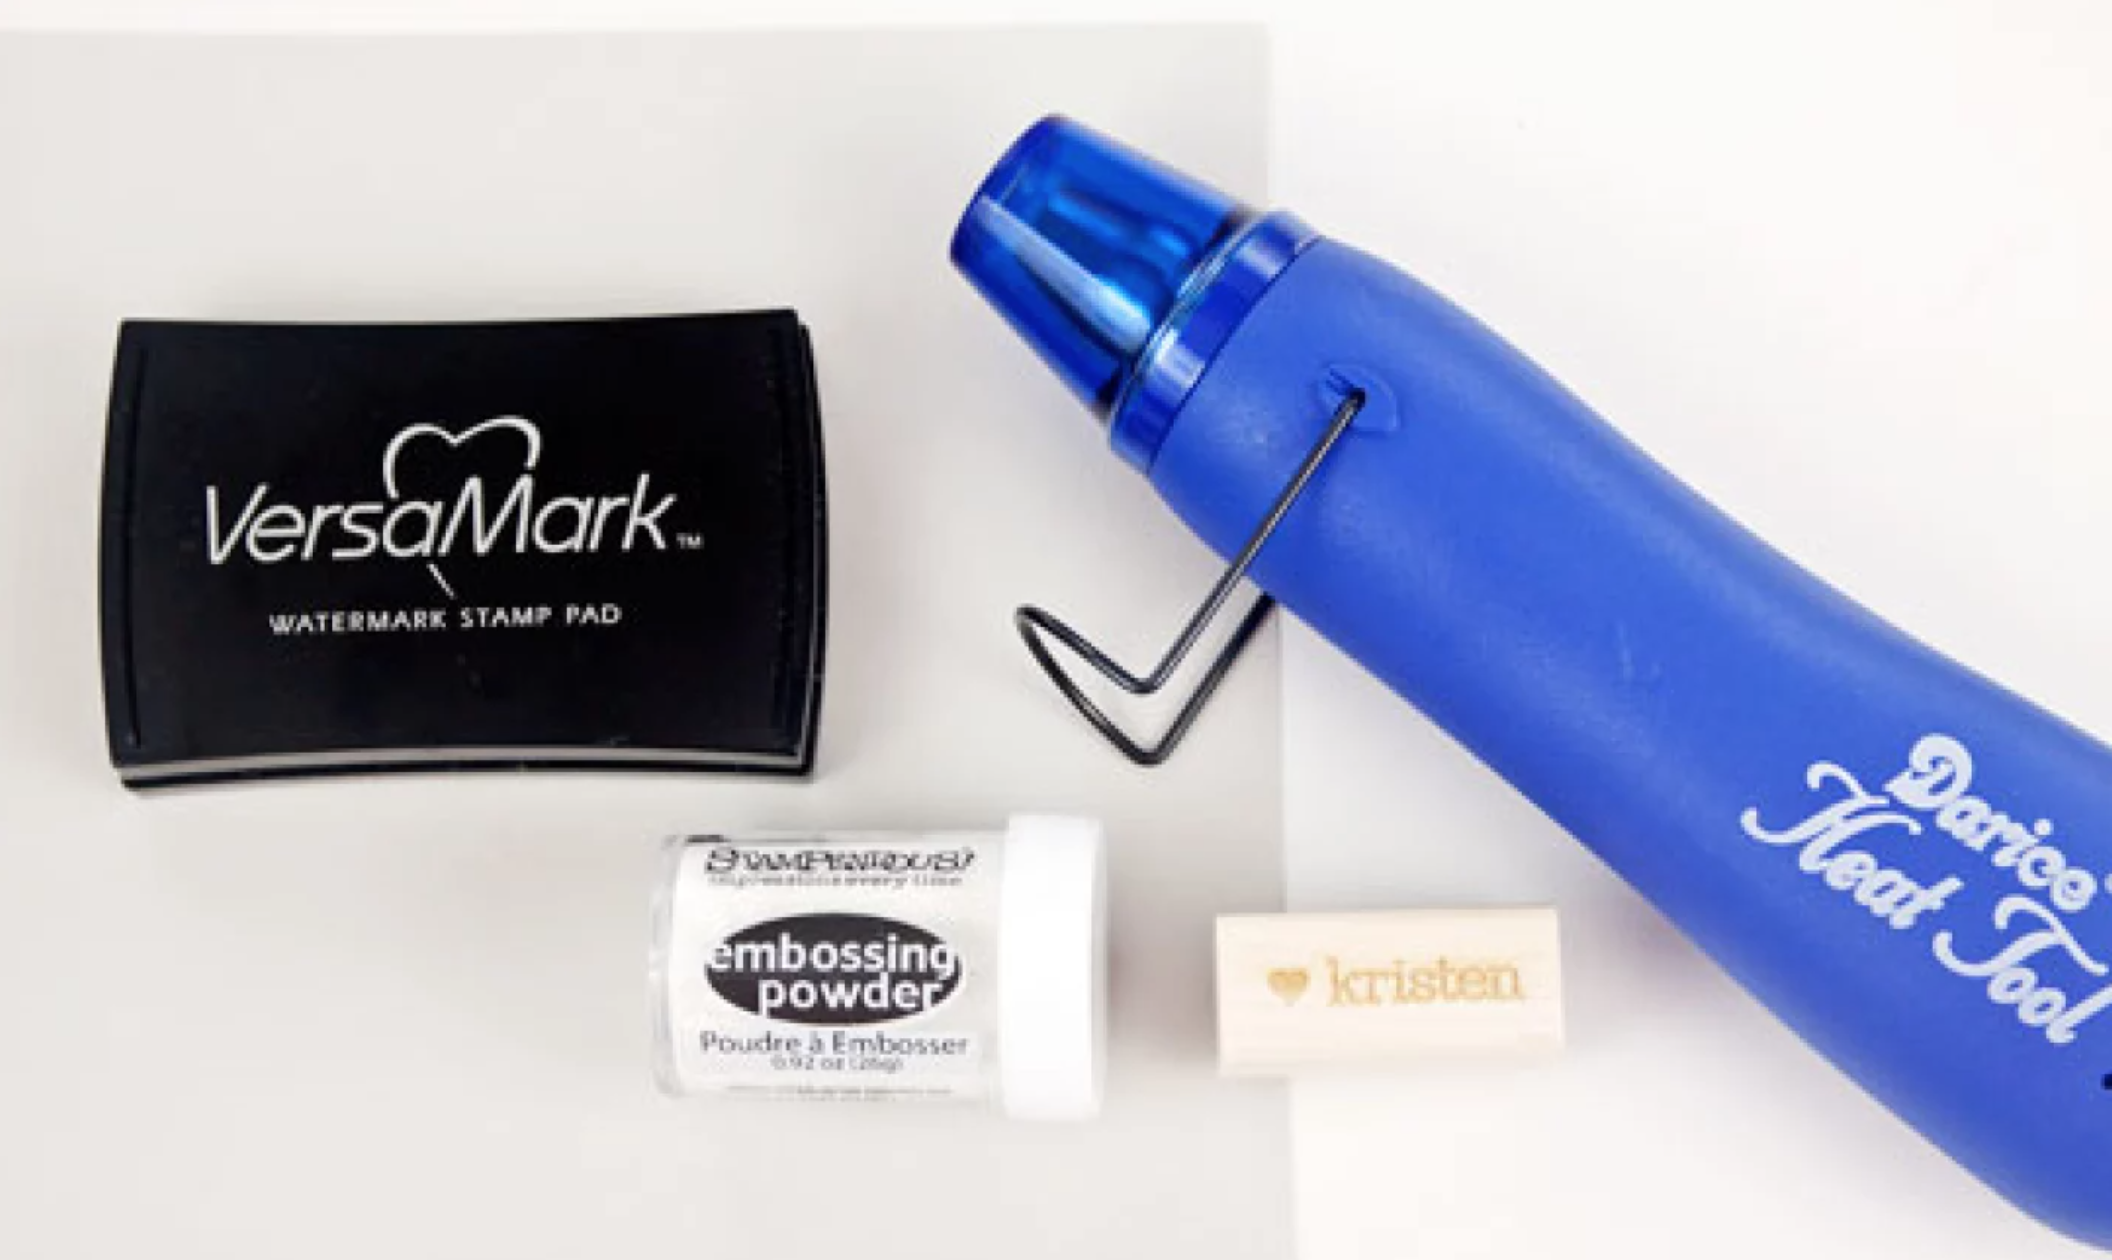
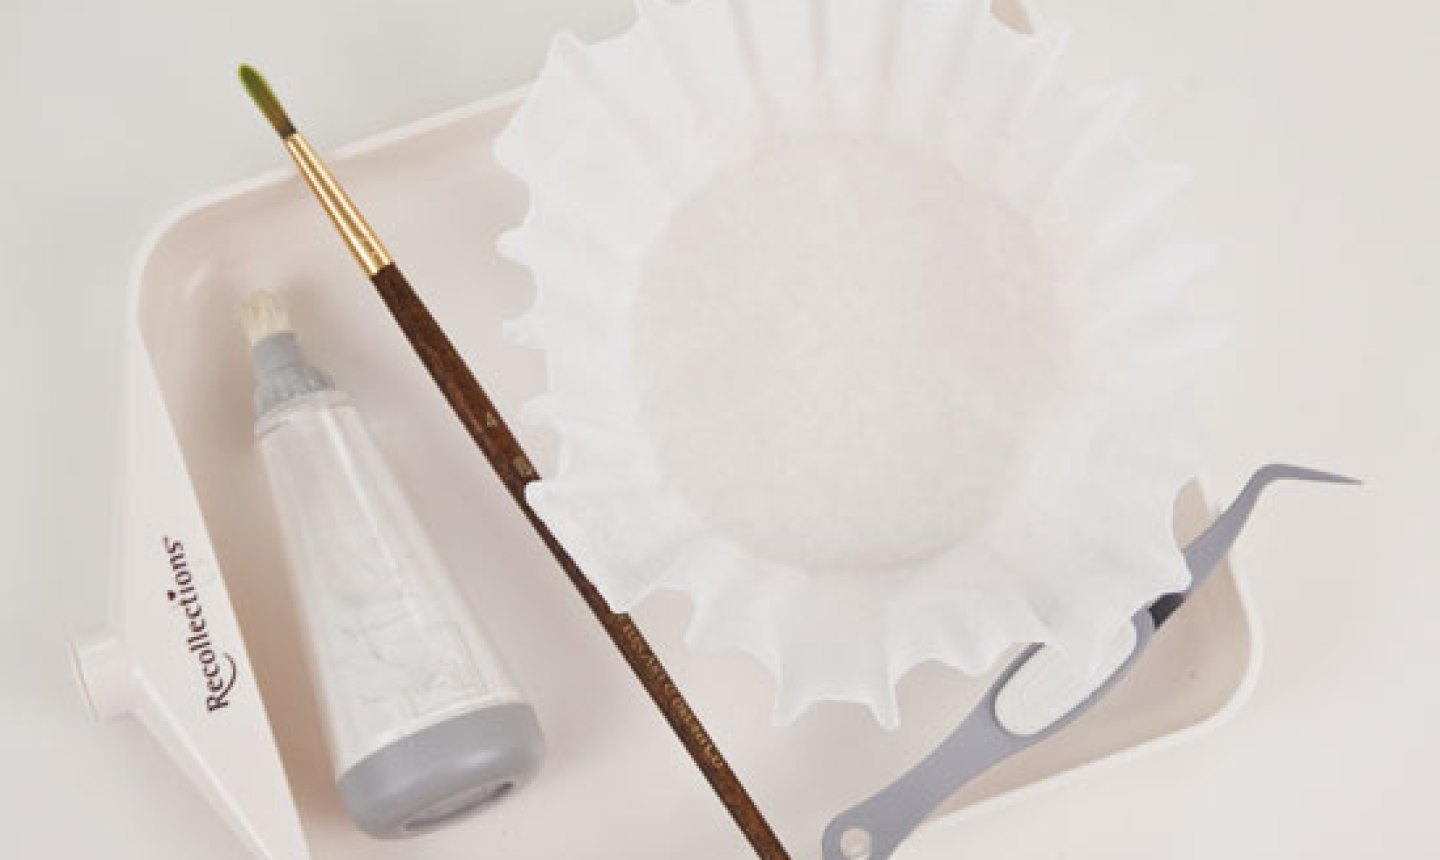
What You Need
Best Inks for Heat Embossing

You need inks that are on the thick and sticky side so the embossing powders can stick to them. You also want inks that dry slowly, so skip the quick-drying ones for this technique. Some to try:
Embossing, Watermark or Resist Ink
You’ll see all three names, depending on the company that makes it, but this type of ink is perfect for heat embossing. Tsukineko’s Versamark Watermark Ink is super-popular among embossers. The clear kind is the most versatile, but if you want shine, go for tinted and shimmery Dazzle Watermark inks.
Pigment Ink
These inks are thicker and slower to dry than dye-based inks. They also come in a range of vivid colors so you can create a variety of special effects.
Distress Ink
Though distress inks are water-based dyes, they dry more slowly than regular dye-based ink. They give everything a retro weathered look.
Embossing Powders with Power
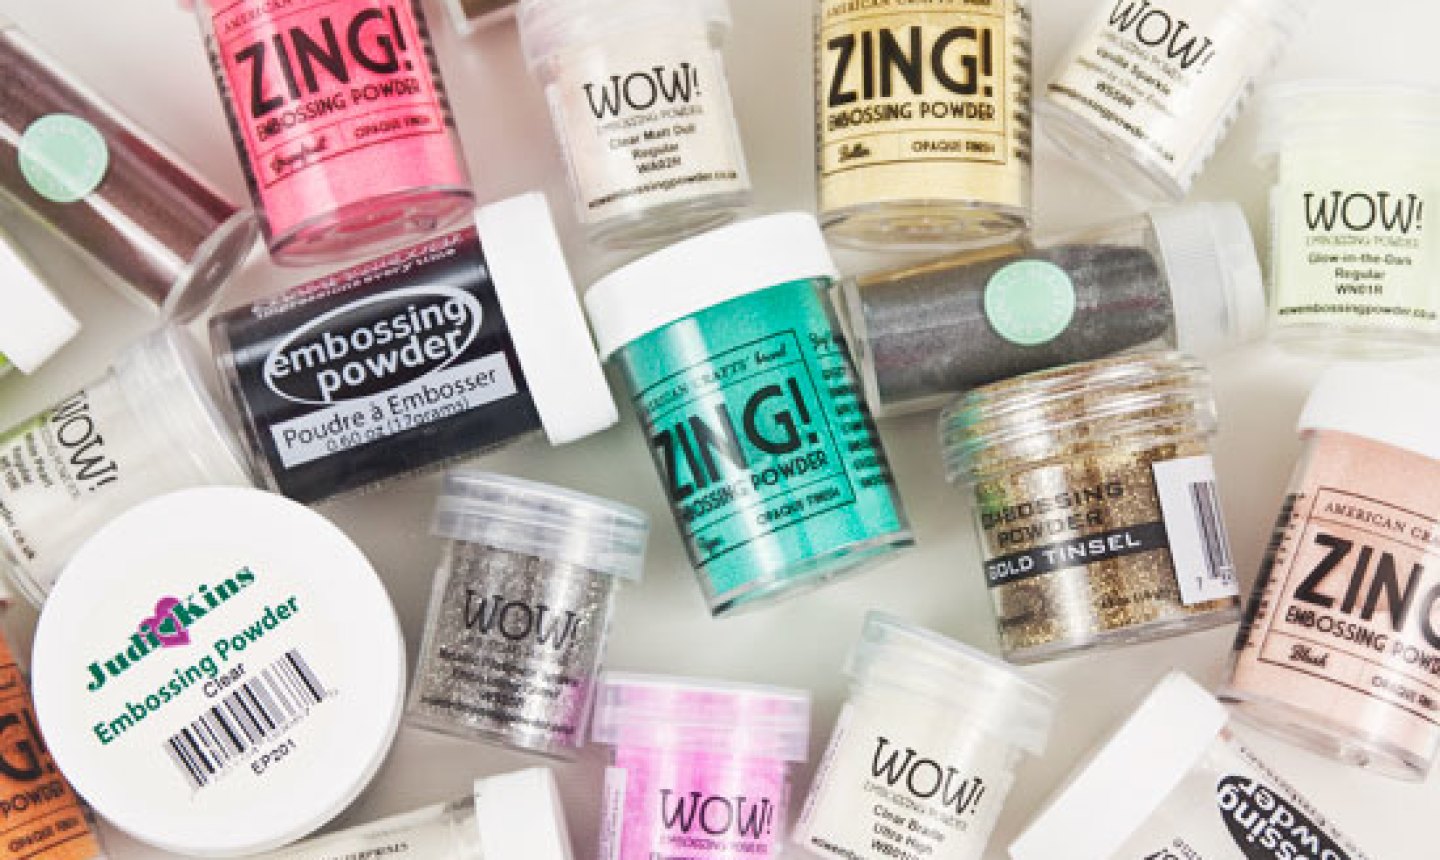
The beauty of embossing powders is that they melt when you heat them, leaving behind a fabulous textured image. Many people stick to the most common powders: clear, white and black. But if you want to mix it up a little, consider these:
Detail Embossing Powder
The smaller particles work really well with stamps that feature thin fonts or detailed patterns.
Ultra Thick Embossing Powder
This larger particle powder has a super glossy finish. It’s great for images with plenty of solid areas.
Glitter Embossing Powder
The best of both worlds: You get all the sparkly goodness of regular glitter without the mess. After the powder melts and cools off, the glitter is permanently embedded.
Metallic Embossing Powder
Use these powders and your designs will look like they’re made of gold, silver, copper or platinum. Fancy!
Opaque Colored Embossing Powder
They come in just about every color as well as neons. Use a single hue or several to create rainbow and ombré effects.
Specialty Embossing Powders
There are glow-in-the-dark embossing powders as well as scented ones. (Whoa!) Opt for these when you want to explore crafts in 4D.
How to Emboss
Now that you’ve picked your supplies, here’s how to make the magic happen.
1. Stamp and Sprinkle
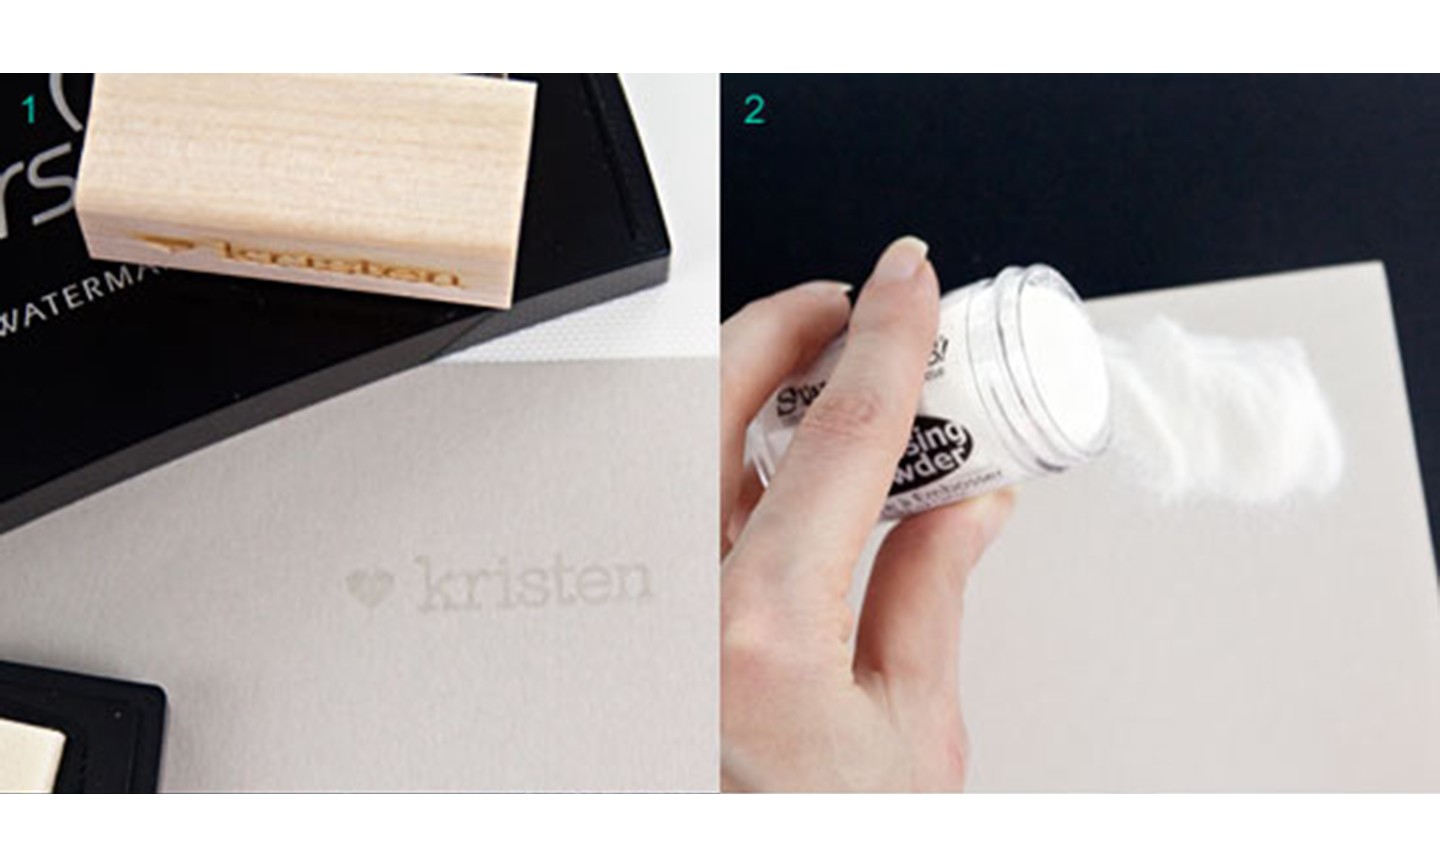
Stamp your image using an embossing-friendly ink, then sprinkle a generous amount of embossing powder over the image so all the inked areas are covered.
2. Clear and Heat
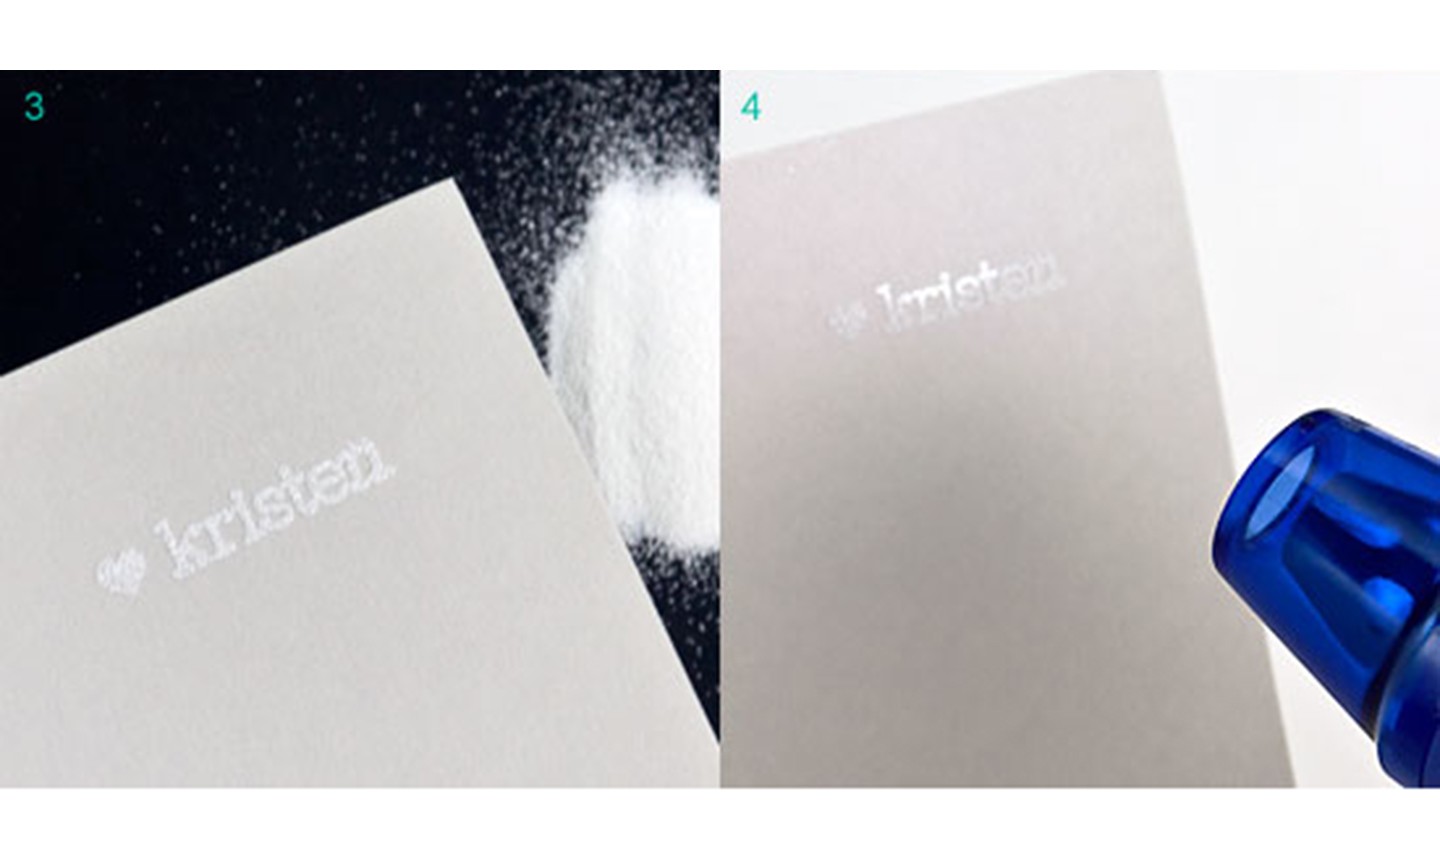
Pour the leftover embossing powder onto the scrap paper. Flip the card stock over and tap it a couple of times to get rid of more excess powder. Funnel the leftover powder back into the container.
Heat the embossing powder with a heating gun until it’s completely melted; be careful not to overheat it because it will bubble and evaporate, possibly discoloring the paper.
Other Heat-Embossing Tools
The basics are just fine, but if you want to streamline the heat-embossing process (and protect your fingers from the heat gun) these tools can help.
Once you start playing around with heat embossing, it’s easy to become mesmerized. Consider yourself warned!
Do you have to heat them immediately or can I get a bunch ready and then heat them all in one go?
Love this
Thanks for sharing