
There’s a lot to love about herringbone stitch. Its beautiful textures makes it stand out among other stitches, and it’s versatile enough for anything from garments to home decor and accessories. Many knitters shy away from it because of its complicated instructions, but once you master it you’re hooked for life.
There are so many different versions of herringbone stitch; some require you to slip stitches while others call for knitting or purling two stitches together, then dropping one of those stitches from the needle.
No matter which version you choose, you can make the most of herringbone stitch with these simple tips.
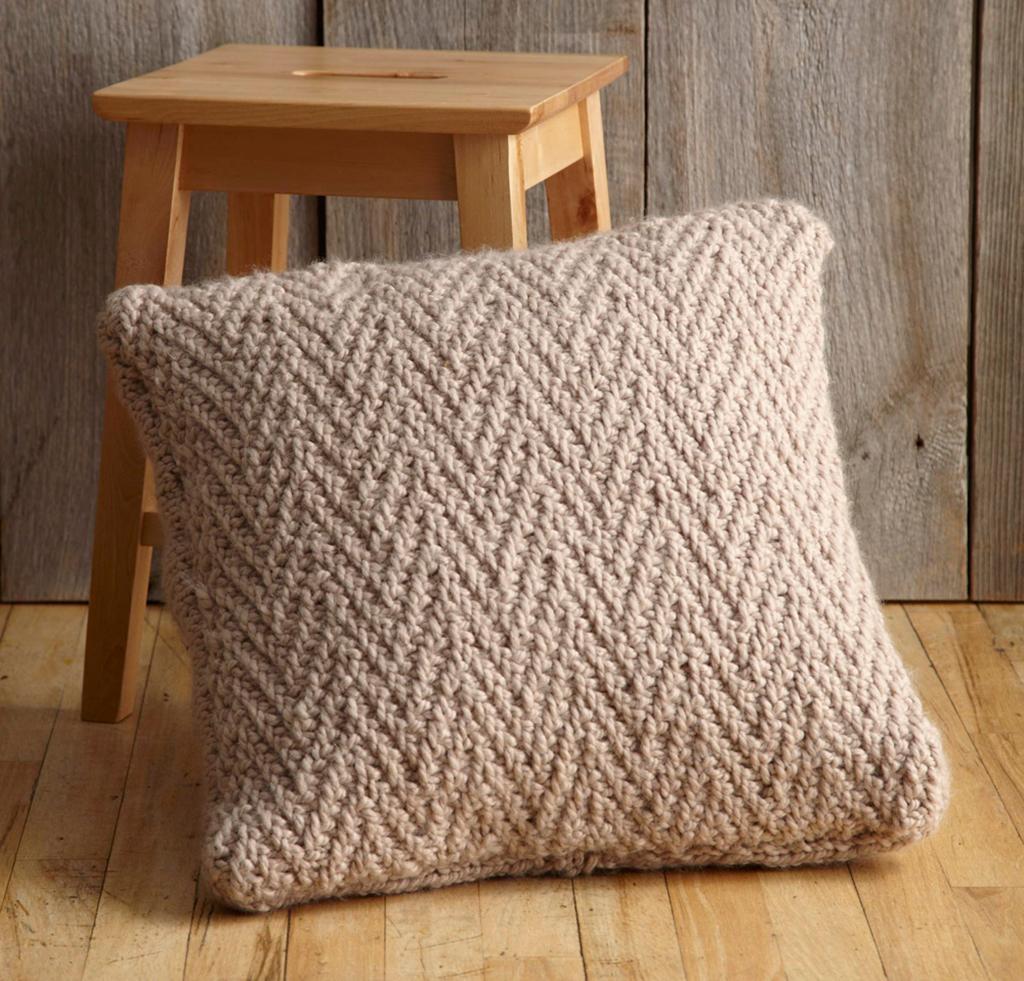 Herringbone Stitch Pillow Kit
1. Experiment with different yarn weights.
Most of the herringbone projects you’ve seen are probably made with worsted-weight yarn, but the stitch is versatile enough to be knit with almost any weight. The Herringbone Stitch Pillow pictured above is stitched with a bulky-weight yarn that really shows off the stitch definition. But if you want your herringbone stitch to look more delicate, test it out on a worsted or even a fingering weight yarn.
2. Get a grip with bamboo needles.
Working the herringbone stitch involves maneuvering the stitches in ways that aren’t common for plain old knit and purl. For example, some herringbone stitch patterns require you to knit two stitches together, then drop only the first stitch from the needle. This can be a bit difficult, especially if your yarn is slipping easily off the needles. Using a bamboo needle can help you get a bit of a grip on those yarns and only drop the stitches that need to be dropped.
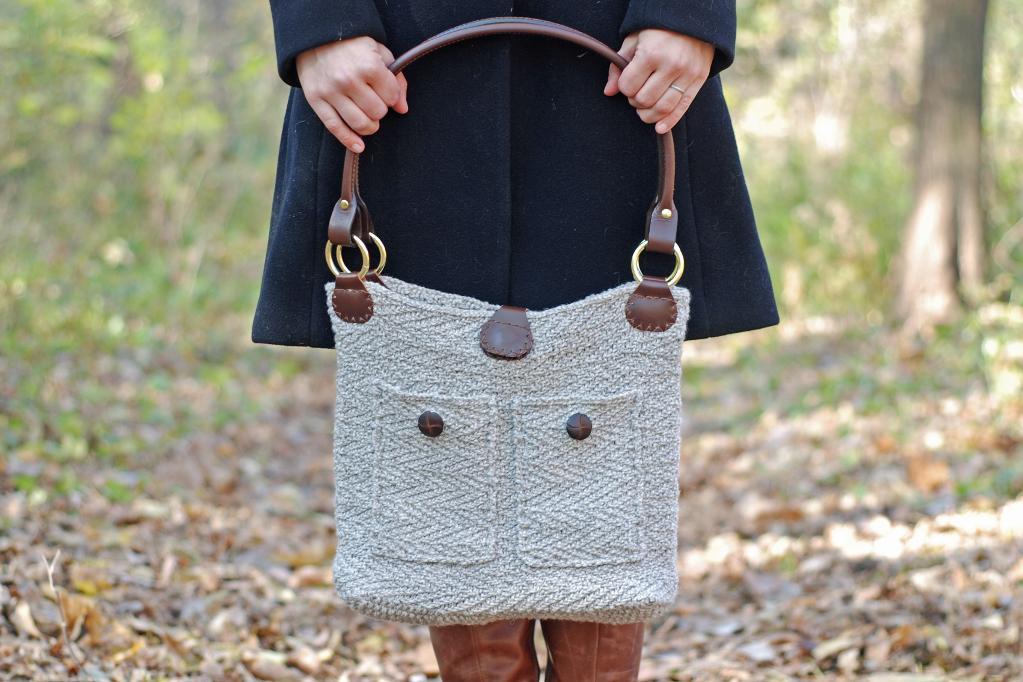 Minnehaha Herringbone Bag pattern via Craftsy member JenniLansing
3. Take advantage of herringbone’s durability.
If you’ve ever checked out a herringbone accessory in person, depending on the gauge and the type of yarn used, you might remember that it was sturdy. Herringbone stitch works great for tote bags and any other accessory that might need some extra support. Check out the Minnehaha Herringbone Bag pictured above for proof!
4. Keep the rhythm of the stitch pattern going.
Do you ever get into a nice rhythm when you’re knitting? Even more complicated stitches like herringbone can become second nature to us. But if you’re stopping in the middle of a row or round, it’s possible that you’re losing that rhythm — and maybe even losing your place in the stitch pattern. If you’re working herringbone for the first time, finish one row or round before you put that knitting down so you can start fresh when you pick it up again.

Cast On Magazine Herringbone Cowl via Craftsy instructor Patty Lyons
5. Combine herringbone with other stitches.
Herringbone isn’t selfish when it comes to sharing the spotlight. If you’re designing a herringbone stitch pattern, it doesn’t have to exclusively be herringbone. I love the ribbed sleeves paired with the herringbone stitch of the Cast On Magazine Herringbone Cowl pictured above.
Learn how to make this cowl in the Craftsy class Improve Your Knitting: Alternative Methods & Styles.
6. Start simple.
If you’re trying herringbone stitch for the first time, don’t go crazy with shaping. We love the free One-Hour Herringbone Cowl pattern from Stefanie Japel because it lets you practice herringbone stitch without worrying about increasing or decreasing. Plus, at the bottom of this post find a helpful how-to video from Stefanie so you can knit along with her. When you’re finished, you’ll have a cozy new accessory — and the skills to knit more advanced herringbone patterns.
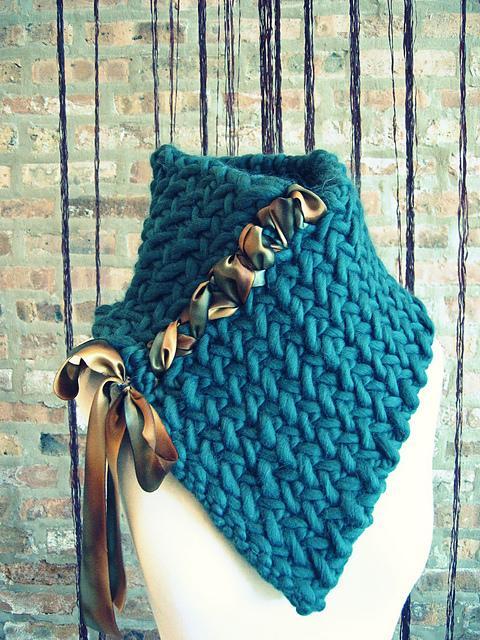
Herringbone Neckwarmer pattern via Craftsy member BreeanElyse
7. Add extras.
Herringbone can stand alone, but it also looks great when it’s embellished. A simple ribbon woven through the stitches set this FREE Herringbone Neckwarmer pattern apart. You could also add embellishments like embroidery and buttons to your herringbone projects.
Free video bonus!
Ready to give the herringbone stitch a try? Download the FREE 1 Hour Herringbone Cowl pattern from Stefanie Japel, the enjoy a FREE stitch-by-stitch video tutorial from Stefanie below!
Share tips, start a discussion or ask one of our experts or other students a question.
No Responses to “The Herringbone Stitch: 7 Tips, Plus a FREE Pattern + Video Tutorial”