
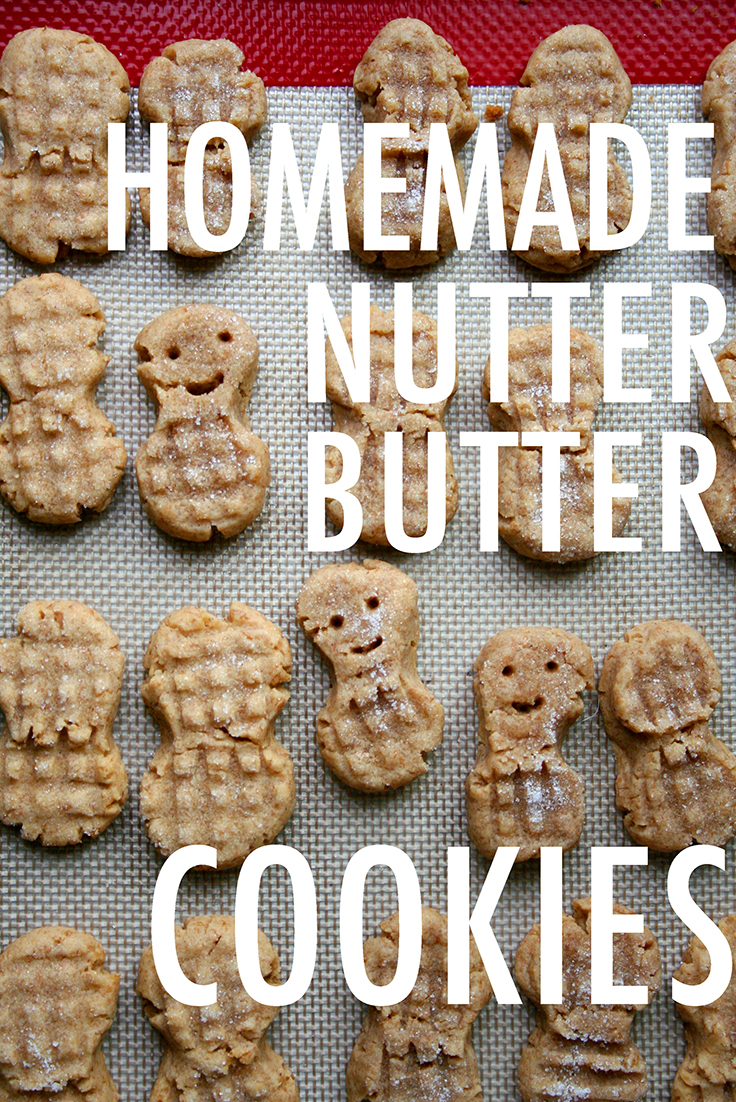
Let’s face it: sometimes, you crave commercially produced foods, especially of the cookie variety. But as these homemade Nutter Butters prove, you can have your nostalgia and eat a great cookie, too.
Photos via CakeSpy
There are a number of good reasons to make DIY Nutter Butter cookies. For one, with a homemade version of these peanut butter sandwich cookies, you have control over the ingredients. That means you can make them with quality, local ingredients and avoid the stabilizers and hard-to-pronounce ingredients that can be present in commercially produced cookies.
For another, you can make variations to suit your taste. For instance, you could use part whole wheat flour to create a particularly nutty and healthier version of the cookies…
or, you could create the cookie-to-filling ratio of your dreams: double stuff Nutter Butter, anyone?
DIY Nutter Butters
Makes about 25 sandwiches (approximately 50 cookies total)
Ingredients for the cookies
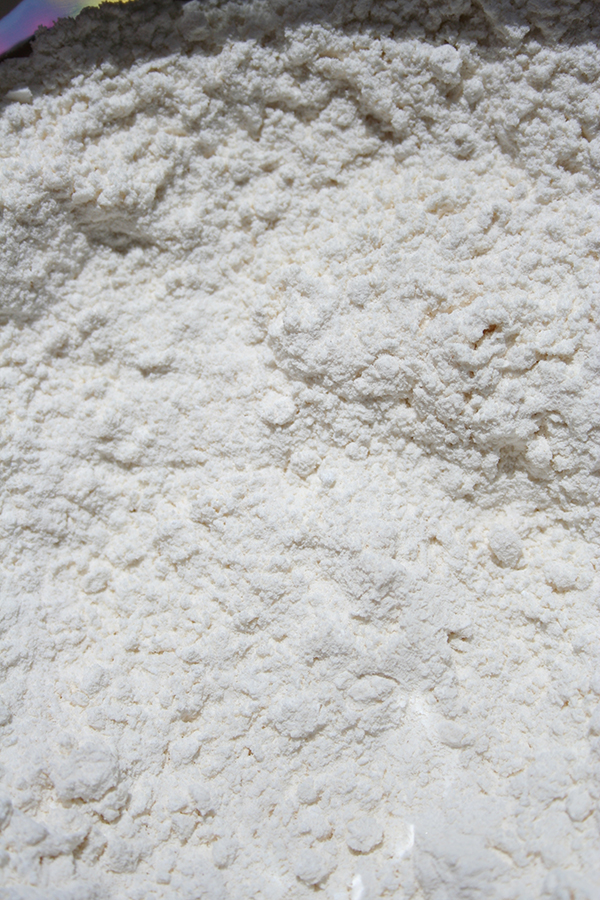
- 2 cups flour, divided (can use part or up to half whole wheat flour)
- 1 teaspoon baking powder
- 1/2 teaspoon salt
- 1/2 cup creamy peanut butter
- 6 tablespoons unsalted butter, softened
- 1/2 cup packed brown sugar
- 1/4 cup honey
- 1 egg
- 1/4 cup granulated sugar, for dipping the cookies before baking
Ingredients for the filling
- 1/2 cup (1 stick) butter, softened
- 1/2 cup creamy peanut butter
- 1/2 teaspoon salt
- 2-3 cups confectioners’ sugar, sifted
- cream or milk to thin (optional)
Note: International readers may enjoy our handy metric conversion guide.
Instructions
Step 1:
In a medium bowl, sift together the flour, baking powder and salt. Set to the side.
Step 2:
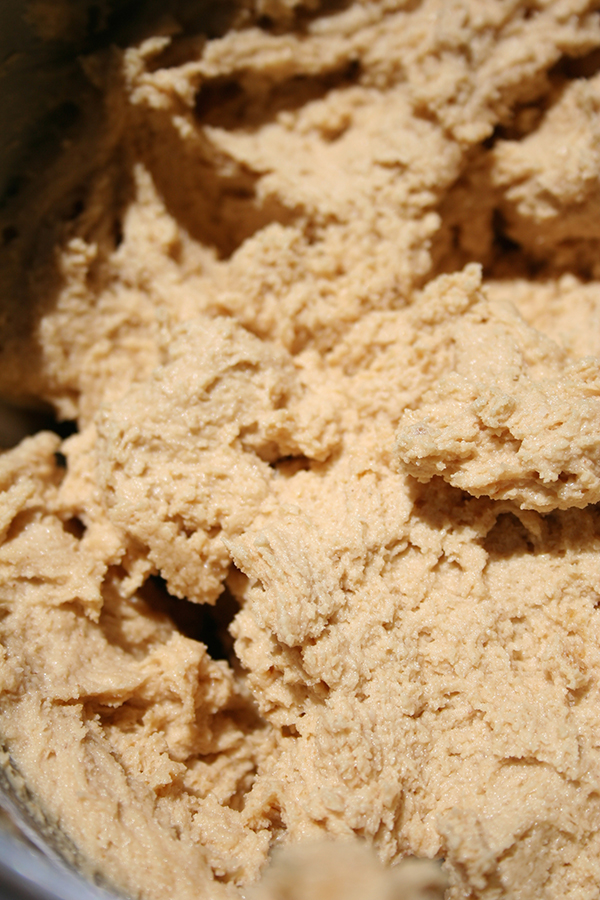
In the bowl of a stand mixer fitted with the paddle attachment, cream the butter, peanut butter, brown sugar, and honey on medium-high speed until completely smooth, about 3 minutes.
Step 3:
Reduce the mixing speed to low, and add the egg. Mix until combined. Scrape down the sides of the bowl with a rubber spatula if needed.
Step 4:
Stop the mixer. Add half of the flour, and mix on low until it has incorporated into the mixture. Pause to scrape the sides of the bowl. Add the remaining flour, and mix until the mixture has become cohesive. The dough should have a fairly thick, play-doh like consistency.
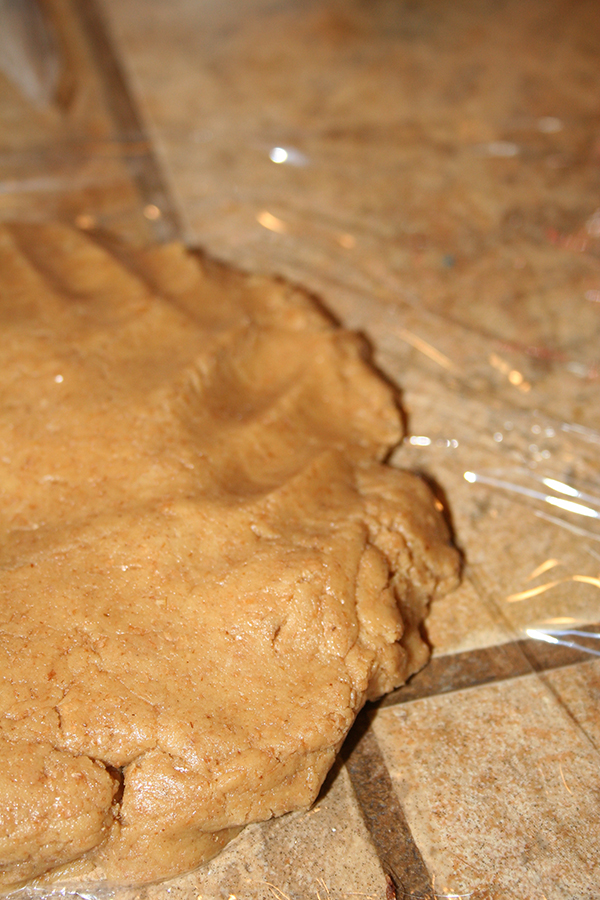
Step 5:
Place the dough between plastic wrap. Let it chill in the refrigerator for 2 hours or as long as overnight. This resting period will help the cookies hold their shape when baked, and will also help all of the flavors meld.
Step 6:
At the end of your cooling period, preheat the oven to 350 F. Pour the sugar in a shallow bowl. Line two baking sheets with parchment paper or heatproof silicone sheets.
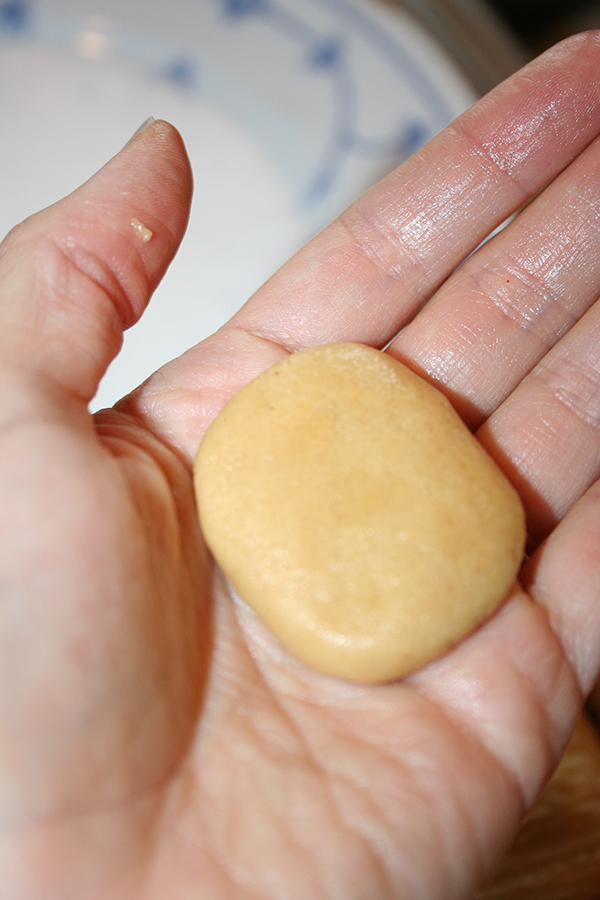
Step 7:
Remove the dough from the plastic wrap, and pinch off about 1 tablespoon’s worth of dough. Roll it into a little oval. Press one side of the oval into the sugar, to coat one side of the cookie in granulated sugar. Set it, sugar-side up, on your prepared baking sheet. Repeat with the remaining dough, placing each oval about an inch apart on the sheet to allow for minimal spreading.
Step 8:
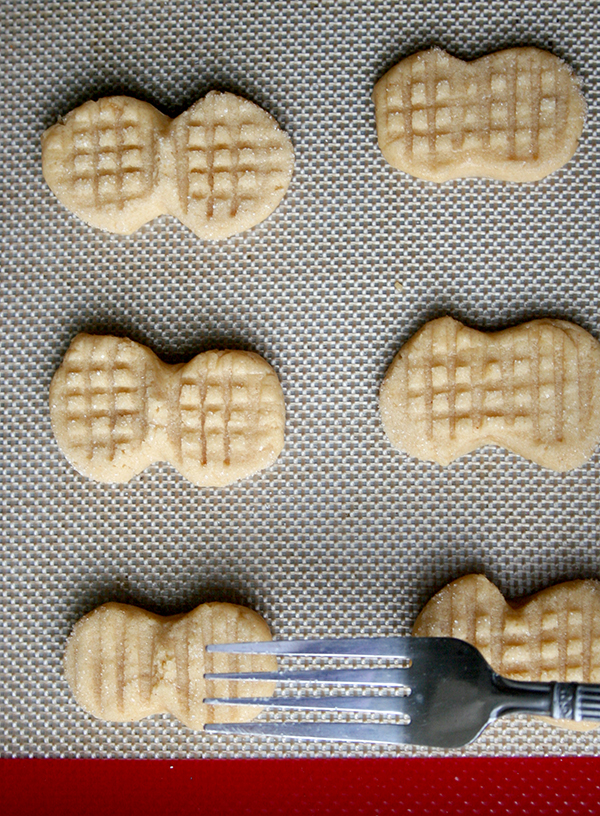
Gently pinch the center of each oval, as if you were giving each cookie an hourglass waist.
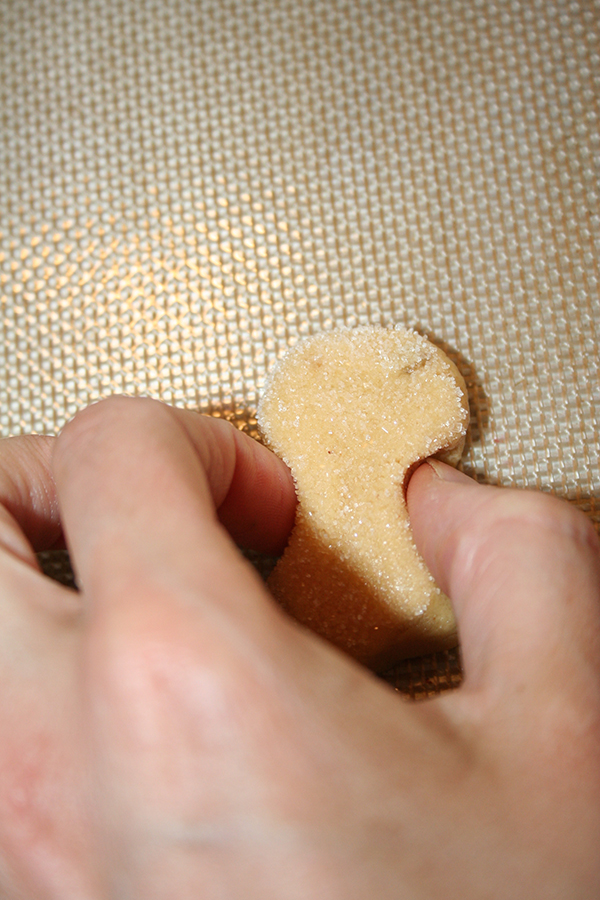
Using the tines of a fork, press them along the cookies first horizontally, then vertically. They will spread and flatten slightly, but don’t flatten them too much.
Step 9:
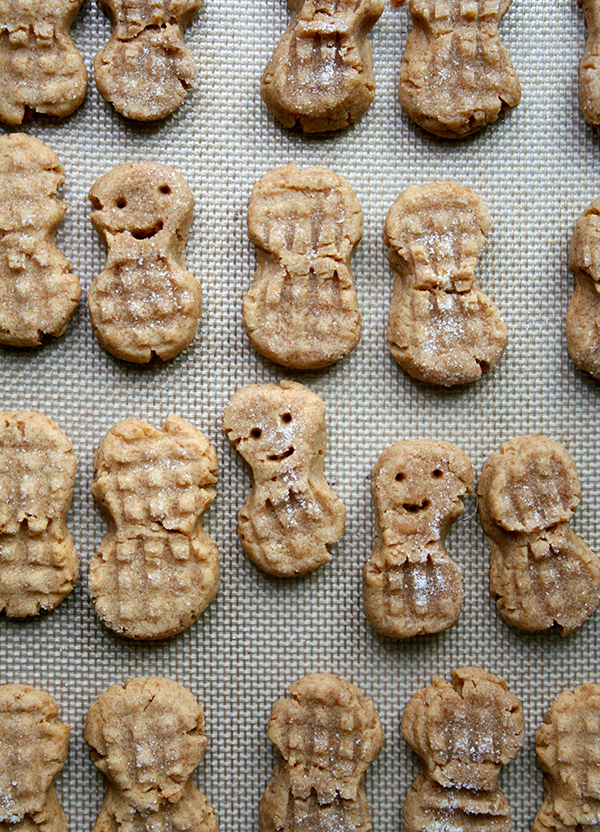
Bake in the preheated oven for 6 to 8 minutes, rotating the pans halfway through baking. To detect doneness, look for a matte finish on the tops of the cookies, as light browning is hard to detect given the color. You can leave them in slightly longer if you prefer a crispy cookie.
Step 10:
Remove from the oven, and let cool on the sheets for several minutes so that the cookies can “set,” then transfer to wire racks to cool completely.
Step 11:
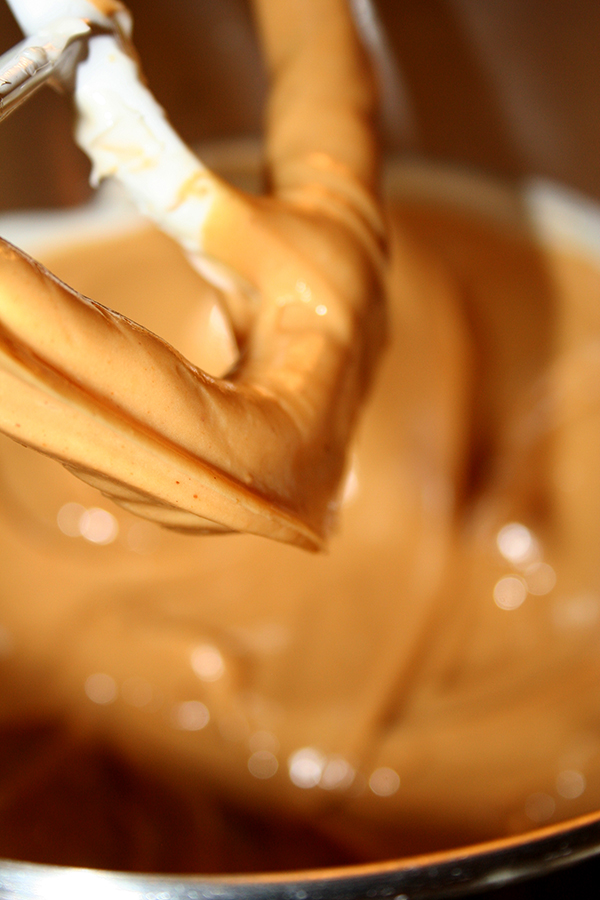
While the cookies cool, make the filling. In the bowl of a stand mixer fitted with the paddle attachment, cream the butter and peanut butter until very creamy, about 3 minutes. Stop the mixing, and add the salt and 1 cup of the confectioners’ sugar. Mix on low speed until combined. Continue adding the confectioners’ sugar bit by bit until you’ve reached your desired spreading consistency. The filling should be fairly thick, with just enough smoothness to spread. If your mixture is too thick, add milk or cream 1 teaspoon at a time until the mixture has reached your desired consistency.
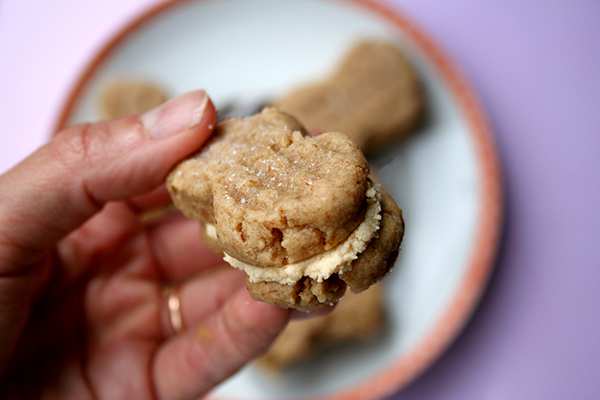
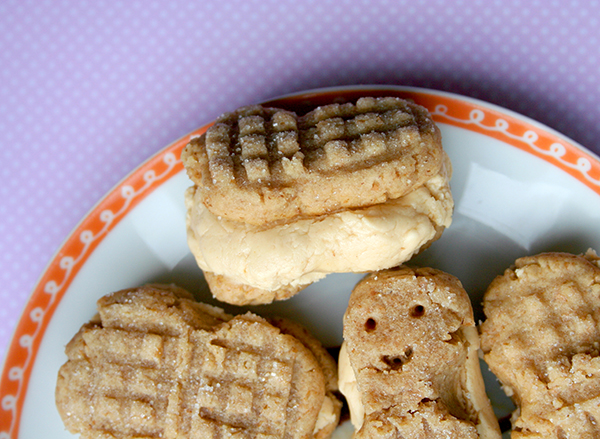
Step 12:
Assemble the cookies. Pair up similarly sized cookies. Spread the filling on the bottom of one cookie, and gently press the second cookie on top. Repeat with the remaining cookies.

Store these cookies in an airtight container at room temperature for up to 5 days, or store in the freezer for up to 3 months.
Share tips, start a discussion or ask one of our experts or other students a question.
No Responses to “Homemade Hack: DIY Nutter Butter Cookies”