
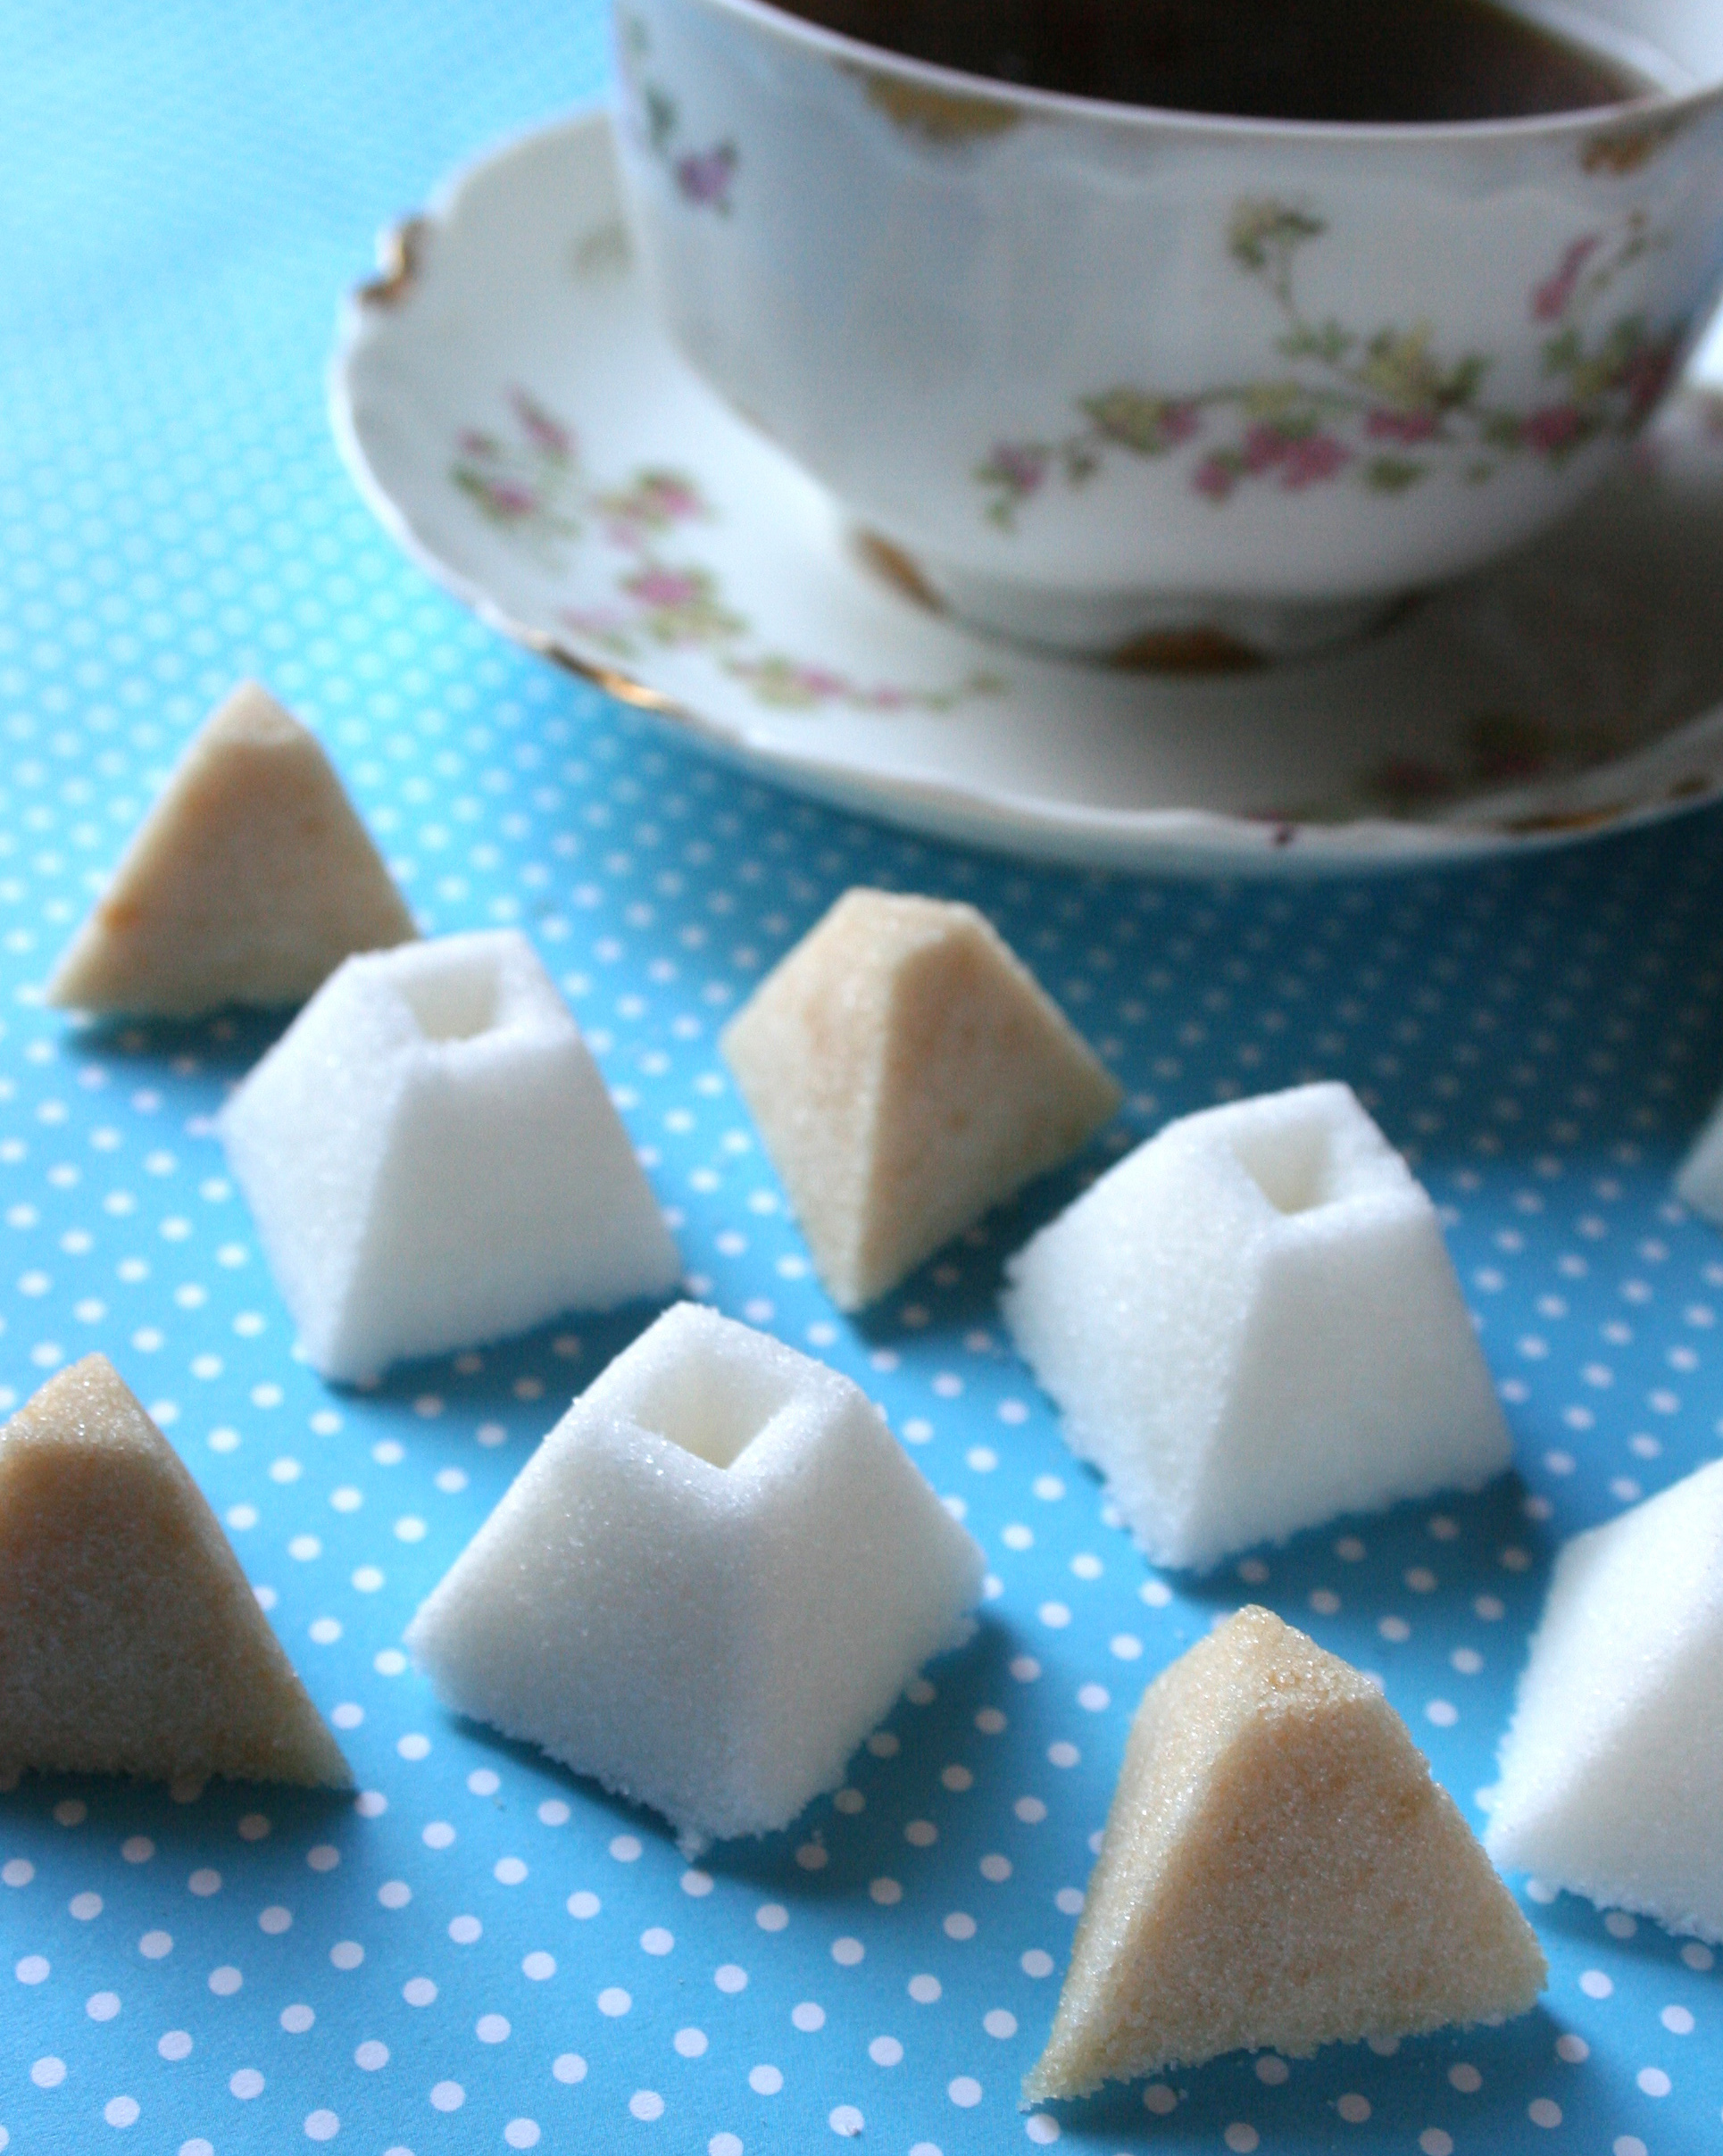
Want to be the fanciest person in the room by far? All you have to do is learn how to make homemade sugar cubes.
Photos via CakeSpy
In spite of their pinkies-out appearance, making sugar cubes is probably one of the easiest food projects you could possibly tackle. All you have to do is slightly moisten sugar, press it into molds, and wait for it to harden. That’s it.
Once you’ve mastered this simple method of molding sugar, you can also try out some creative recipe variations. Go ahead, flavor your sugar with vanilla extract or tint it in pink or blue! This post will explain the basic method of creating homemade sugar cubes plus offer fun and easy variations.
How to make homemade sugar cubes
Ingredients
- 1/2 cup sugar
- 1 teaspoon water
A note on molds
Supplies are minimal for this recipe, but a necessary component is a mold of some sort, to shape your cubes. It bears noting that they don’t have to be cubes, but they will keep best if the molds are simple geometric shapes such as cubes, pyramids, or the like.
Silicone candy molds with fairly small individual vessels are the ideal type for this project: they can easily be extracted and leave the sugar cubes with a smooth, even finish. However, plastic molds or even an ice cube tray with small vessels can be used.
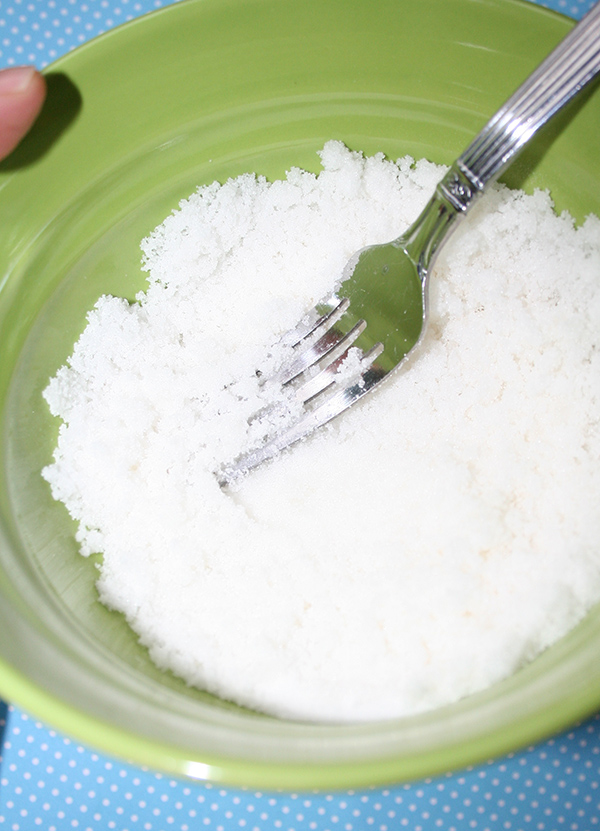
Step 1:
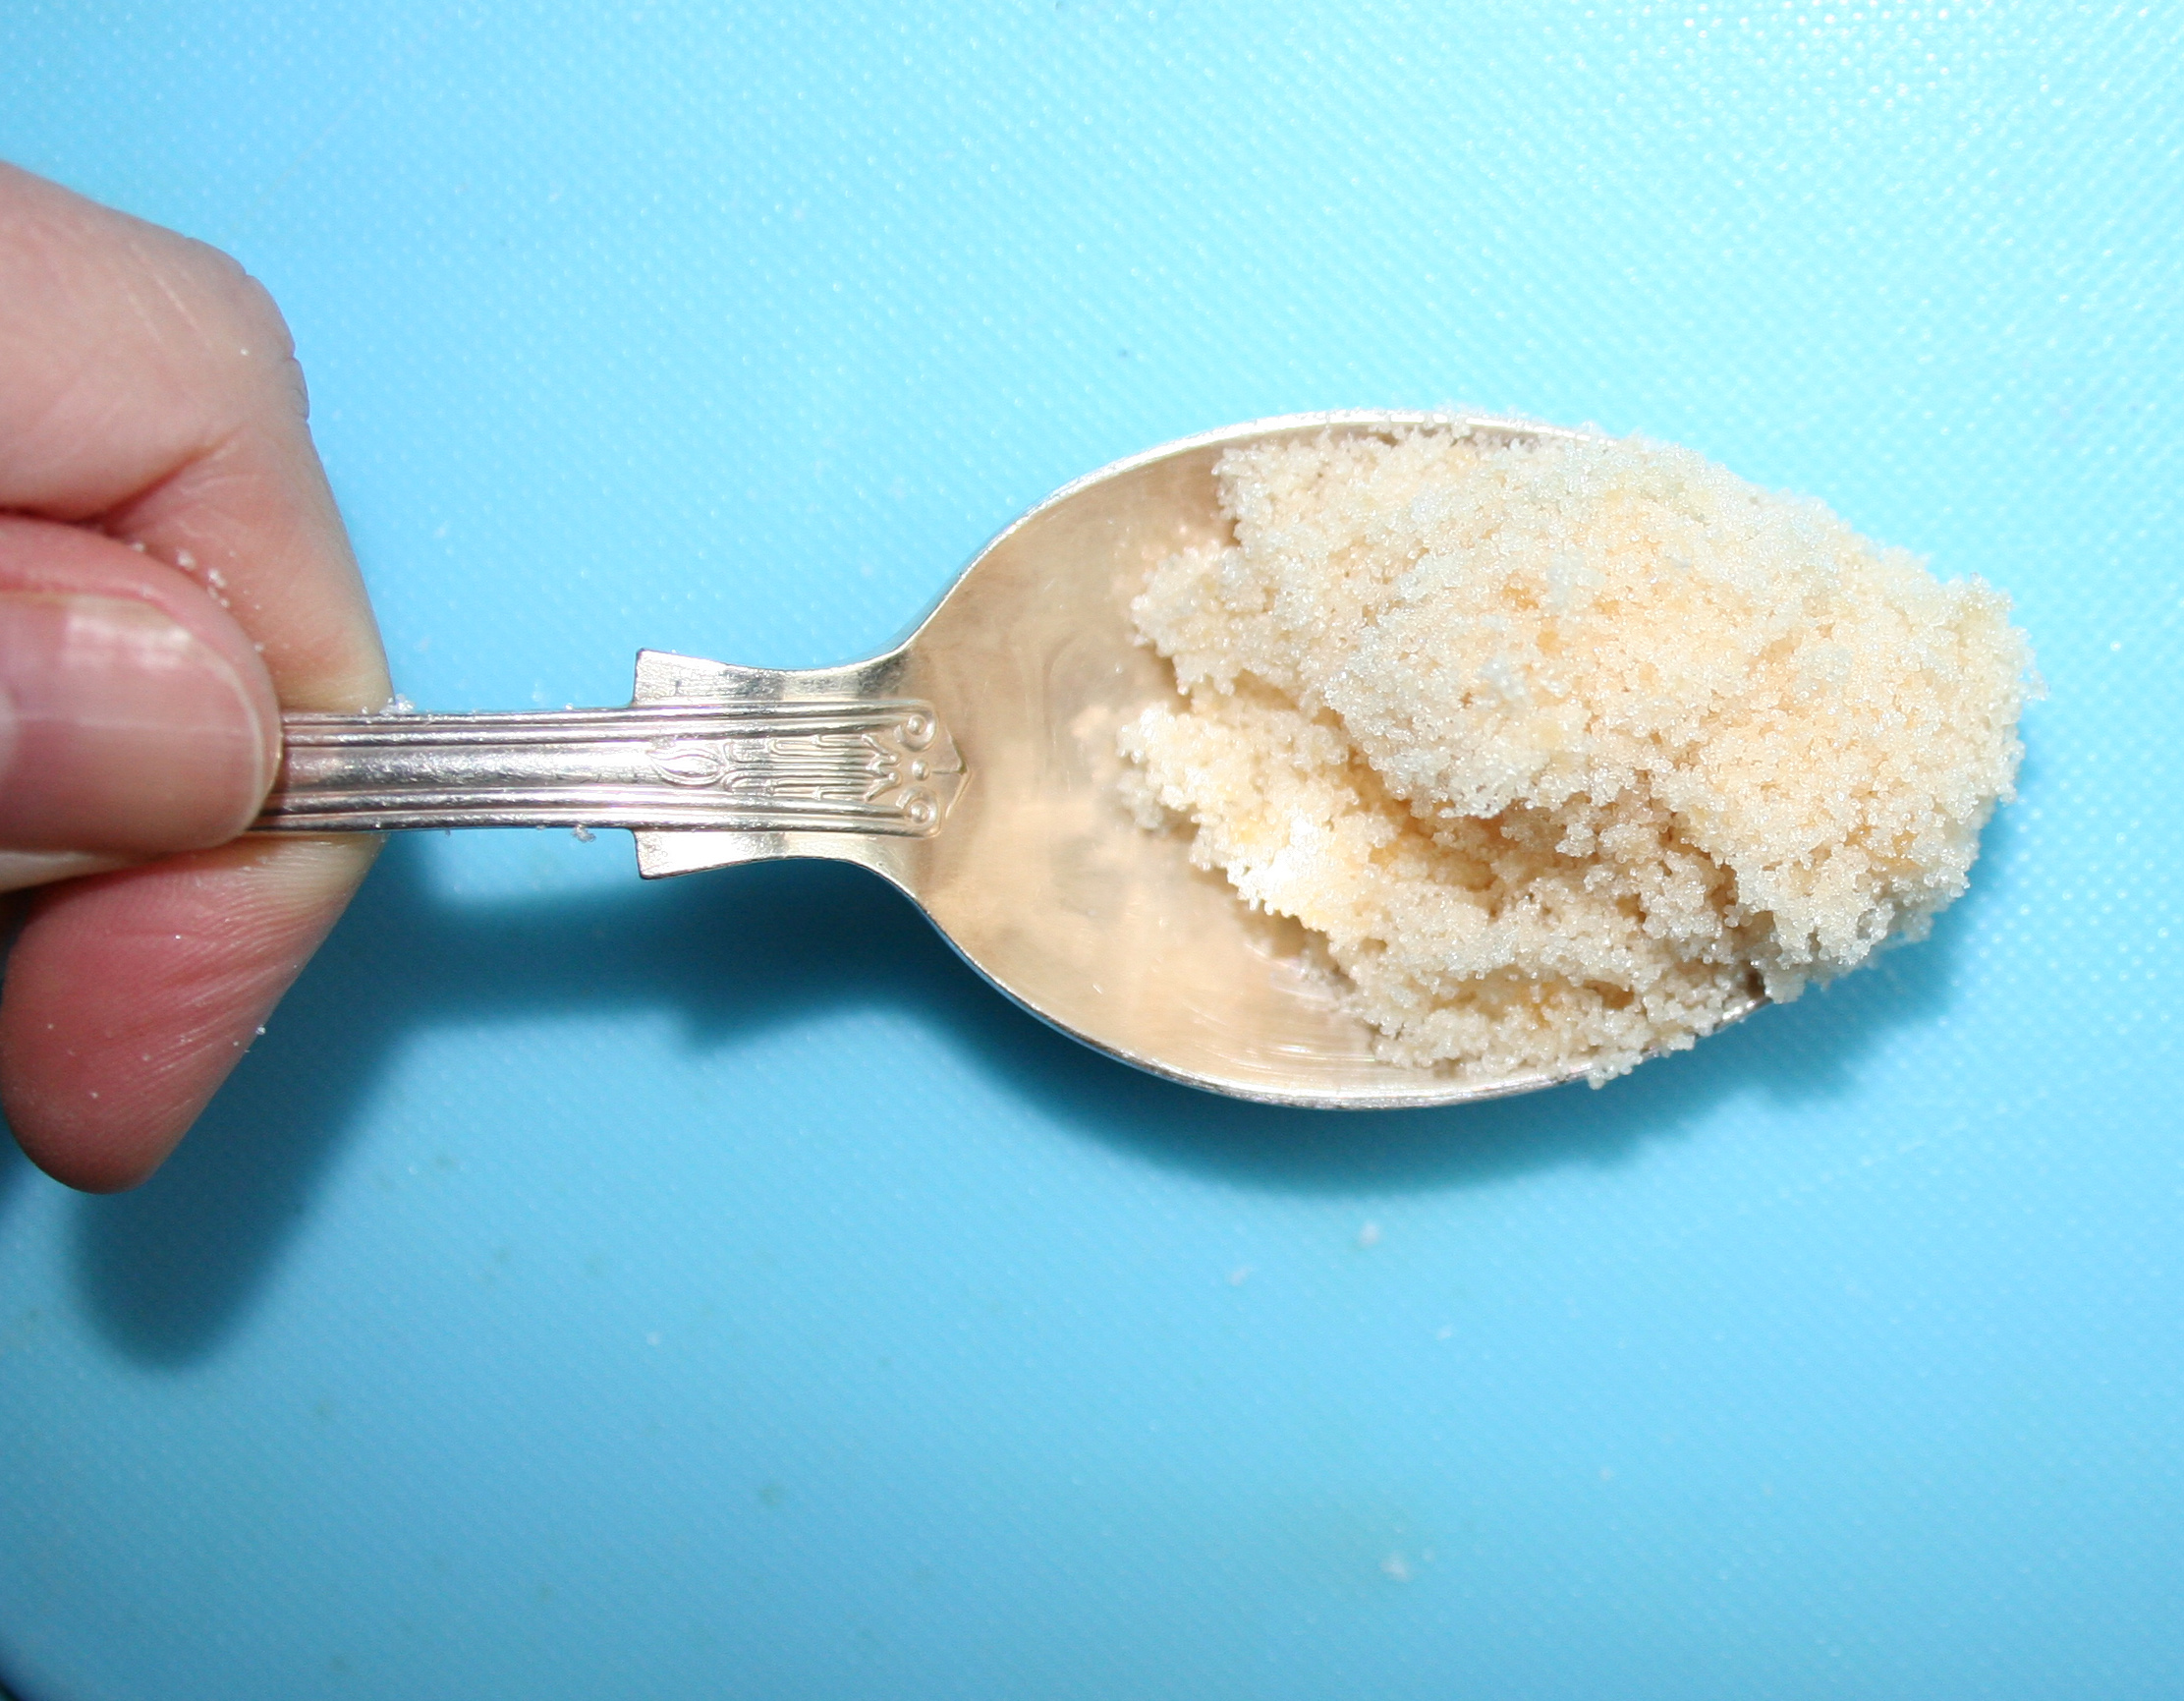
Pour the sugar into a bowl slightly larger than you need, so that you have plenty of room to mix. Add the water, mixing the sugar with a fork. It will first look lumpy where the water has been poured, but as you stir the sugar, it will progress from lumpy to crumbly but fairly even in texture, with a moisture sort of like brown sugar (you can press it with your fingers and it will leave an imprint).
If it seems too wet, it probably is: add more sugar, a tablespoon at a time.
Step 2:
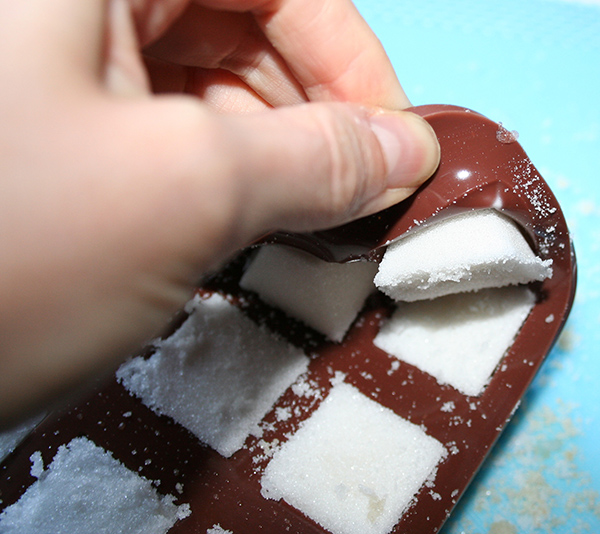
Once you’ve attained the ideal texture, use a spoon to transfer it to the mold. Spoon some sugar into the mold, and then press it down. Pack the sugar very firmly–fit as much as you can into the vessels of the molds.
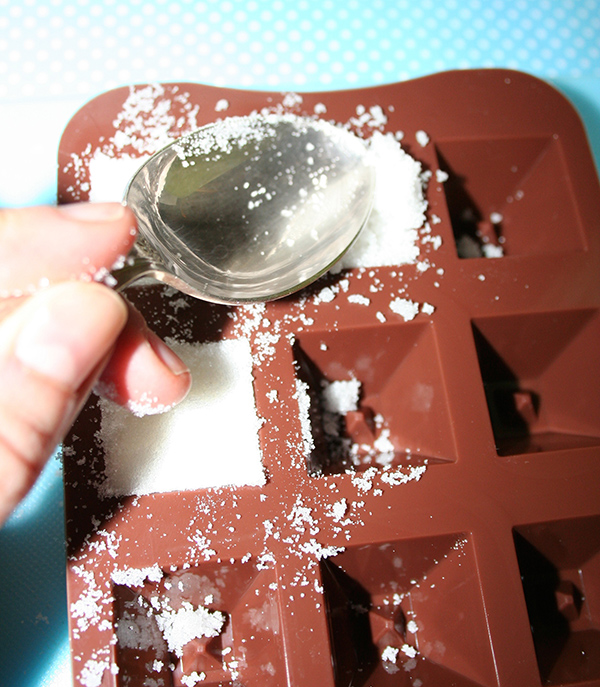
Note: If your molds have become a little sandy on top, like mine, use a moist paper towel to wipe away the residual sugar between molds–it will make your life easier later.
Step 3:
Now, it’s a waiting game. Let the cubes sit at room temperature for several hours or overnight so they can harden. Basically, you are just letting the sugar do what you never want your bag of brown sugar to do: harden.
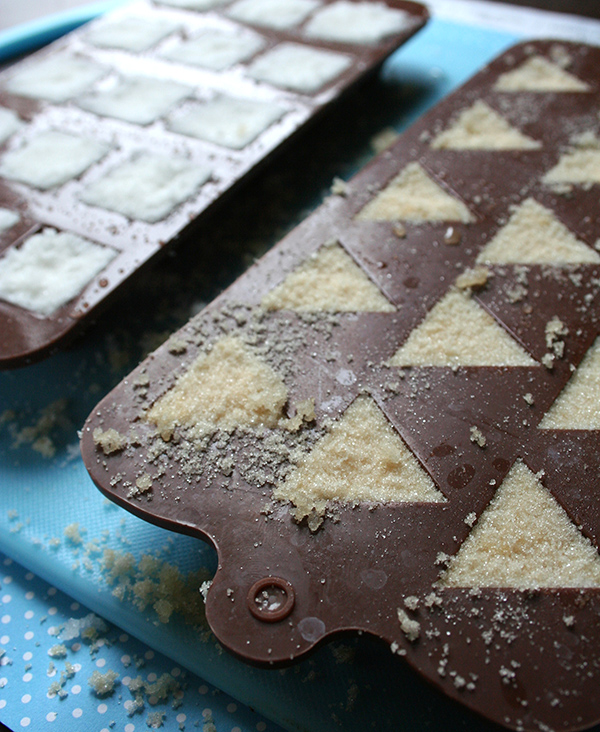
Note: the light brown colored cubes (or, pyramids) pictured above are made using vanilla extract. See “recipe variations”, below.
Step 4:
Turn the molded sugar cubes (or diamonds, etc) from the mold. They should come out quite easily.
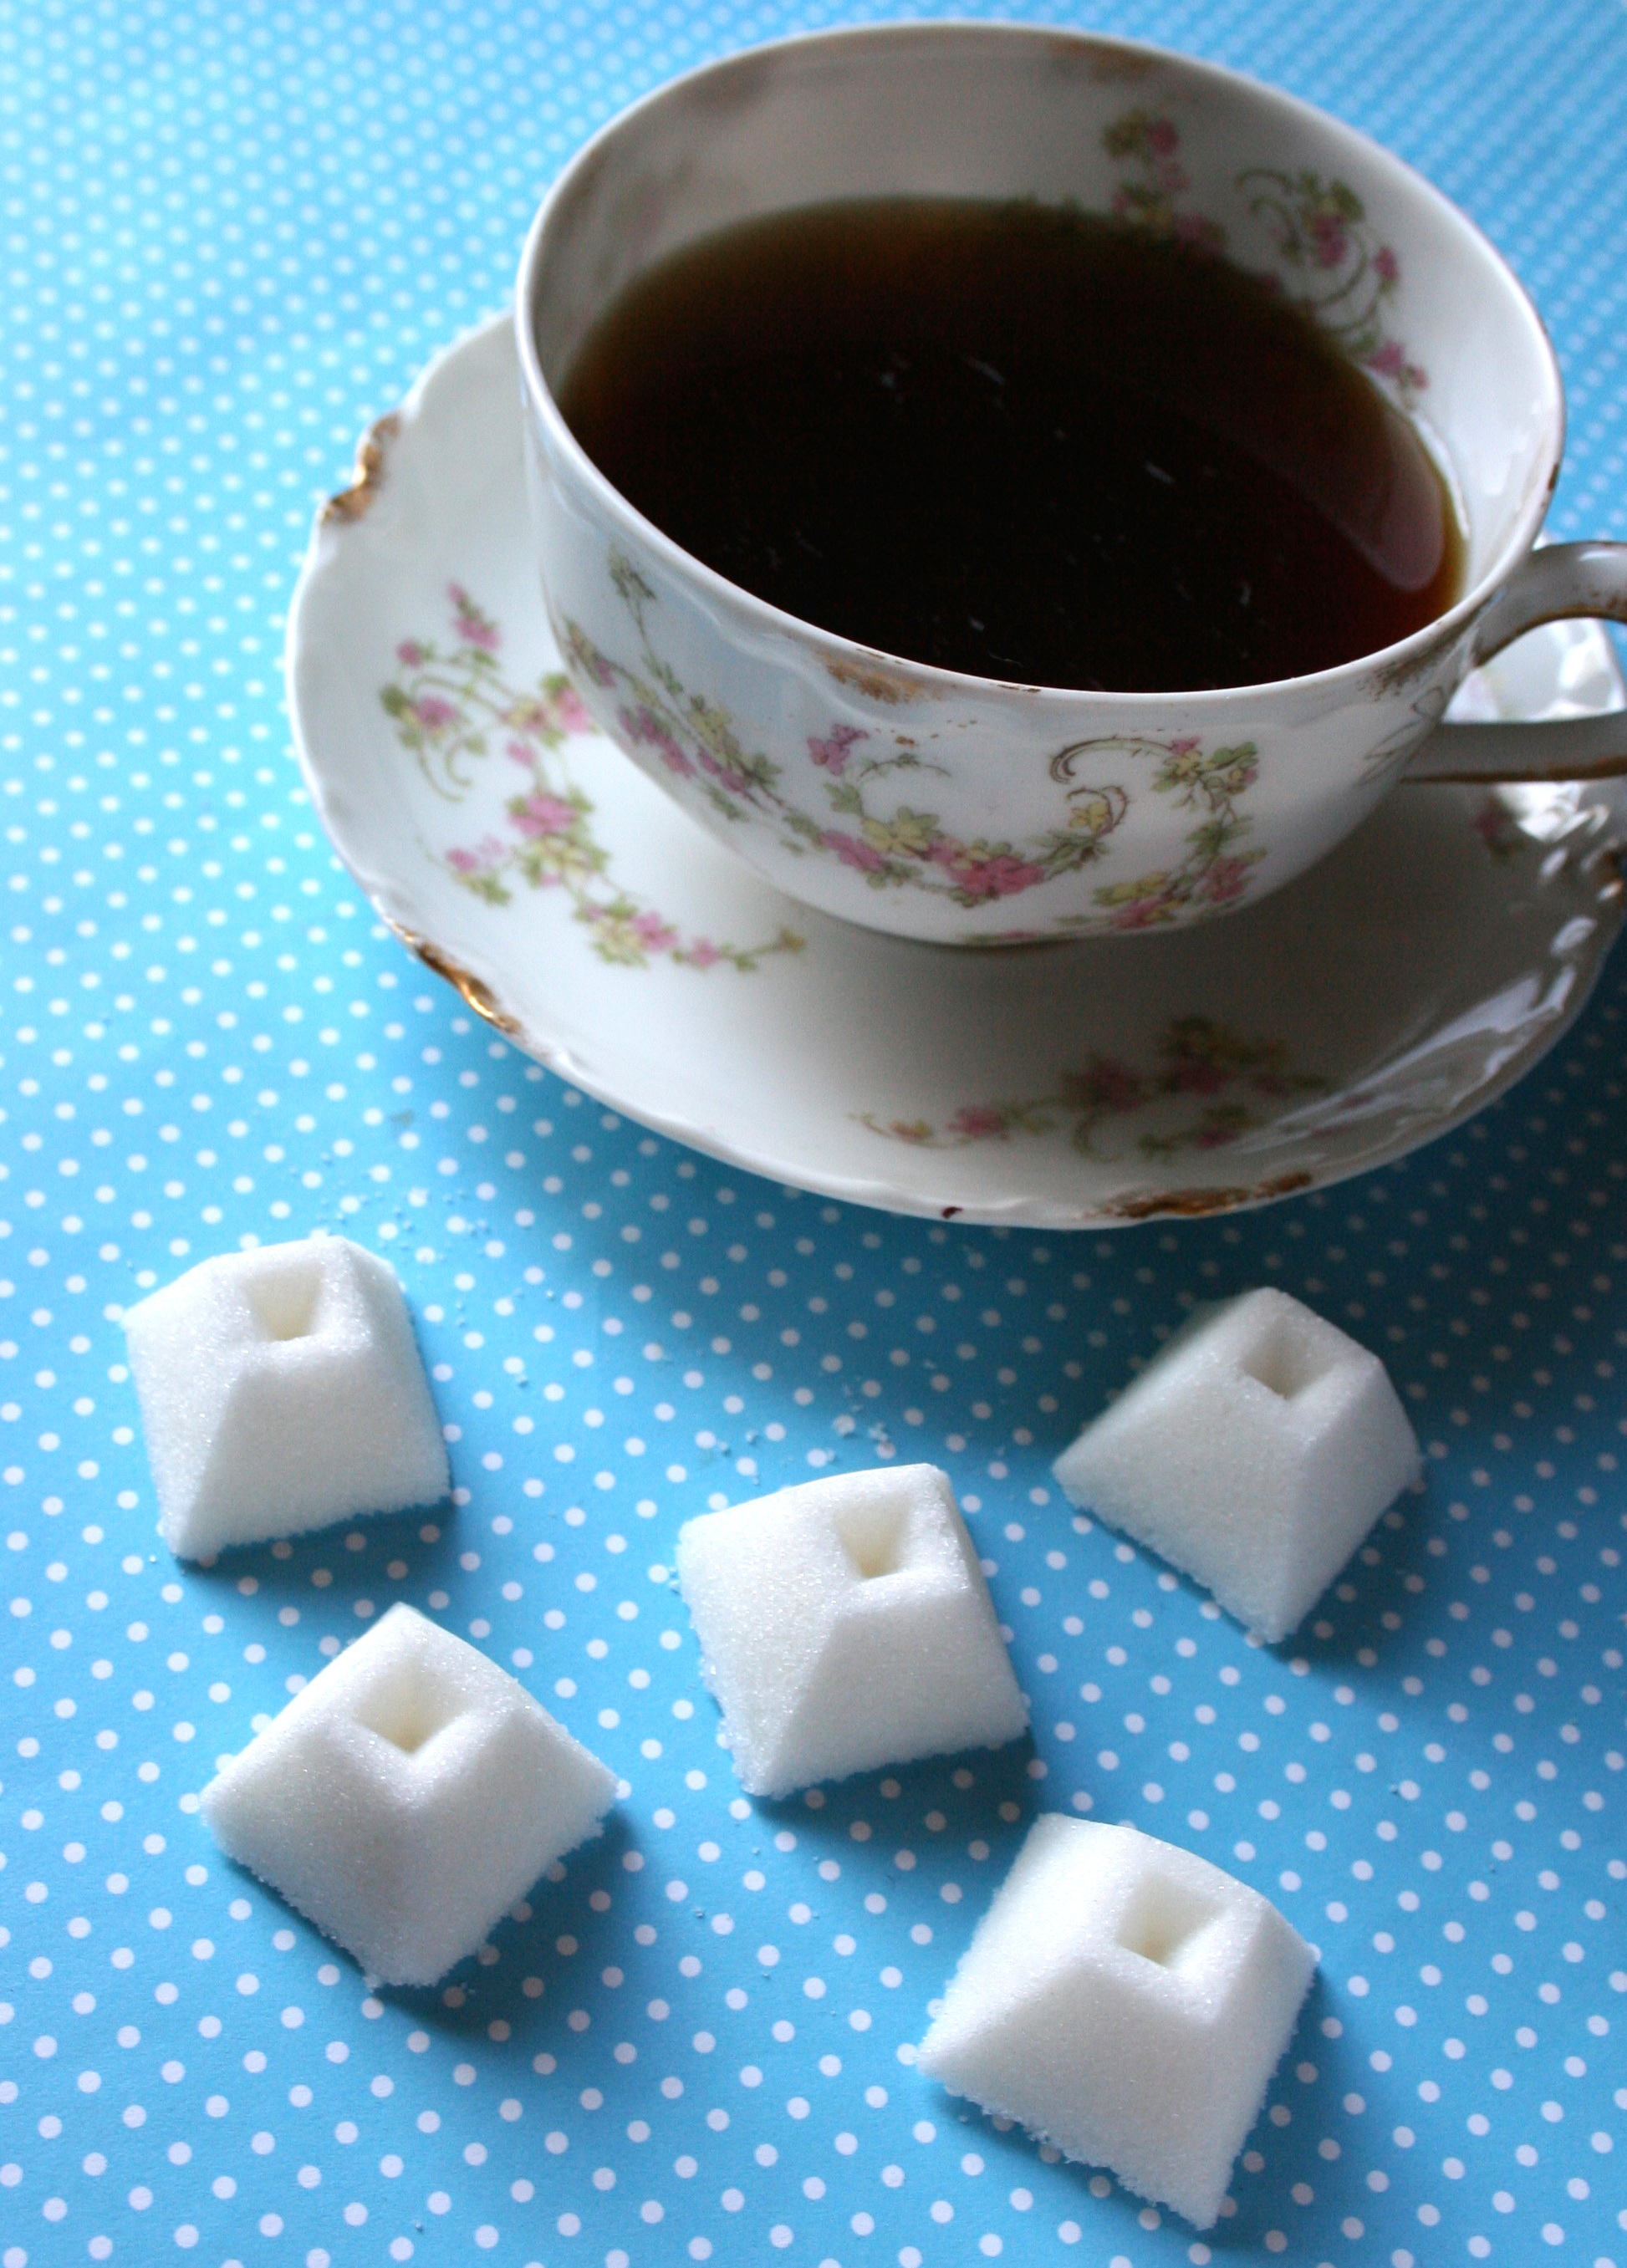
Store in an airtight container. These will keep for up to a year.
Recipe variations
Now that you’ve mastered the basic technique, have fun with it.
Alternate liquids
Instead of water, use a different flavored liquid as the liquid in the recipe for sweet cubes that will add intrigue to your next cup of tea or coffee. Some ideas for liquids to use include lemonade, orange juice, or strongly brewed coffee or tea.
Vanilla cubes
Use vanilla extract instead of water in the recipe for vanilla-scented sugar cubes. Perfect for giving a gentle vanilla flavor to a latte.
Colored cubes
Add a couple of drops of liquid food coloring in addition to the water in the recipe. You’ll have vibrant sugar cubes that will liven up a party.
Share tips, start a discussion or ask one of our experts or other students a question.
No Responses to “Pinkies Out: How to Make Homemade Sugar Cubes”