
For many people, the phrase “Girl Scout cookies” means one thing: Thin Mints. More icon than mere cookie, these chocolate mint wafers covered in rich chocolate are found packed in twin tubes of plastic within a green box, sold seasonally by Girl Scouts. Oh, what a delicious season it is when Thin Mints abound.
Sadly, Girl Scout cookie season is short.
But, thanks to this recipe for homemade Thin Mint cookies, you can enjoy the classic treats all year round.
Photos via CakeSpy
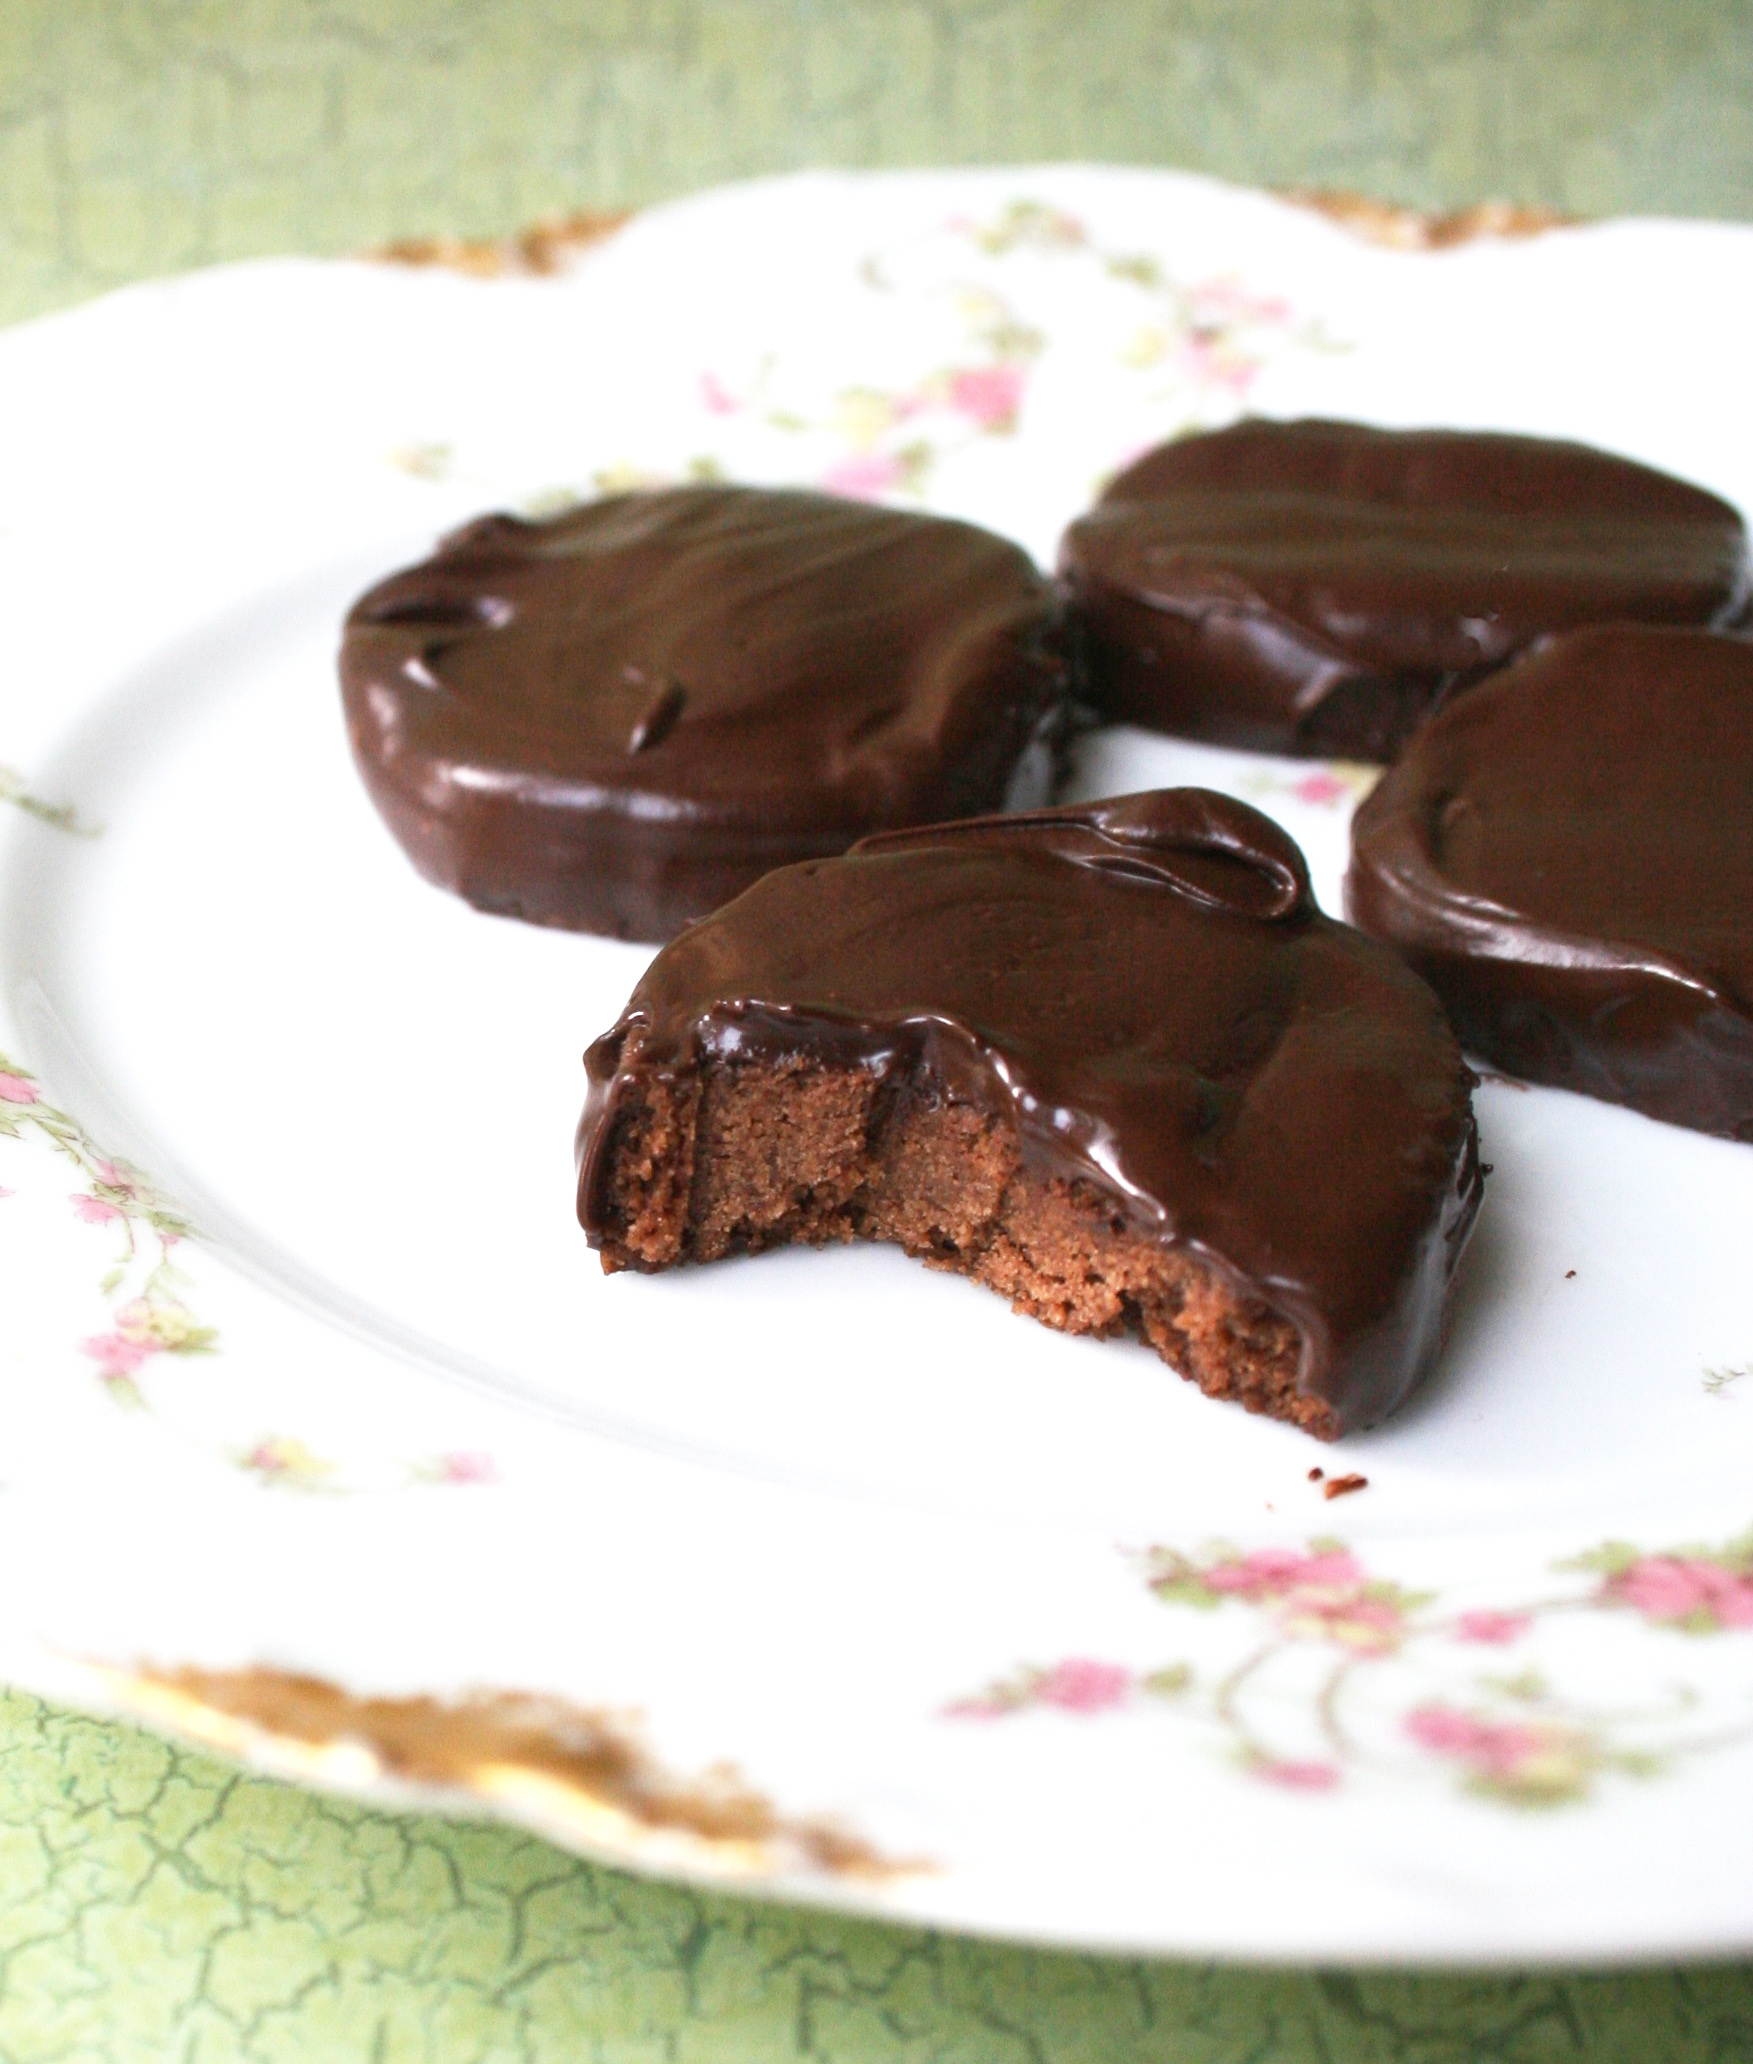
While not an absolute carbon copy of their inspiration, they certainly get the point across, with a crispy wafer cookie center which is rich in chocolate-mint flavor, enrobed by a rich chocolate coating. They have a homemade appeal that can’t be beat, and a freshness that you’ve probably never experienced with cookies from a sleeve.
Yes, do buy a few boxes to support the Scouts, but enjoy this homemade version the rest of the year.
Recipe notes
- Not keen on mint? When you’re making your own, you can choose to use a different extract. Use vanilla for a delicately scented cocoa cookie, or get creative and use almond or cherry extract for a whole new flavor sensation.
- The chilling period is extremely important for these cookies to attain the proper texture. If you’re pressed for time, they can be baked without the cooling period, but they will be softer and may spread more.
- Don’t need dozens of cookies? You can keep part of the dough in the freezer and bake the cookies as needed. Simply melt less coating chocolate if you’re doing it this way.
Homemade thin mint cookies —
Makes about 4 dozen cookies
For the cookies:
- 2 1/4 cups all purpose flour
- 2 tablespoons cornstarch
- 5 tablespoons unsweetened cocoa powder
- 1/2 teaspoon salt
- 1 cup white sugar
- 1/2 cup butter, room temperature
- 1/3 cup milk
- 1 teaspoon peppermint extract
For the coating:
- 10 ounces dark chocolate, coarsely chopped
- 2 tablespoons butter, cut into pieces
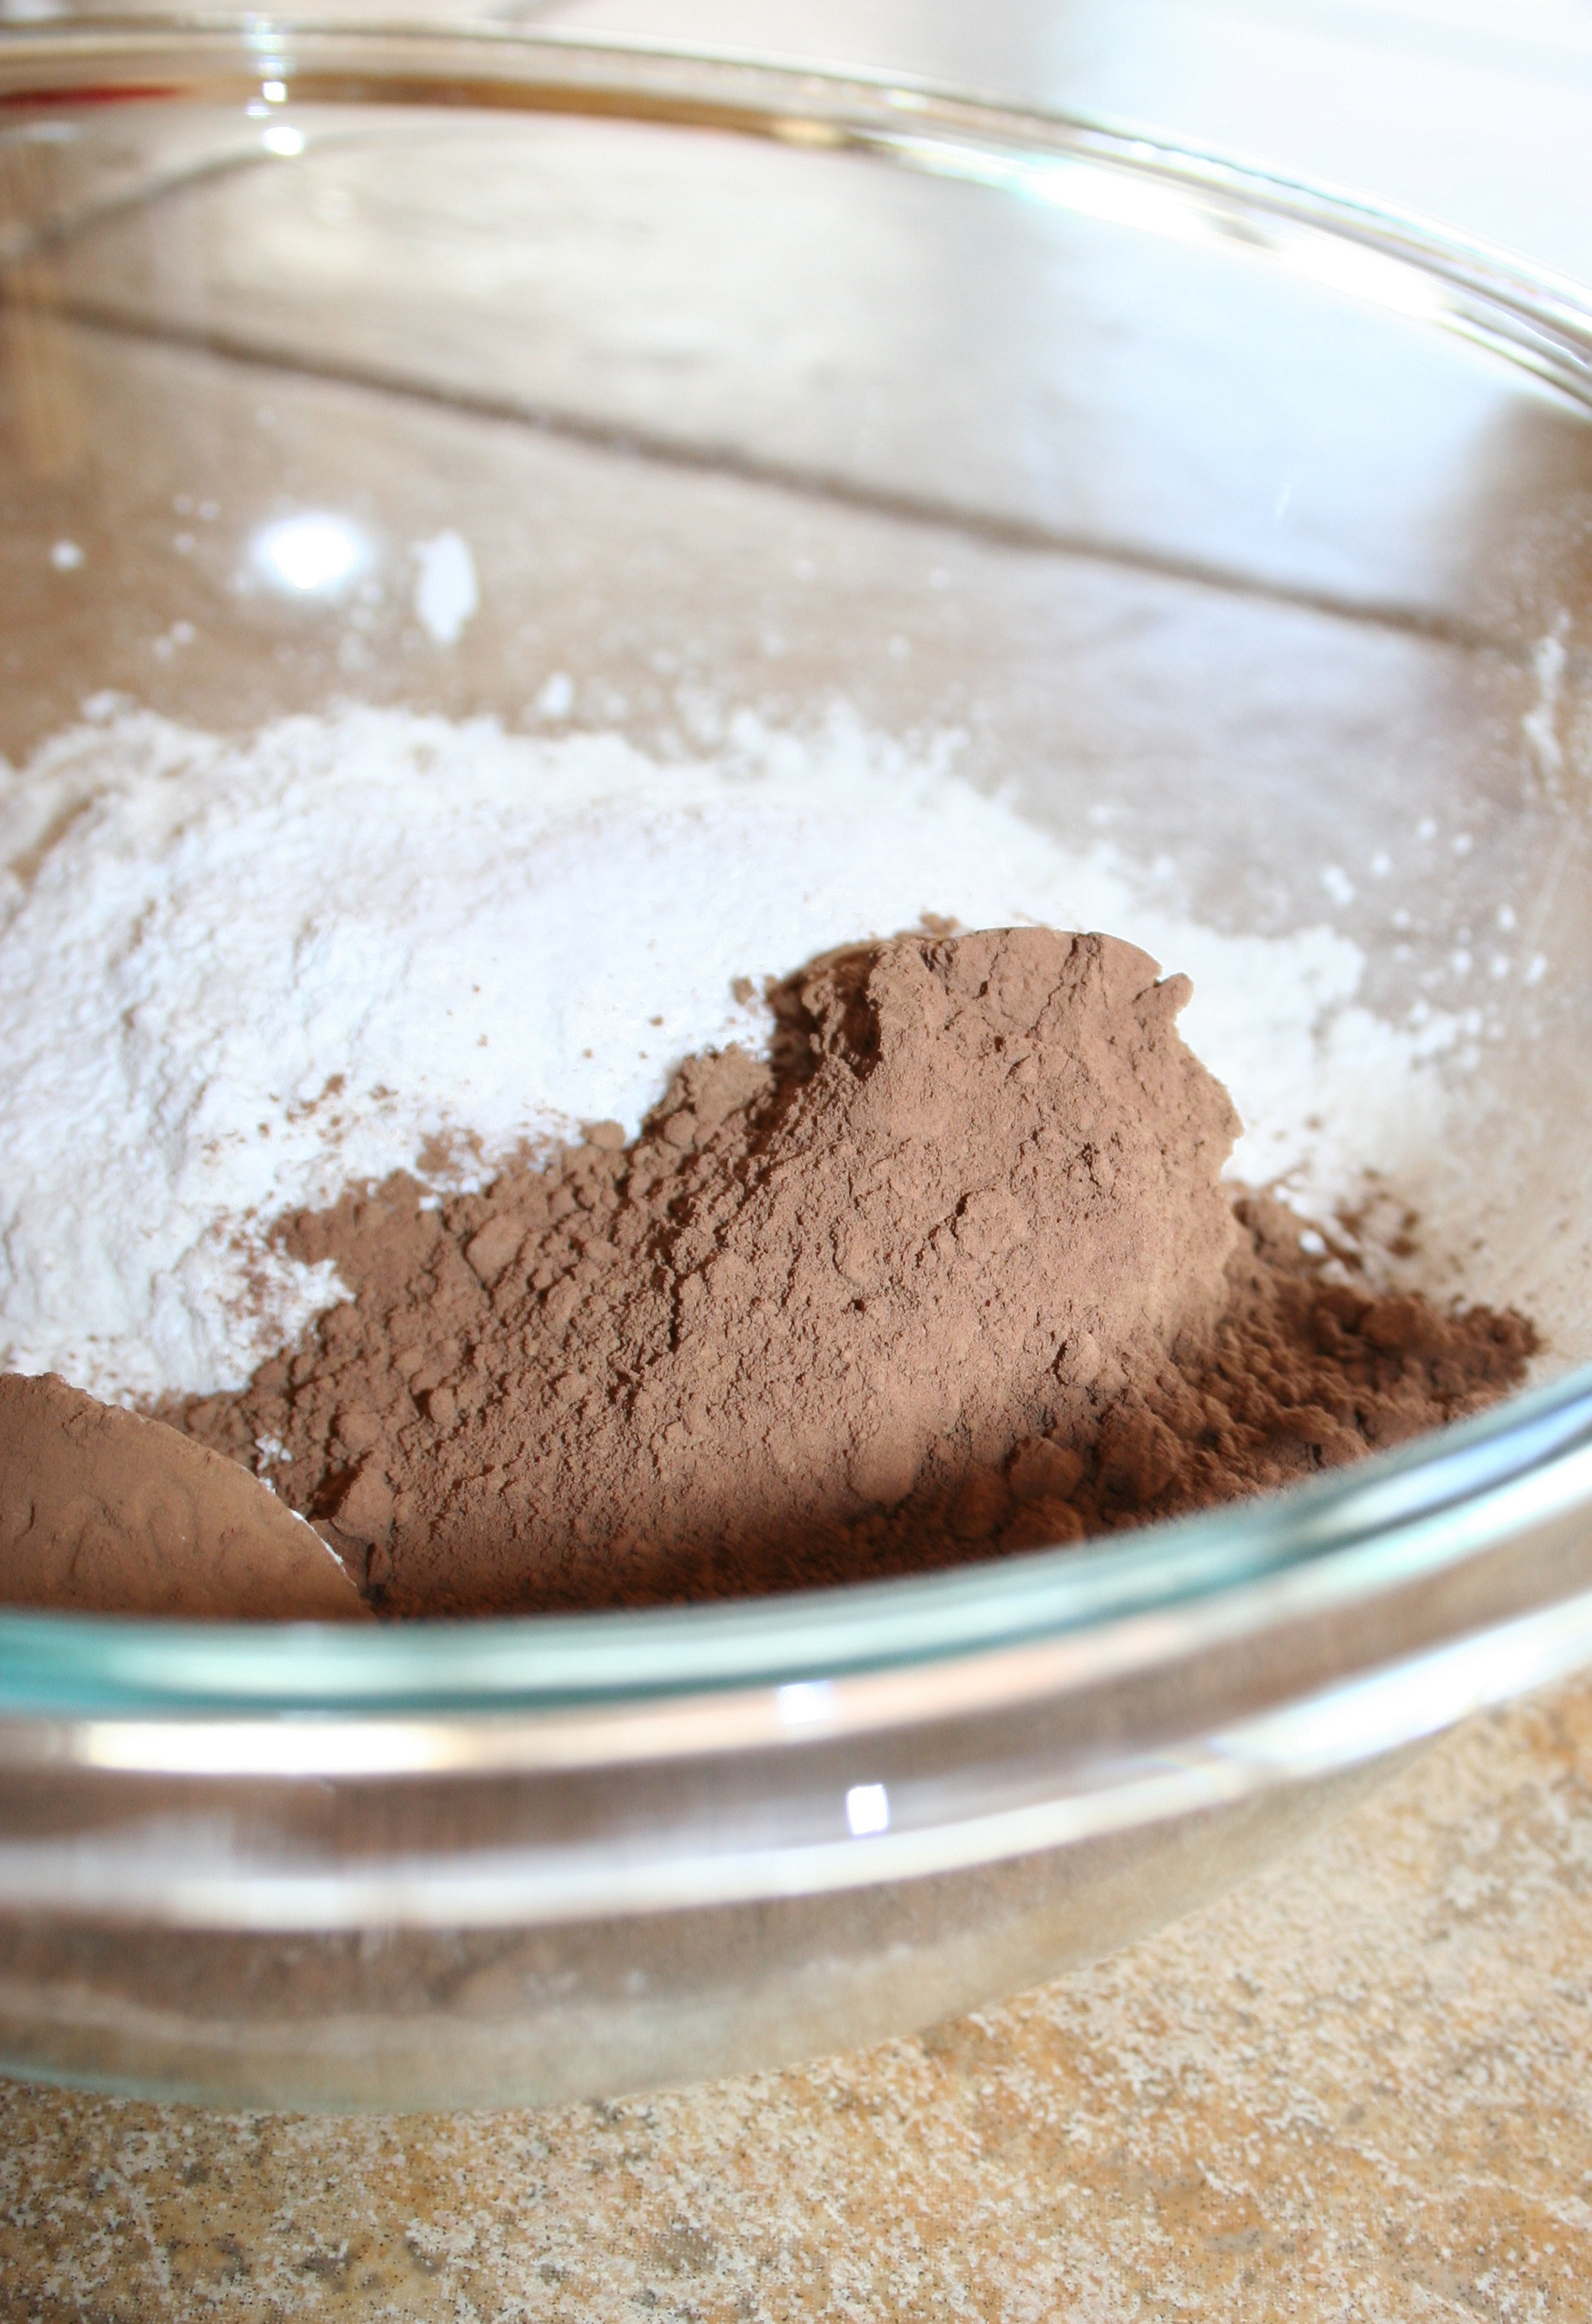
Step 1:
In a medium sized bowl, sift together the flour, cornstarch, cocoa powder and salt.
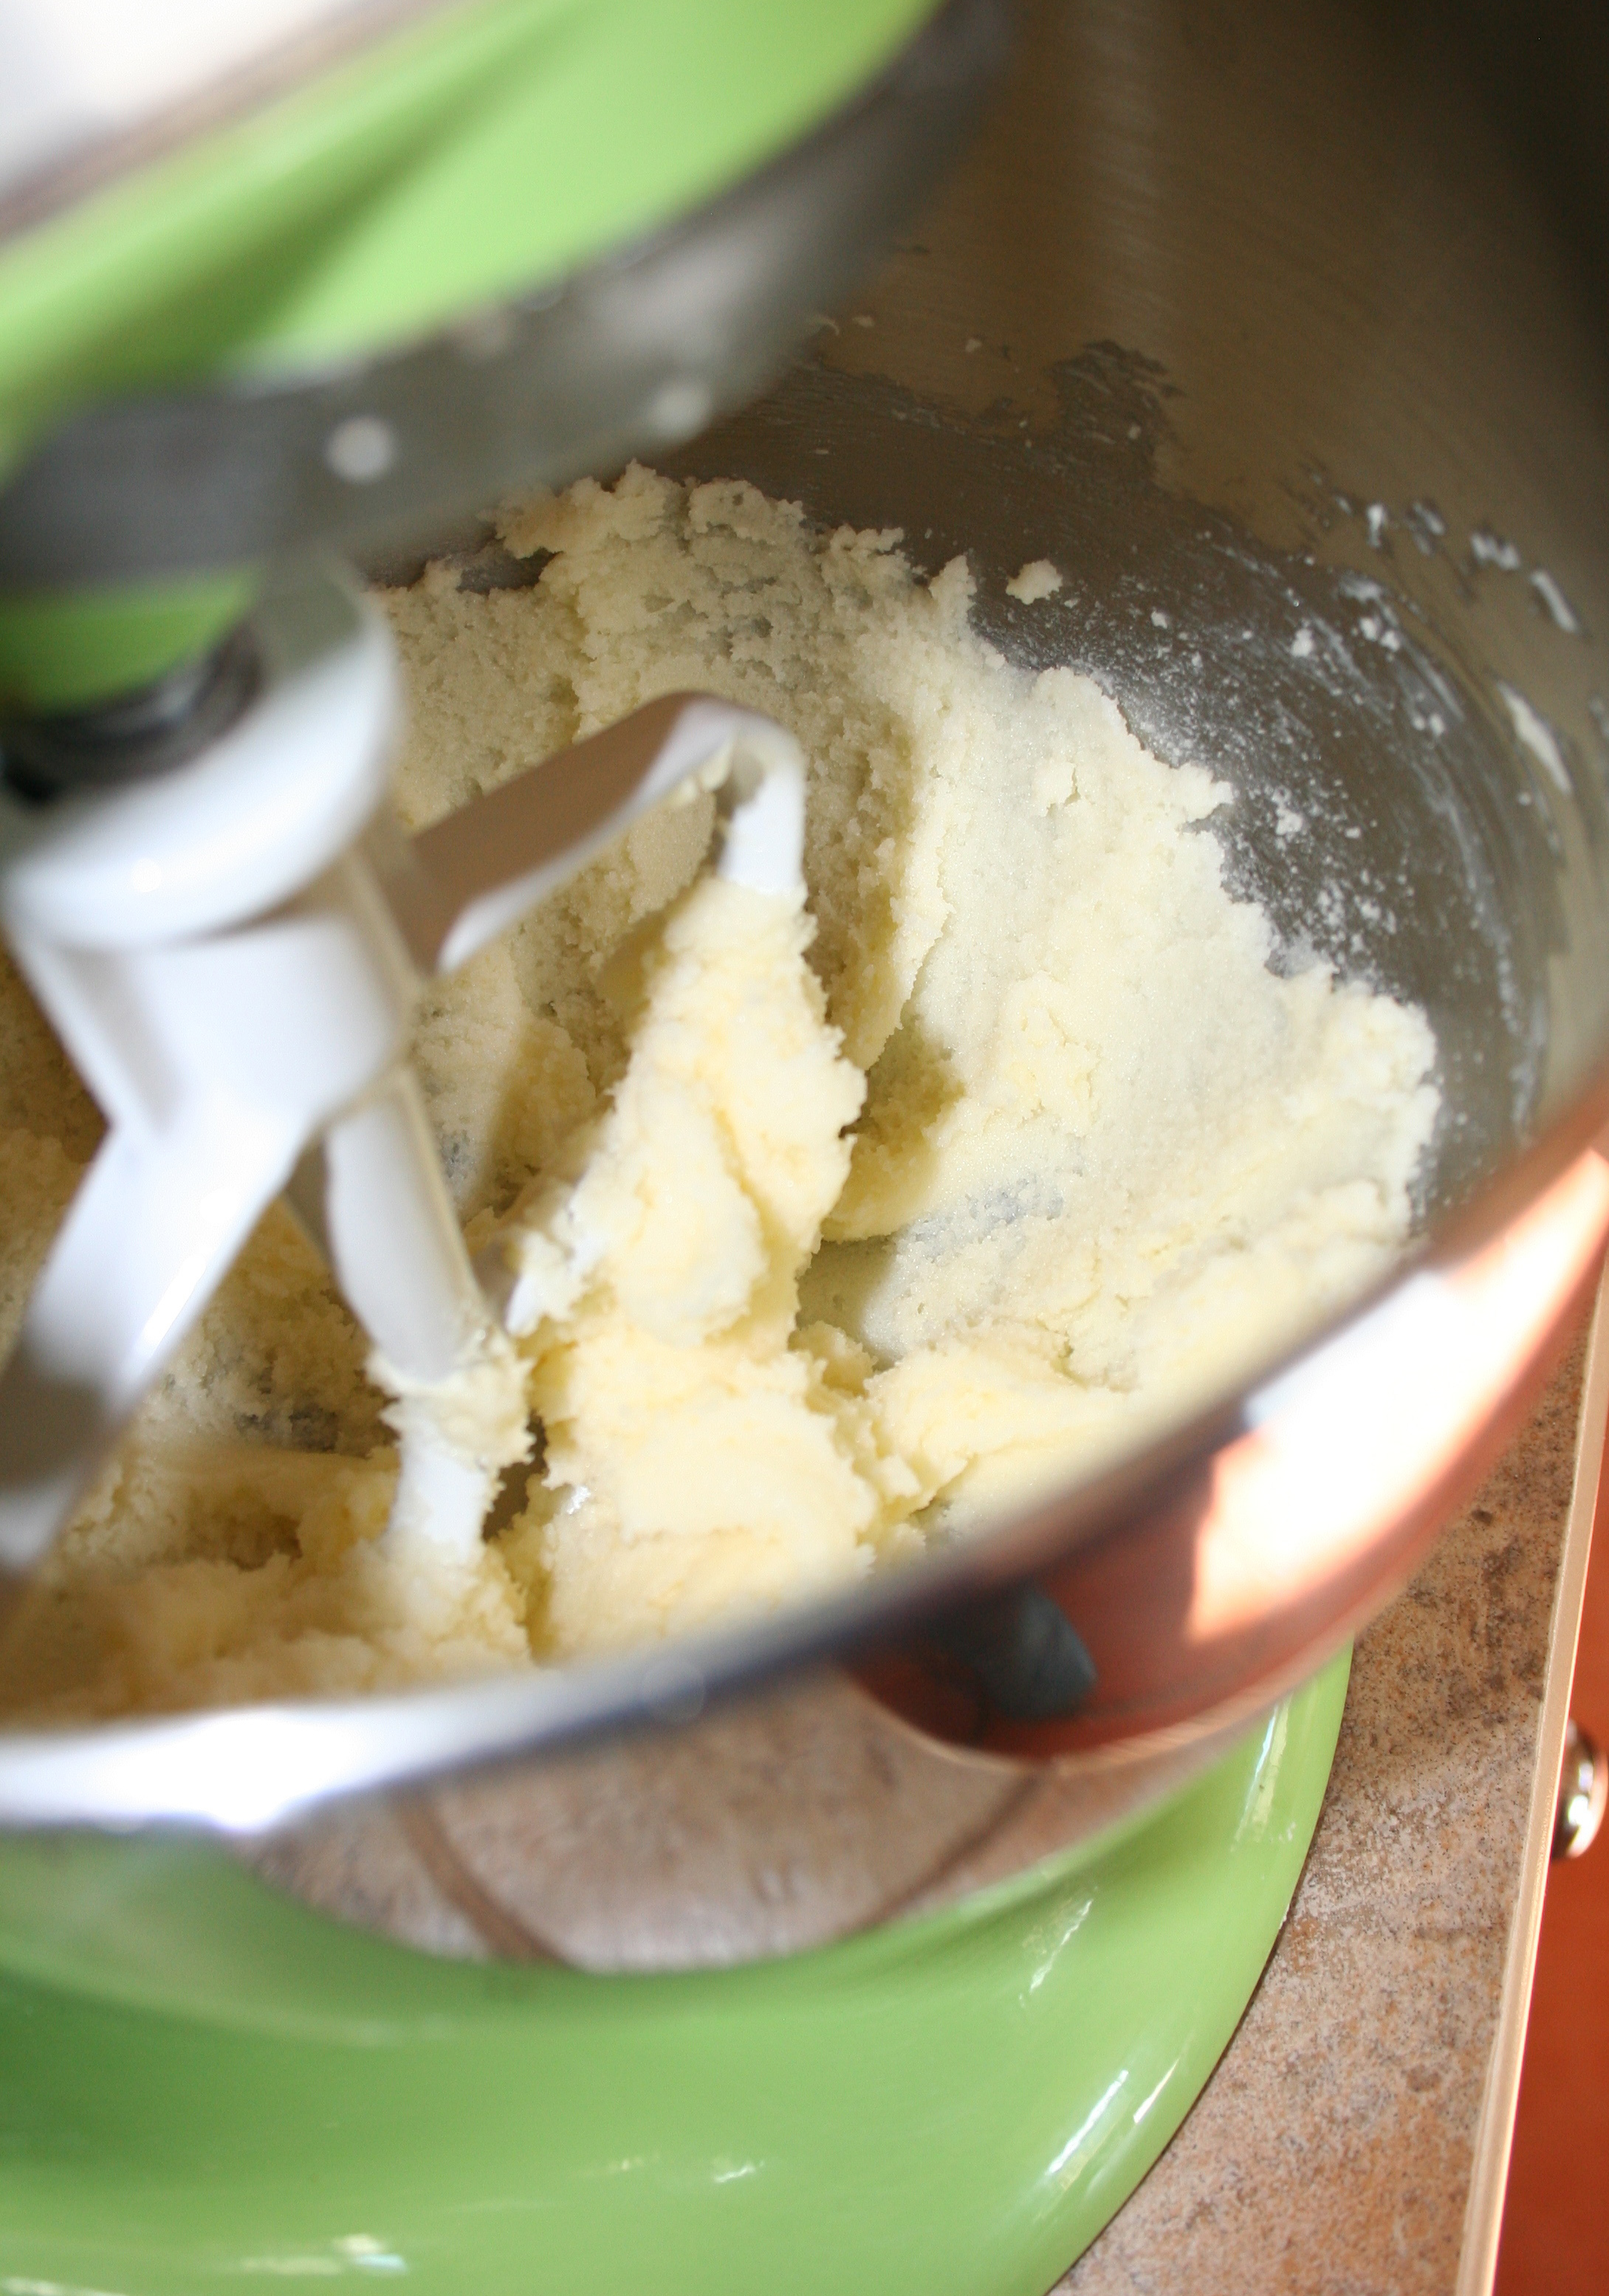
Step 2:
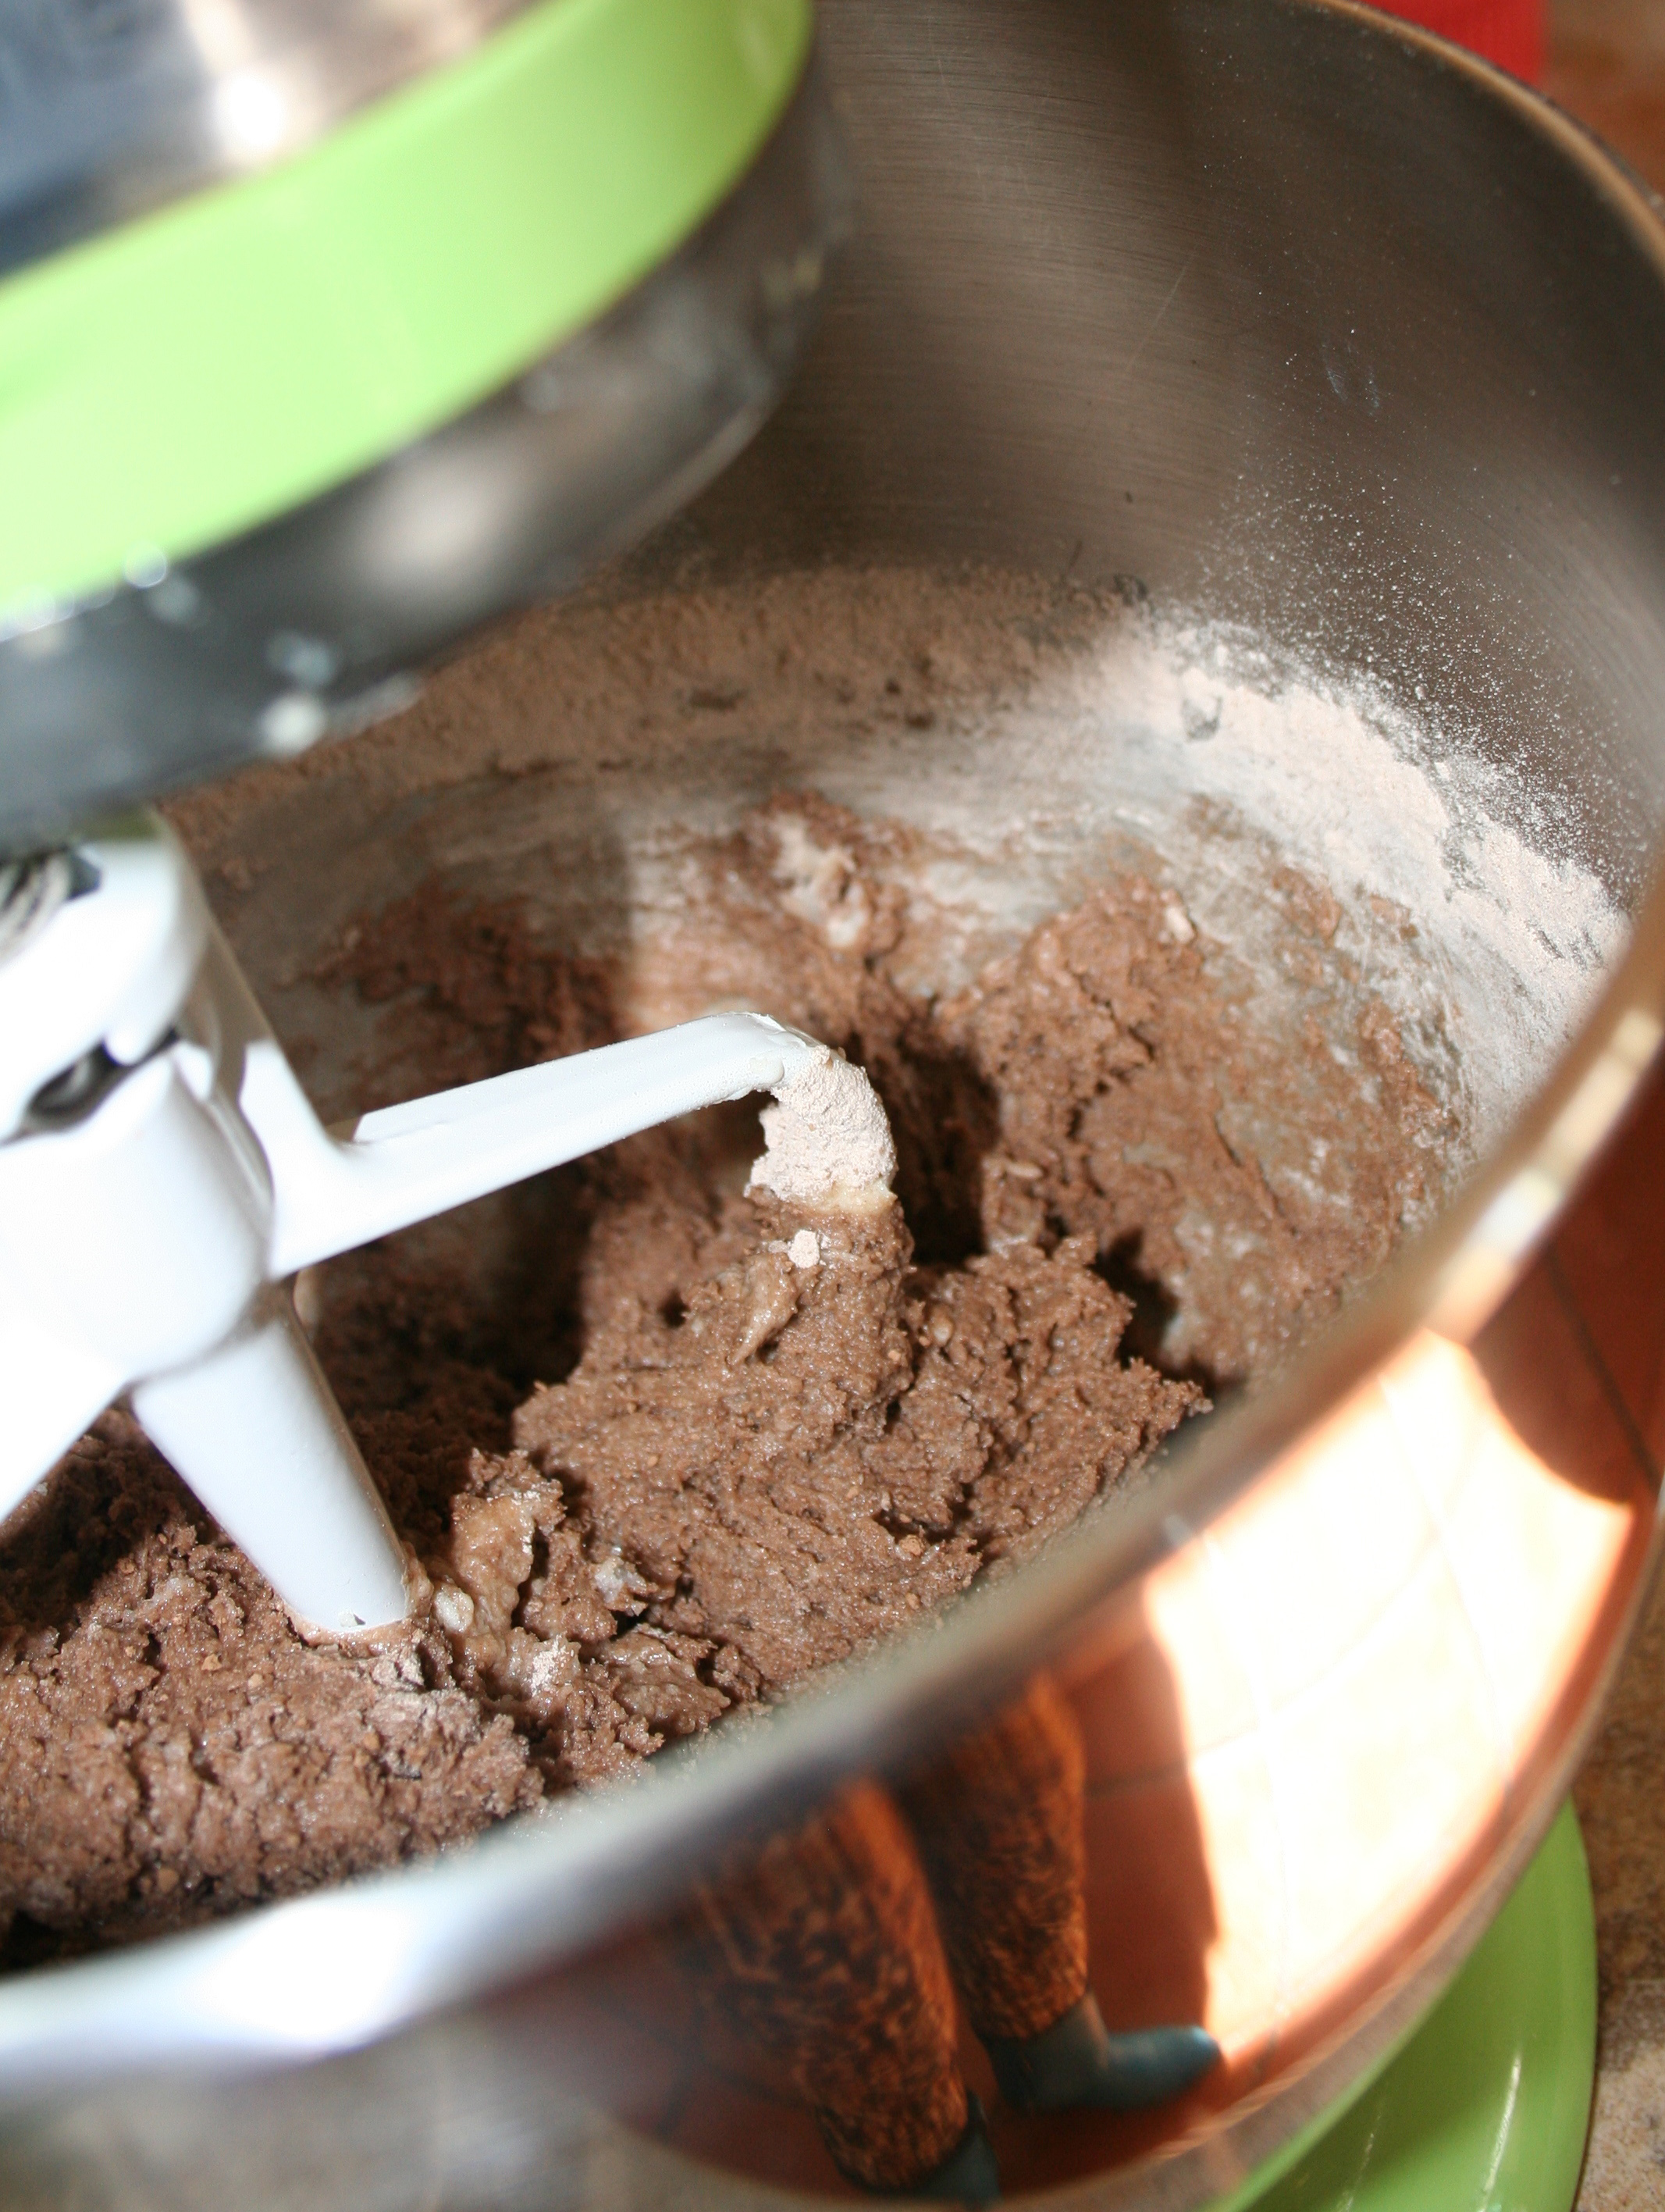
In the bowl of a stand mixer fitted with the paddle attachment, cream the butter and sugar on medium speed until light and fluffy, 2-3 minutes.
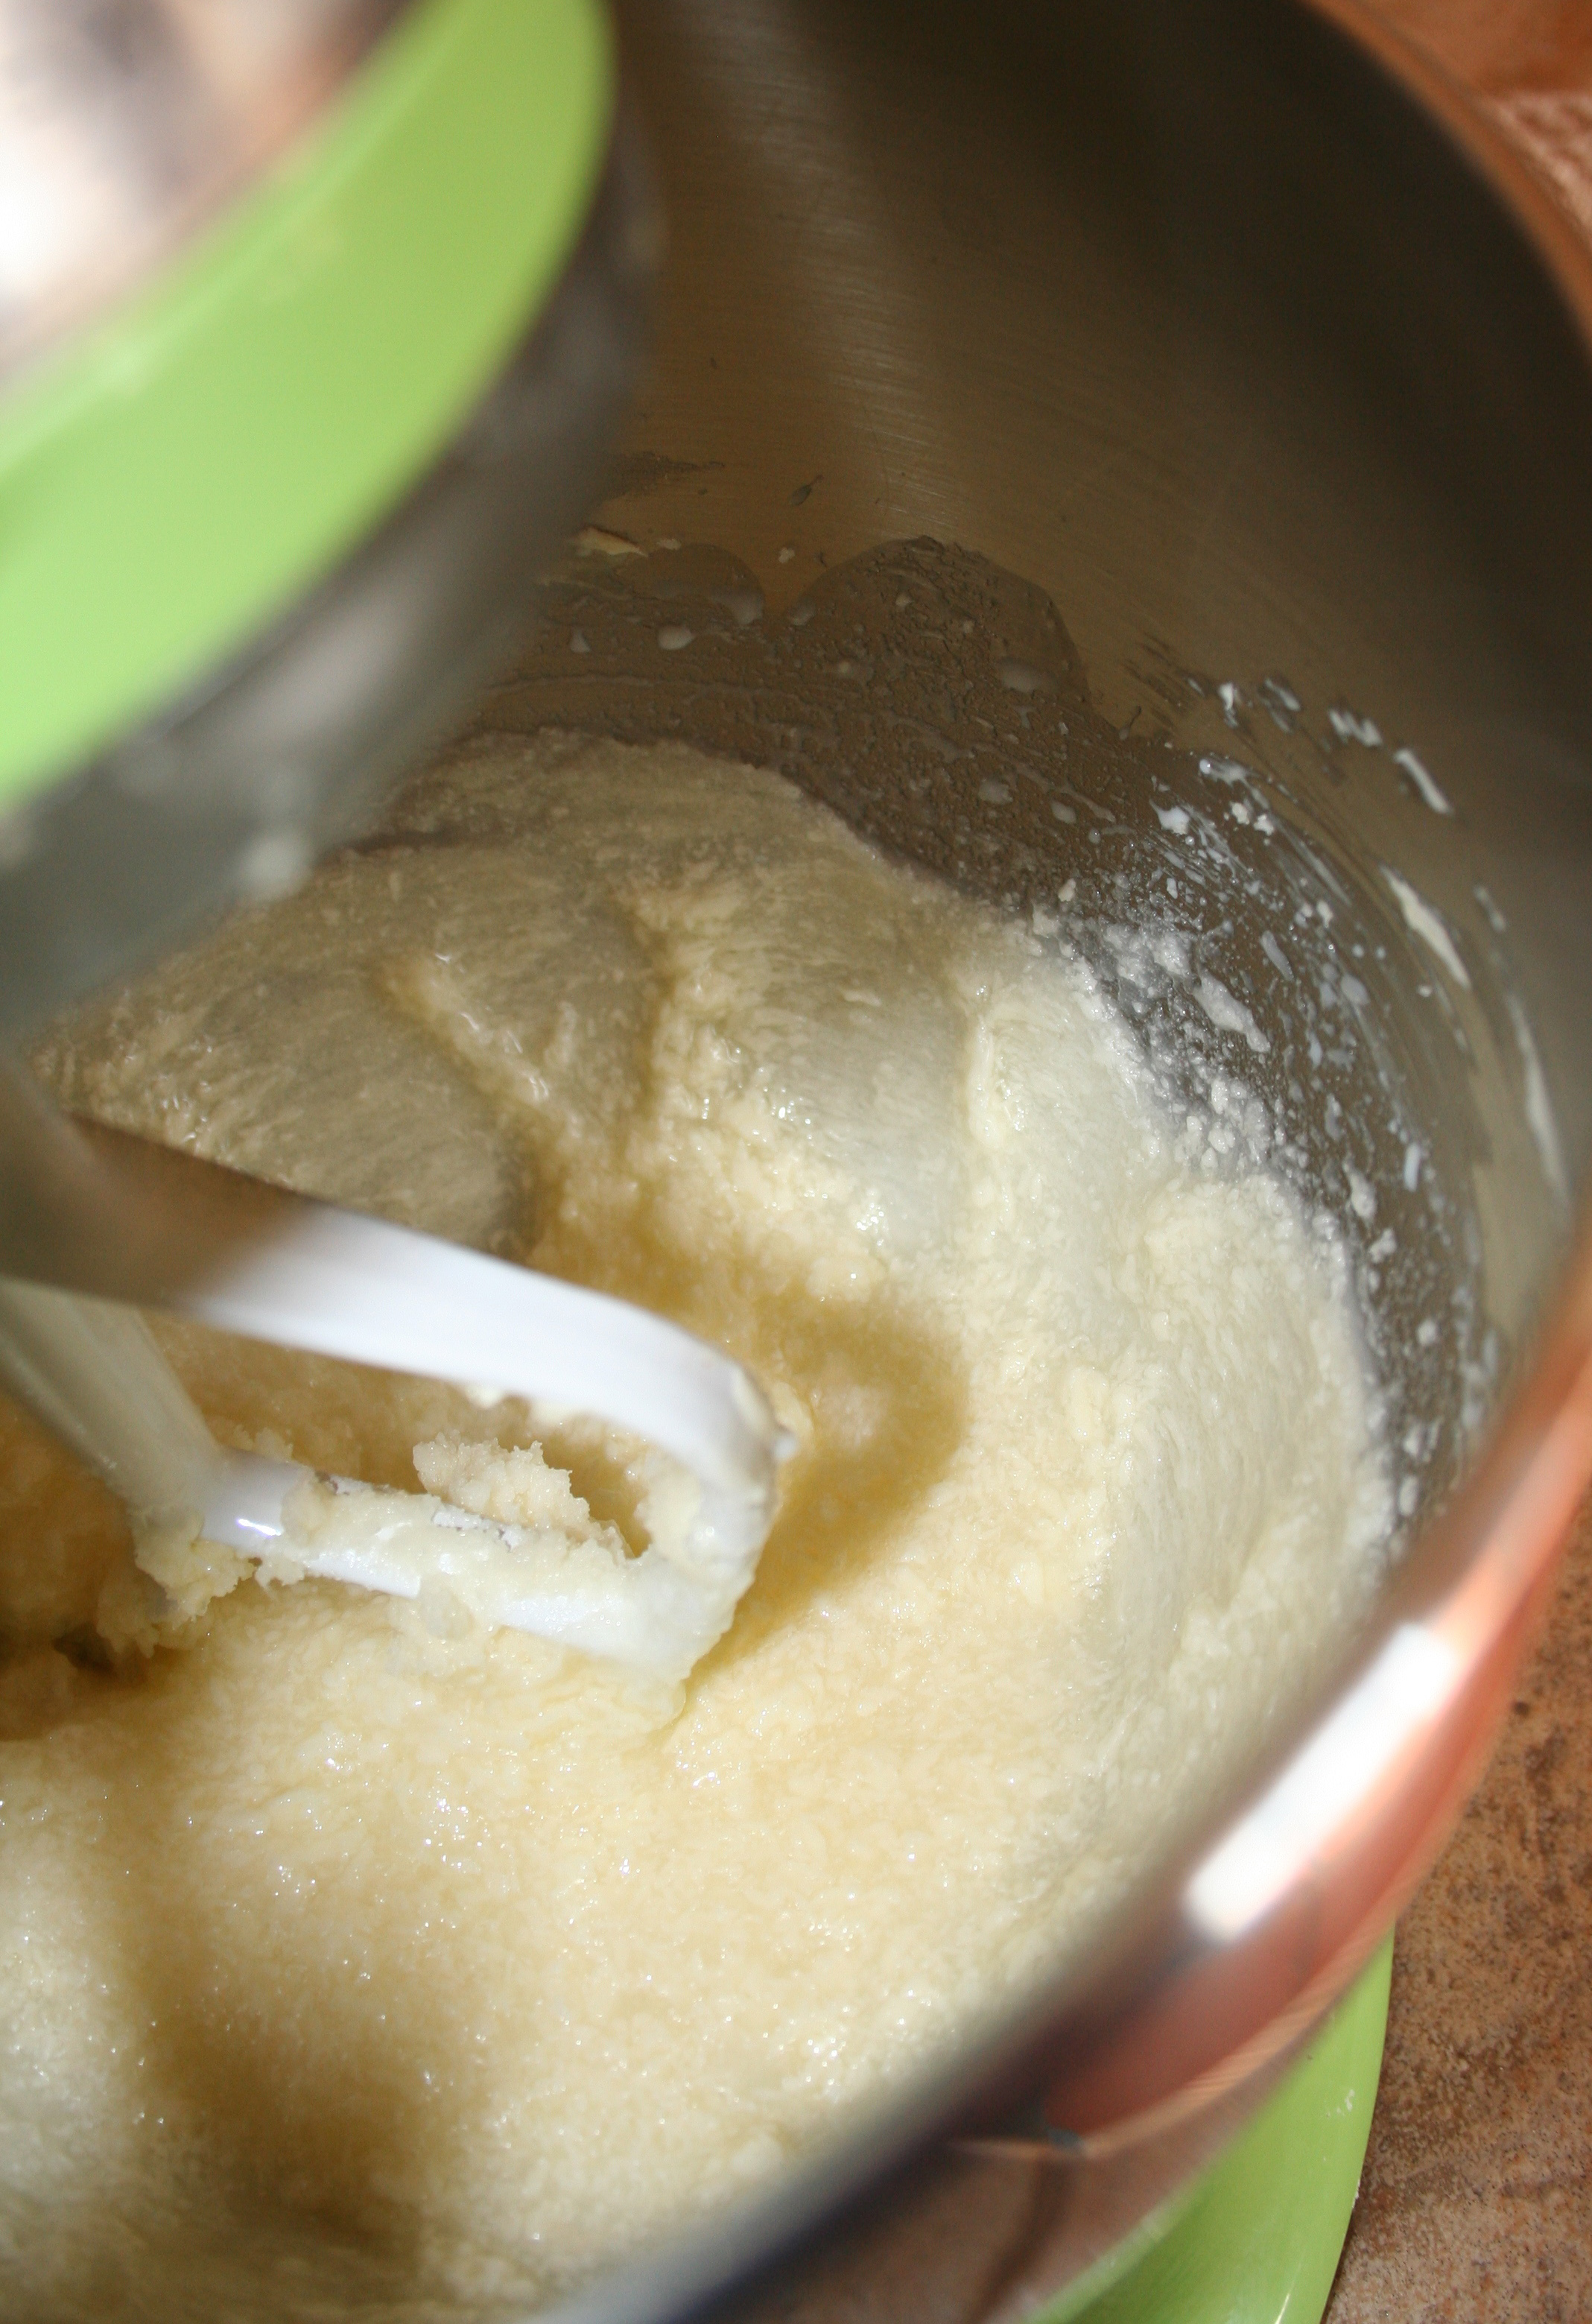
Add the peppermint extract. Mix until combined.The mixture will look somewhat curdled, but it’s OK. Scrape down the sides of the bowl, and give it another mix to make sure everything is incorporated.
Step 4:
Add in the flour mixture in 2-3 increments, pausing the mixer for each addition and to scrape down the sides of the bowl before mixing on low speed to incorporate each addition. The dough will come together into a thick yet easy to handle consistency.
Step 5:
Divide the dough into equal fourths. Form each segment of dough into a log, about 1 1/2 inches in diameter. Wrap each log carefully in plastic wrap, and place in the freezer for at least 2 hours, or overnight. This will help the flavors come together in the dough as well as help the dough firm up so that it will hold its shape during baking.
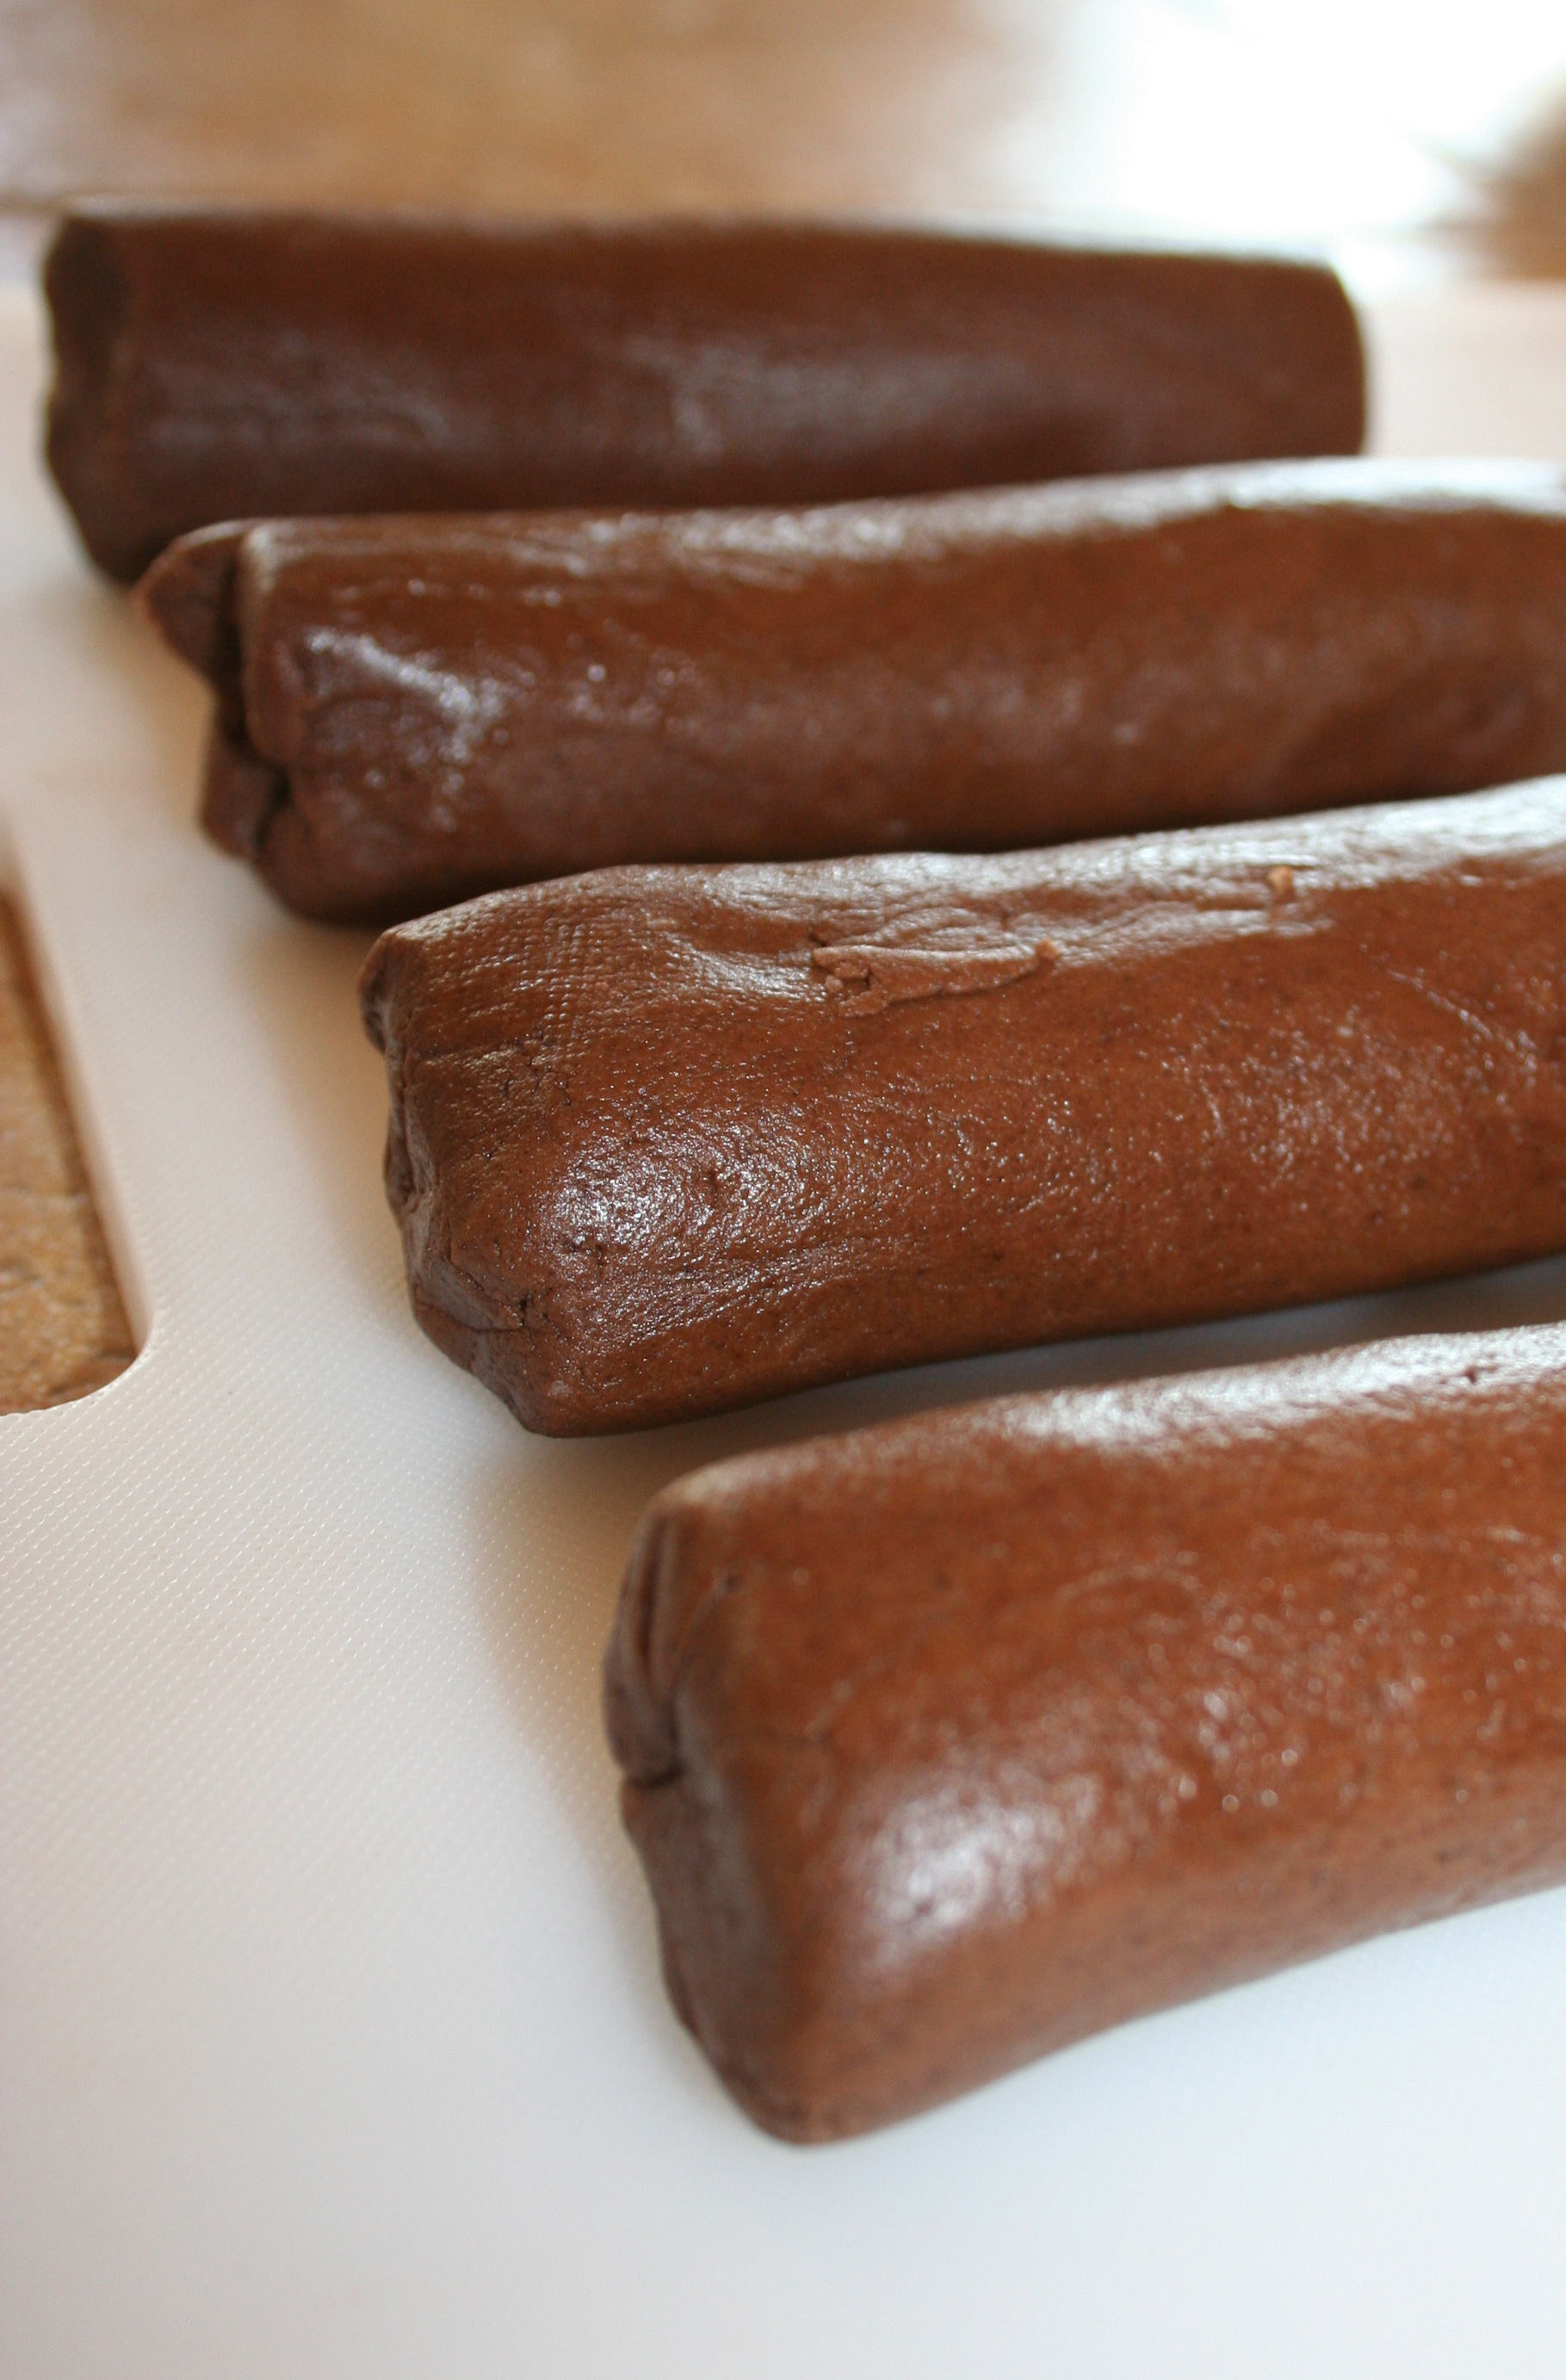
Note: If you’d like to pause here you can; the dough will keep in the freezer for a month or more.
Step 6:
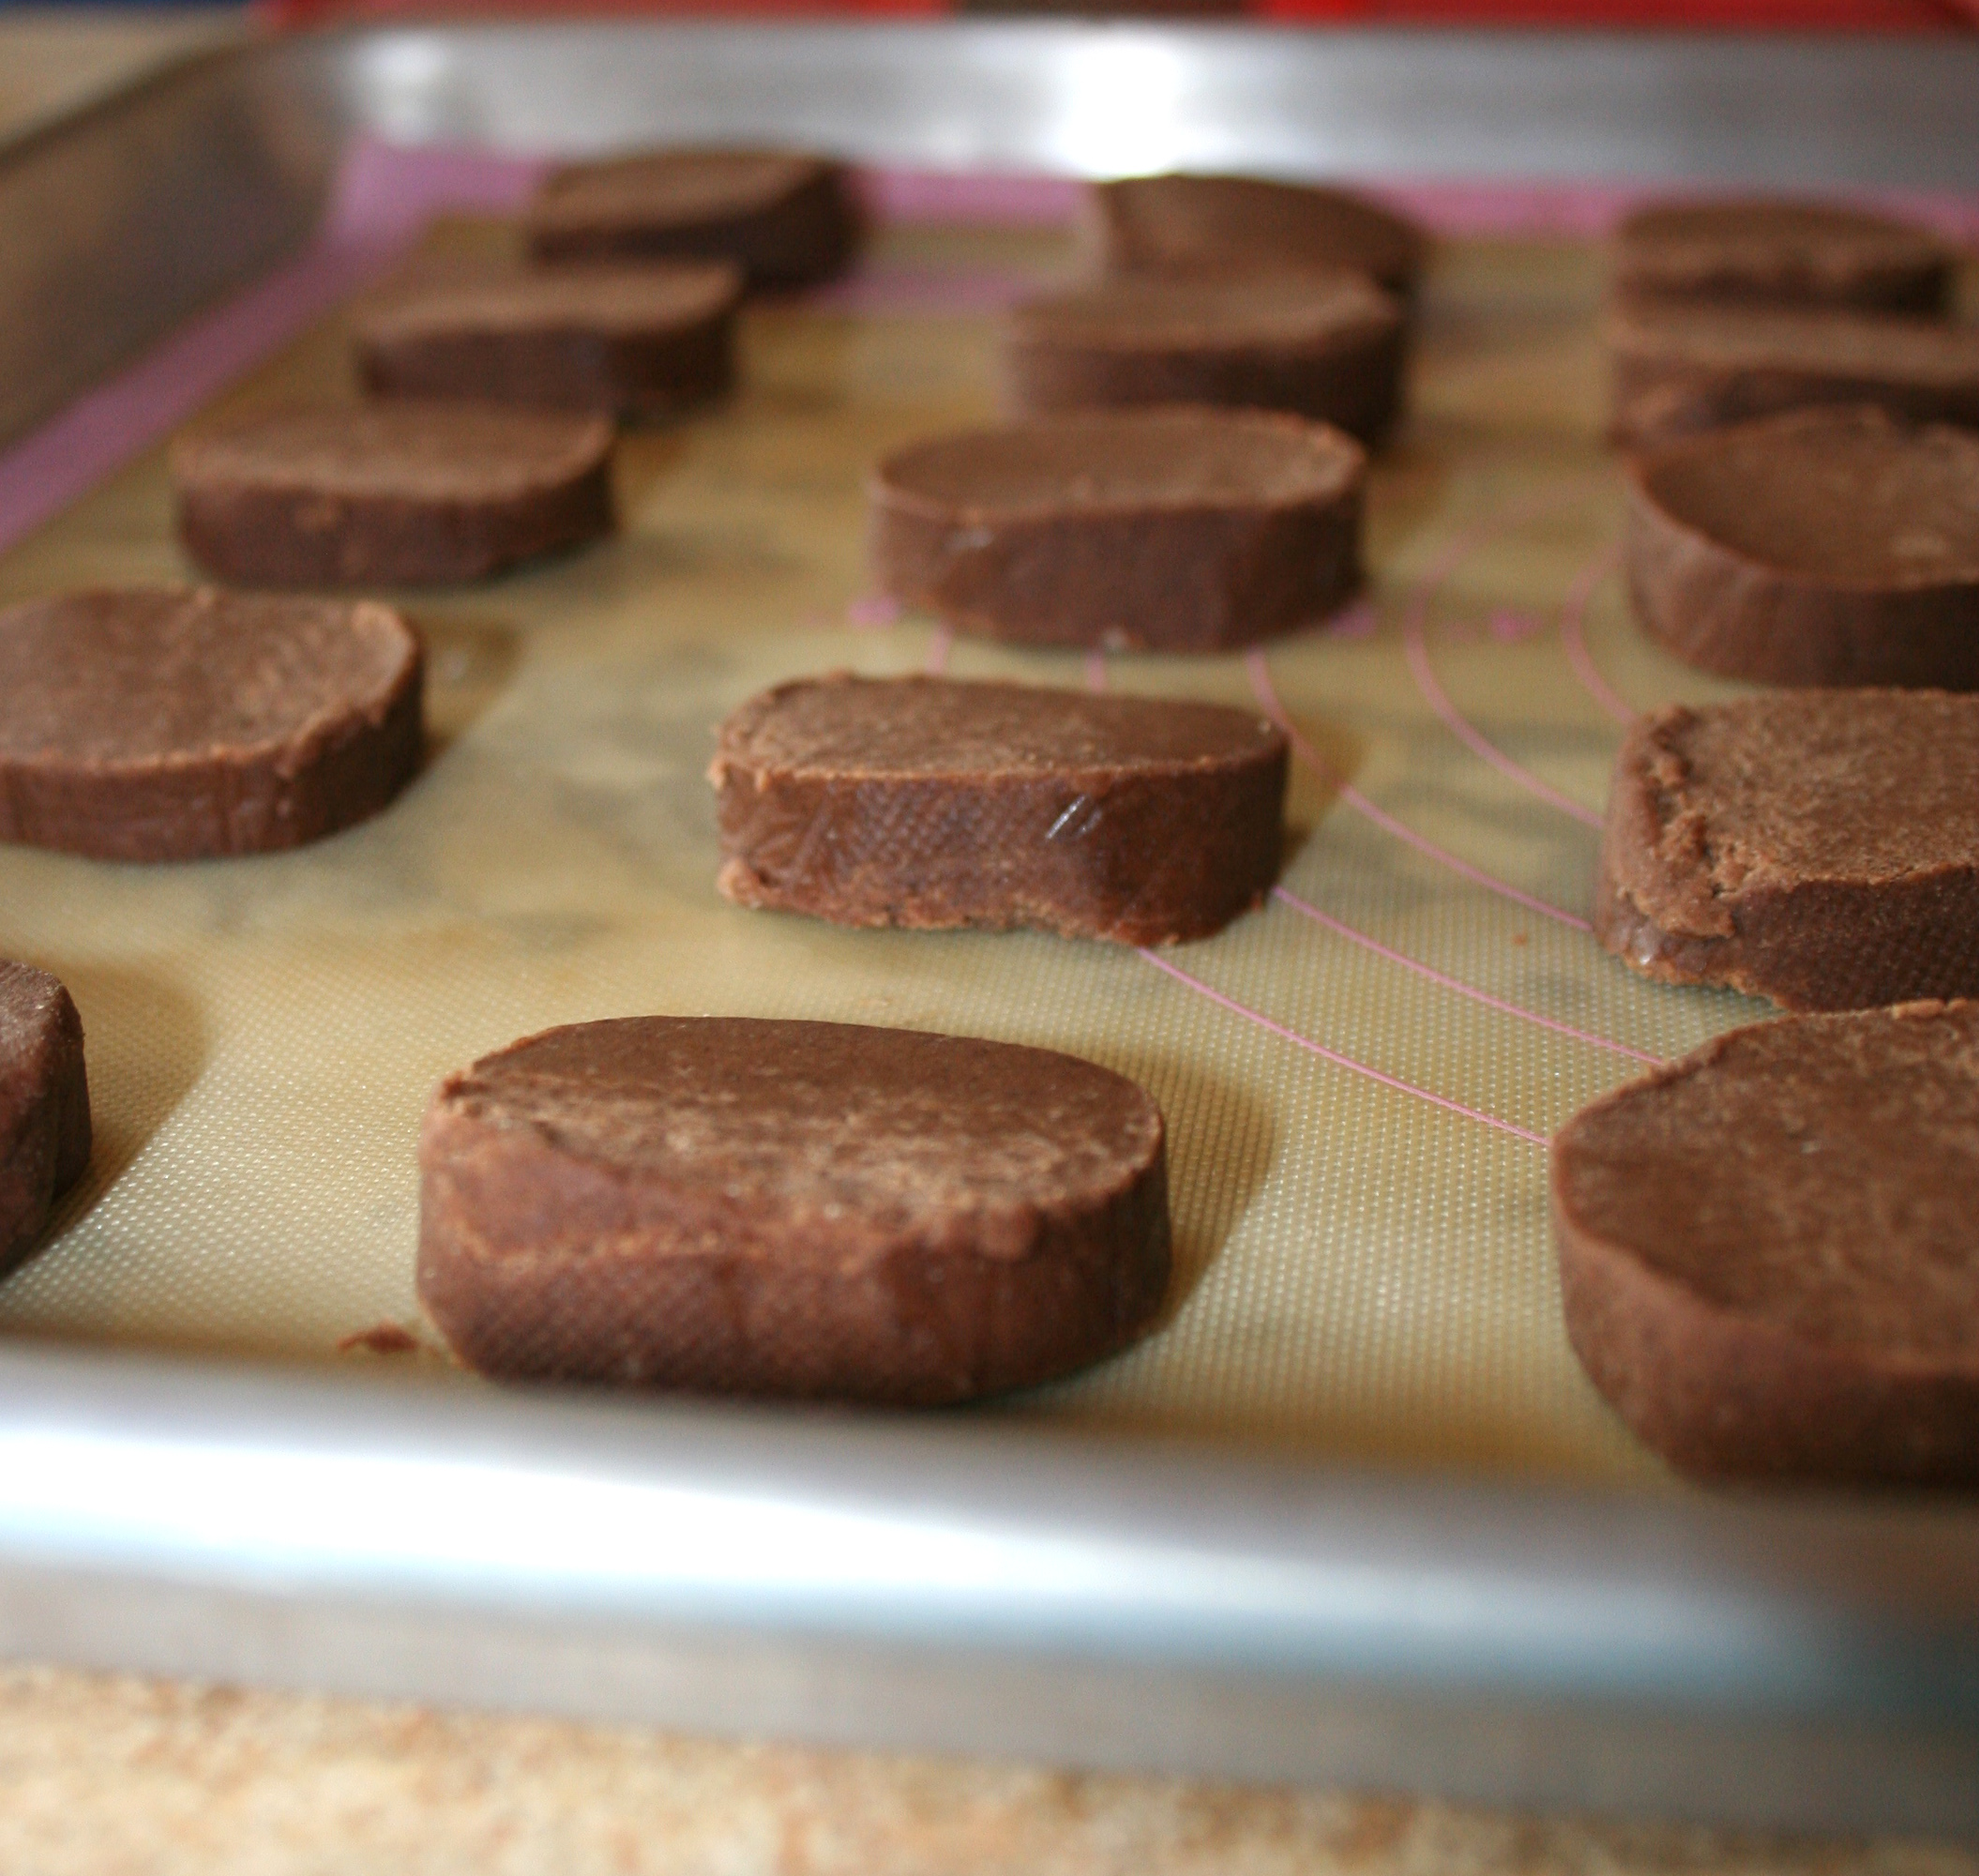
Near the end of the cooling period, preheat the oven to 350 degrees F. Line two baking sheets with parchment paper or silicone mats.
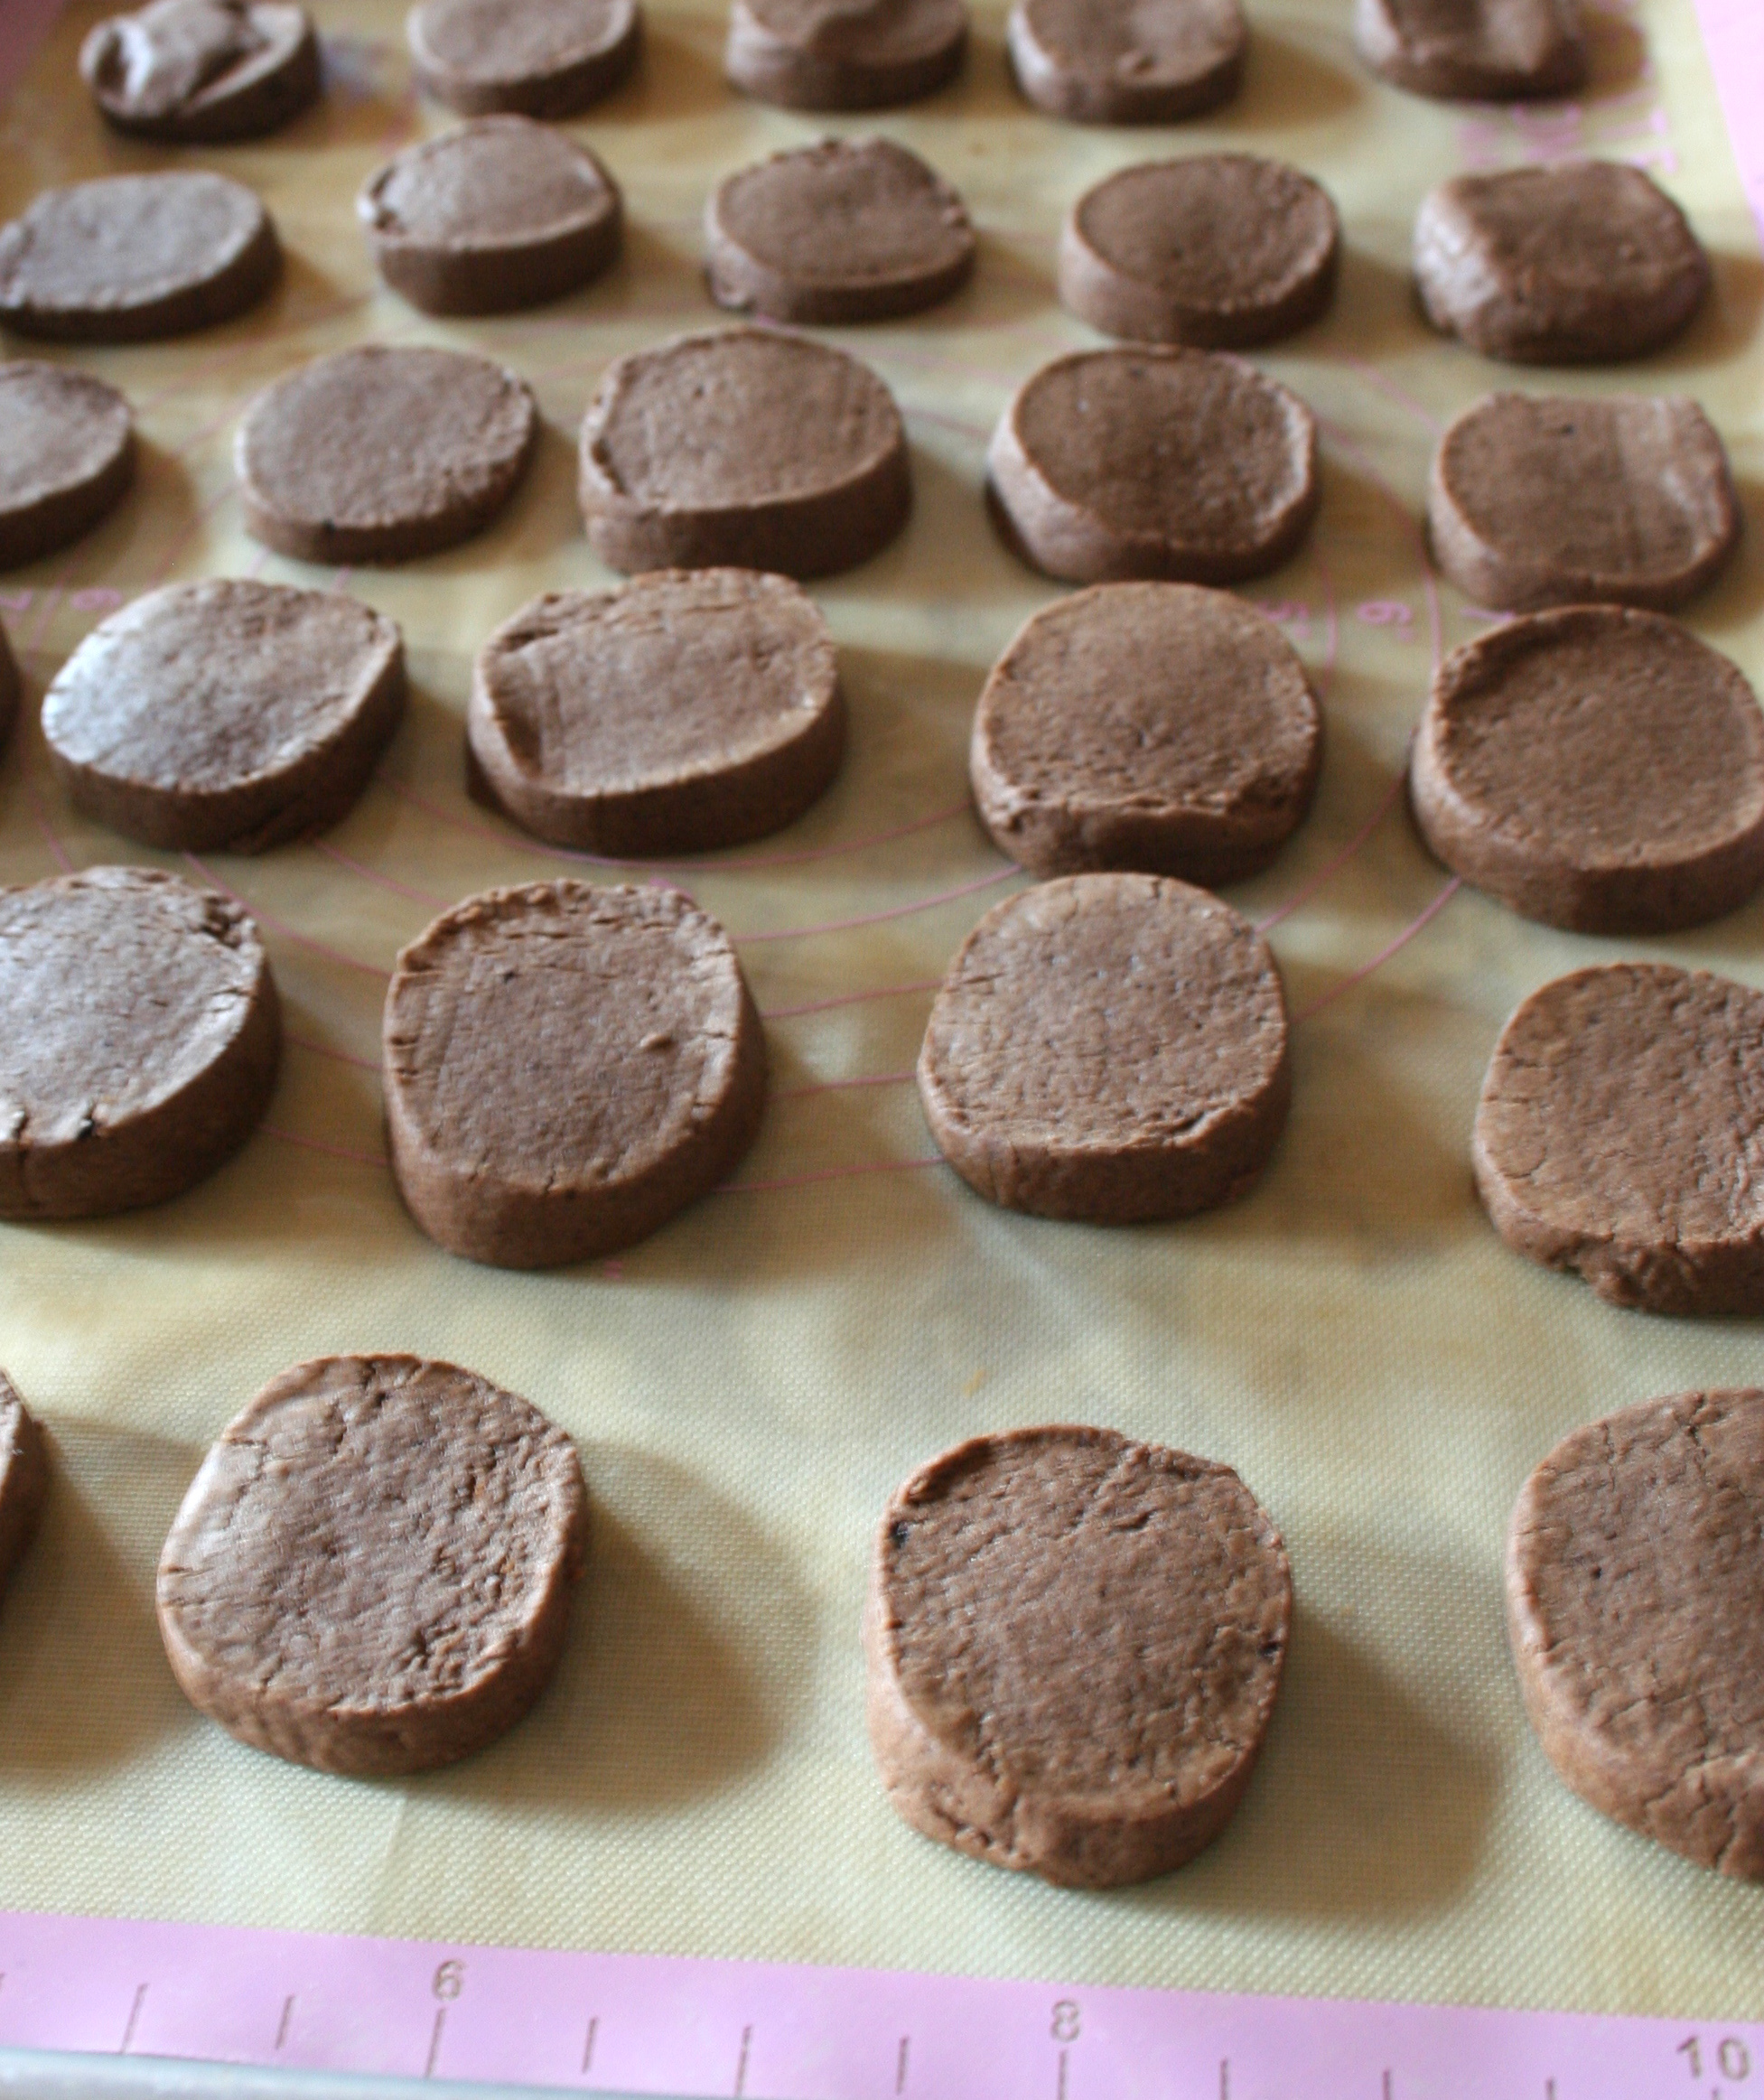
Remove the dough from the freezer. Slice into rounds not more than 1/4 inch thick (the thicker the cookies, the less crisp, and the less cookies you’ll get per log of dough, but they’re tasty either way). Place the rounds on the prepared baking sheets. I was able to fit six rows of five cookies each per sheet. You don’t need to give the cookies too much room, because they will not spread much.
Step 7:
Bake for 15 to 20 minutes, until the cookies have a dull finish on top, and feel firm when lightly touched. If you know your oven has “hot” spots, rotate the pans about 8 minutes into baking to ensure even baking. If you can’t tell if the cookies are done, you can lift one of the cookies with a spatula to ensure that it looks slightly browned on the bottom.
Step 8:
Remove the trays from the oven, and let cool completely on wire racks before proceeding.
Step 9:
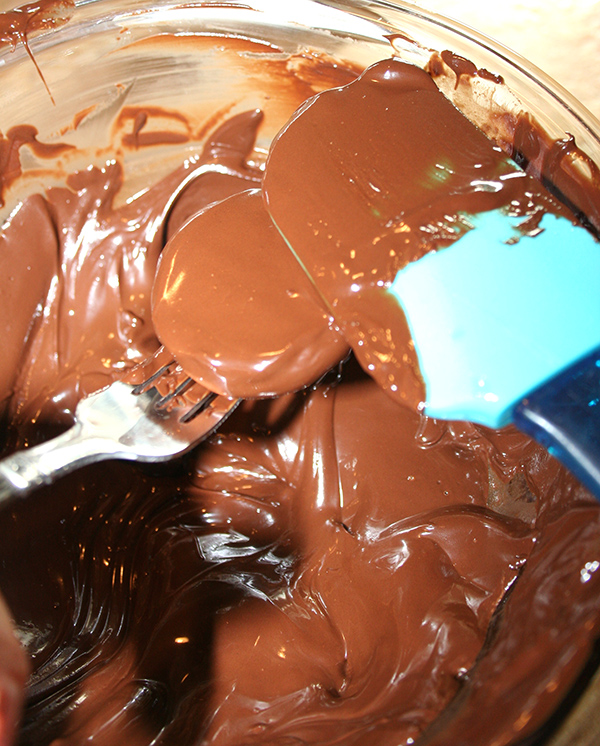
Prepare the coating. In a double boiler, melt the chocolate and butter together. Once nearly melted, remove from heat and let it melt all the way in the residual heat.
Step 10:
Dip each cookie in the warm chocolate mixture. To make sure that the coating wasn’t too thick on each cookie, I would dip it and then smooth the top using a rubber spatula to tap off excess chocolate.
Note: If your chocolate begins to get too firm, place it back over the simmering water of the double boiler to warm it again.
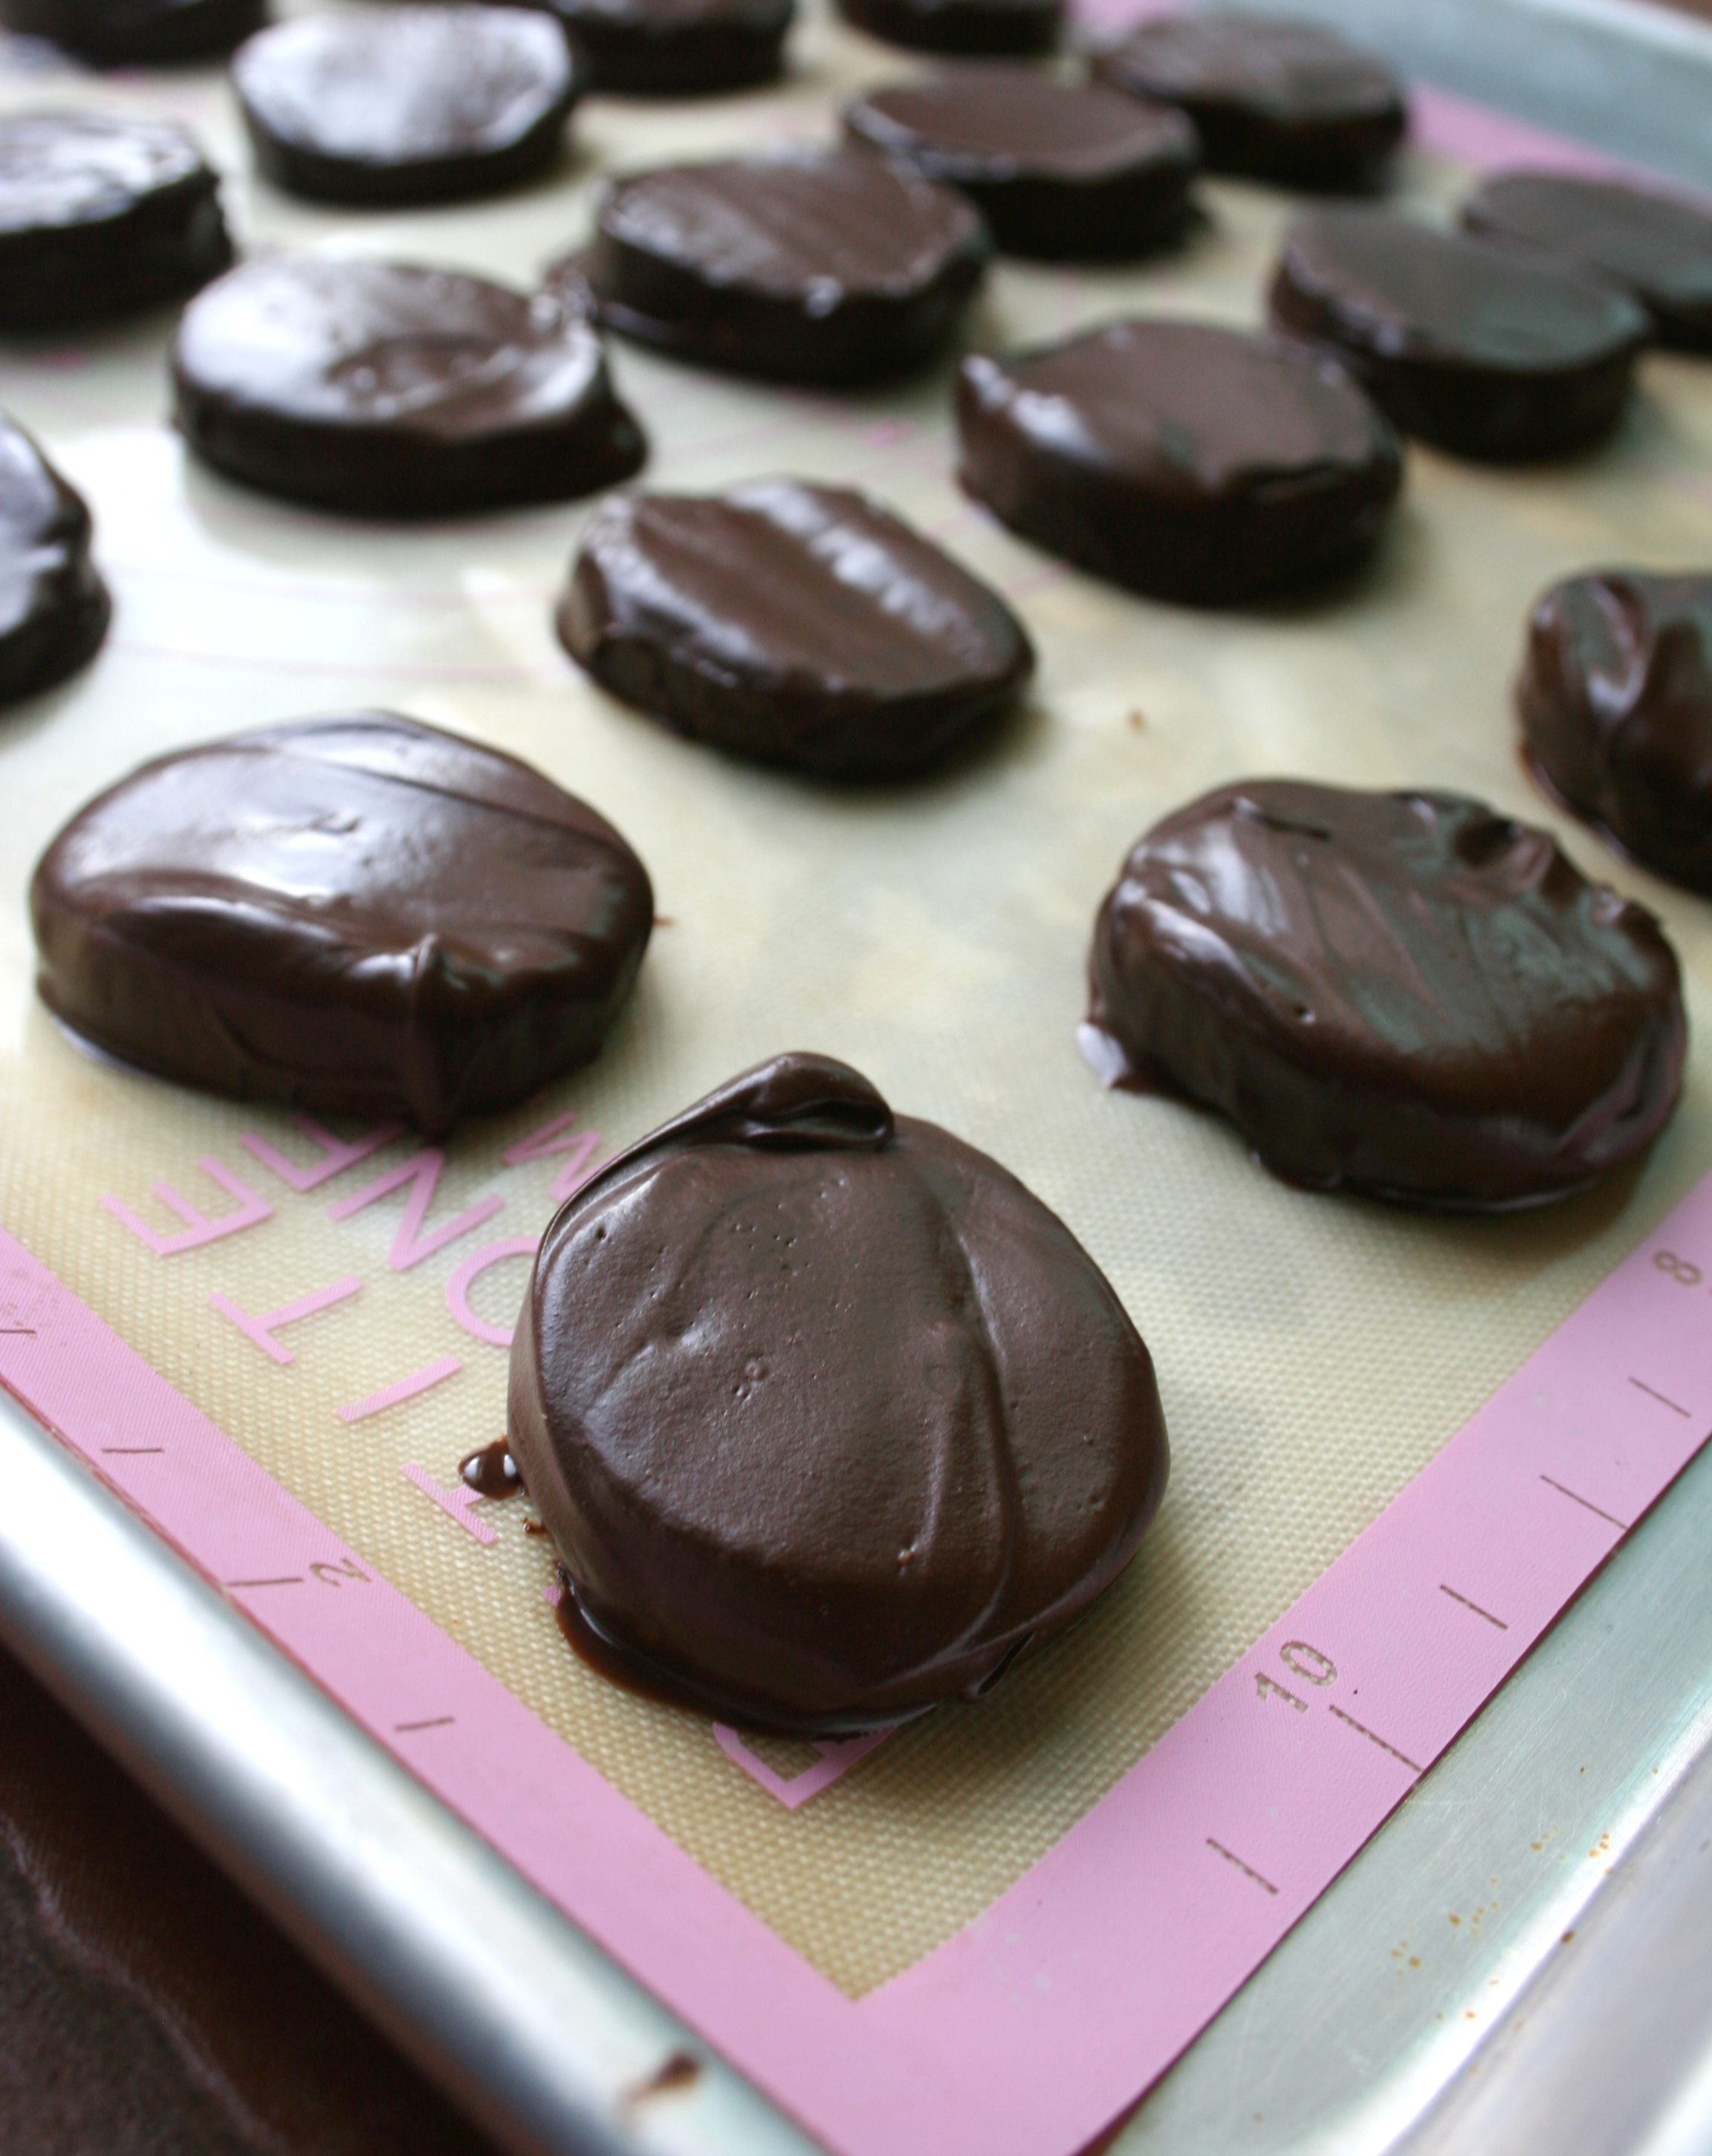
Step 11:
Set the cookies on top of parchment or waxed paper (I just set them right back on the cooled cookie sheets with silicone mats), and let sit until the chocolate has set entirely, 30 minutes in a cooler setting, longer if the weather is warm or if the cookies are very thickly coated.
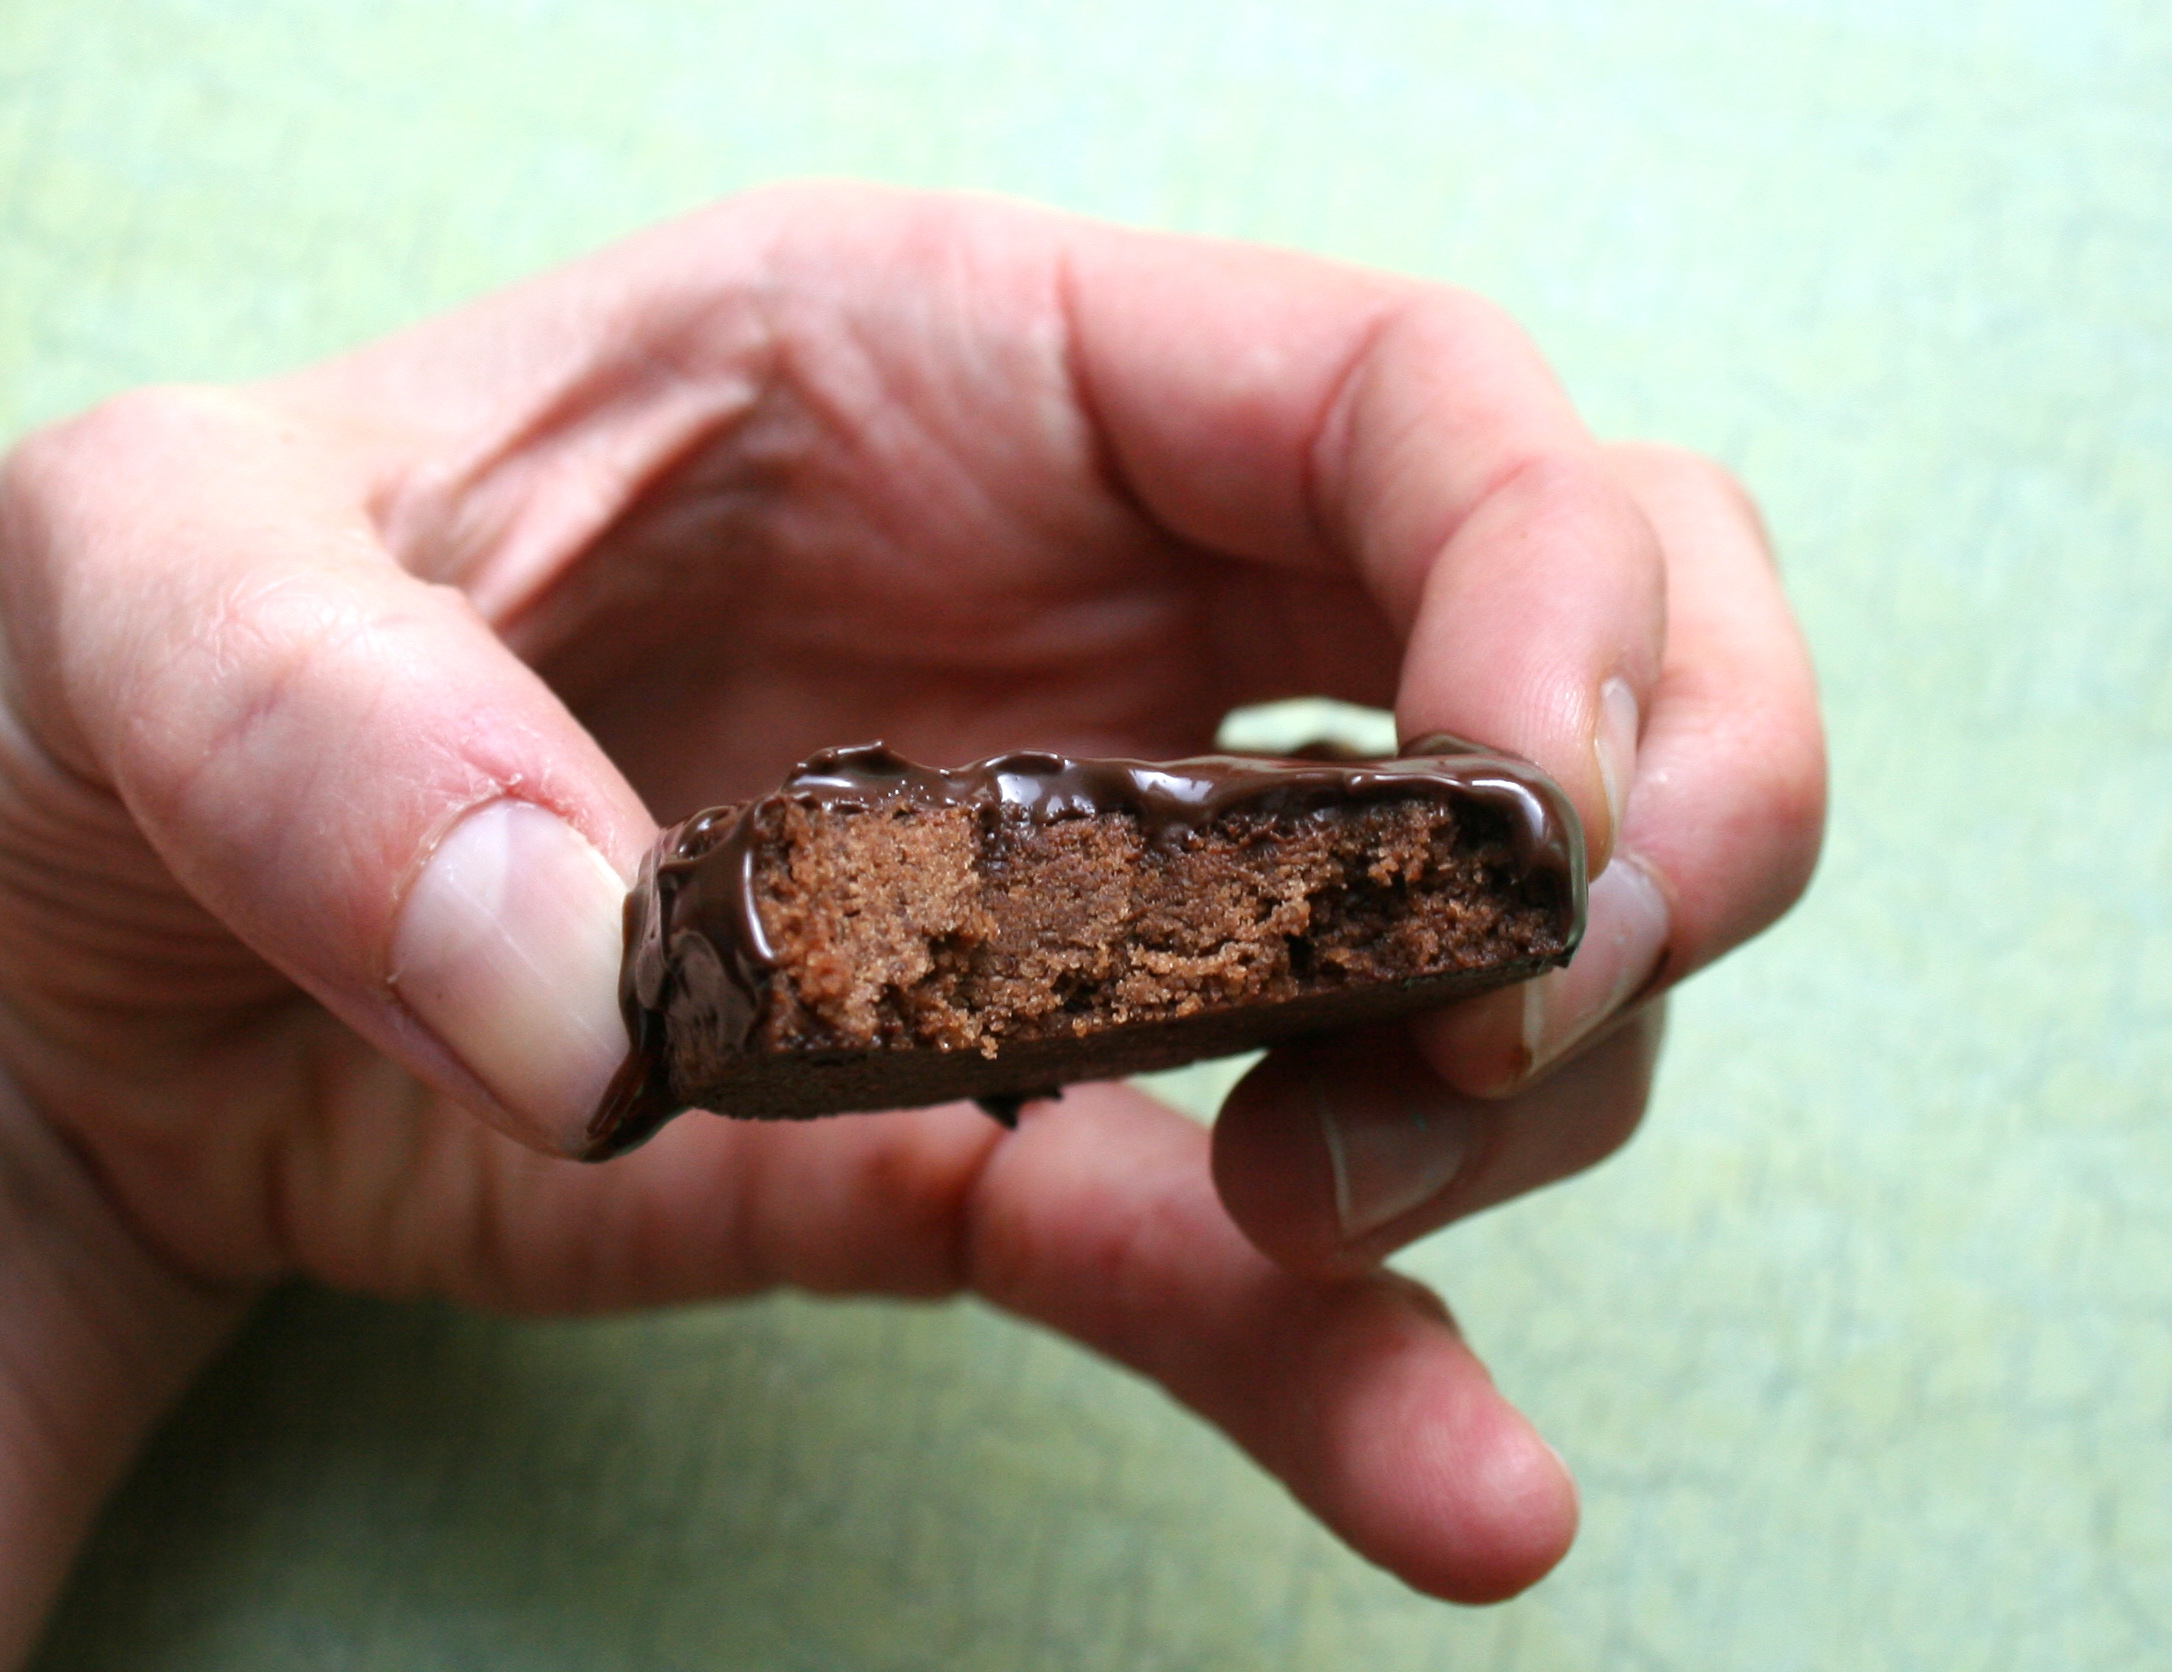
Who could resist just a bite?
When do you add the milk?